Easy to Build Table Legs or Posts from 2x4s
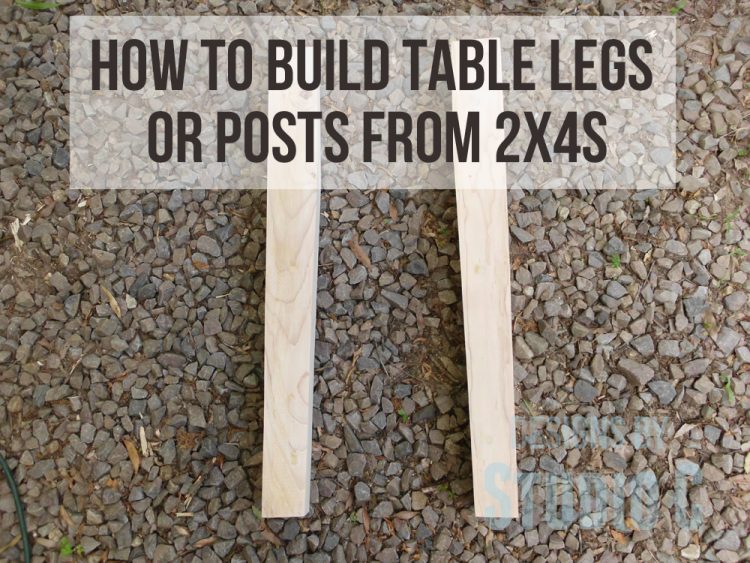
A while back, I mentioned my friends, Chris and Elizabeth, who had an awesome idea making table legs from 2×4 lumber. I love this idea and decided to make the legs for my new dining room table using their method, which in my opinion is quite economical as I have a hard time finding untreated 4×4 posts in my area. Keep in mind that when posts are constructed this way, the actual measurements will be 3″ x 3″ so the dimensions of any pieces framing into these posts will have to be altered. Follow along as I share how to build table legs or posts from 2x4s!
Materials:
- 2x4s
- Glue
- 2-1/2″ screws
- Clamps
- Drill & countersink bit
- Wood filler
- Table Saw
- Tapering jig (optional) (<– affiliate link!)
- Sander & sandpaper in 80, 120, & 220 grits
Begin by cutting your 2x4s to length. They can also be cut a little longer and after trimming on the table saw, can be cut to the finished length. Apply a liberal amount of glue to the face of one of the 2×4 pieces.
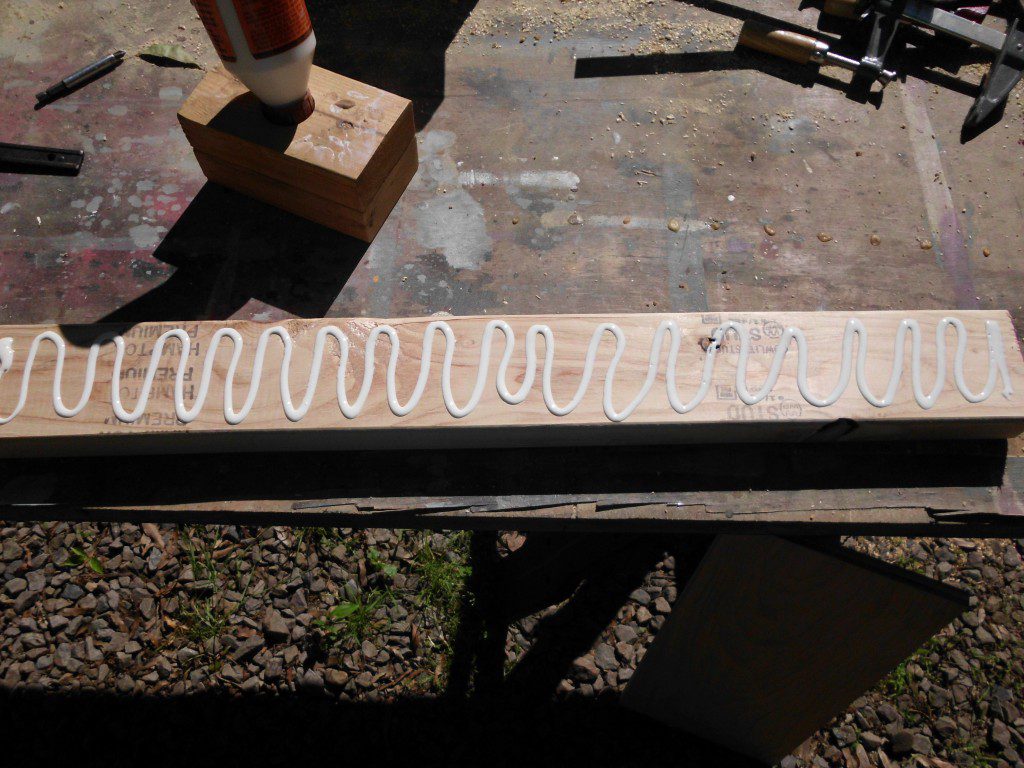
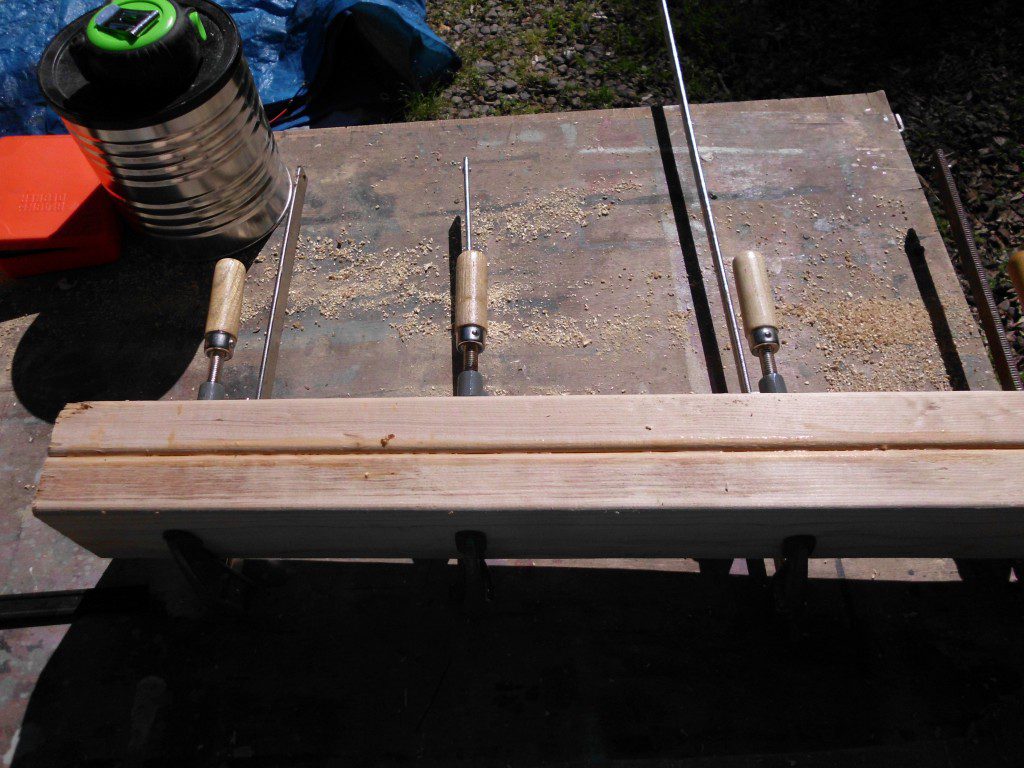
When placing the other 2×4 piece on top, wiggle it a little as this creates suction and keeps the top piece from sliding off so they can be clamped together. Clamp until dry.
Drill countersunk holes in the middle of one side and insert the screws.
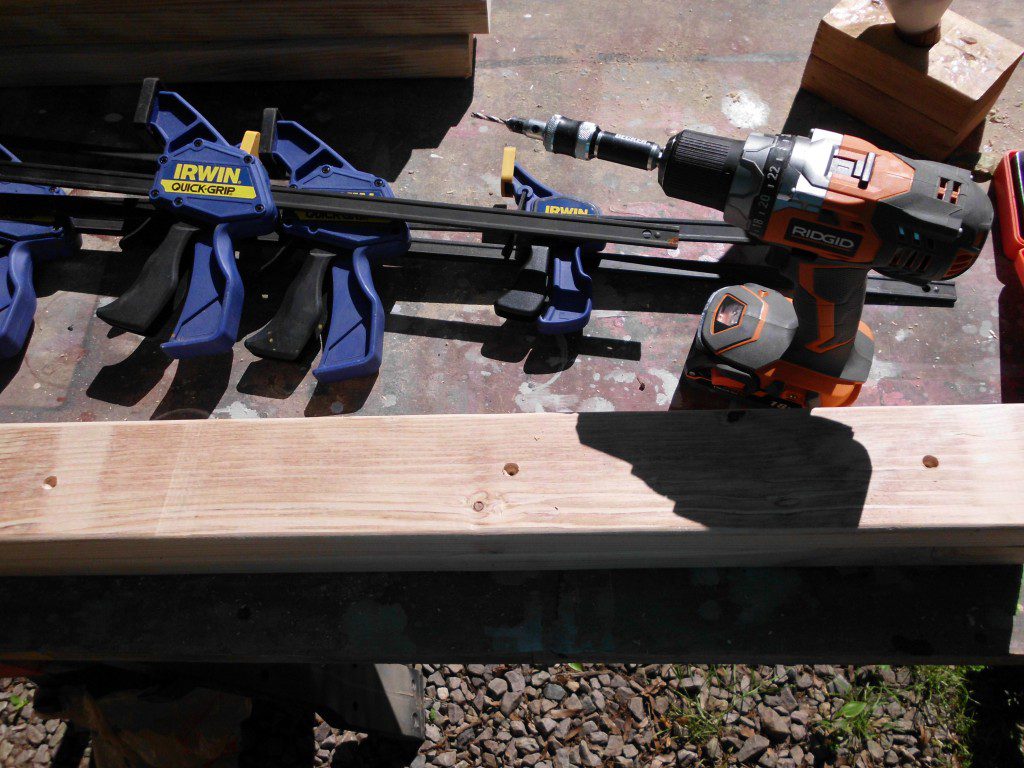
Fill the holes with wood filler. When dry, sand until smooth. Do not do the final sanding yet! Take the pieces to the table saw and raise the blade as far as it will go. Set the rip fence for 3-1/4″ from the blade and run each leg assembly through trimming one side only. Depending on how big the blade is, two passes may be necessary. Go slow and use caution!
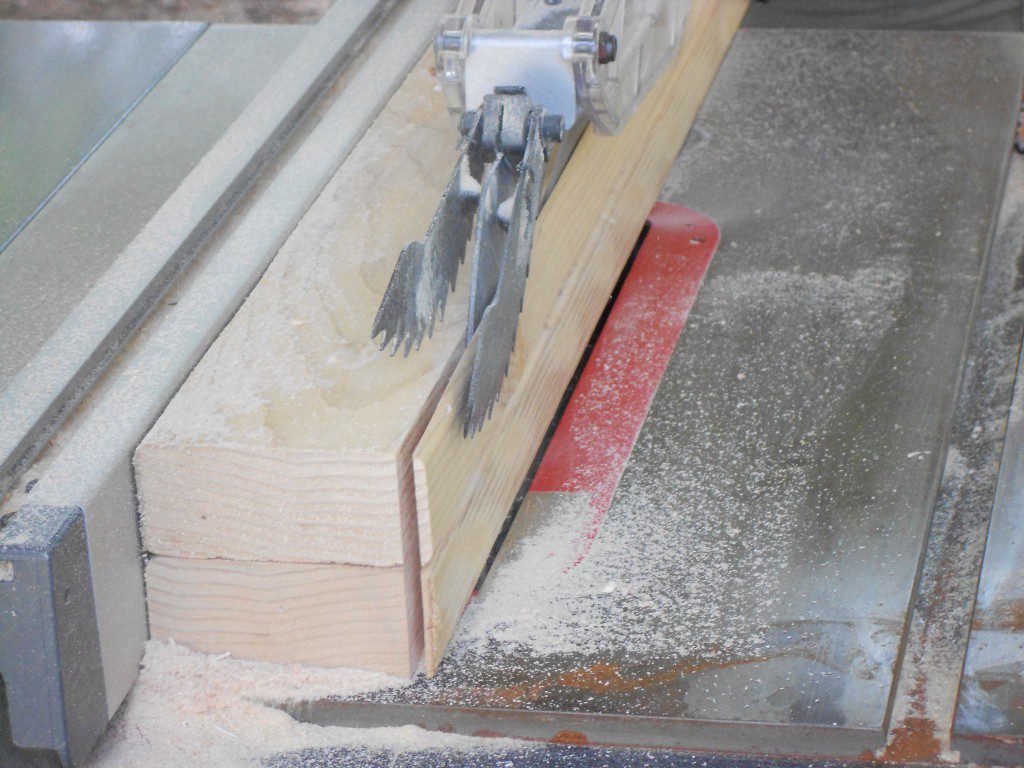
Set the rip fence on the saw for 3″ and trim the other side of the leg assemblies.
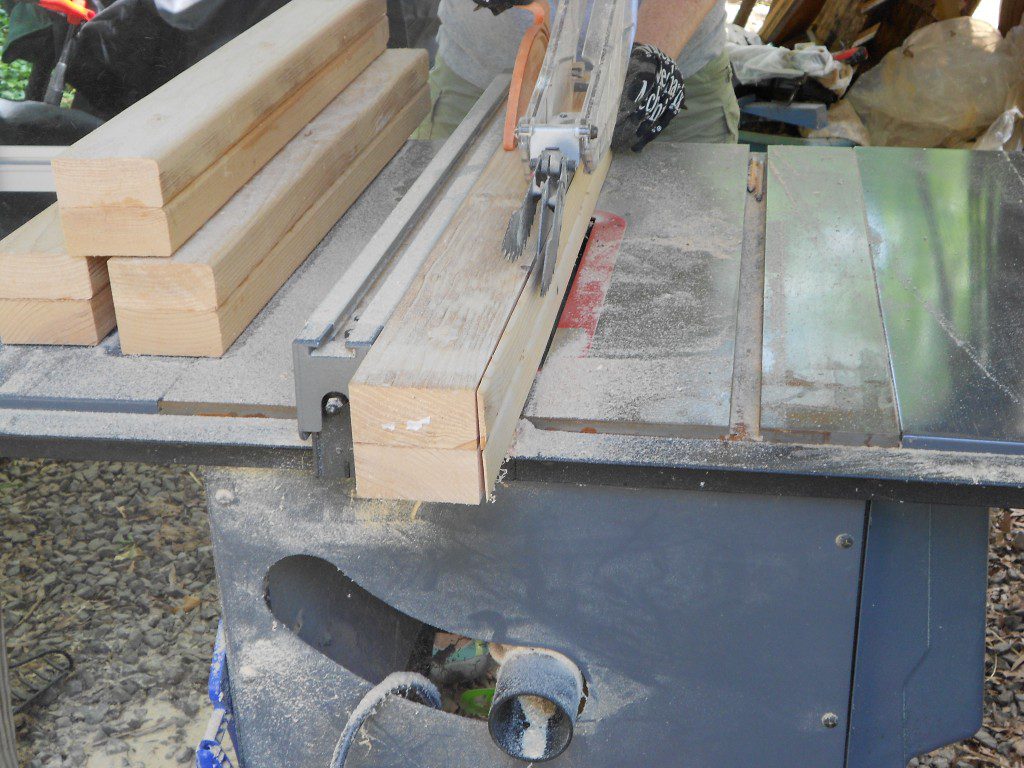
By trimming each side of the boards, this makes a nice square post!
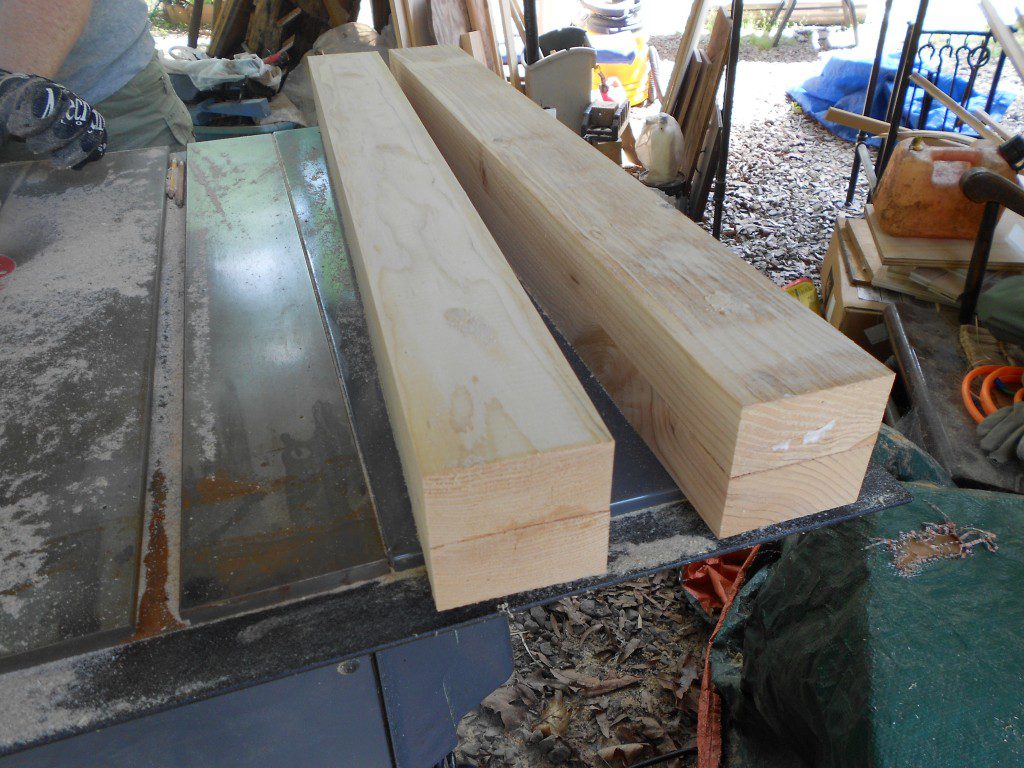
If using the optional tapering jig, set the jig to the desired taper (taking care to avoid the screws in the leg) and run the legs through the table saw.
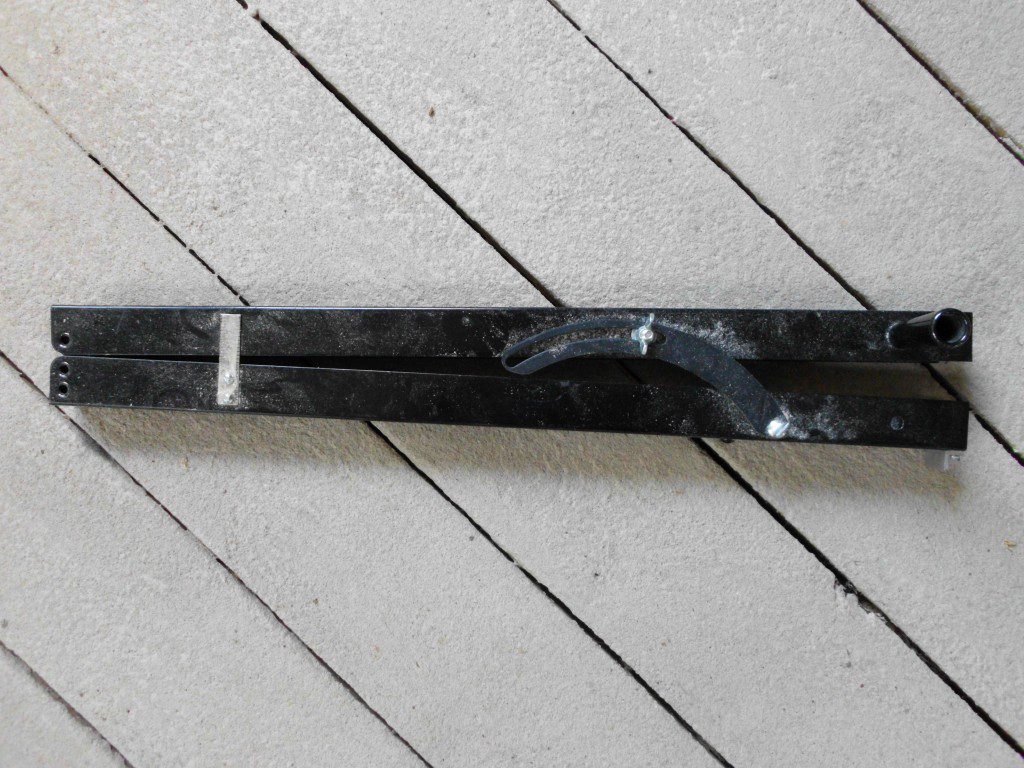
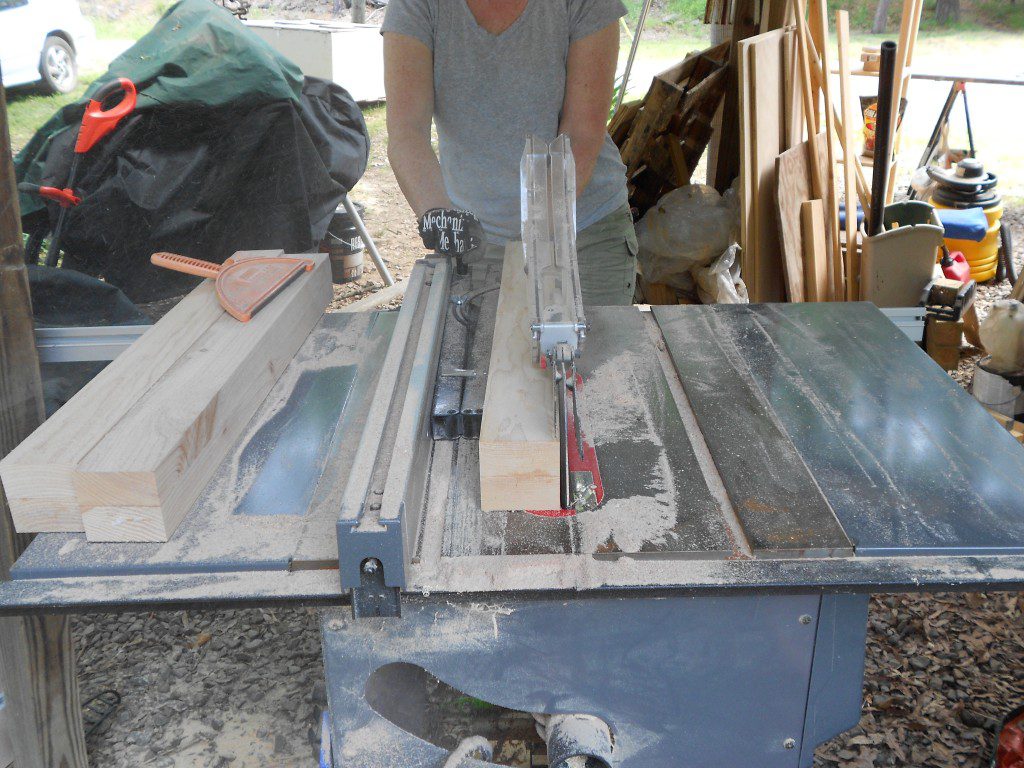
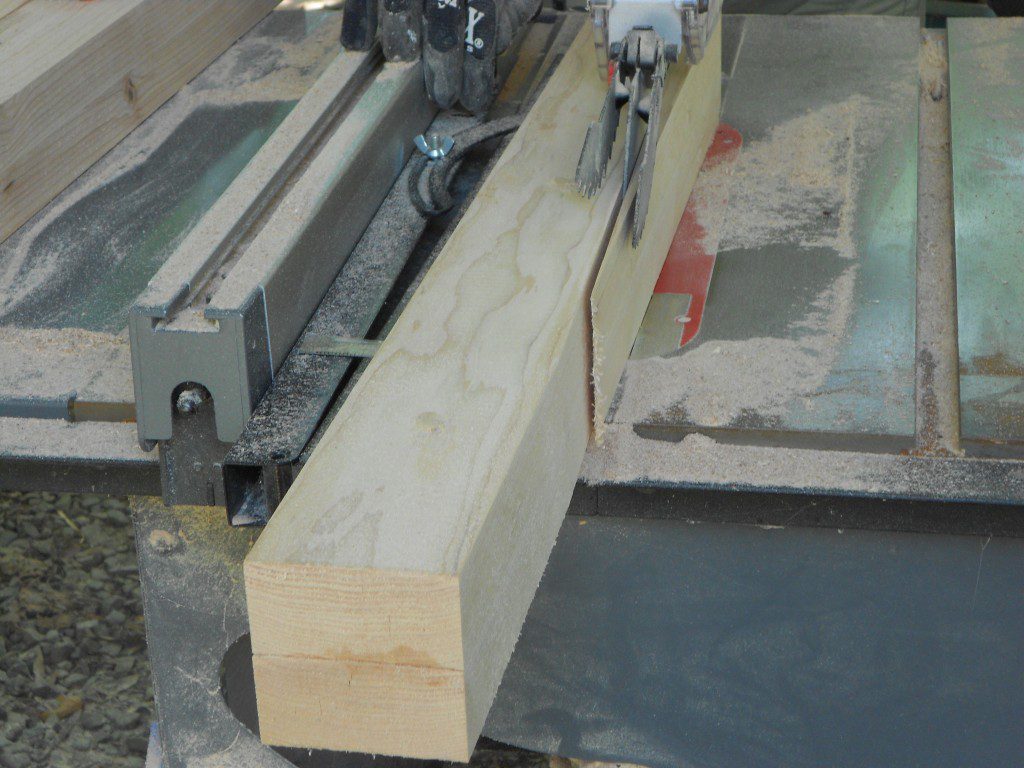
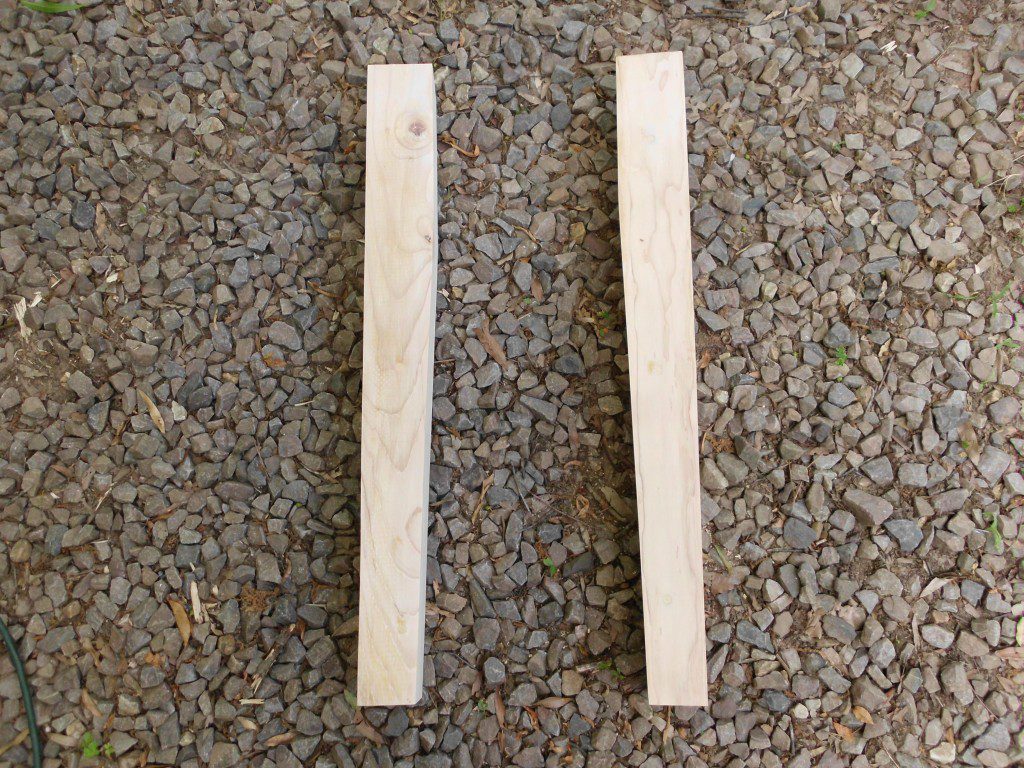
In my case, I want the screw hole to face to the inside of the table so I tapered two legs with the screw holes facing up and two legs with the screw holes facing down. This gave me two “right” legs and two “left” legs.
Now the final sanding can be done starting with 80 grit, then 120, and finishing with 220.
I used these legs to build the Restoration Hardware Inspired 1900s Boulangerie Table from The Design Confidential.
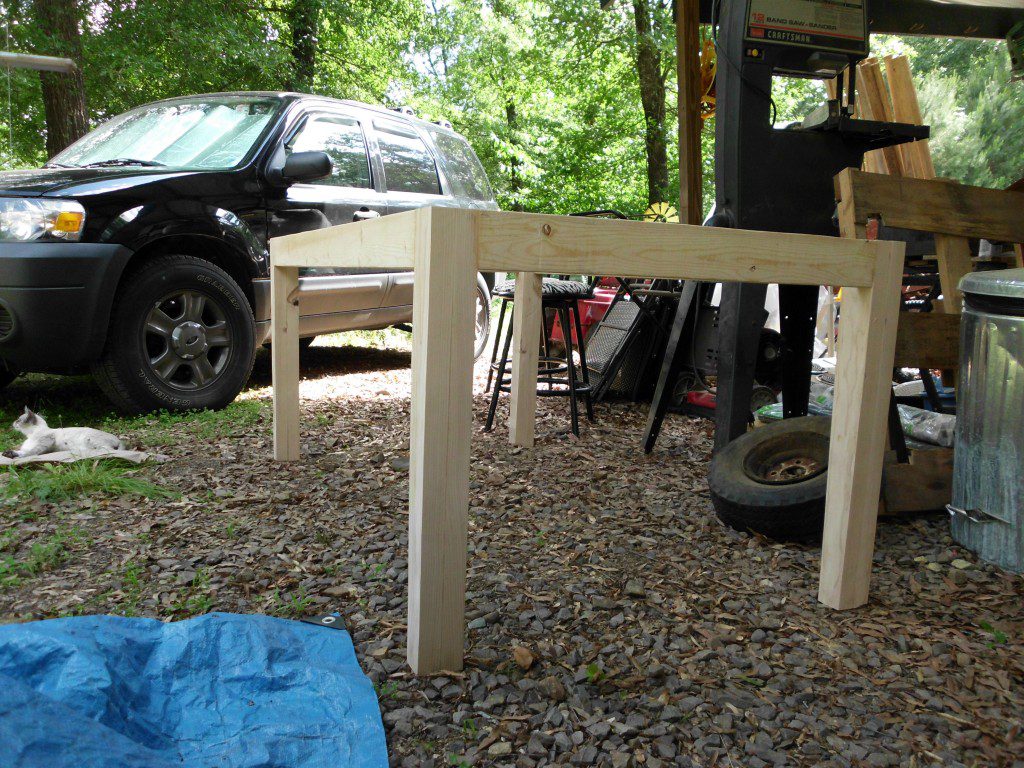
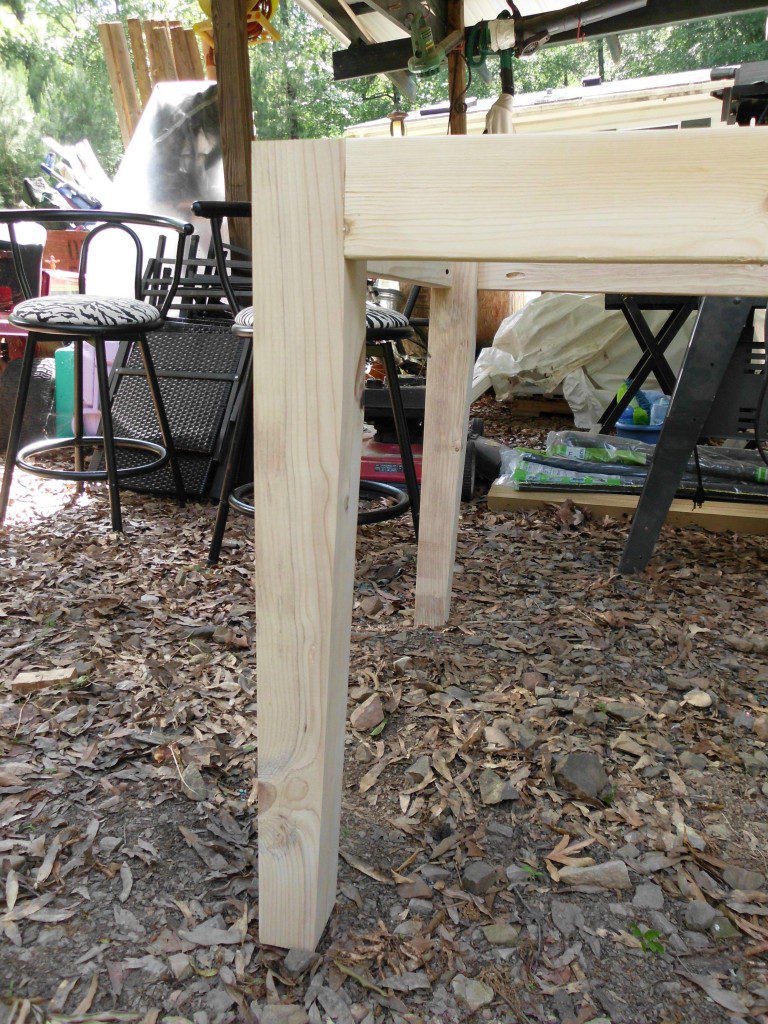
Give it a try – it is easier than you may think! ALWAYS use common sense safety practices! Have any questions about how to make table legs from 2×4 lumber? Leave a comment below or find me on Facebook!
Originally posted 2014-04-17 08:03:11.


21 Comments
A beautiful job. I may show this to my husband. Not that I don’t have my own chop saw, but it isn’t a project I want to do right now and I don’t like table saws. We built our house. Good old sweat equity. Enjoy your SITS Day.
I was petrified of the old table saw I had. I scrimped and saved for a year to buy a new one I felt less intimidated using! I get a lot of satisfaction out of sweat equity! Have a great day, thanks for stopping by!
I came upon your site looking for a different way to do table legs for a chevron coffee table. I would love to taper legs but I am also scared of the table saw. I have a scar on my pinkie that had 9 stitches and now has no feeling. Just grateful that I still have the finger. What kind of saw did you get that has the safety features on It?
Ouch, that sounds awful! I’m still a bit leery about my current saw but feel much more comfortable with the new one than I did with the old one. I have a giant Porter Cable table saw that I purchased at Lowe’s. It has a really nice blade guard as well as an anti-kickback piece. When I use the tapering jig, I still use two hands – One to push the jig through the saw and the other with a push stick holding the lumber from the top. Hope this helps!
WHOA. you rock woman. I could NEVER do any of that. I am jealous. Happy SITS day.
Sure you could! I used to say the same thing and now it is a bit of an obsession!! Thank you so much for stopping by!!
This just blows my mind how you can do this!! SO COOL! Happy SITS day!!!
Wow I’m amazed! Love all the photos and in depth step by step instructions! Thanks for showing us ladies that woodworking isn’t just a guy’s game! 😀
Thanks so much! there is nothing better than shopping for lumber or hardware in a skirt and flip-flops! Stop by again soon!!
I am generally very wary of putting anything through my table saw that doesn’t have a perfectly flat face to reference against the table. I’ve never had anything kick back on me, but I’m not interested in finding out what it’s like, either. Perhaps I am a little too cautious, though.
I have a very tough time finding construction lumber true enough that I am comfortable taking it through the table saw, at least with the blade up that high. Did you prepare your 2x4s in any way prior to sending them through (i.e. planing them), or did you just select pieces that were as true as you could find? Thanks for any input you have. Your table is really beautiful.
I understand being cautious… I had an old table saw my dad gave me that scared me to death every time I turned it on. I saved for a year to buy the one I have now and it came complete with all sorts of safety devices!
I did not prepare the 2x4s in any other way except to glue and screw them together. Most of the 2x4s I’ve found have been excellent as far as being straight and not warped. I hope this helps and if you have any other questions, please let me know!
Thanks for the compliment on the table – I really love it!!
Pingback: How to Build Decorative Wood Pedestals - Designs by Studio C
Pingback: Free Plans to Build a Napa Style Inspired European Garden Table
Pingback: Pallet Wood Desk or Table | Eighth Rising Ministries
Pingback: Build a Pedestal for a Washer & Dryer | Designs by Studio C
Pingback: DIY Plans to Build a Coat Rack Post | Designs by Studio C
Pingback: Garden in Style with a European Garden Table | Designs by Studio C
Pingback: Build a Wesley Dining Table | Designs by Studio C
Pingback: Create a Striped Panel with Stain and Plywood
Pingback: A Great Guide to Easy Projects Using 2x4 Lumber
Pingback: How to Build Decorative Wood Pedestals | Designs by Studio C