How to Build Your Own Countertops
Custom Laminate Countertops are Simple to Make!
When I remodeled my kitchen several years ago (before the tree fell on the house!), new premade countertops were not in the budget. I decided to make my own laminate countertops and not only was it easy, it was inexpensive, too! Now it is time for new countertops in the current kitchen and without hesitation, we’re going to make them ourselves. Custom DIY build your own countertops are the only way to go!
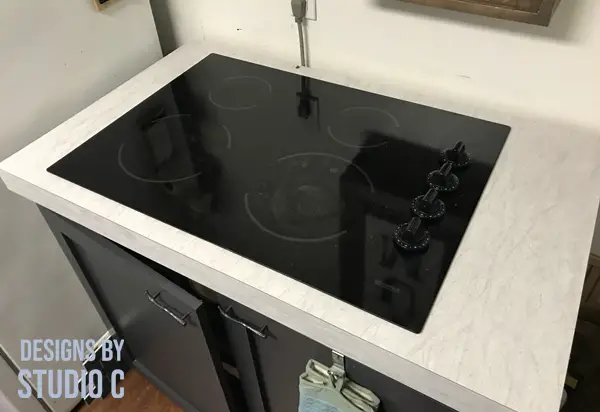
Our current kitchen used to be a small bedroom, so the countertop area is rather small, and the same goes for the area for the cooktop. Fortunately, I’m going to be able to buy only one sheet of plywood and one sheet of laminate to make both surfaces! The hardest part was choosing tile for the backsplash!
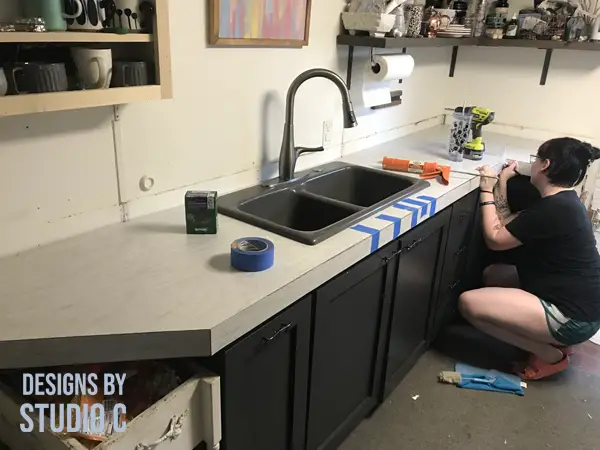
Materials:
- 1 sheet of laminate (brand name: Wilsonart) in a 5′ x 10′ sheet
- 1 – 4′ x 8′ sheet of 3/4″ plywood
- 3 – 1×3 at 8′
- 2″ brad nails and pneumatic nailer
- Contact Cement
- Disposable brush for the cement
- A few dowel rods or narrow scraps of wood
- Router with a flush cutting bit and a small chamfer bit
- Fine sandpaper (like the MicroZip Sander from Gator Grit <– affiliate link!)
As a side note, no exaggeration, I made each of these countertops in a day. I removed the old top, built the new one, and had it installed in the same day. It was that easy! Trust me when I say that building your own has so many benefits with the biggest one being cost. I spent less than $200 to make both pieces.
When removing the old countertop, try to keep it in one piece so that the area, in my case, for the sink and cooktop can be measured and positioned correctly.
Let’s Get Started on the Laminate Countertops
The general rule is that countertops measure 24″ in depth and the length can obviously vary. The longer countertop in my kitchen is roughly 24″ deep but the countertop under the cooktop is deeper to allow for the cord from the microwave (the microwave is on the bottom shelf under the cooktop and the cord comes out of the back – it’s not as janky as it sounds!).
Start by measuring the length needed. The longer countertop is L shaped and measured 36″ x 115″. The smaller countertop measures 25″ x 42″.
Cut the Plywood Base
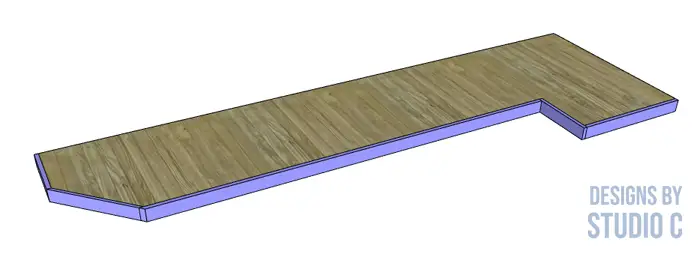
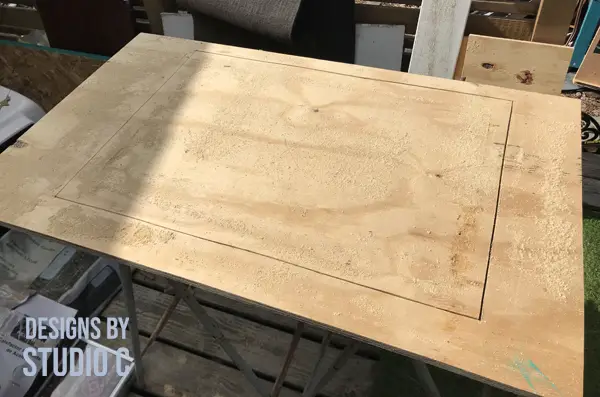
For my longer countertop, I drew the piece out on the plywood, then cut it out. I added a piece to the end to get the length I needed, and that is easily done using pocket holes or a scrap piece under the join with screws. Remember that there will be 1×3 aprons on the outer edges so the measurements will be short by 3/4″.
Once the piece is cut, put it on the old countertop to mark the space for the sink, etc.

Add the Aprons and Cut the Holes for Appliances
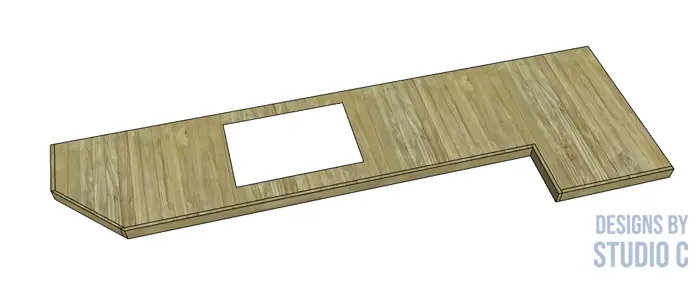
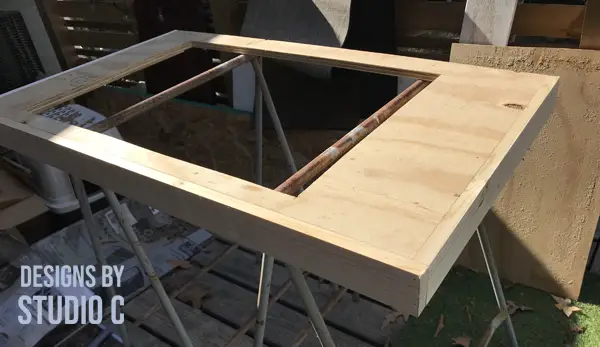
Now, start cutting the 1×3 pieces for the aprons, and secure them using glue and 2″ brad nails. Start with the sides of the countertop, then secure the front and measure for each piece before cutting. Next, cut the holes for a sink or cooktop.
Cutting the Laminate
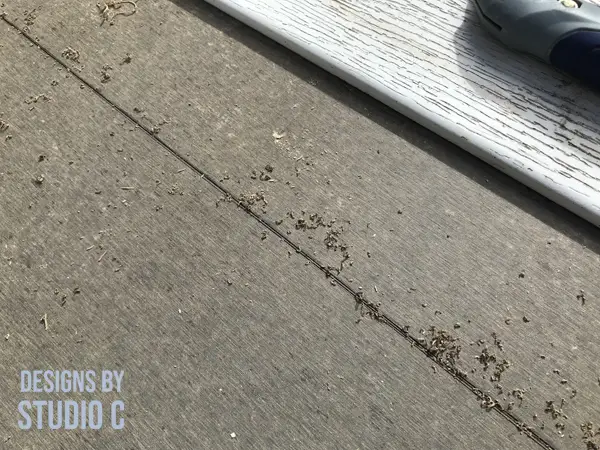
This step is so incredibly easy… The laminate is cut using a score and snap method. A box knife can be used, but a laminate cutter (<– affiliate link!) makes the job far easier! Be careful because the edges of laminate are really sharp!
Cut the pieces for the aprons first. I like to make them a tad bigger than what I need and it will be trimmed off with a router. Next cut the piece for the top, again making it just a bit larger than it needs to be.

Applying the Contact Cement
The contact cement will be applied to both the laminate and the wood base. It’s not sticky to the touch but once it makes contact with itself, it’s stuck forever!
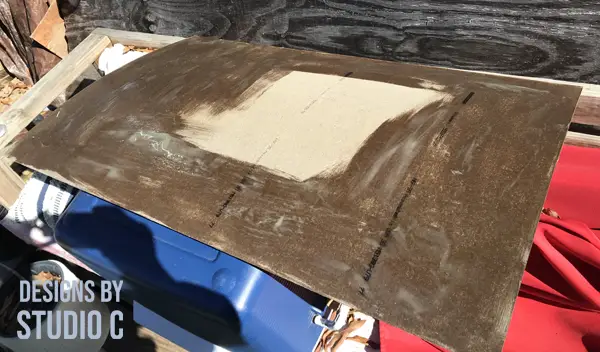
Rather than coat the entire countertop base with the cement at once, work in sections. Here’s why: even though the cement isn’t sticky to the touch, any sawdust or debris will stick to it and you don’t want bumps between the laminate and base (I know this from experience, wink).
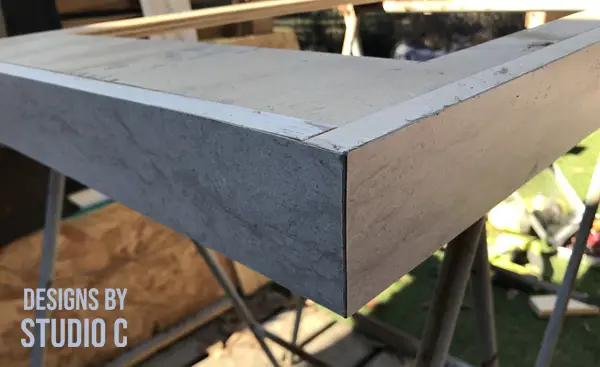
Starting with the aprons, apply a generous coat of cement to the backside and pay special attention to the edges. The same goes with the wood base.
Let the pieces dry – it only takes about 20 minutes, then position the laminate strip on the apron and smooth it down. Use the router with the flush cutting bit to trim the laminate to the edges of the wood base, then use the sandpaper to knock the sharp edge down. Repeat for the remaining aprons.
Placing the Laminate on the Top
This step can be a bit tricky, especially if you’re working by yourself. Place dowel rods or narrow strips of wood on top of the wood base, then lay the laminate sheet on top so that it can be positioned in place before the cement makes contact. When the laminate is in the correct position, remove each dowel and smooth the laminate to ensure contact.
Setting the Router Bit and Trimming the Top
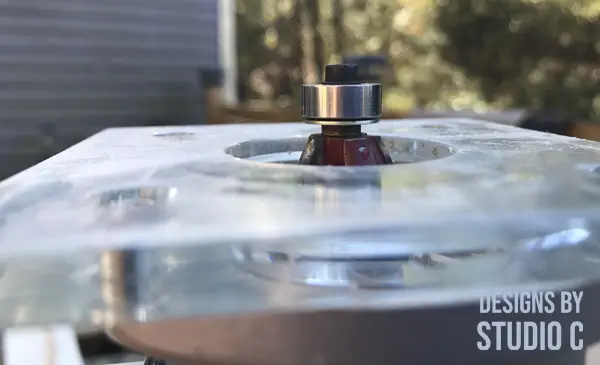
This is a very important step… The cutting portion of the router bit should only extend past the base plate the same thickness of the laminate which is basically a micron. Seriously – the first time I built countertops, I had the bit extended a bit too far and actually removed a portion of the laminate on the aprons when I was trimming the top. After all of that work, I was heartbroken, so don’t make that mistake!
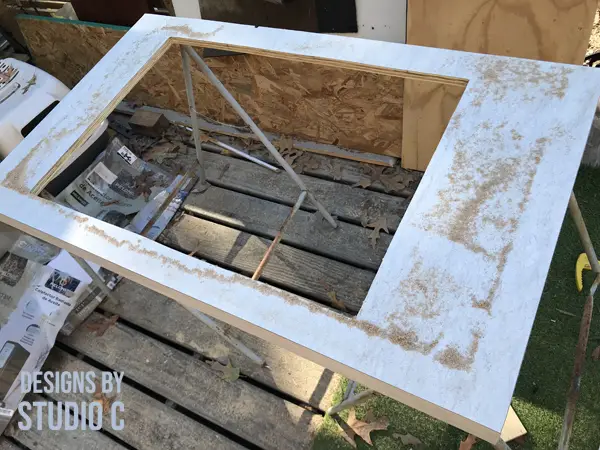
Now, run the router around the edge and trim the excess laminate so that it’s flush with the aprons. To cut the laminate for the sink or cooktop, I drilled a hole through the laminate for the router bit in the area where I cut out the base for the sink, then cut the laminate flush to the opening.
The final step is to use a 45° chamfer bit to knock the hard edge of off the areas where the laminate on the aprons meets the laminate on the top. Again, the cutting portion of the bit should barely extend past the base plate on the router (the guide wheel doesn’t count!).
Installation and Final Notes
Reinstall the countertops and make any adjustments as necessary. My walls are wavy so the long countertop didn’t fit exactly flush against the wall but the tile backsplash will cover it. Plus, that’s what caulk is for – caulk is your friend!
Have additional tips or questions on how to make your own countertops? Have you done this before? Leave a comment below! I’d love to hear your thoughts!

