
DIY Wood Christmas Tree
A Wooden Christmas Tree Made With Tongue and Groove Planks
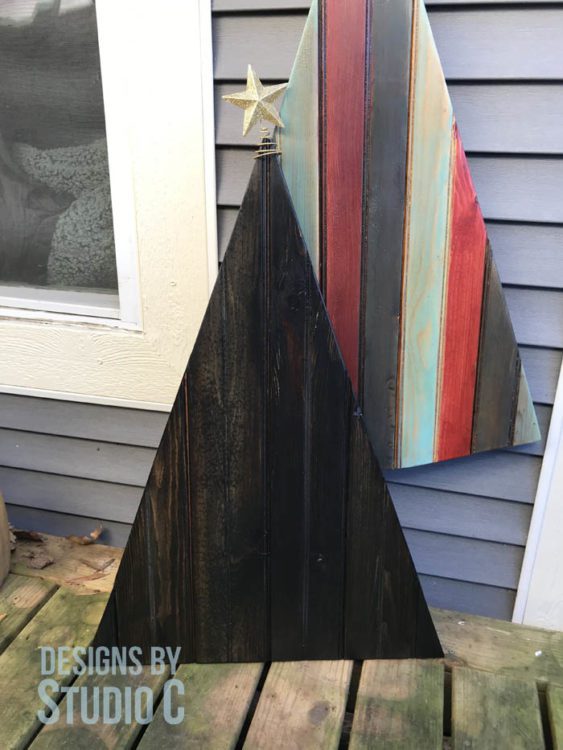
Now that our house is much smaller, we really don’t have room for a holiday tree (plus we have two cats, the Parkour Champs). I really wanted to have something decorative to display during the holidays. This DIY wood Christmas tree was constructed using pine tongue and groove planks from the cull bin at Home Depot. The greatest part of this wood holiday tree is that each section has a different color of “weather” on it which led me to leave it plain rather than paint or stain it.
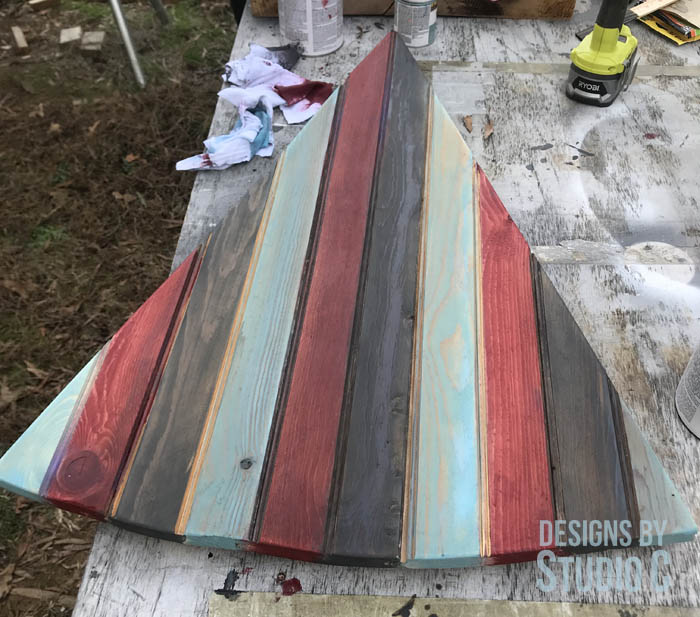
Of course, I changed my mind regarding the finish…I decided to stain each part of the tongue and groove in a bright color, and oh my gosh!! It is so CUTE! I also had a few extra pieces and made another tree stained in a totally different color.

The DIY wood tree has a simple stand that I made using a piece of the tree that fell on our house with spray painted black pipe. It can be displayed year around, indoors or out. This wooden holiday tree would also be a great way to display a house number or family name, or special handmade ornaments!
Materials:
- 3 – pine tongue and groove planks at 8′
- Scrap pieces of 1×2 for the back
- Scraps of 2×6 and 2×2 for the stand
- 5/8″ brad nails (<– affiliate link!)
- Sandpaper, 80, 120, &220 grits
- Finish of choice
Cut List:
- 5 planks at 36″ long (will make the tree approximately 25″ wide)
Notes About the Project:
- Scrap wood is also perfect for this project!
- Insert the tongues into the grooves then secure from the back side with 5/8″ brad nails and a pneumatic nailer
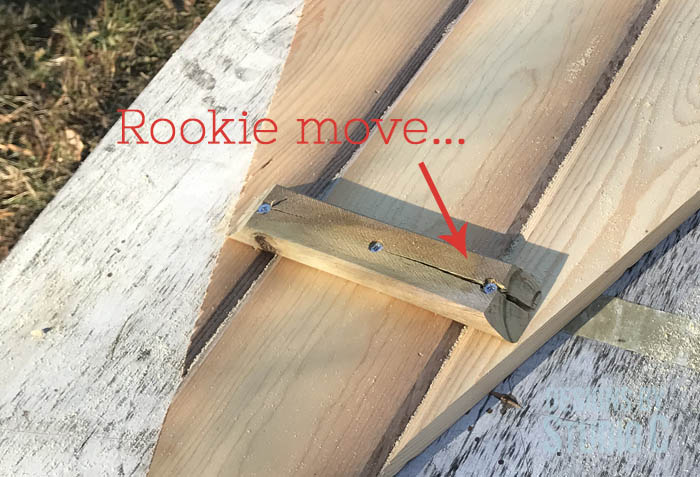
- When adding the supports on the back to hold everything together, don’t be a sucka like me… Pre-drill the holes in the edges before driving the screw
- The wooden Christmas tree can be finished however desired, and look fabulous in a grouping or multiple sizes!
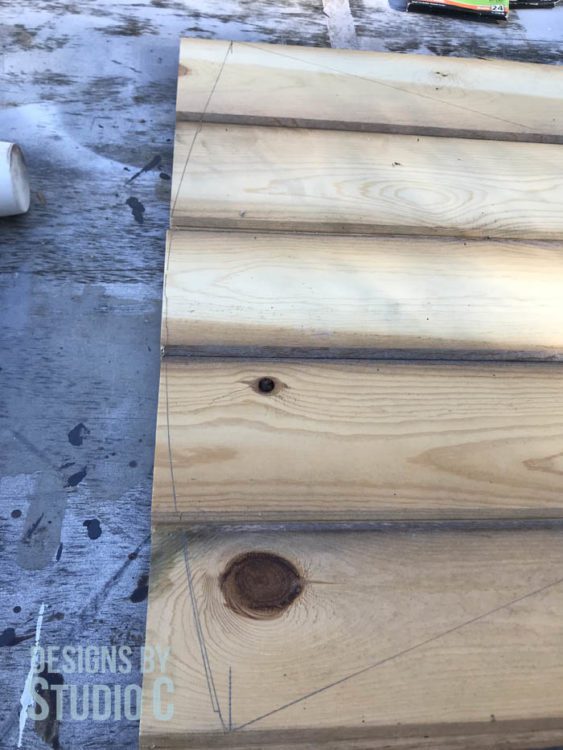
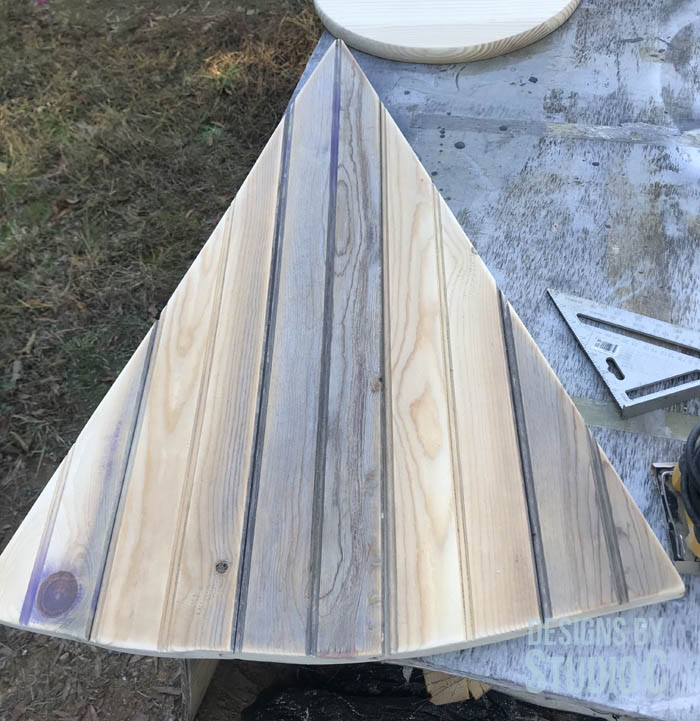
Step One
Cut the pieces, assemble and nail together as mentioned above. Draw diagonal lines from the center of one end to the corner of the opposite end. Cut with a jigsaw or a circular saw.

Step Two
Draw an arc on the bottom and cut with a jigsaw.
Step Three
Thoroughly sand the piece starting with 80 grit, then 150 grit, then 220 grit. Knock down the hard edges for a worn vintage look!
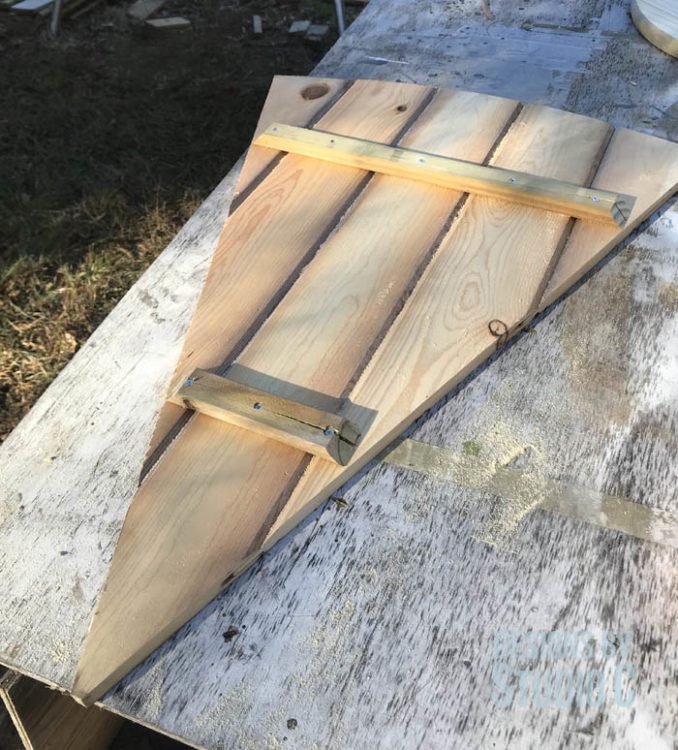
Step Four
Cut a couple of pieces of 1×2 and secure to the back of the tree to stabilize the planks. Secure to the back using 1-1/4″ screws.
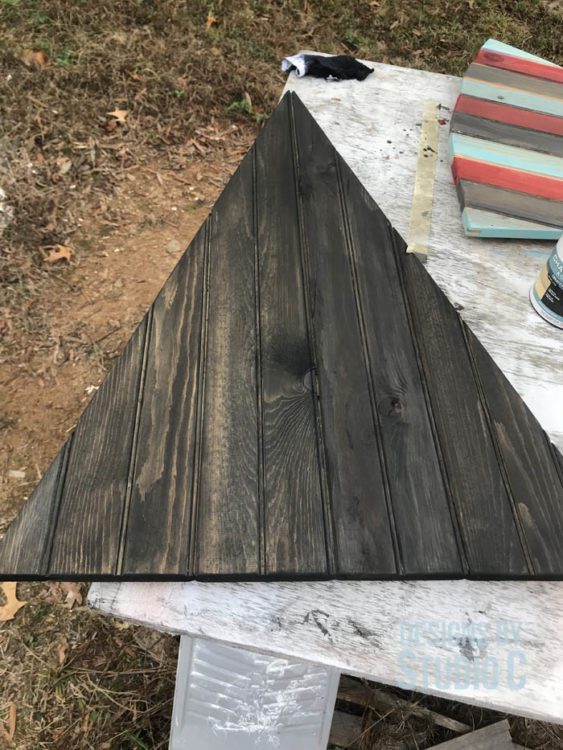
Step Five
Finish the tree as desired. I chose different colors of stain for one tree (as mentioned above) and my new favorite charred wood accelerator stain from Varathane (<– affiliate link!) for the other.
Pro Tip: If the wooden Christmas tree will be outside, apply spar urethane to protect it! At least three coats are recommended!
To build the stand:
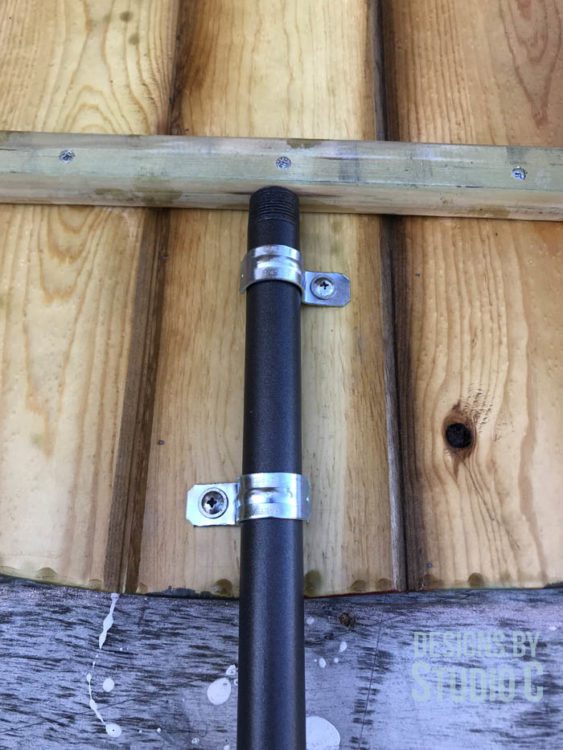
I used a piece of black metal pipe with a flange (spray painted) secured to a scrap of the tree that fell on our house! I threaded the pipe into the flange, then spray painted in a matte black iron color. Then, I secured the flange to a block of the tree that fell on our house (we had the offending tree cut into slabs for future projects).
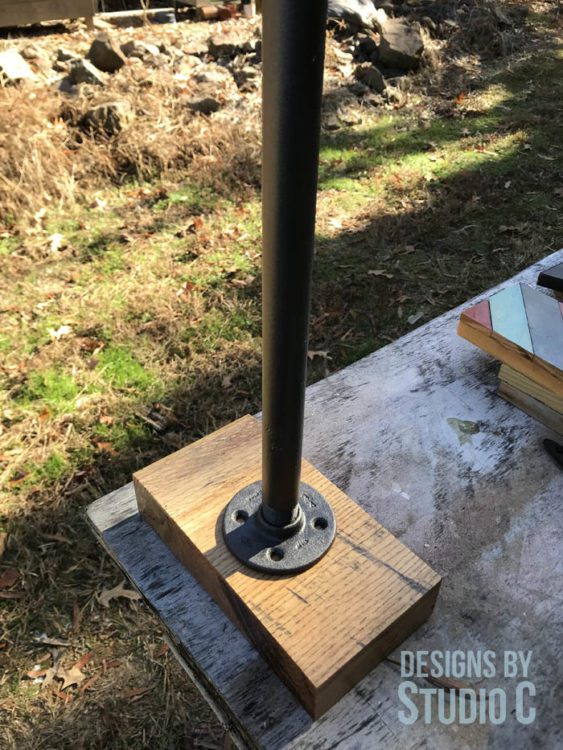
I secured the pipe to the back of the tree using short screws and half pipe straps. It made a really sturdy stand!

For the charred stain tree, I wrapped lights around it and placed it by the front door.

Whether you make a scrap wood tree or use tongue and groove plans, this project is easy and can also make a great gift! Have questions about the DIY wood Christmas tree? Leave a comment below! If you make one, please share to the DbSC Facebook page or send me an email… I’d love to see your project!
