How to Build Decorative Wood Pedestals
Easy to Build Accents for Candles or Sculptures
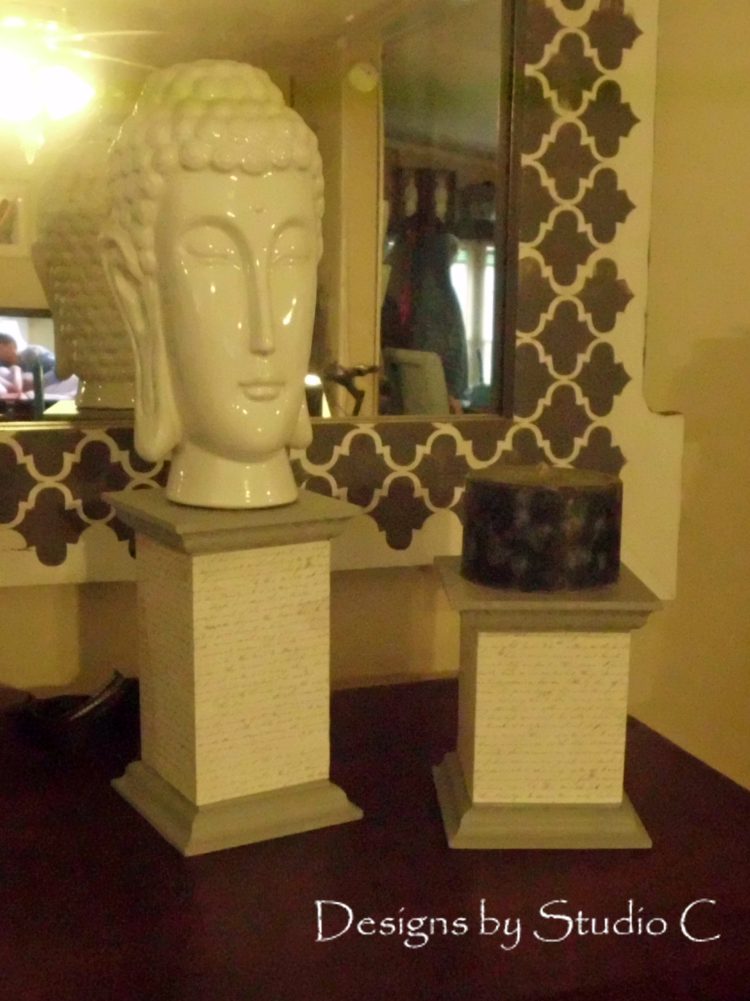
I saw these pedestals online and instantly fell in love with them… They could be made so quickly and easily, plus be customized to match any decor. The best part is that I could tap into my constantly-growing scrap pile and they cost me basically nothing but a little time! Let me share how to build decorative wood pedestals that can be finished to accent any decor!
Materials:
- Scrap pieces of 2x4s or 3×3 posts
- Scrap pieces of 1x4s or 1x6s
- Router with a fancy bit (<– affiliate link!)
- Scrapbooking paper and/or paint
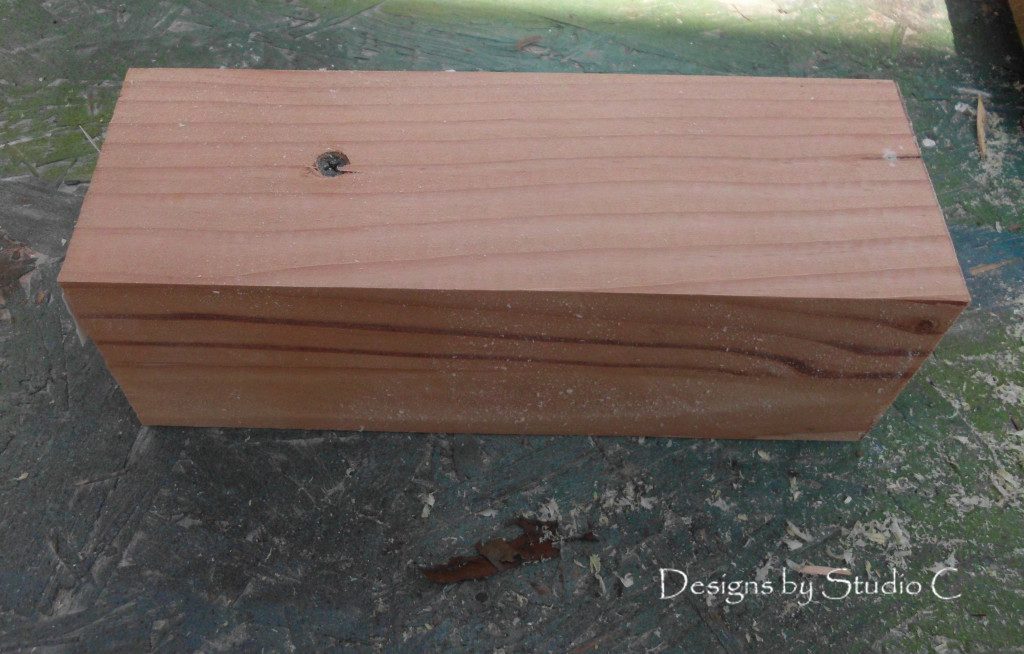
For the body of the pedestals, I used pieces of posts I’d made from 2x4s (they actually measure 3″ x 3″). See my post on How to Build Table Legs or Posts from 2x4s for instructions on this method. Otherwise, a regular 3×3 post can be used.
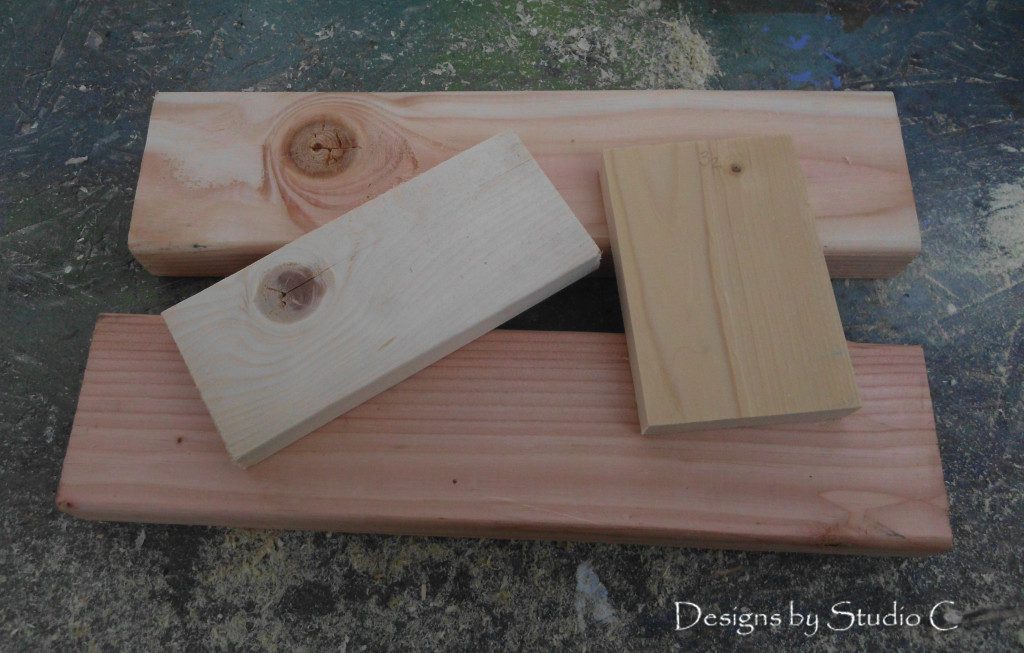
Determine the finished height of the pedestals and subtract 1-1/2″ for the top and bottom. Cut the post to this length.
The top and bottom pieces will be 1″ larger on all sides than the post measurement. I used a 3″ x 3″ scrap piece (actually measuring 3″ x 3″) so I cut my top and bottom pieces at 4″ square. I found that the easiest way to rout the decorative edge was to use a board at least 18″ long and rout the edge all the way around. Then, I cut the pieces into 4″ squares and routed the remaining edges. This kept me from having to rout all four sides of four 4″ squares (ha!). I only had to rout one edge on two of the squares and two edges on the remaining two!
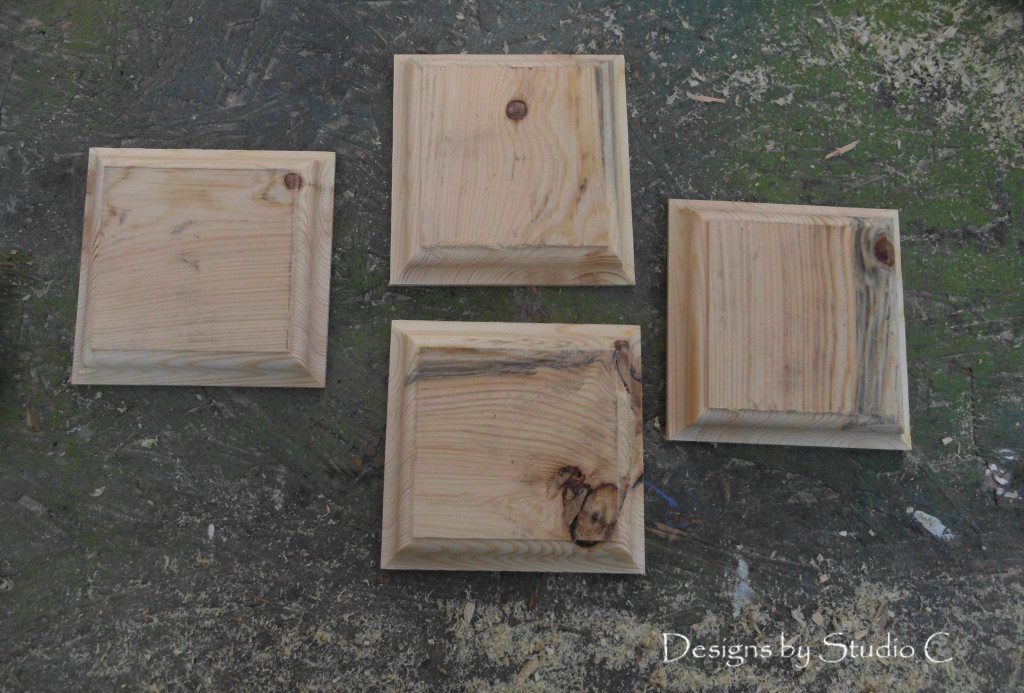
Sand each piece thoroughly before assembly. To me, this makes things so much easier! Attach the top and bottom to the posts using glue and 1-1/4″ brad nails, then fill any holes.
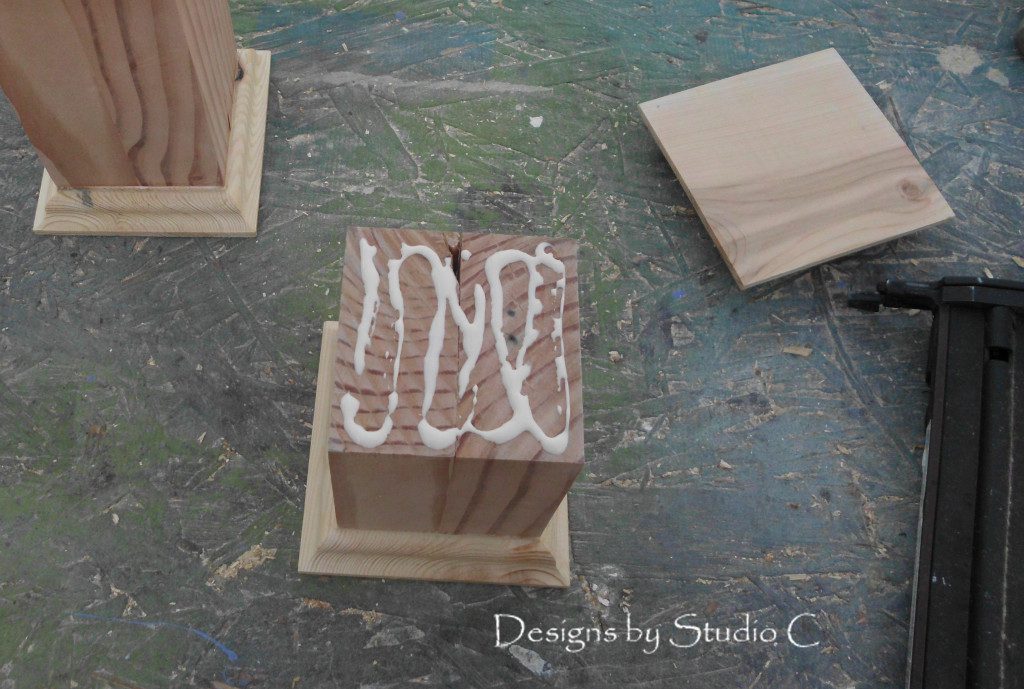
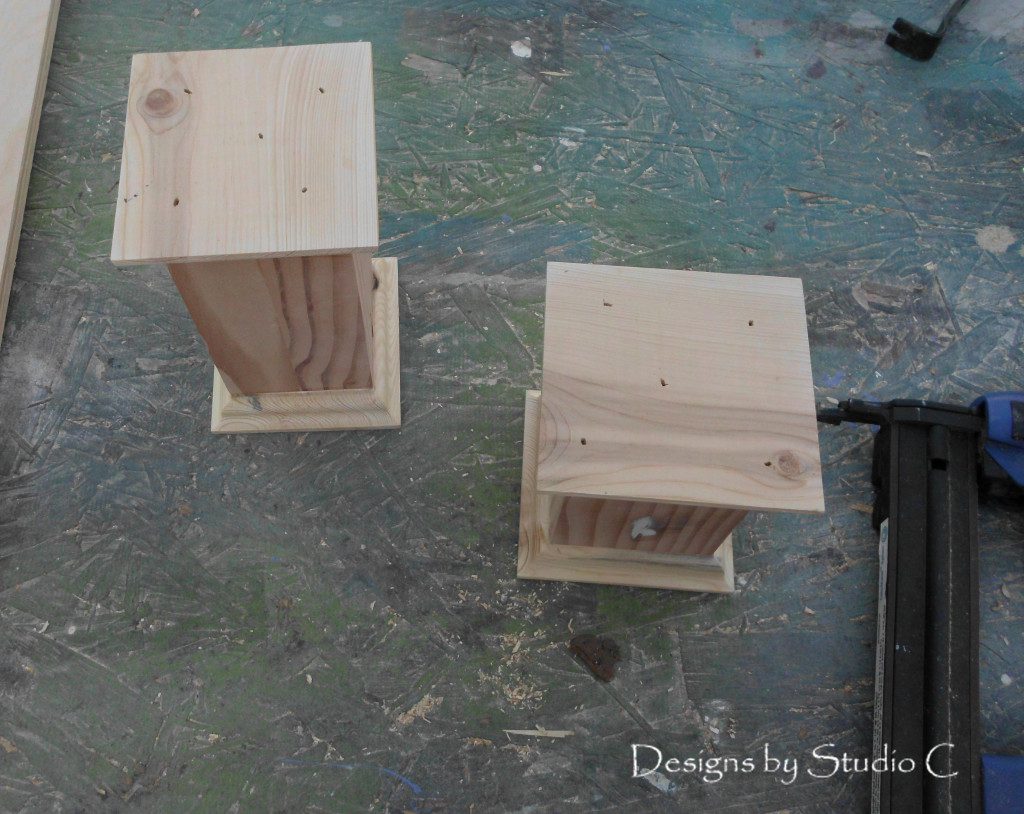
They can be finished however you desire – I chose to paint the top and bottom of mine then wrap the center with scrapbooking paper.
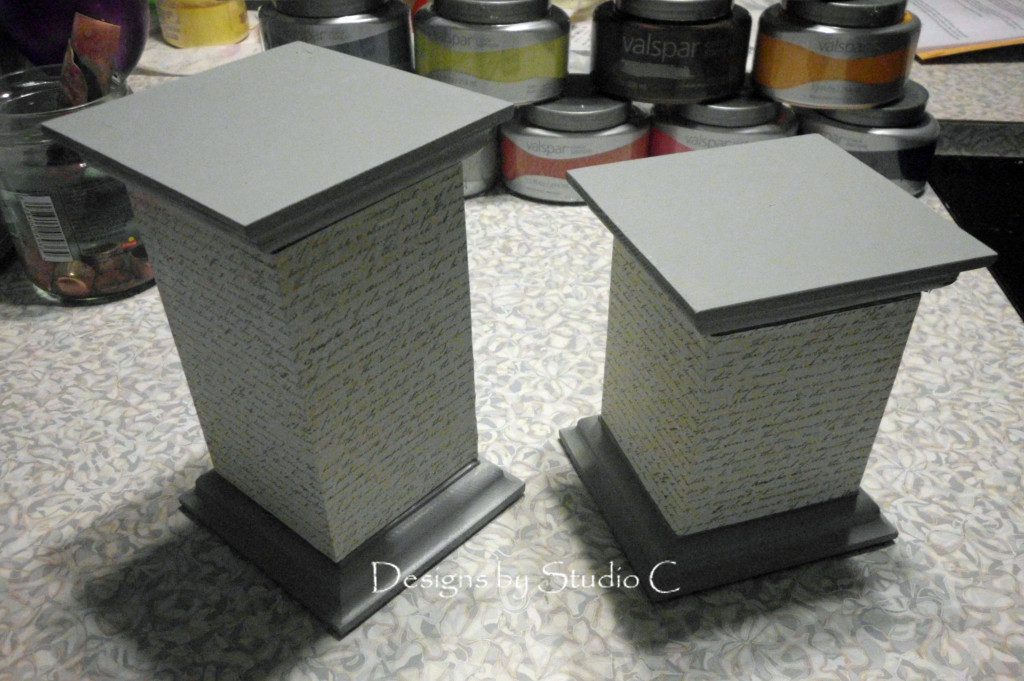
What do you think?
Have any questions about how to build decorative wood pedestals? Leave a comment below!


Great tutorial! These look wonderful and I would have never thought to make them. Stopping by from SITS. Love your ideas, and I’m a new follower.
Thank you so much – I really appreciate it! Stop by again soon!!
That looks easy! Even something maybe I could do. : )
Absolutely!! If you try it, let me know and I would be glad to help! Thanks for stopping by!!
[…] to Build Pedestal Bases.Build these decorative wooden pedestals for display of special items or even pillar […]