DIY Plans to Build a Coat Rack Post
Make it Unique by Adding Decorative Knobs
I honestly never thought I’d love a coat rack as much as I love this one! Today’s plans are for the perfect accessory to help corral those backpacks, coats, scarves, etc.! These free DIY woodworking plans to build a Coat Rack Post is completely customizable by you!
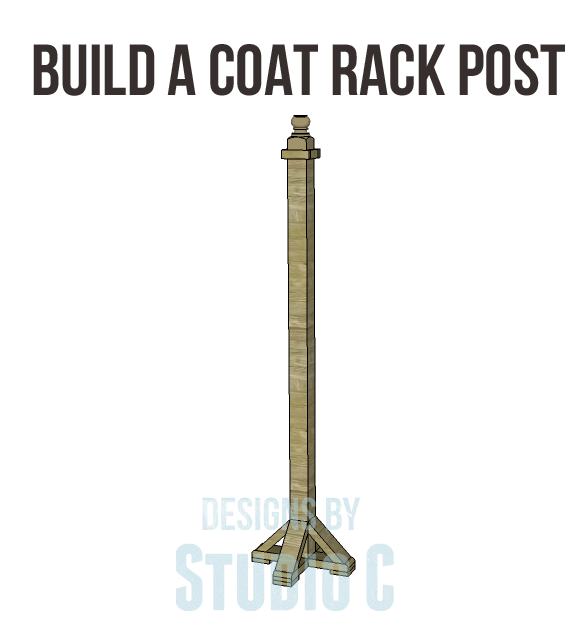
The plans are written to build the post only… It is up to your creative genius to add hooks and/or knobs to personalize the post for your space! I finished the post using a grey stain over a dark stain, then added glass door knobs and handles, plus metal shelf brackets to make this truly one of a kind!
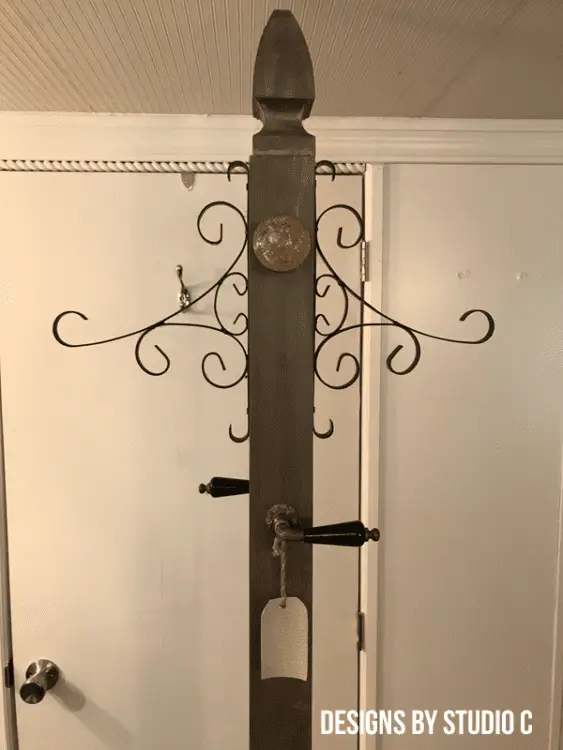
I found these vintage door knobs at Hobby Lobby –
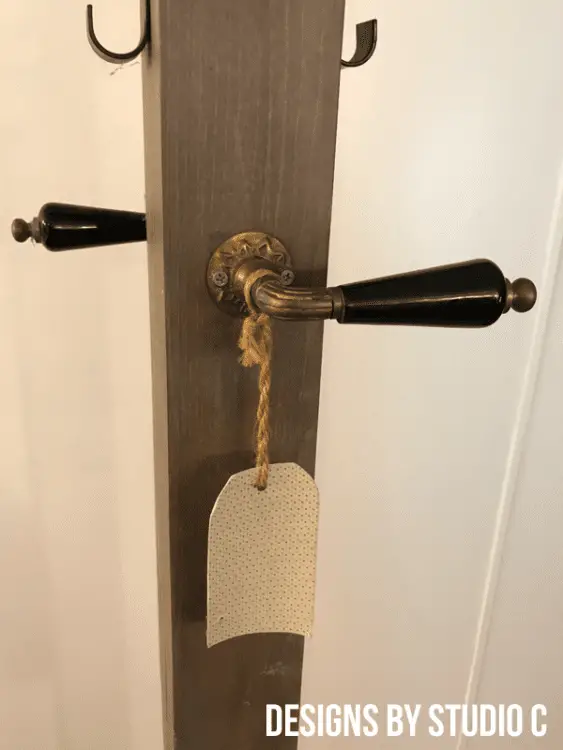
Whatever your taste, I’m sure there is something out there to fit your style!
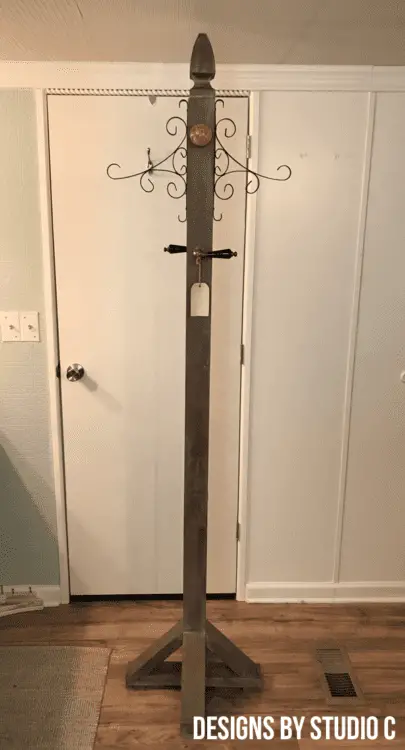
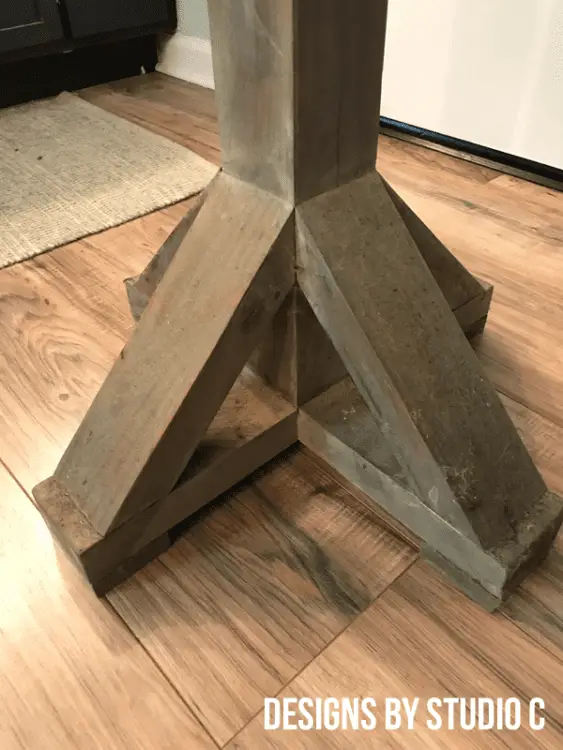
About the post itself:
The plans for the DIY coat rack post have been drawn for a 4×4 post. I live in an area where I cannot buy a post that is not chemically treated so if I need one, I generally make my own using two 2x4s. Using this method does change the dimensions of the post to actually 3″ x 3″, and the width of the feet, legs, and supports will have to be altered to reflect this change. (The length will stay the same!)
Materials:
- 2-1/2″ pocket hole screws (<– affiliate link!)
- 1-1/4″ brad nails (<– affiliate link!)
- Post cap or top
- Finishing supplies
Lumber:
- 1 – 4×4 post at 8′ OR 2 – 2x4s at 8′
- 1 – 2×4 at 8′
- Scraps of 1×3
- Scraps of trim
Cut List:
- 1 – 4×4 post at 75″ – Main Post
- 4 – 2×4 at 7-3/4″ – Legs
- 4 – 1×3 at 3-1/2″ – Feet
- 4 – 2×4 at 10″ – Supports
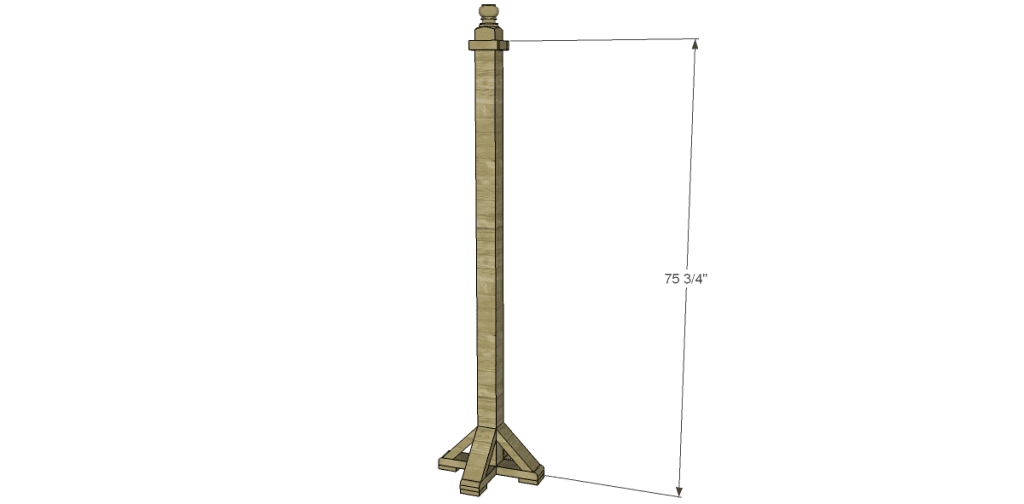
Step One
When I constructed my post, I sanded each piece prior to assembly. I find it much easier to do it this way than trying to sand in a ton of little nooks and crannies!
Cut the post to length.
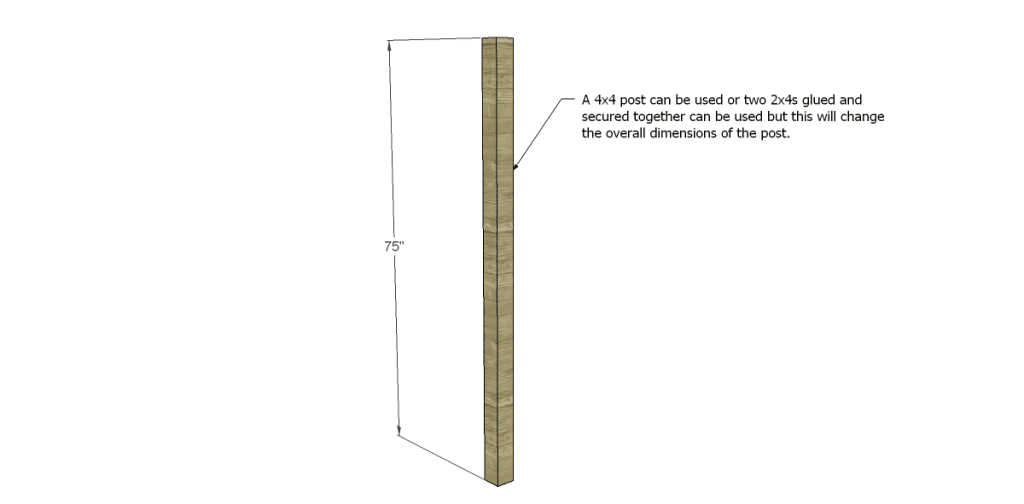
Step Two
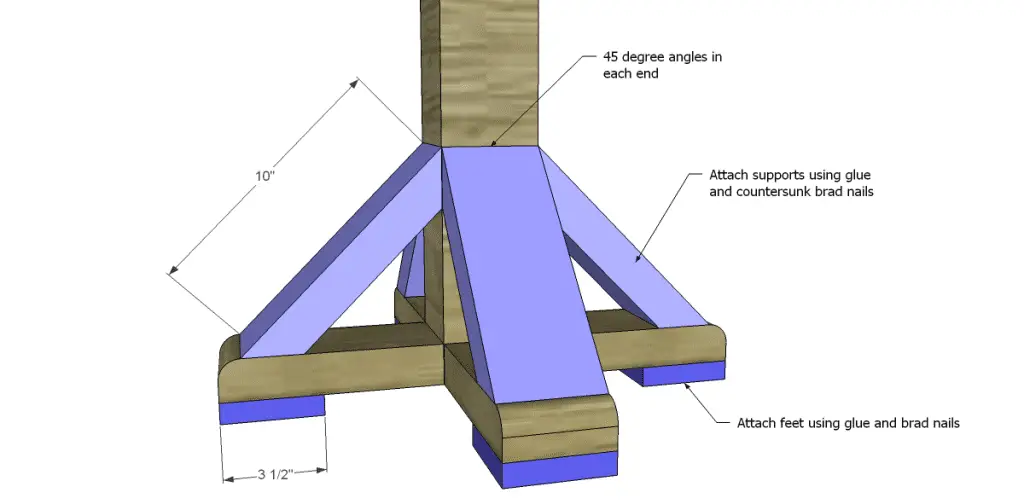
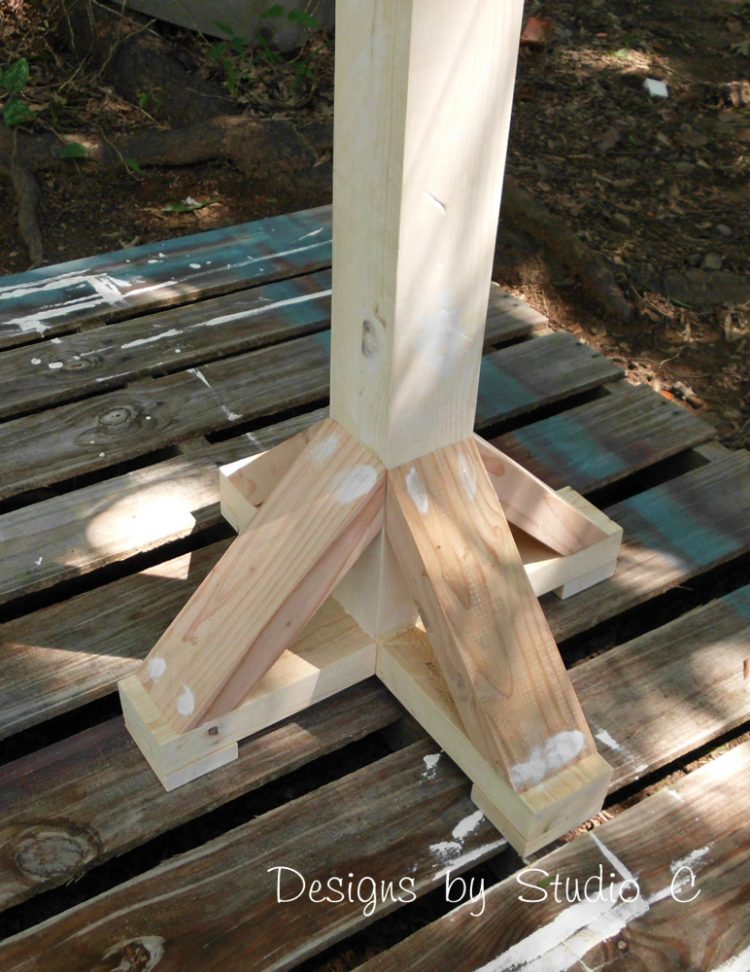
Cut the pieces for the legs and drill pocket holes in each end. Attach the legs to the bottom of the post with the pocket holes facing down, then secure using glue and 2-1/2″ pocket hole screws. The outer top edge of the legs can be rounded off using a router or sanded so the edge isn’t so sharp!
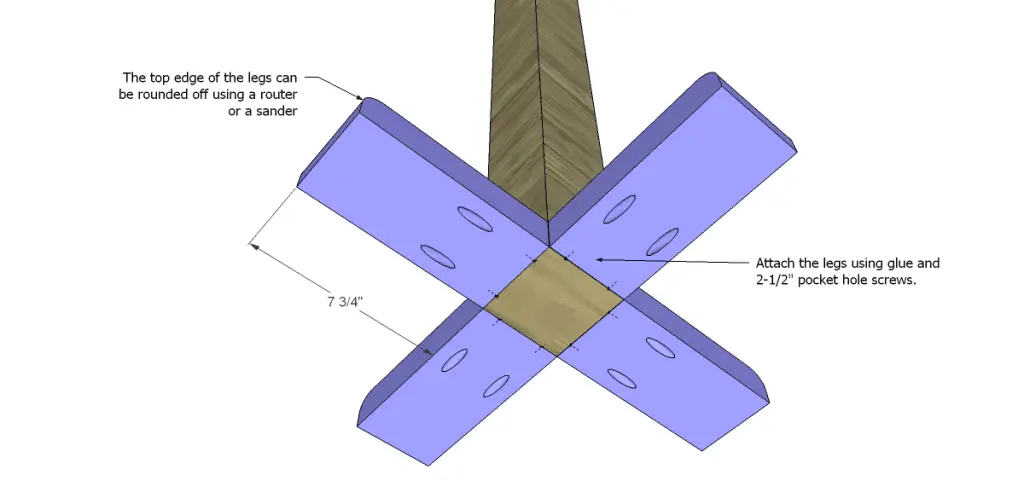
Step Three
Cut the pieces for the feet and the supports. Cut a 45 degree bevel in each end of the supports. Attach the feet to the bottom of the legs using glue and 1-1/4″ brad nails. Position the supports so the bottom edge rests approximately 1/2″ from the edge of the leg. Secure in place using glue and 1-1/4″ brad nails through the pieces into the legs and main post.
Step Four
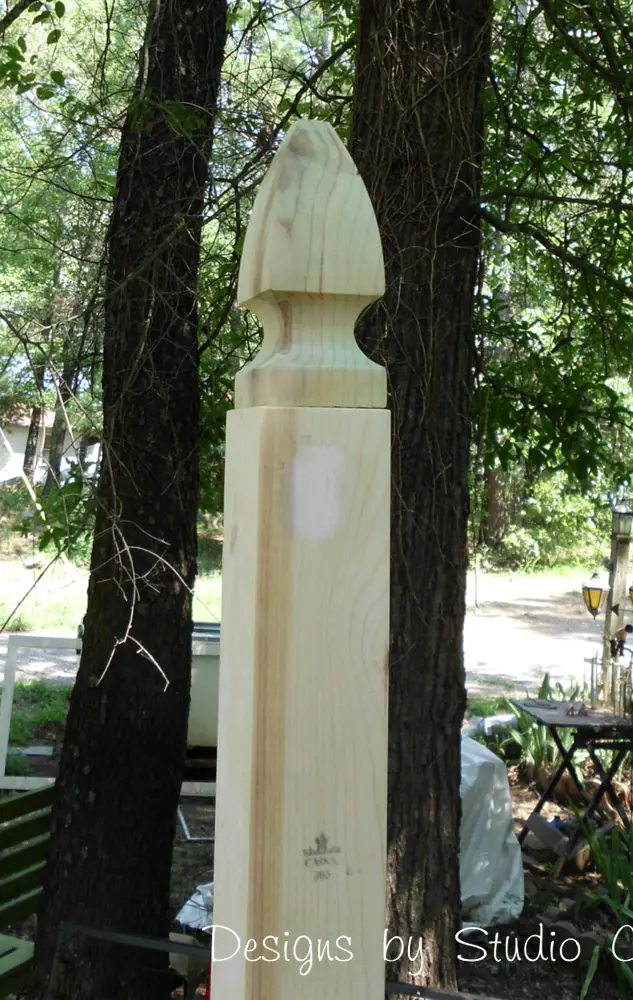
Drill a pilot hole for the cap at the top of the post. Put a little glue on the top of the post then insert the cap screw and tighten in place. Add pieces of trim to the top, if desired!
Finish as desired!
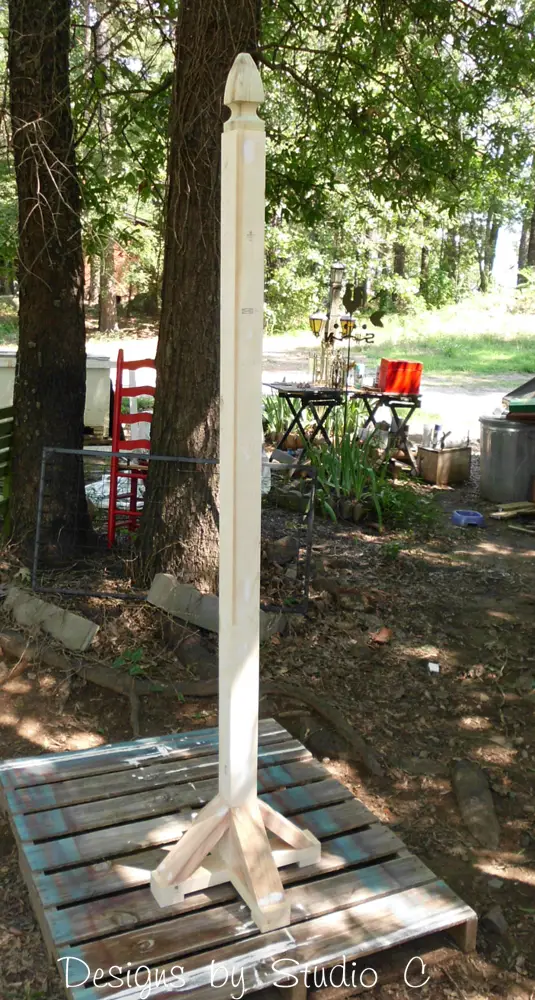

Have any questions about the free DIY woodworking plans to build a coat rack post? Leave a comment below!
Originally posted 2013-08-15 08:00:51.


Welcome to Collective Bias! i would love a coat rack!!!
Thank you very much! My dad asked if I am building a rocket ship and my daughter told him that it was just a tall mailbox post! You can bet I won’t let either of them hang their coats on it – Ha ha!!
I wish I was handy enough to build something like this – so cute! Just stopping by to welcome you to the Social Fabric Community!
Thank you so much! You can do this – really!! It is an easy build and I would be happy to walk you through it! Thank you for stopping by!!
I love love love this, I pinned it! Man I so hope I can get the dragon fly hooks here in Australia they are so cool!
Thanks so much! I really want the dragonfly hooks, too! Thank you for stopping by!
A very easy project, also an elegant one. Mine is almost complete and I love it
Hello, there! Thank you so much! It really is an easy project and I loved customizing mine with the knobs and handles – which reminds me that I need to post a photo! Thank you for stopping by!
[…] there such a thing as having too many coat racks? I mean, I already have two: a Coat Rack Post with various knobs and handles, and the Livingston Coat Rack also inspired by Pottery Barn, but I […]
[…] this coat rack post and attach some fun hooks. Its that easy. Here are the free woodworking […]