How to Install Peel and Stick Tile on the Wall
Install a Beautiful (and Super-Easy!) Backsplash with Little Effort
When I was remodeling my kitchen, I had the hardest time deciding on tile for the backsplash. There are so many options, and it can be quite pricey depending on the tile. After careful consideration, I decided to install peel and stick tile on the wall because it was a bit gentler on the budget. I was a bit hesitant because peel and stick tile can look cheap but this one didn’t!
Peel and stick tile has come a long way… It is easy to install, looks fabulous and is really inexpensive – not to mention the time saved by NOT having to wait for grout to dry! The adhesive is crazy strong, and I had no problem installing the tiles.
There are a few steps involved for a successful and long-lasting installation of a peel and stick backsplash. I will break down the steps I followed to help make the process smooth and error free for you!
Choice Matters
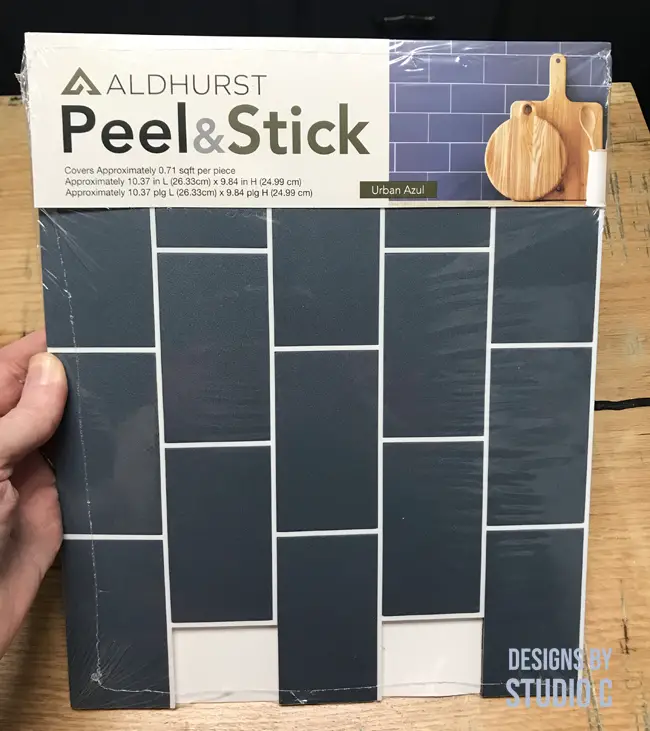
The tile I used is Aldhurst in Urban Azul. The tile pieces measure approximately 10-3/8″ x 9-7/8″, and the entire back of each tile is covered with adhesive. It’s not square or rectangular, it has pieces that stick out so the tiles will “lock” together as they are installed which will eliminate vertical seams.
To Cut Peel and Stick Tile
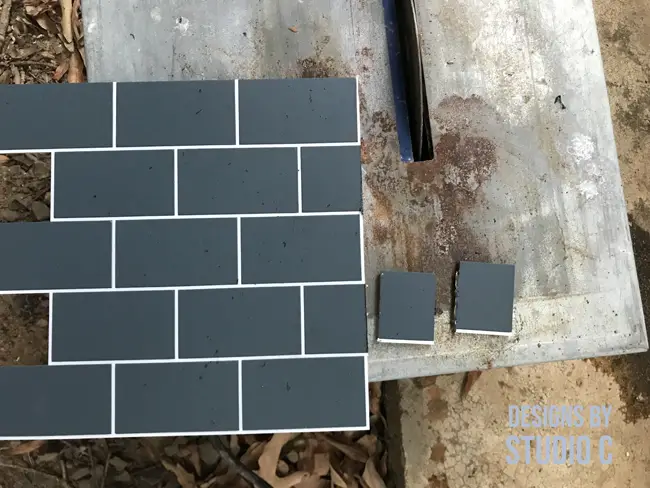
To install this peel and stick tile in the corners of the wall, the pieces that stick out needed to be cut off so that the tiles fit flush. The tile I used needed to be cut with a wet tile saw (<– affiliate link!), or cut with a rotary tool. The tile was easily cut with the saw but I did notice some sort of metallic layers in the tile. It wouldn’t show, and would also be covered by the silicone caulk I planned on using in the corner.
Prepare the Wall
The most important step is to start with a clean wall, free from debris and deglossed. The easiest way to ensure that the wall is prepared is to thoroughly clean with dishwashing liquid (Dawn is my favorite!) and water. Wash the wall well, and wipe with a clean towel then let it air dry for about an hour.
A Template Makes Alignment Easier!
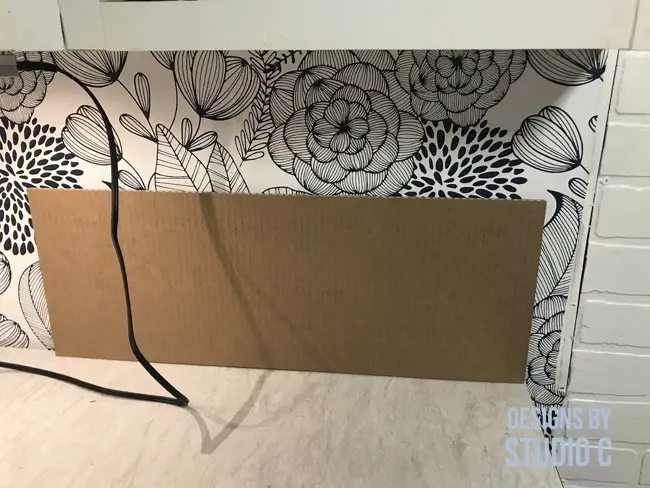
I cut a template about 1/2″ shorter in height than the tile, and double the length of each piece. The template would do two things: create a visually straight line along the countertop, and act as a guide for trimming the wallpaper I installed. Since the template is actually shorter than the tile, the tile would cover the raw edge of the wallpaper.
Setting the Starting Point
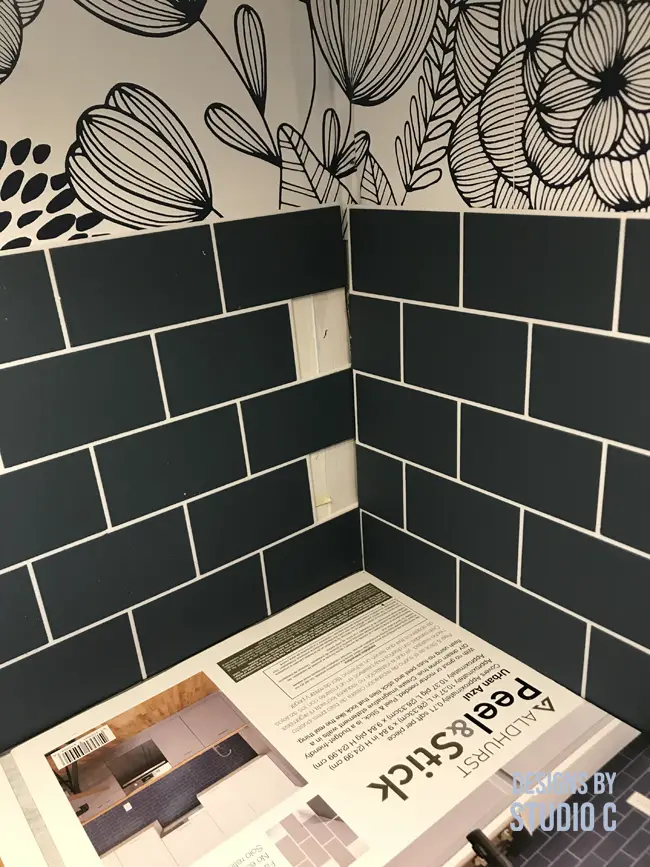
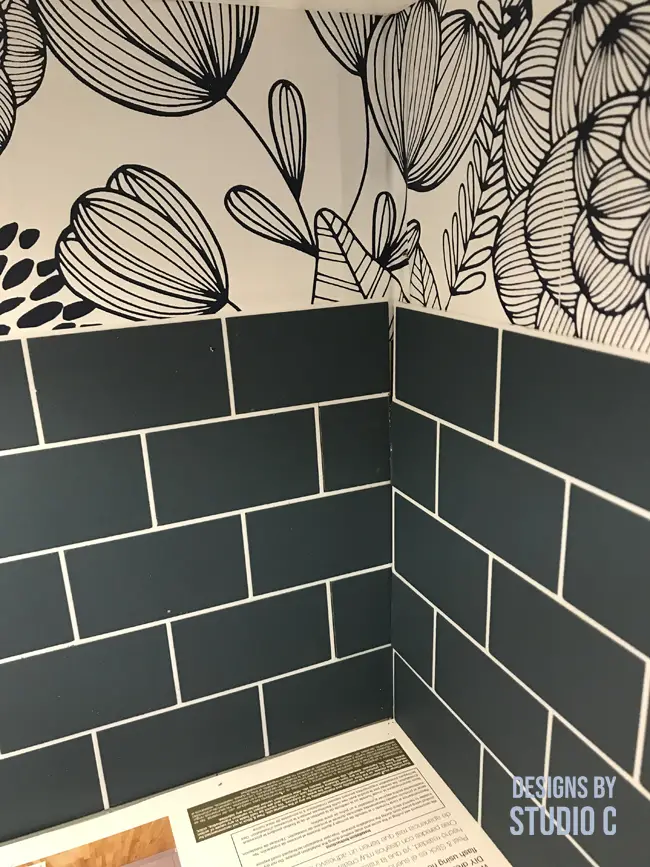
Install the peel and stick tile in the corners where the walls meet to begin then work outward. Remember that the corner of the wall may not be 90°, and that any gaps or overlap can be hidden with caulk (or appliances!).
The tile I purchased said to remove the backing and spray the adhesive with soapy water so that there is a bit of repositioning time. This was a bad idea! It actually neutralized the adhesive and the piece fell off the wall behind the cabinet (that was fun trying to get it out!). If the wall is properly prepared and there is a guideline for the tile, you won’t need time to reposition the tile.
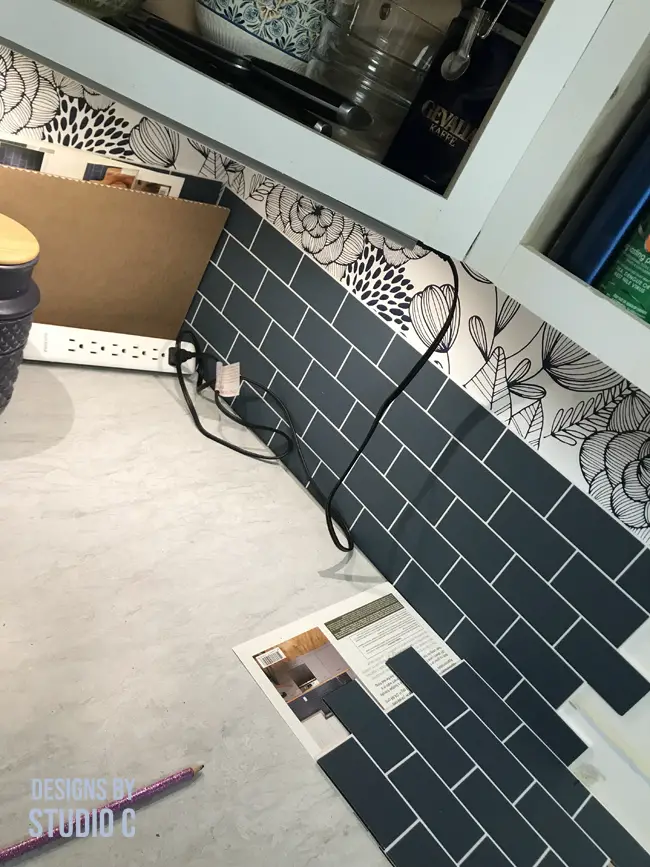
Because there was a gap between the walls and the countertop, I used the rigid packaging that came with the tile to bridge the gap so it would be straight. It worked perfectly, and any gaps can be filled with caulk.
Cutting Holes for Outlets or Switches
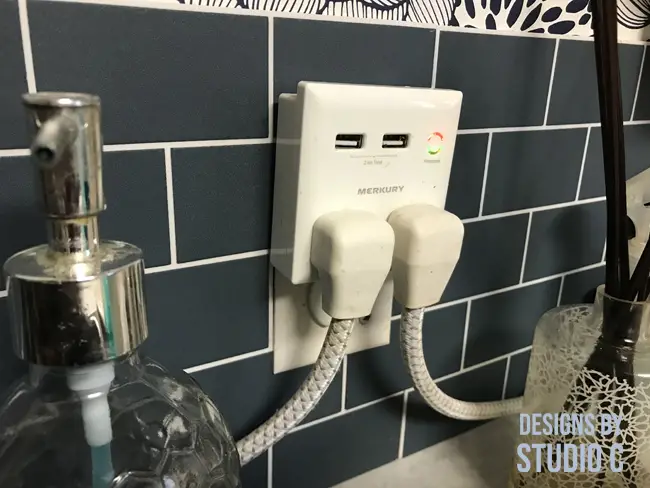
This is the fun part… just kidding. No, it isn’t. This is one of the parts of the process that I truly dread. I am always confident that I will mess this part up. I only needed to cut the tile for one outlet and after some careful math, I was able to mark the position of the outlet. I drew the area to be cut out a little smaller than it needed to be. Why? Because it left a bit of wiggle room in case my math was off and I wanted to make sure that the outlet plate covered the opening.
The hole can be cut with a rotary tool or by drilling holes in the inside corners of the rectangle, then using a hacksaw with a handle (<– affiliate link!) to cut the opening. This actually worked really well, and the outlet was located perfectly!
The Finishing
I applied a narrow bead of silicone caulk (<– affiliate link!) in the corner, at each end where the tile was cut and where the tile met the countertop. The caulk not only keeps water from seeping behind the countertop but also adds a finished and professional look to the tile. Make sure to use a caulk for kitchen and bath!
A Few Final Tips:
- The tile may not line up correctly in a corner due to walls never being a true 90° angle. Just make sure the tile is visually straight.
- For best results with the peel and stick backsplash, thoroughly clean the wall (and DO NOT spray the adhesive with soapy water – it doesn’t work).
- As with anything, caulk is your friend!
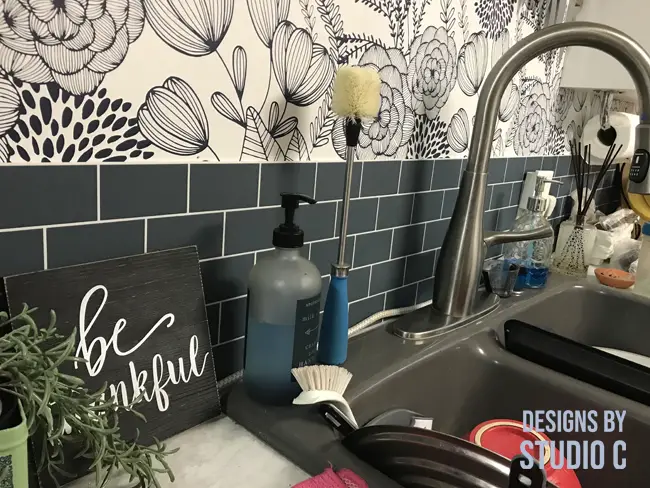
I’m so happy with the look of the tile! Have questions or additional tips on how to install peel and stick tile on the wall? Leave a comment below!


[…] Our current kitchen used to be a small bedroom, so the countertop area is rather small, and the same goes for the area for the cooktop. Fortunately, I’m going to be able to buy only one sheet of plywood and one sheet of laminate to make both surfaces! The hardest part was choosing tile for the backsplash! […]
[…] decorative element to your kitchen. Choose from a wide range of materials, such as ceramic tiles or peel-and-stick options, that suit your style and […]