A Fabulous Planter Project from The Home Depot
Home Depot Do-It-Herself Workshop Hanging Gutter Planter
Thank you to The Home Depot for sponsoring this post and allowing me to make this awesome planter on their behalf! I was compensated to create the project but all opinions expressed are my own.
Previously, I mentioned that The Home Depot offers some really great free workshops to help you improve your skills, learn new techniques and make really cool projects. Today, I am partnering with a few blogger friends (and The Home Depot) to share this month’s awesome Do-it-Herself workshop project – a Hanging Gutter Planter!
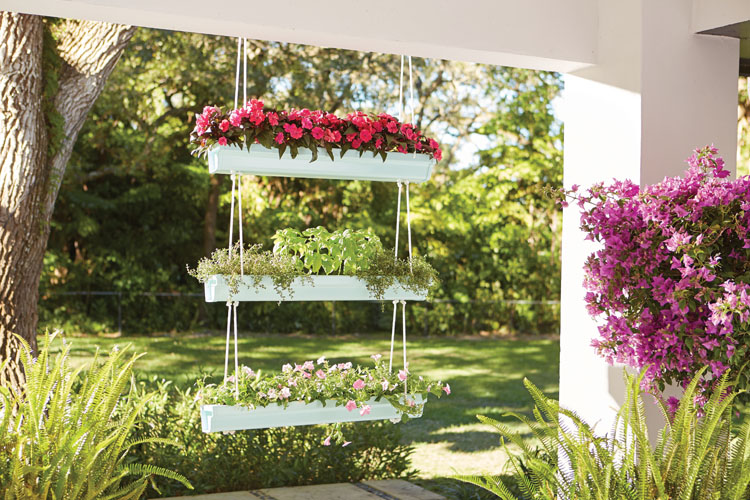
The workshop happens once a month at all locations from 6:30 to 8:00 pm. (You may have to purchase the materials ahead of time – this varies from store to store!)
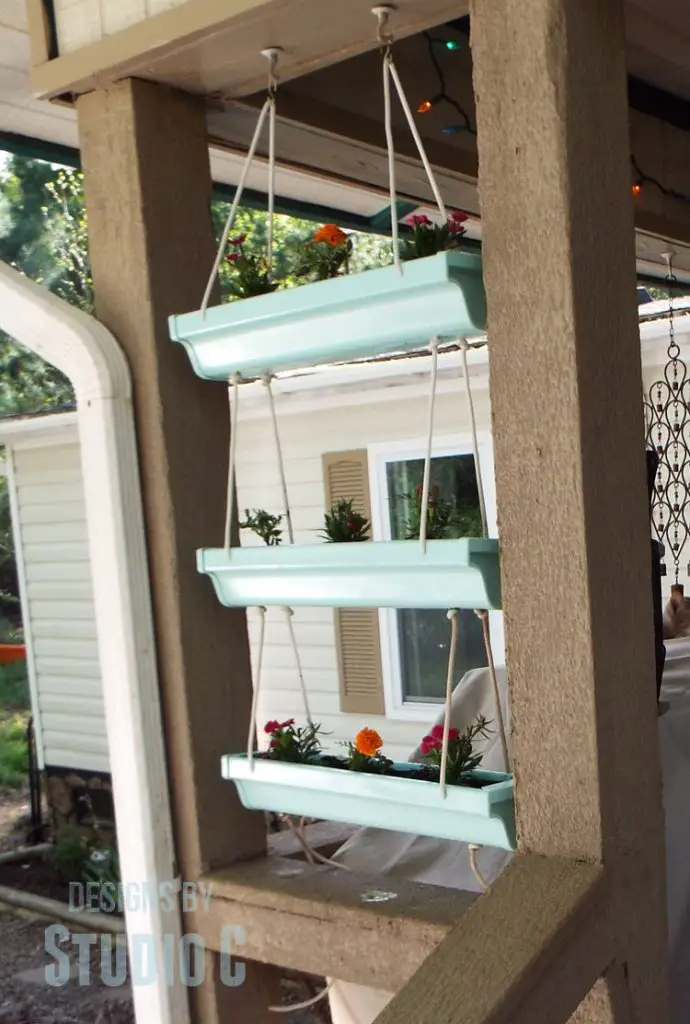
Materials:
- 1 – 10′ vinyl gutter section
- 3 pairs of gutter end caps
- Spray paint
- 20′ of 1/4″ nylon & polyester rope
- 2 – 1/4″ x 2″ S hooks
- 2 – 3-3/4″ screw-in plant hooks
- Narrow pieces of weed barrier, optional
- Soil and plants of your choice
Tools needed:
- Miter saw, jigsaw or hand saw
- Drill
- 1/4″ & 1/8″ drill bits
- Scissors or utility knife
Step One
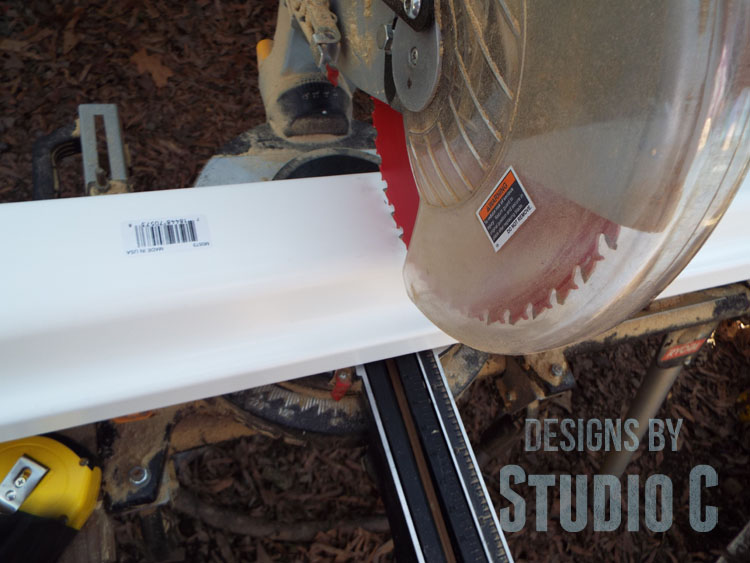
I cut the gutter into 22″ sections to fit between the posts on a narrow part of my porch. I used a miter saw to cut the sections though a jigsaw or of course, a handsaw can be used as well.
Step Two
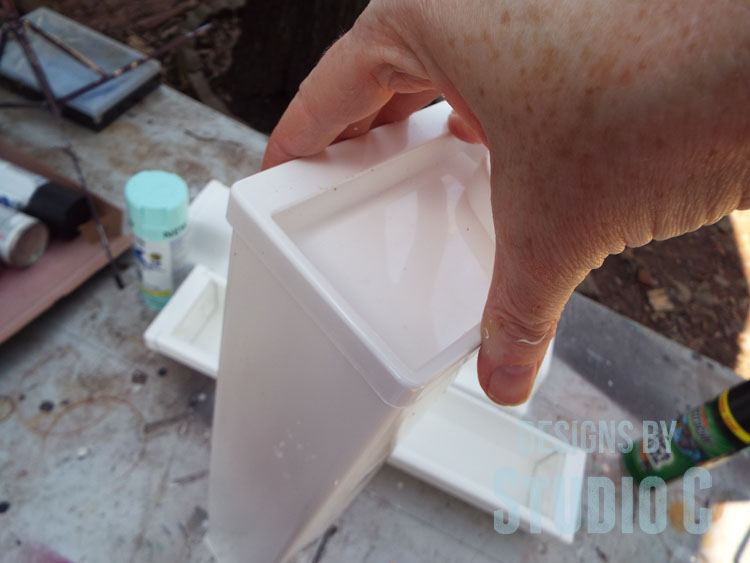
I added the side caps to each section, then spray painted the gutter pieces.
Step Three
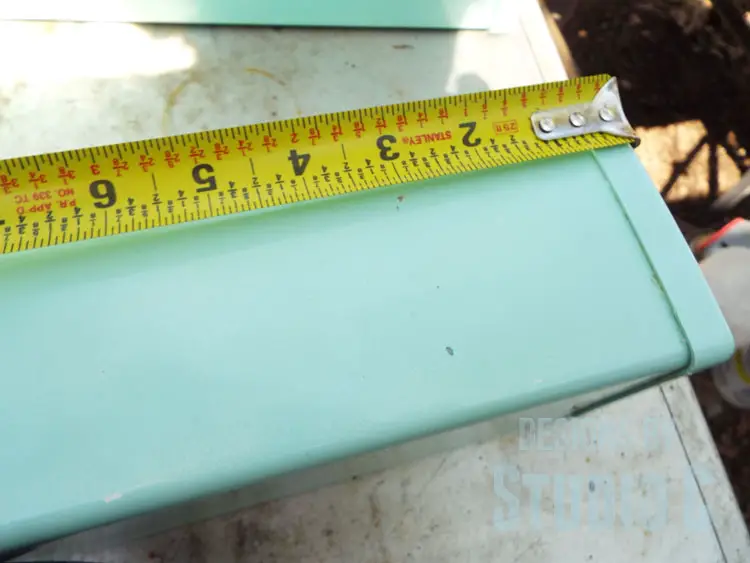
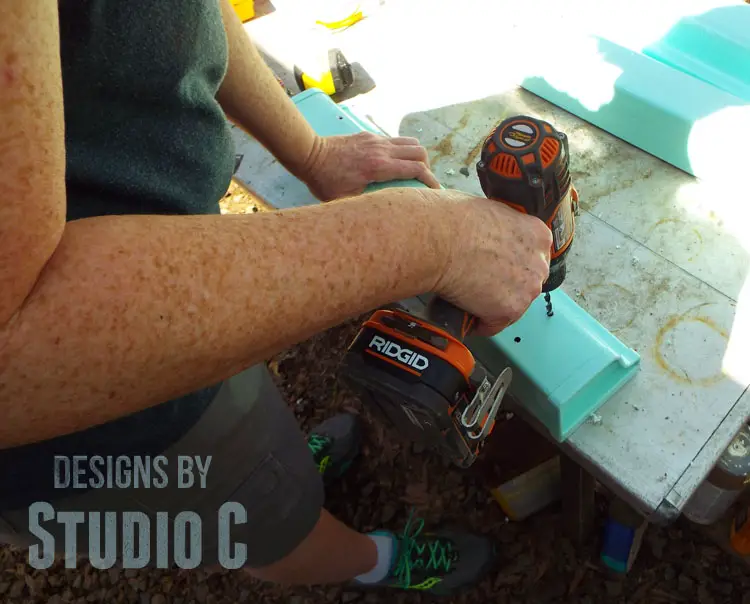
I drilled four holes on the bottom of each planter located 3″ in from each side and 1/2″ from the edges. I also drilled a hole on each end of the front and back of the gutter. I used a smaller drill bit to drill random holes in the bottom of each gutter section for drainage.
Step Four
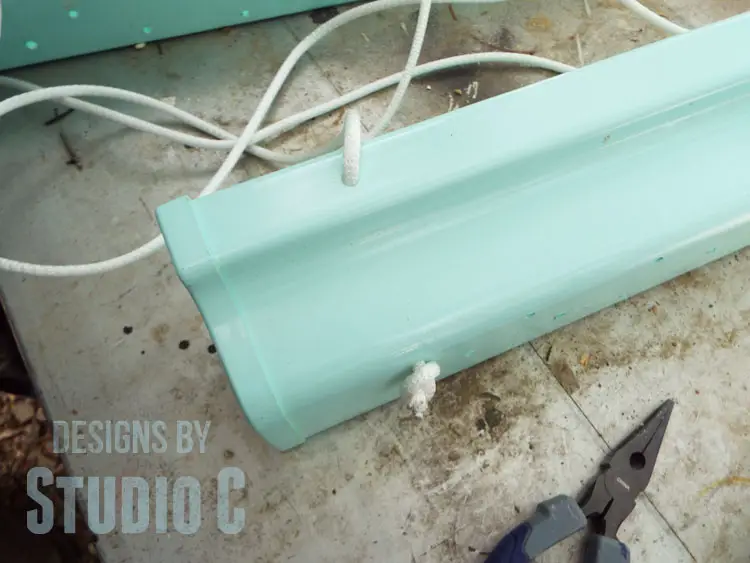
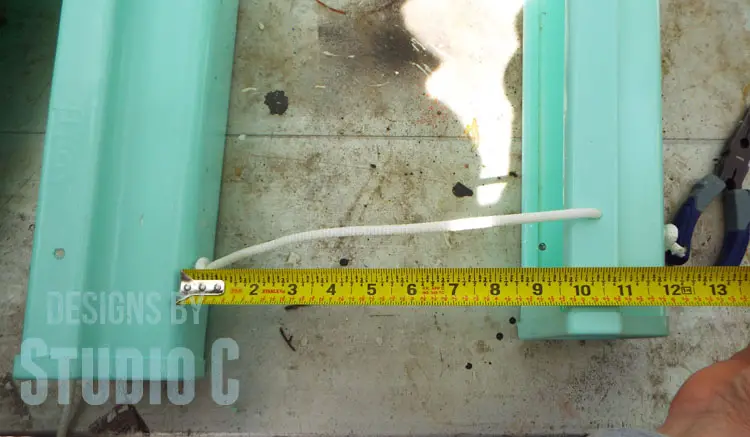
I cut the rope in half. and tied a knot in one end of each piece. I threaded the rope through one of the holes on the bottom of a gutter section and out of the adjoining hole in the front. I measured 10″ up from the hole in the front of the gutter section and tied a knot, then threaded the rope through the bottom of the next gutter section. Once the rope had been threaded through all three gutter sections, I looped the rope and continued back down the gutter pieces in the opposite direction on the back of the gutters.
Step Five
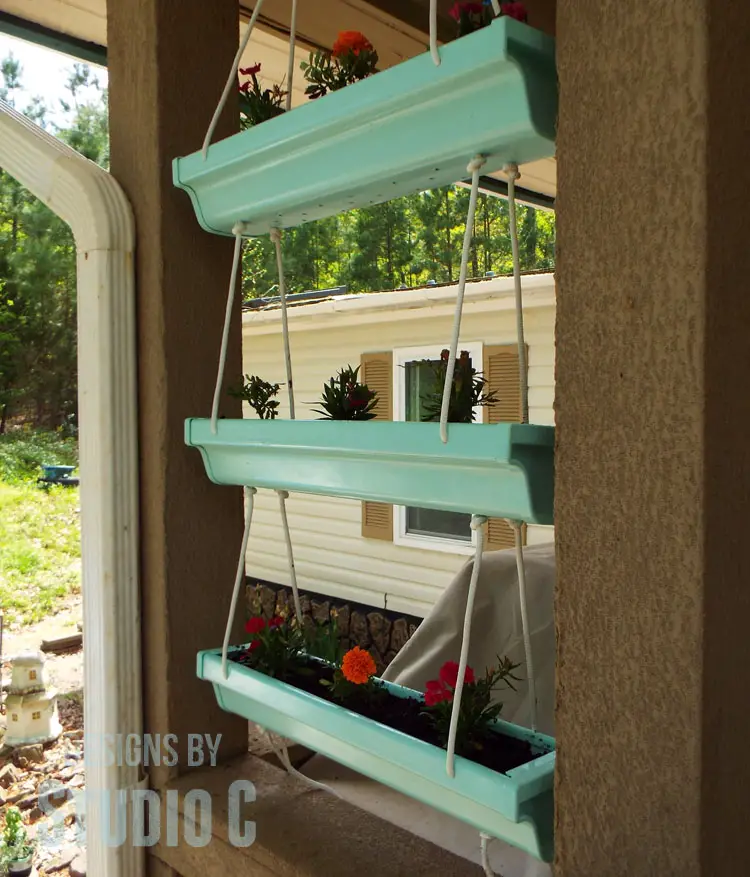
I installed the plant hooks in holes that were already drilled in the top of the opening and added the S hooks to the top loops of the rope, then I hung the S hooks on the plant hooks. While it was hanging (empty), I adjusted the space between the gutter sections so that the planter fit in the space.
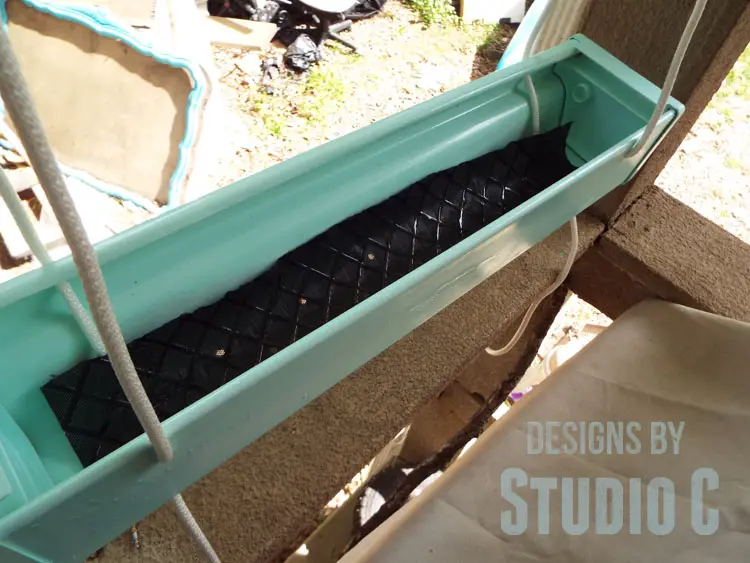
I added a narrow strip of weed barrier to the bottom of each gutter to keep the soil in place.
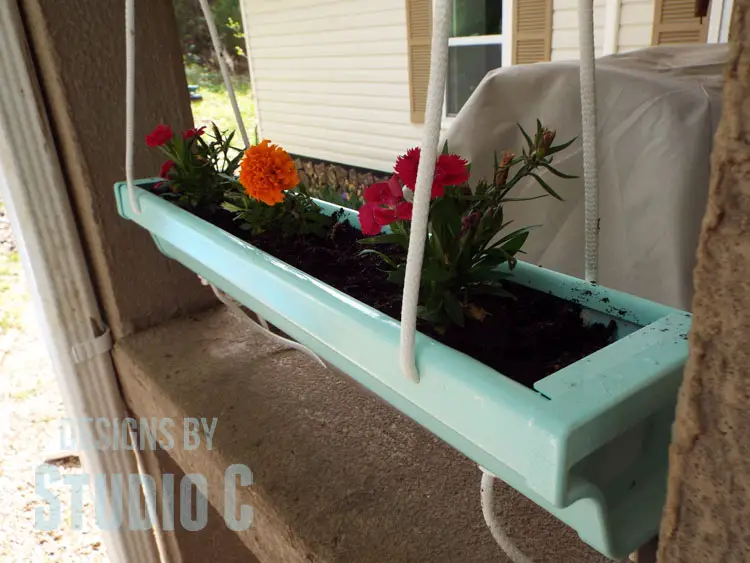
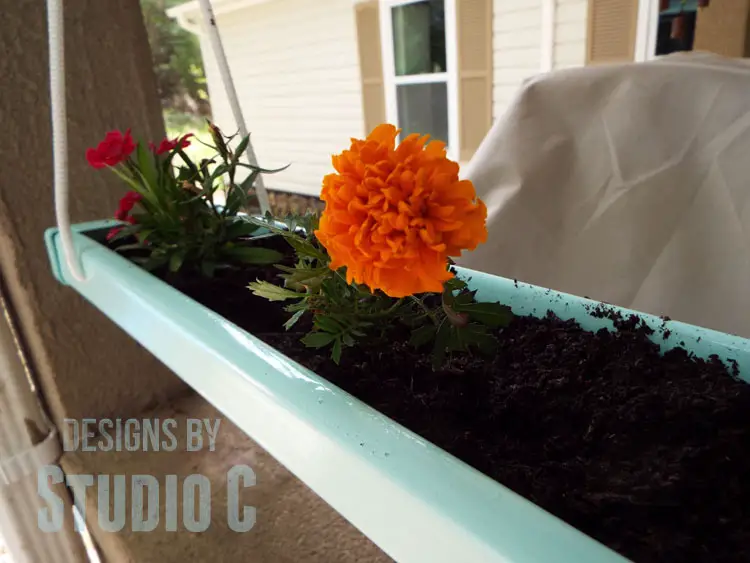
I filled each gutter section with soil then planted pretty pink Dianthus and orange Marigolds.
If you have a chance, take a look at the fabulous inspiration from the other party participants:
The Creative Mom | Her Toolbelt | The Contractor Chronicles | A Girl and a Glue Gun | Make It Love It | Live Laugh Rowe | My Fabuless Life | Place of my Taste | Hawthorne and Main | House By Hoff | Domestically Speaking | My Repurposed Life | Restoration Redoux | Cupcakes and Crinoline | All Things Thrifty | Lou Lou Girls | Reality Daydream | Over The Big Moon | Pretty Providence | The Rustic Life | A House and a Dog
The Home Depot offers other workshops for all ages and skill levels where you can improve your DIY skills, learn new techniques and how to make easy home repairs.


[…] Designs By Studio C […]
[…] Gun // Make It Love It Domestically Speaking // My Repurposed Life // Restoration Redoux //Designs By Studio C Cupcakes and Crinoline // All Things Thrifty // Lou Lou Girls // Reality Daydream //Over The […]
awww, I love the color of your hanging gutter planter Cher! I left mine white… but now I’m thinking I could have gone with a pastel color. 🙂
gail
Thank you, Gail! I think it is the same color The Home Depot used for their planter but I loved it! 🙂
[…] Life Place of my Taste Hawthorne and Main House By Hoff Domestically Speaking My Repurposed Life Designs By Studio C Cupcakes and Crinoline All Things Thrifty Lou Lou Girls Reality Daydream Over The Big Moon Pretty […]
I love the mint color! Looks like a super fun project
Thank you so much, Shea! I do, too, and I am trying not to go overboard and spray paint everything that color! 🙂
I love the blue paint you picked… so cute!!!
Thank you, Maryann! It is a fabulous shade, isn’t it?
[…] House By Hoff | Domestically Speaking | My Repurposed Life | Restoration Redoux | Designs By Studio C | Cupcakes and Crinoline | All Things Thrifty | Lou Lou Girls | Reality Daydream […]
[…] Speaking | My Repurposed Life | Restoration Redoux | Designs By Studio C | Cupcakes and […]
Cher, this is such a fun project! I love it, too cute! I saw it somewhere and had to tell you in person how much I liked it. I’ll have to check out the local Home depot store for the workshop. Good job my friend! XO-Wendi@H2OBungalow
Thanks so much, Wendi! The planter was fun to build and I love the way it looks on my porch!
[…] Speaking / My Repurposed Life / Restoration Redoux / Designs By Studio C / Cupcakes and […]
[…] Glue Gun | Make It Love It | Domestically Speaking My Repurposed Life | Restoration Redoux | Designs By Studio C Cupcakes and Crinoline |All Things Thrifty | Lou Lou Girls Reality Daydream | Over The Big […]
Cher it turned out great. I am a sucker for that light blue color, pretty!
-Shonee
Thank you, Shonee! I love that color, too, and am trying not to use it everywhere! 🙂
Your planters are so cute, Cher!
Thank you so much, MaryBeth! They are not as cute as yours! 🙂
[…] Taste Hawthorne and Main House By Hoff Domestically Speaking My Repurposed Life Restoration Redoux Designs By Studio C Cupcakes and Crinoline All Things Thrifty Reality Daydream Over The Big Moon Pretty Providence The […]
[…] Domestically Speaking | My Repurposed Life | Restoration Redoux Designs By Studio C | Cupcakes and Crinoline All Things Thrifty | Lou Lou […]
[…] Speaking | My Repurposed Life | Restoration Redoux | Designs By Studio C | Cupcakes and […]
[…] Taste Hawthorne and Main House By Hoff Domestically Speaking My Repurposed Life Restoration Redoux Designs By Studio C Cupcakes and Crinoline All Things Thrifty Lou Lou Girls Reality Daydream Over The Big Moon Pretty […]
[…] Designs by Studio C […]
[…] Designs By Studio C […]
[…] likes gardening, I wanted it to be gardening related! I had a piece of gutter left over from the Home Depot Rain Gutter Planter and created this DIY Rain Gutter Planter just for Mom. I added hanging clips and spray painted it a […]
[…] is designed, there is no place to set a pencil or a tape measure. After working on a project using rain gutters as a planter, I had quite a bit of the gutter left to create these DIY organizers for a miter saw stand. The […]