How to Drill Pocket Holes in Mitered Corners
Easily Build a Mitered Frame Using Pocket Holes
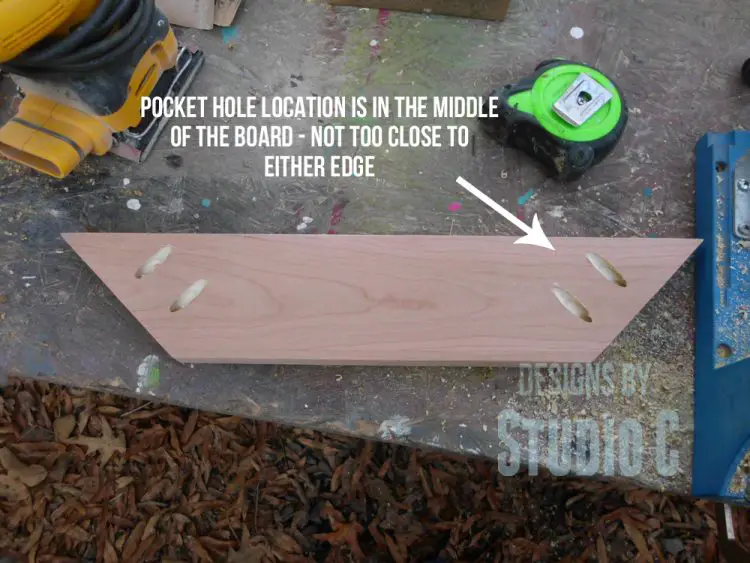
I’ve been asked a few times about how to drill pocket holes in mitered corners. It is really easy and can be done in two ways – with two pocket holes on one board or one pocket hole in each board that joins together. There are a few things to keep in mind when drilling pocket holes in any board, especially when creating a frame or door that will have a rabbet routed in the center for glass or a panel. With these tips, you’ll be drilling pocket holes in mitered edges like a pro!
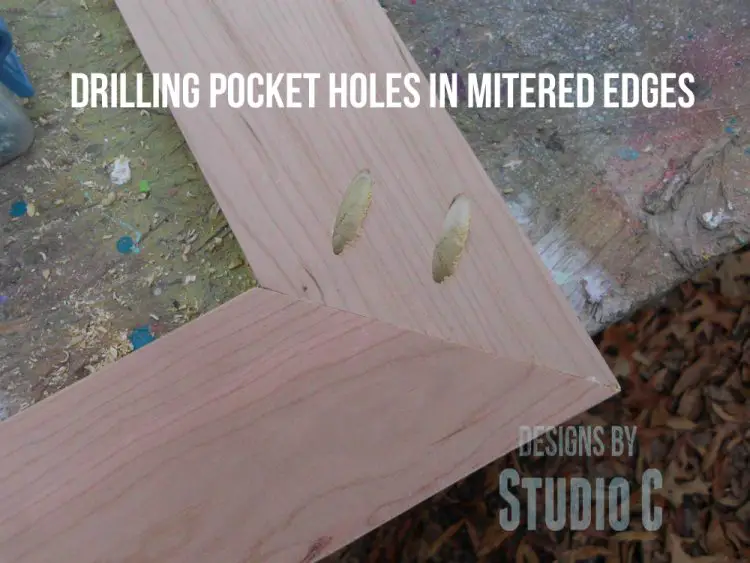
Start by cutting the pieces for the frame you’d like to construct. Do a dry fit (fit the pieces together to assemble your piece) to make sure everything lines up properly!
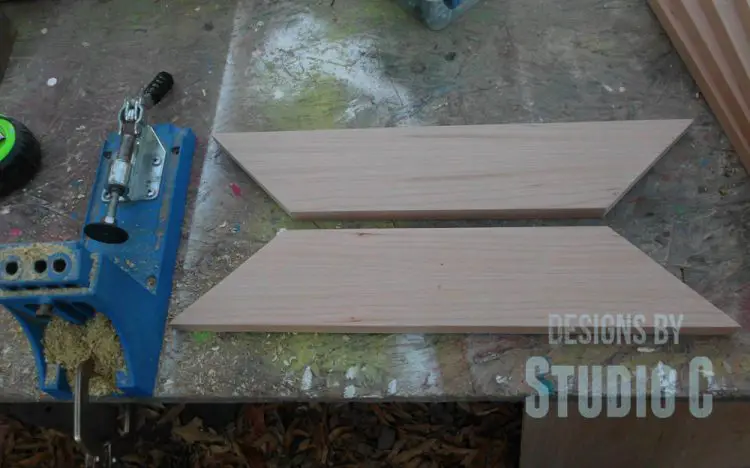
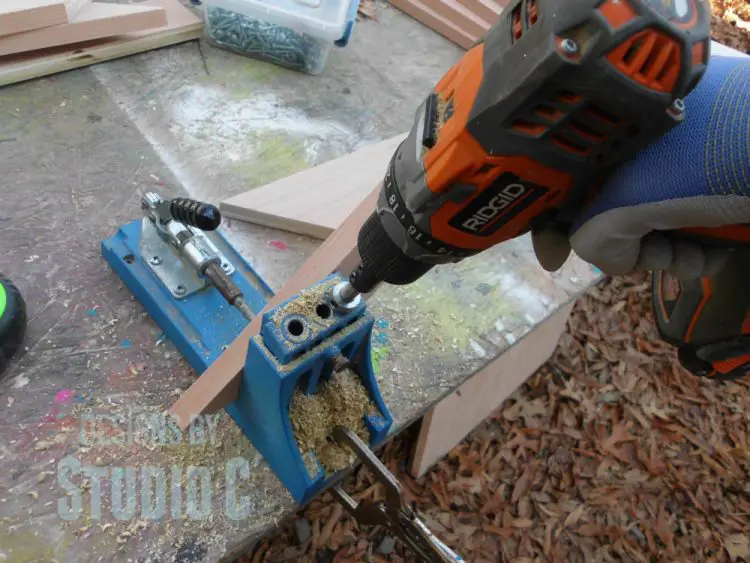
Determine where the holes will be drilled and secure the material in the pocket hole jig (<– affiliate link!). If the center area of the frame will have a rabbet routed for glass or another type of panel, locate the pocket holes so that the screws will not interfere with the router bit. For narrower material (1x2s, for example), the pocket holes will be located closer together.
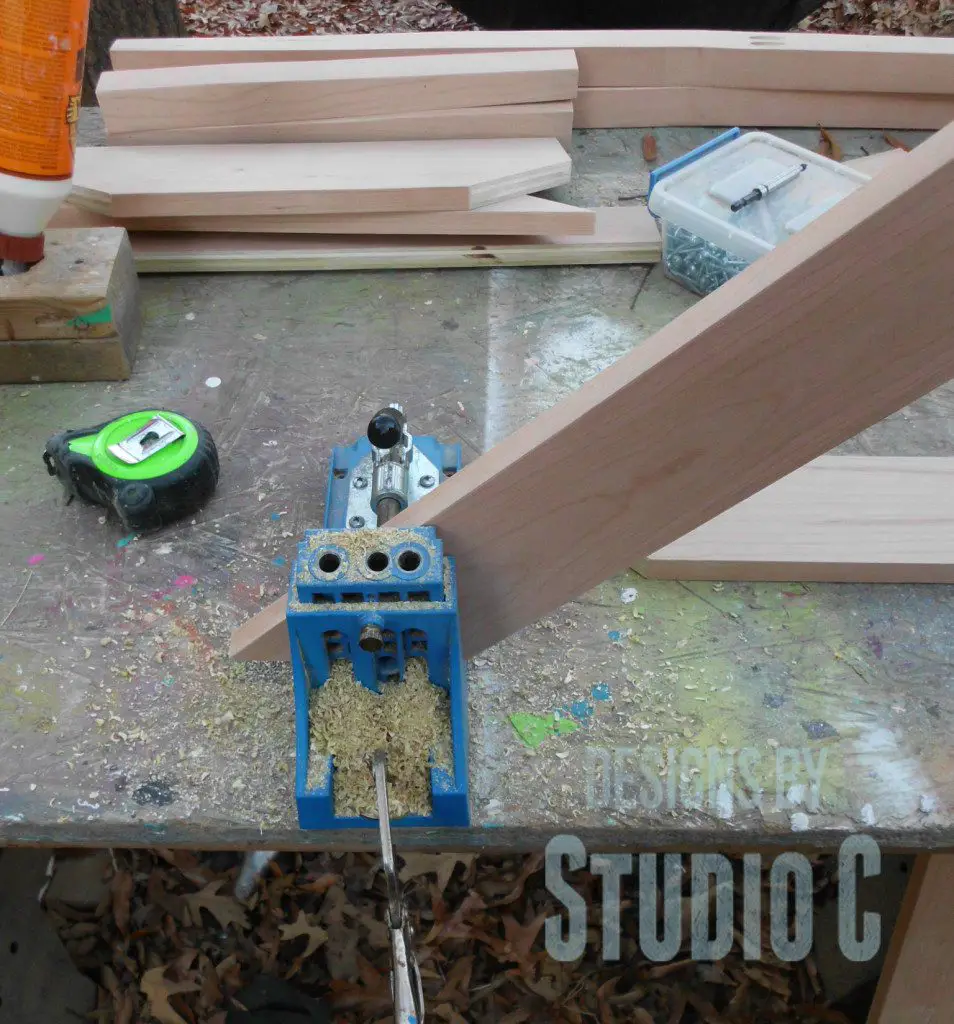
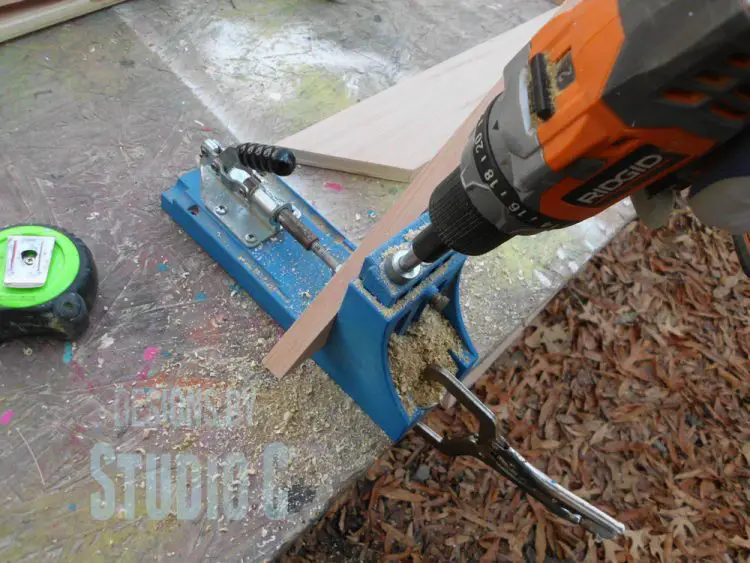
Apply a bead of glue along one piece then clamp the pieces together. This is where the face clamps (<– affiliate link!) come in really handy – they help keep the faces of the pieces aligned.
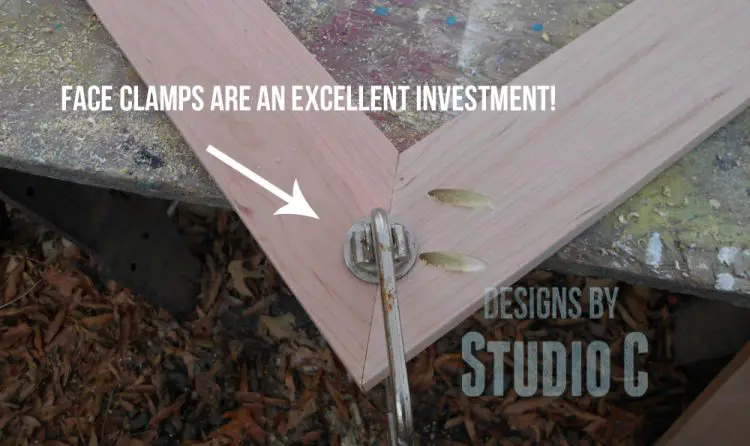
Drive the screws to pull the pieces together (but not too tight!).
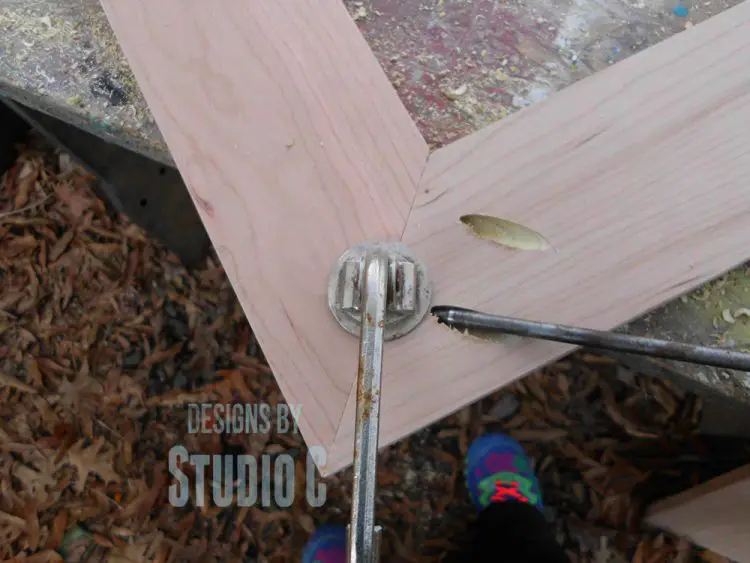
Fill the holes as desired, or use wood plugs designed for pocket holes. If using plugs, sand them flush to the workpiece.
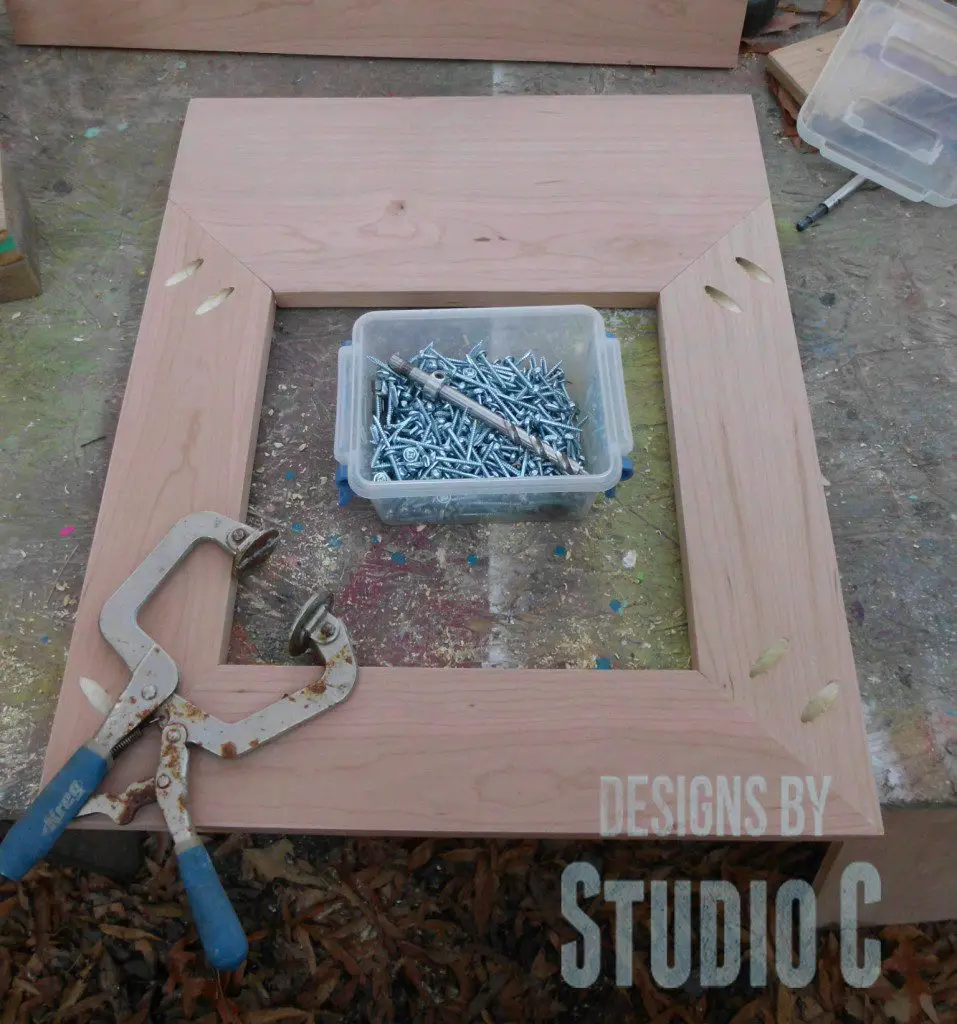
Easy-peasy, right? Now that I’ve shared how to drill pocket holes in mitered corners, will you make frames with mitered corners? Let me know if you need help or have questions – leave a comment below!!
Originally posted 2014-01-09 08:00:10.


Thank you! Now if I can figure out how to set up my kreg jig…from a visual learner, the enclosed instructions were not very helpful.
Hi, Naomi!
Send me an email at cher@designsbystudioc.com and I would be happy to help in any way I can!
Thank you for stopping by!!
Now that I know how, I guess I will have to try it.
I love the pocket hole jig – to me, pocket holes are the easiest form of joinery! If you ever need help with it, let me know!
Never really given it any thought Cher, but you make things sound so interesting I always have to check it out! 🙂
Thanks so much, Elle, I’m glad you stopped by!
Very good to know! I am not sure I can see myself doing this, but if my hubby needs help with this, I know where to go 🙂
LOL! You can do it, Vinma, I know you can!!
Oh, so those are mitered corners? A year ago. I tried and failed at making my own frame for an extra sized diploma. I needed this tutorial! You make everything sound so easy!!
Thanks so much, Jessica! If you ever want to try again, let me know and I would be happy to walk you through it!
Easy peasy! You always make things look so easy. 😉
Thanks, Elaine! I try and sometimes I wonder if I am making any sense!
I could actually use this to fix some stuff.
Absolutely! Pocket holes come in really handy for all sorts of applications! Thanks, Tammy!
rather than rout the inside rabbet with a handheld router after assembly, I’d cut the rabbet on a tablesaw, or router table before assembly, IMHO, easier and since it’s already done, you can line up your pocket holes accordingly.
Hi, Vin! That is a really great idea! It would be much easier to line things up – I guess I never thought of it that way! Thank you so much for sharing!
What’s the minimal width that the frame pieces can be (for typical 1x stock)?
Hi, Steve! I would think 1×3 would be the minimum. I’ve tried to drill pocket holes in mitered corners of 1×2 material and the pocket hole is visible at the sides. Hope this helps!
I’m a bit skeptical of the strength of this. I’ve read that pocket screw driven into end grain isn’t a good idea.
Hi, Joe! Technically, strength wouldn’t be an issue seeing that the mitered corners would only be on picture frames or cabinet face frames. They would have very little weight on them. Hope this helps! Thank you for stopping by!
[…] for the top frame. Cut the miters in each end at 45° maintaining the overall length dimensions. Drill pocket holes in the miters, and assemble the frame using glue and 2-1/2″ pocket hole […]
[…] holes in the pieces as shown. For a quick how-to on drilling pocket holes in mitered edges, click here. When drilling the pocket holes in the 1×6 pieces, note that there will be two right pieces […]
where do you get the jig from?
Hi, George! The jig is available at Home Depot or Lowe’s, and it is made by Kreg Tools. It can also be purchased online. Thank you for stopping by!
[…] the pieces for the door frames and cut 45° miters in each end. Drill pocket holes in the mitered edges as shown. Use a router and a 1/4″ rabbeting bit to cut a rabbet at the inside of the frame […]
[…] The miters are joined using glue and 1-1/4″ pocket hole screws to make an L-shaped foot. (Here is a tutorial on drilling pocket holes in a mitered […]
[…] have a few other posts that may be of interest: Build Crown Molding Shelves, How to Drill Pocket Holes in Mitered Corners, and How to Use a Shelf Pin […]
[…] holes in the pieces as shown. For a quick how-to on drilling pocket holes in mitered edges, click here. When drilling the pocket holes in the 1×6 pieces, note that there will be two right pieces […]
[…] the pieces for the seat supports. Cut the pieces to length, then cut 45° miters in each end. Drill pocket holes in each end. Secure the supports to the aprons using glue and 1-1/4″ pocket hole […]
[…] for the top frame. Cut the miters in each end at 45° maintaining the overall length dimensions. Drill pocket holes in the miters, and assemble the frame using glue and 2-1/2″ pocket hole […]
[…] the pieces for the door frames and cut 45° miters in each end. Drill pocket holes in the mitered edges as shown. Use a router and a 1/4″ rabbeting bit to cut a rabbet at the inside of the frame for […]
[…] The miters are joined using glue and 1-1/4″ pocket hole screws to make an L-shaped foot. (This tutorial on drilling pocket holes in a mitered edge will be […]