A Mounted Faux Deer Head Gets a New Backdrop
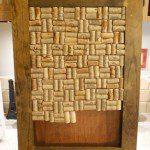
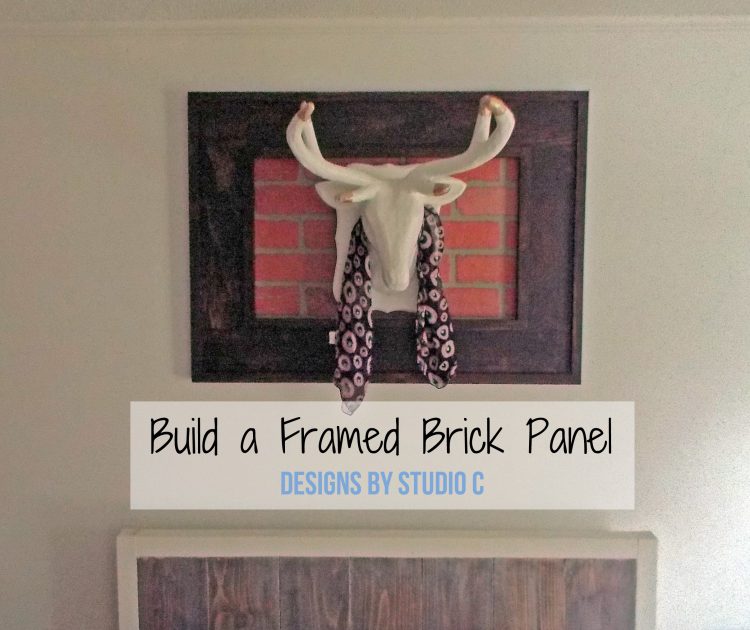
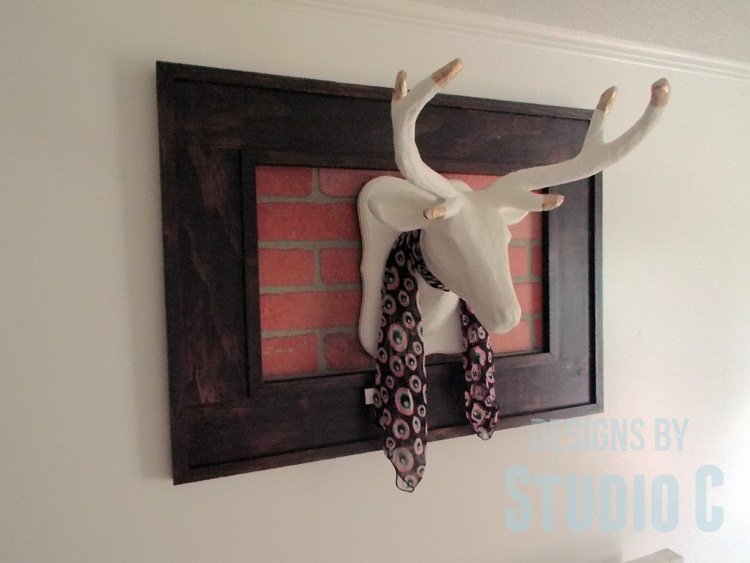
Hey there! I’m currently working on my daughter’s “new” bedroom (which used to be her big brother’s room). I realized that her faux deer head, Felipe Hornsworth the First, needed a little sprucing up so he wouldn’t blend in with the wall (check out how I transformed him!). I had some leftover scraps from the remodel, so I decided to create a framed brick panel to use as a backdrop for Felipe. It’s built just like the framed dorm mirror, but sized to fit the leftover brick paneling. I am super happy how everything turned out!
Materials:
- Wood Glue
- Fast-drying adhesive such as DAP® Weldwood Instant Adhesive (<– affiliate link!)
- 1/2″ screws
- Sandpaper (100, 150, 220 grits)
- Finishing supplies (primer & paint, or stain, sealer)
Tools Needed:
- Miter saw
- Circular Saw or Jigsaw
- Drill
- Sander
Lumber:
- Scrap 1x4s
- 3/4″ square dowel rods
- 1″ square dowel rods
- Scrap piece of MDF brick paneling
Notes about the project:
There is no cut list for the lumber because you will determine the size of the frame you want. The scrap piece of brick paneling I used measured 14-1/4″ x 22-1/2″ and I built the frame around it.
Instead of using square dowels, I ripped the trim pieces from a scrap 1×4. Only do this if you are comfortable cutting narrow pieces on a table saw.
See the plans for the dorm mirror frame.
Step One
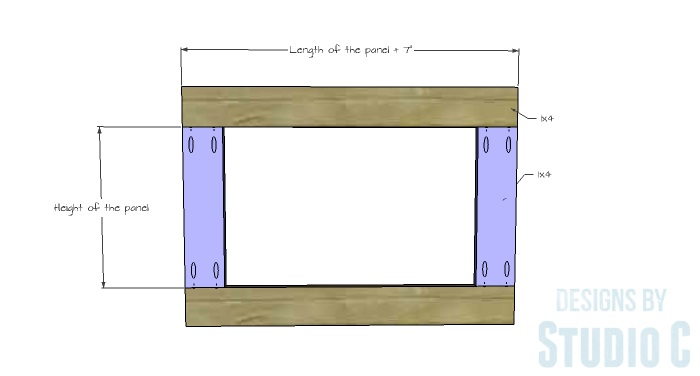
Determine the size of the center panel. Cut two pieces of 1×4 the same height as the panel and two pieces of 1×4 at the same length plus 7″ (3-1/2″ for each 1×4). Assemble the base frame according to the plans.
Step Two
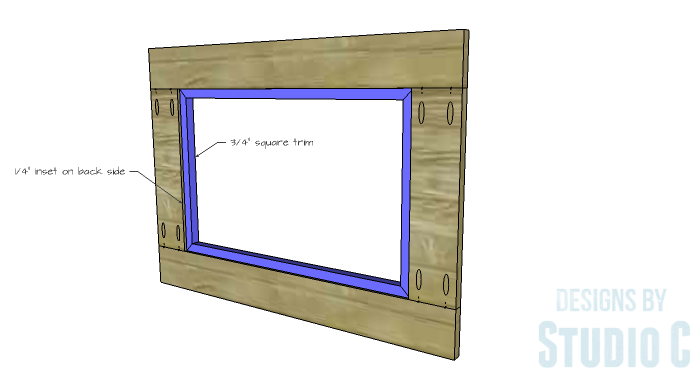
Cut the pieces of 3/4″ square dowels to fit the inner part of the frame. I used mitered corners. The pieces can be butted against each other, as well. The pieces will extend 1/4″ past the front face of the frame leaving a 1/4″ inset on the back. This will allow the center panel to fit flush with the frame.
Step Three
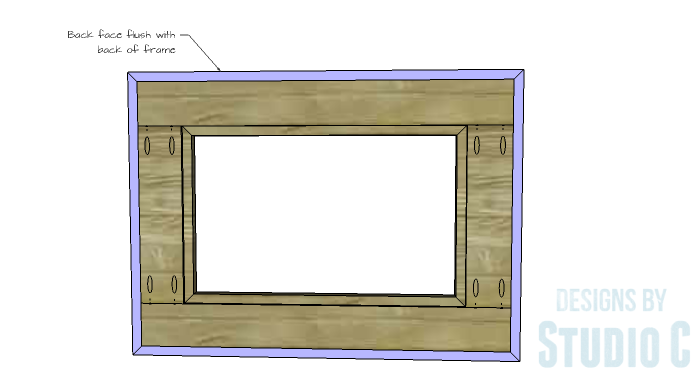
Cut the pieces for the outer edge of the frame from the 1″ square dowels. The back face of the dowel trim will fit along the outside edges of the frame and will be flush with the back face of the frame.
Step Four
Finish the frame as desired. I used a dark brown stain with two coats of a satin polyurethane.
Position the panel in the center of the frame on the inset created by the 3/4″ trim. Secure the panel in place using 1/2″ screws.
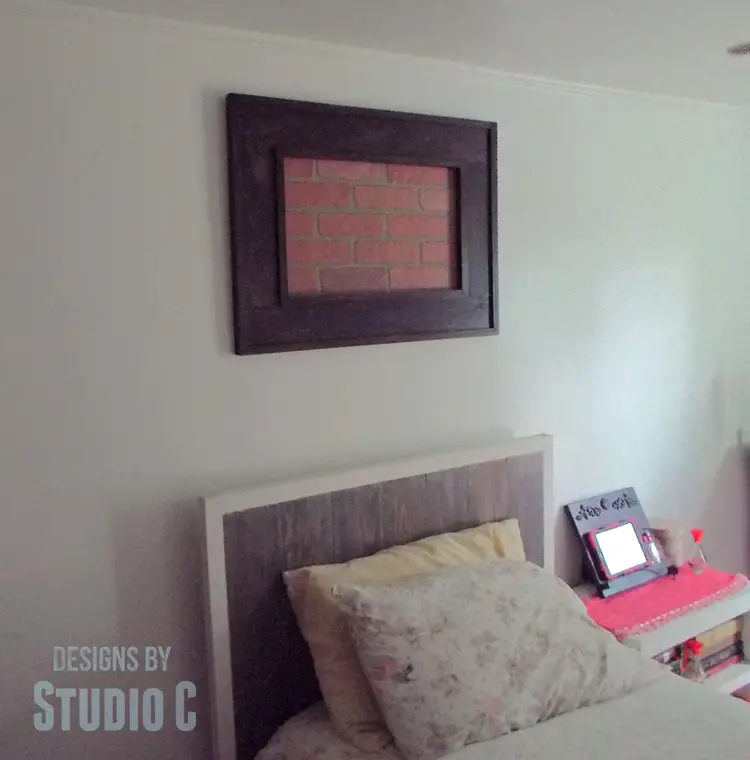
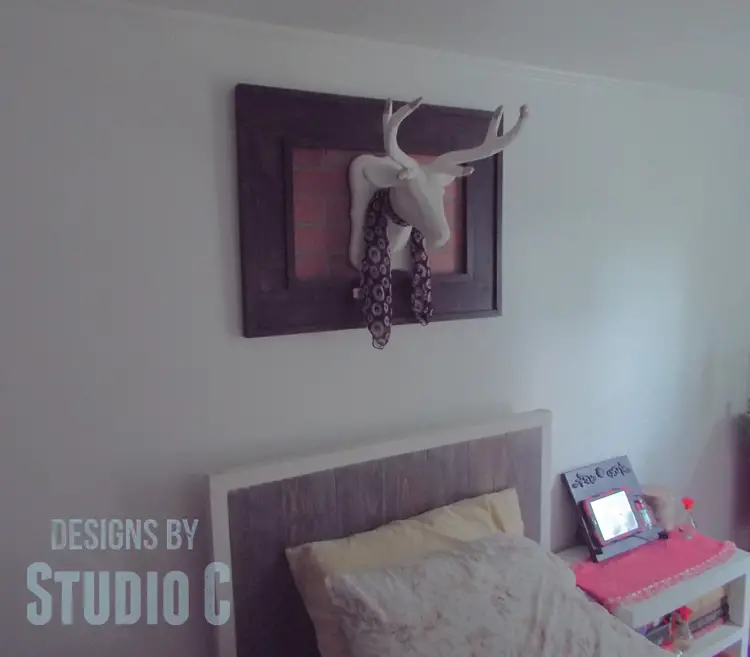
I drove a brad nail through the center panel then hung Felipe on the nail. any type of artwork would be fabulous in the frame – a canvas, a wood sign or even a smaller frame with a sentimental photo. (The plans for the bed can be found here!)
Have any questions about how to build a framed brick panel? Leave a comment below!
Originally posted 2016-10-28 08:00:04.

