
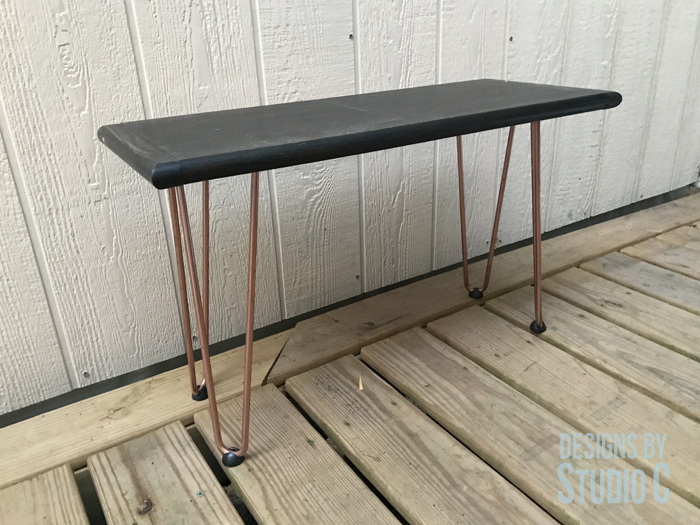
DIY Bench Using a Stair Tread and Hairpin Legs
An Easy to Build Bench Using an Uncommon Material
There are a few projects I’ve seen lately that use wood stair treads as the base: a guitar pedal board (I made this!) and a really cool chair. Wood stair treads, like the kind used in an interior stair case, are an economical material for a wide variety of projects! This DIY bench uses a stair tread and hairpin legs to create a super-easy project that can be completed in a few hours!
Materials:
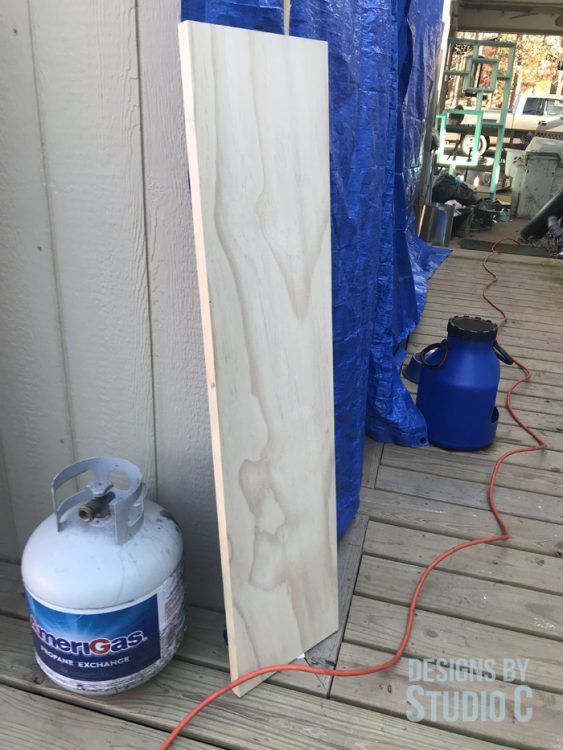
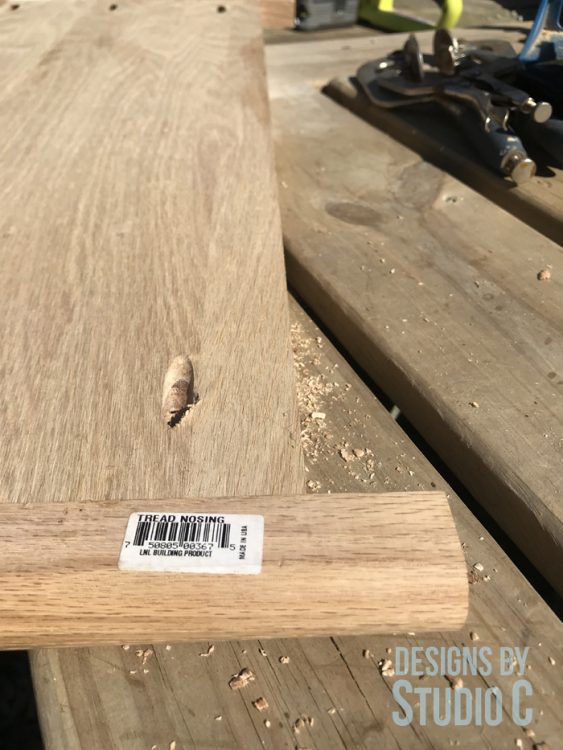
- Stair tread (I used an oak tread left over from another project)
- Stair tread end caps
- 1-1/2″ pocket hole screws (<– affiliate link!)
- Set of four 16″ hairpin legs (<– affiliate link!)
- Sandpaper
- Wood glue
- Finishing supplies
The stair treads come in a standard size of 11-1/2″ wide by 48″ long. This bench is actually a bit shorter because the tread was left over from another project (it measures 24″ long). the end caps can be attached in a number of ways such as pocket holes (as I did here), biscuits, mortise and tenon, countersunk screws, etc. The end caps will also be longer than the tread is wide, and can be easily cut away with a saw.
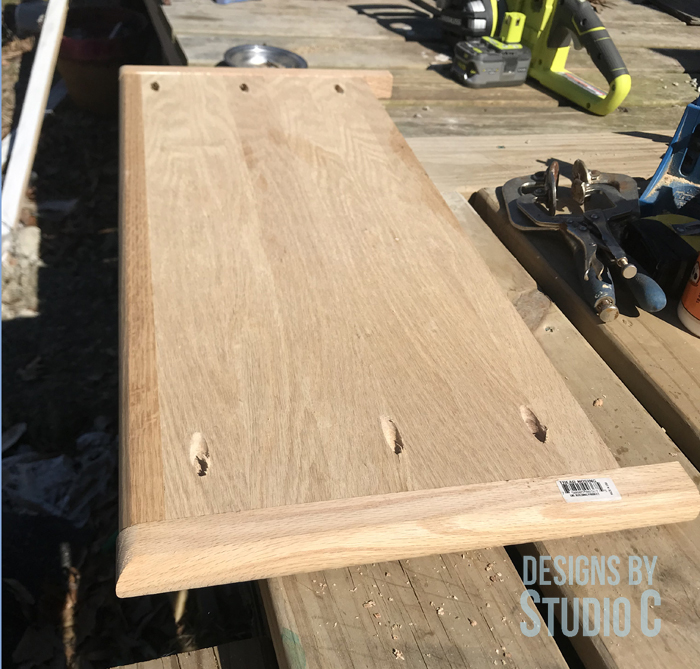
Step One
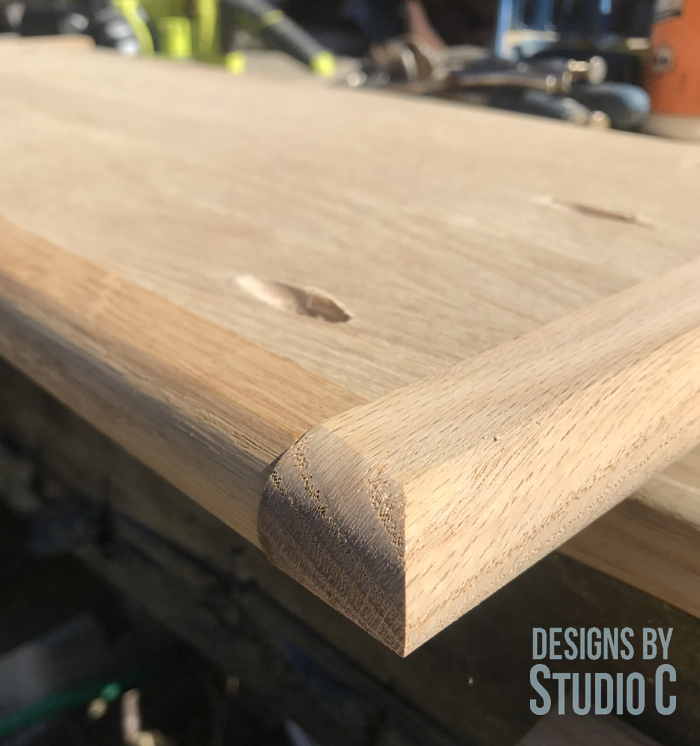
Drill pocket holes in each shorter edge. Apply a bead of glue to the shorter edges. Align the bullnose (rounded edge) of the end caps with the bullnose on the front and clamp in place. Secure the end caps using 1-1/2″ pocket hole screws. Cut away the additional length of the end caps.
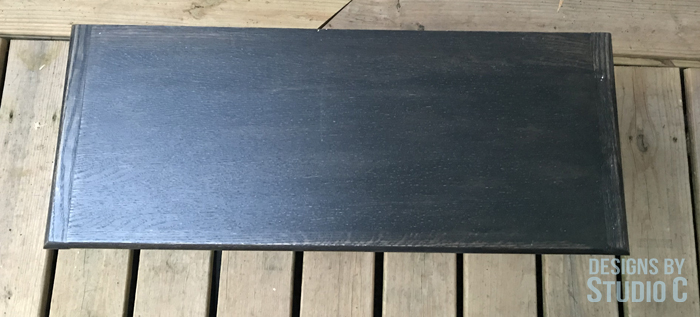
Step Two
Thoroughly sand the entire piece starting with 100 grit sandpaper, moving to 150 grit, then finishing with 220 grit. Apply a coat of stain on both sides of the piece, then finish with a sealer. I used the charred wood stain from RustOleum followed by Triple Thick Polyurethane in Matte from Varathane.
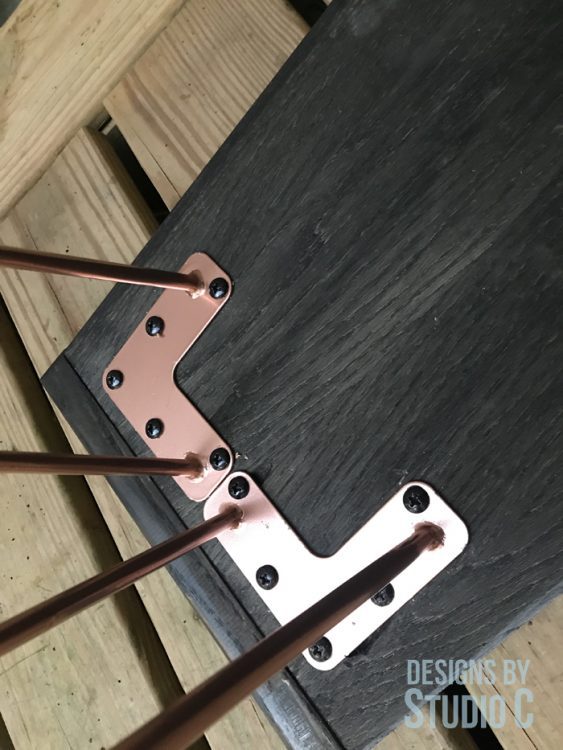
Step Three
The hairpin legs can be spray painted, if desired. I used Copper spray paint because I truly have a “thing” for copper! The legs will be positioned 1-1/2″ away from each edge, and secured to the underside of the tread using 1″ screws.
This bench is a fabulous project that can be completed in a weekend plus, it is extremely inexpensive!
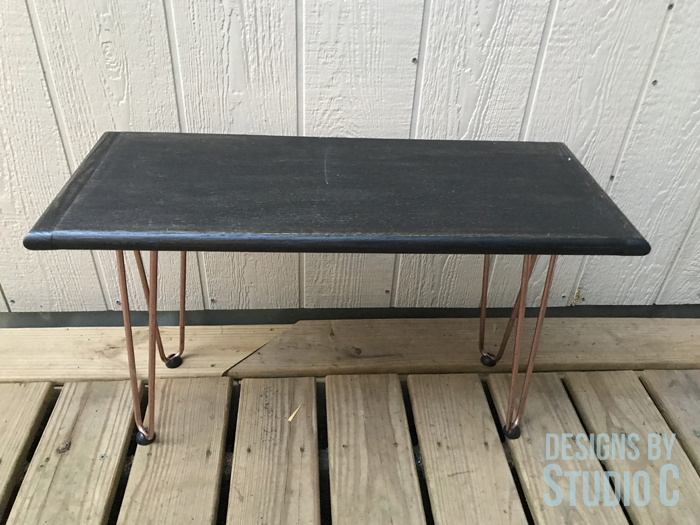
Have questions about this DIY bench using a stair tread and hairpin legs? Leave a comment below!
Originally posted 2020-04-26 08:00:36.
