
Painting Kitchen Cabinets? Here Are 10 Tips You Can’t Afford to Miss
Transforming the appearance of your kitchen cabinets can be a satisfying and budget-friendly approach to rejuvenate your kitchen. Here are a few valuable suggestions to keep in mind while painting your kitchen cabinets.

Photo by Taelynn Christopher on Unsplash
Clean with A Deglosser
To effectively clean your kitchen cabinets before painting, using a deglosser is a great option. A deglosser helps to remove any dirt, grease, or grime from the surface, ensuring that the paint adheres properly.
TSP substitute is a powerful cleaner that effectively removes grease and grime. It is commonly used for cleaning surfaces before painting. Simply mix the TSP substitute with water according to the instructions on the packaging, and then apply it to the cabinets using a sponge or cloth. Scrub gently to remove any dirt or grease, and then rinse thoroughly with clean water.
Another option is to use Dawn dishwashing detergent. It is a gentle yet effective cleaner that can remove grease and grime from your cabinets. Mix a small amount of Dawn with warm water, and then use a sponge or cloth to apply the solution to the cabinets. Scrub gently, paying attention to any particularly dirty areas, and then rinse with clean water.
White vinegar is also a natural and effective deglosser. Mix equal parts of white vinegar and water, and then apply it to the cabinets using a sponge or cloth. Scrub gently to remove any dirt or grease, and then rinse with clean water.
Choose the deglosser that works best for you and enjoy beautifully painted cabinets.
Smooth Rough Areas or Imperfections
To achieve a smooth and professional finish when painting your kitchen cabinets, it’s important to sand any rough areas before applying the paint. Sanding helps to create a clean and even surface, ensuring that the primer adheres properly and provides a flawless result.
Start by thoroughly sanding the cabinets using a 120 grit sandpaper. This coarse grit will help to remove any rough patches, bumps, or imperfections on the surface. Sand in the direction of the wood grain, applying even pressure to ensure consistent results. Be sure to sand all areas of the cabinets, including the edges and corners.
After sanding with the 120 grit sandpaper, switch to a finer 220 grit sandpaper. This will help to smooth out the surface even further and prepare it for painting. Sanding with the finer grit will also help to remove any remaining scratches or marks left by the coarser sandpaper.
Remember to wipe away any dust or debris after sanding each section to ensure a clean surface for painting. You can use a tack cloth or a damp cloth to remove any residue.
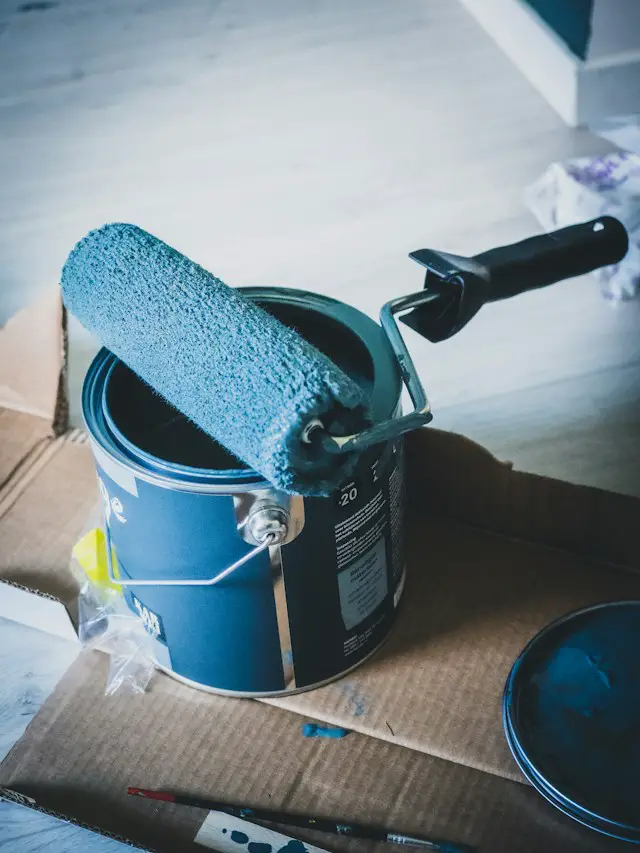
Photo by Sven Brandsma on Unsplash
Optional Wood Filler
When painting kitchen cabinets, it’s important to achieve a smooth and flawless surface. While sanding can help to even out rough areas, sometimes deeper gouges or grain may require additional attention. This is where using an optional filler can come in handy.
If you have deep gouges or grain on your cabinets, applying a filler can help to level out the surface and create a seamless finish. Choose a filler that is specifically designed for wood and follow the manufacturer’s instructions for application. Apply the filler to the affected areas, using a putty knife to smooth it out and ensure it is level with the surrounding surface, then sand smooth.
Additionally, if you are changing from a handle to a knob on your cabinets, you may have holes that need to be filled. Using a filler in these instances can help to conceal the holes and create a clean, uniform appearance. Again, choose a filler that is suitable for wood and follow the instructions for application.
Use Quality Tools
Use quality tools when painting your kitchen cabinets to ensure a professional and long-lasting finish. Investing in high-quality rollers and frames, paint brushes, and sponge rollers can make a significant difference in the overall outcome of your project.
When it comes to rollers and frames (<– affiliate link!), opt for ones that are specifically designed for painting cabinets. Look for rollers with a smooth and even nap, as this will help to apply the paint evenly and prevent streaks or lines. Additionally, choose frames that are sturdy and comfortable to hold, as this will make the painting process much easier and more efficient.
Paint brushes are another essential tool for painting kitchen cabinets. Choose brushes with high-quality bristles that are suitable for the type of paint you are using. Synthetic bristles are often recommended for latex paints, while natural bristles are better suited for oil-based paints. A good brush will allow for smooth and precise application, resulting in a flawless finish.
Sponge rollers can be particularly useful for achieving a smooth and textured look on your cabinets. They are great for creating a subtle texture or adding depth to the paint. Make sure to choose sponge rollers that are specifically designed for painting, as they will provide the best results.
By using quality tools, you can ensure that your kitchen cabinets are painted with precision and care. This will not only enhance the overall appearance of your cabinets but also contribute to their durability and longevity.
Always Use Primer
Always use primer before painting your kitchen cabinets to ensure a professional and long-lasting finish. Primer serves as a preparatory layer that provides a smooth and even surface for the paint to adhere to. It also helps to seal the wood and prevent any stains or discoloration from bleeding through the paint.
When choosing a primer, opt for one that is specifically designed for use on cabinets. Look for a high-quality primer that is compatible with the type of paint you will be using. Water-based primers are generally recommended for latex paints, while oil-based primers are better suited for oil-based paints.
Apply one to two coats of primer to your cabinets, making sure to sand in between each coat for the best finish. Sanding helps to smooth out any imperfections and creates a better surface for the paint to adhere to. Use a fine-grit sandpaper and lightly sand the cabinets in a circular motion. After sanding, wipe away any dust or debris with a clean cloth.
Using primer before painting your kitchen cabinets not only improves the overall appearance of the finished product but also enhances its durability. It helps the paint to adhere better, reducing the chances of chipping or peeling over time.
Paint Quality Matters
Paint quality matters when it comes to painting kitchen cabinets. Choosing the right type of paint can make a significant difference in the overall appearance and durability of your cabinets. One popular option is water-based latex paint, which offers several advantages.
Water-based latex paint is easy to work with and dries quickly, allowing you to complete your project in a timely manner. It also has low levels of volatile organic compounds (VOCs), making it a safer and more environmentally friendly choice.
To achieve a professional finish, it is recommended to apply 2-3 coats of paint. This will ensure that the cabinets are evenly covered and any imperfections are concealed. When applying multiple coats, make sure to allow sufficient drying time between each coat.
In addition to the type of paint, the quality of the paint also matters. Investing in a high-quality paint will result in a smoother and more durable finish. Look for paints that are specifically formulated for cabinets and offer good coverage and adhesion.
By using high-quality paint and applying multiple coats, you can achieve a beautiful and long-lasting finish for your kitchen cabinets. Remember to follow the manufacturer’s instructions and use the appropriate tools for the best results.
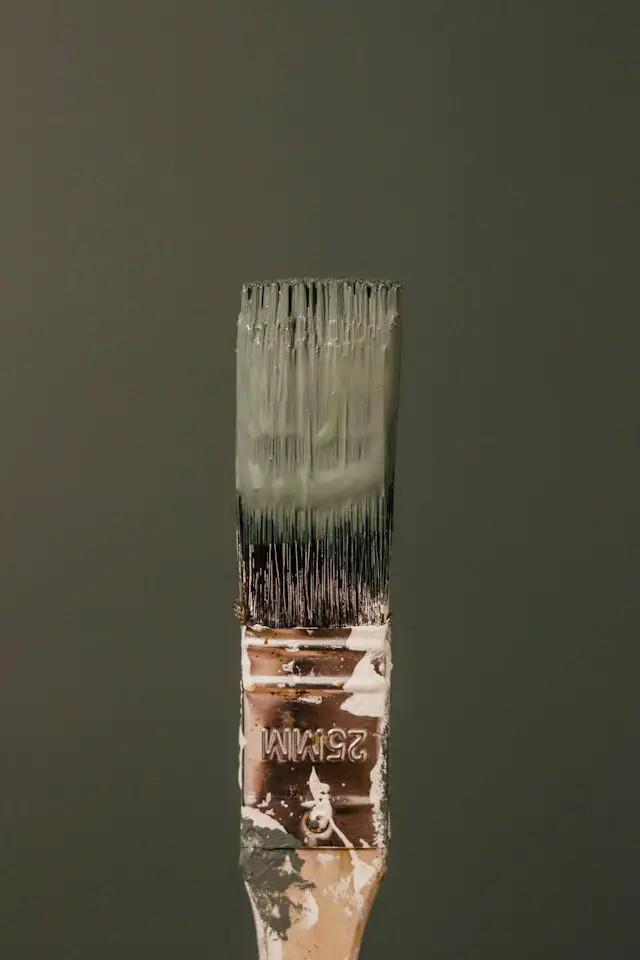
Photo by Sandie Clarke on Unsplash
Clean As You Work
To ensure a smooth and efficient painting process for your kitchen cabinets, it’s important to adopt the “clean as you work” approach. This means taking immediate action to clean up any spills or drips that occur during the painting process.
When working with paint, accidents can happen, and it’s crucial to address them promptly. If you notice any spills or drips on your cabinets, grab a clean cloth or paper towel and gently blot the area to remove the excess paint. Avoid rubbing or smearing the paint, as this can ruin the paint and make it more difficult to finish.
In addition to addressing spills and drips, it’s also important to keep your work area clean and organized throughout the painting process. This includes wiping down your brushes and tools regularly to prevent paint buildup and maintaining a tidy workspace.
A little extra effort in cleaning up spills and maintaining a clean workspace can go a long way in achieving the desired results.
Have Patience and Let it Dry!
To achieve a professional and long-lasting finish on your kitchen cabinets, it’s important to have patience throughout the painting process. One key aspect of patience is allowing each coat of paint to dry thoroughly before applying the next one. This ensures that the paint adheres properly and prevents any smudging or streaking.
When painting your cabinets, it’s recommended to apply multiple thin coats rather than one thick coat. This allows for better coverage and a smoother finish. After applying each coat, give it ample time to dry according to the manufacturer’s instructions. This may take a few hours or overnight, depending on the type of paint you’re using.
In addition to drying between coats, it’s essential to let the cabinets cure for 1-2 days before adding any hardware or reassembling them. This allows the paint to fully harden and become more resistant to scratches and dents. Rushing this step can result in damage to the paint and compromise the overall durability of your cabinets.
Taking the time to let each coat dry thoroughly and allowing for proper curing will result in a beautiful and durable finish for your cabinets. So, resist the temptation to rush and have patience for the best results.
Save Paint for Touchups
To ensure that your kitchen cabinets continue to look fresh and flawless, it’s important to save some paint for touch-ups. This will allow you to easily fix any chips, scratches, or wear that may occur over time.
One helpful tip is to transfer a small amount of paint into a separate container and label it clearly with the brand, and color name and number. This way, you’ll have a designated supply of touch-up paint that is easily accessible when needed. It’s also a good idea to attach the paint color card to the container for easy color matching if more paint is ever needed.
When applying touch-up paint, it’s best to use a small brush or a cotton swab for precise application. Start by cleaning the area that needs touch-up with a mild soap and water solution, and make sure it’s completely dry before applying the paint. Dip the brush or cotton swab into the touch-up paint and carefully fill in the damaged area.
After applying the touch-up paint, allow it to dry completely. If necessary, you can apply additional layers of touch-up paint until the color blends seamlessly with the rest of the cabinet.
Cleaning Painted Cabinets
When it comes to cleaning painted cabinets, it’s important to avoid using harsh chemicals that can damage the paint finish. Instead, opt for a mild soap and water solution to effectively clean your cabinets without causing any harm.
To start, mix a small amount of mild soap with warm water in a bucket or sink. Dip a soft cloth or sponge into the soapy water and wring out any excess moisture. Gently wipe down the painted surfaces of your cabinets, paying attention to any areas that may have accumulated dirt or grime.
For stubborn stains or sticky residue, you can use a slightly more abrasive sponge or cloth, but be careful not to scrub too hard as this can remove the paint. Always test a small, inconspicuous area first to ensure that the paint is not affected.
After cleaning, rinse the cabinets with clean water to remove any soap residue. Use a separate cloth or sponge for this step to avoid cross-contamination. Finally, dry the cabinets thoroughly with a clean, lint-free cloth to prevent water spots or streaks.
Regular cleaning of your painted cabinets will help to maintain their appearance and prolong their lifespan.
Conclusion
When it comes to painting kitchen cabinets, following these tips can help you achieve a professional-looking finish with beautiful and long-lasting results.
Featured Photo by Yoann Siloine on Unsplash


Comments are closed.