
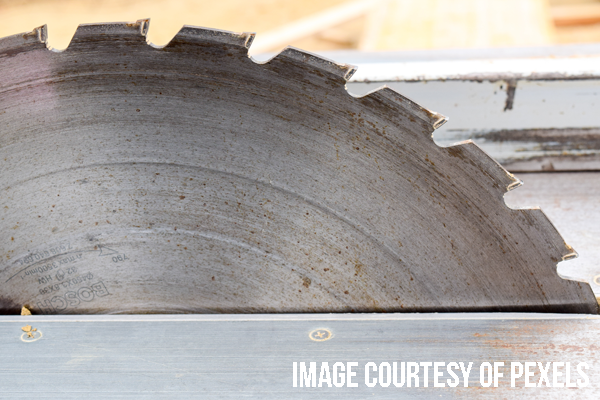
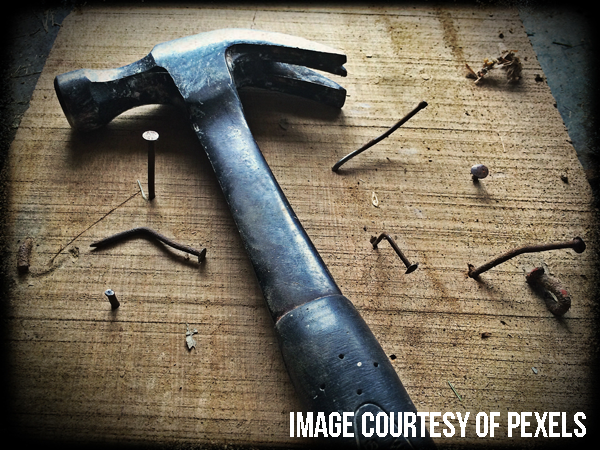
Tips for Containing the Mess During a DIY Project
Keeping the Workspace Clean During a DIY Project
You may love to do it yourself. From remodeling a room to giving a space a bright new coat of paint, there’s so much that you can do to make your home your own. You can even build and create your own furniture to give that hand-made look and feel to everything you own. At the same time that DIY projects can be deeply rewarding, they can also cause a significant amount of mess and disarray. By keeping a few simple tips in mind, you can help to minimize the clean-up and maximize the pleasure for your next DIY initiative.
Clear Out Your Space
To effectively contain the mess during a DIY project, it’s important to clear out your space before getting started. By removing any unnecessary furniture pieces, décor items, and fabric goods, you can create a clean and protected environment for your project. This not only minimizes the risk of damaging or dirtying these items but also reduces the amount of cleaning you’ll have to do once the project is complete.
When you have a clear space to work in, you can focus on your project without worrying about accidentally spilling paint or sawdust on nearby furniture or decorations. It also allows for easier movement and access to tools and materials, making your work more efficient.
Clearing out your space also helps to prevent the spread of dust and debris to other areas of your home. By confining the mess to one designated area, you can contain the cleanup process and avoid spending unnecessary time and effort on cleaning up multiple rooms.
So, before you start your DIY project, take the time to clear out your space. Store furniture and décor items in a safe place, cover any remaining items with protective sheets, and create a clean and clutter-free workspace. This simple step will make your DIY experience more enjoyable and ensure a smoother cleanup process at the end.
Clean Up At the End of Each Day
When you’re engaged in a multi-day DIY project, it might seem discouraging to think about cleaning just when you’re taking a break from creating. On the other hand, however, by giving the work space a thorough going-over at the end of each day, you can help to avoid the accumulation of dirt, grime, and parts that can make the overall environment much less pleasant.
One effective way to clean up at the end of each day is by using a heavy-duty vacuum. This tool can quickly remove sawdust and other messy particles from the area, preventing dirt from being tracked from one room to another and spreading the mess around. By vacuuming the workspace, you can maintain a clean and organized area, making it easier to resume your project the next day.
In addition to vacuuming, it’s also important to tidy up any tools, materials, and debris that may have accumulated during the day. Put away tools in their designated storage area, organize materials, and dispose of any waste properly. This not only helps to keep your workspace clean but also ensures that you can easily find what you need when you resume your project.
By cleaning up at the end of each day, you create a more pleasant and efficient work environment. It also helps to prevent the mess from spreading to other areas of your home, making the overall cleanup process less overwhelming. Take a few minutes at the end of each day to clean up your workspace and set yourself up for success in the days to come.
Contain Your Workspace
When you’re engaged in a DIY project, it can be easy to almost take over the house, leaving accessories and tools in one space and moving back and forth to change the music or TV show. However, by isolating the work area from the rest of the house, you can help significantly to keep the rest of your place clear of unwanted debris.
One effective way to contain your workspace is by hanging some clear plastic or a tarp (<– affiliate link!) from the doorway. This simple step can help to keep dust and other spatter safely confined inside the workspace while keeping the rest of the home clean and dirt-free. The clear plastic or tarp acts as a barrier, preventing any mess from spreading beyond the designated work area.
In addition to hanging plastic or a tarp, you can also consider using temporary walls or partitions to create a physical boundary between your DIY project and the rest of your home. This can be especially useful if you’re working on a particularly messy project that involves paint, glue, or other materials that can easily splatter or spill. By containing your workspace, you can minimize the cleanup required in other areas of your home and maintain a more organized and manageable work environment.
Remember, containing your workspace not only helps to keep your home clean and tidy but also makes the overall cleanup process much easier once your DIY project is complete. Take the time to properly isolate your work area and enjoy a mess-free home during and after your DIY endeavors.
Use Protective Materials
When working on a DIY project, it’s important to protect your floors from dirt, debris, and potential damage. While you can’t remove your hardwood floors from the room, there are several options available to keep them in pristine condition.
One simple and effective solution is to use protective flooring paper or builder’s paper. These papers come in rolls and can be easily pulled out to completely cover the floor. They provide a barrier against dirt and debris, ensuring that your floors remain clean throughout your project.
For more demanding tasks where you want to avoid scrapes and scratches, consider using rosin and construction papers. These papers offer extra thickness and protection, safeguarding your floors from any potential damage. By using these papers, you can rest assured that your floors will come out of your DIY project just as beautiful as they were before.
Taking the time to use proper protection for your floors not only keeps them looking their best but also saves you from the hassle of cleaning or repairing any damage later on. Before you start your next DIY task, make sure to invest in the right protective materials to keep your floors in top shape.

Many DIY’ers take great pride in the beauty that they bring to their homes with the projects that they create. Indeed, the work you do is exactly the kind of thing that makes your house a home. With just a few simple tips and easy products, you can ensure that containing the mess during a DIY project will lead to the simplest cleanup possible and make the outcome of your work even more rewarding.
By following the tips outlined in this article, such as clearing out your space, cleaning up at the end of each day, and containing your workspace, you can minimize the mess and keep your home clean and organized throughout your DIY project. Using protective materials, like flooring paper or builder’s paper, will also help to protect your floors from dirt, debris, and potential damage.
Remember, the key to a successful DIY project is not only the end result but also the process. By taking the time to contain the mess and clean up as you go, you can enjoy a stress-free and enjoyable experience. So, whether you’re painting a room, building a piece of furniture, or tackling any other DIY project, make sure to implement these tips to make your project a success from start to finish.
With a little planning and preparation, you can create a beautiful space in your home without the stress and mess that often comes with DIY projects. So go ahead, unleash your creativity, and enjoy the satisfaction of a job well done. Happy DIY-ing!
