
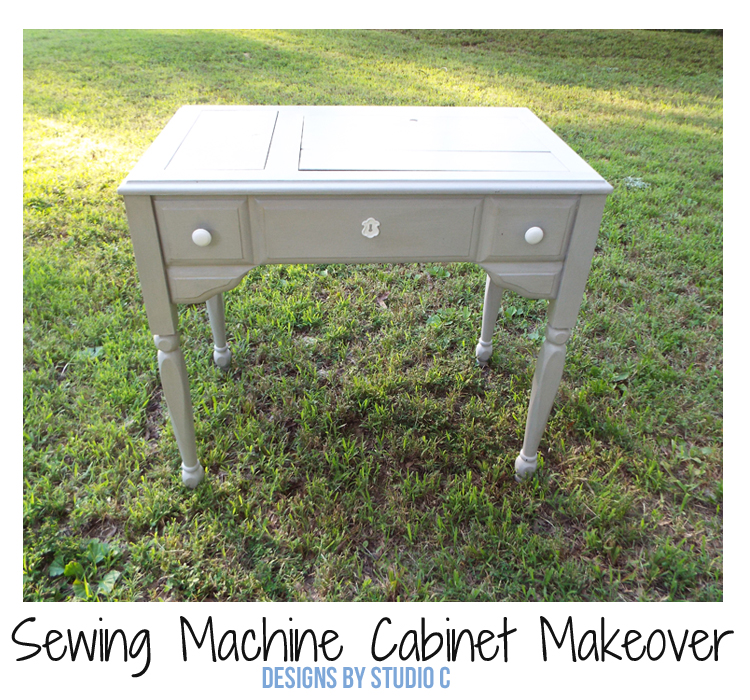
Sewing Machine Cabinet Makeover
Giving a Makeover to an Old Sewing Machine Cabinet
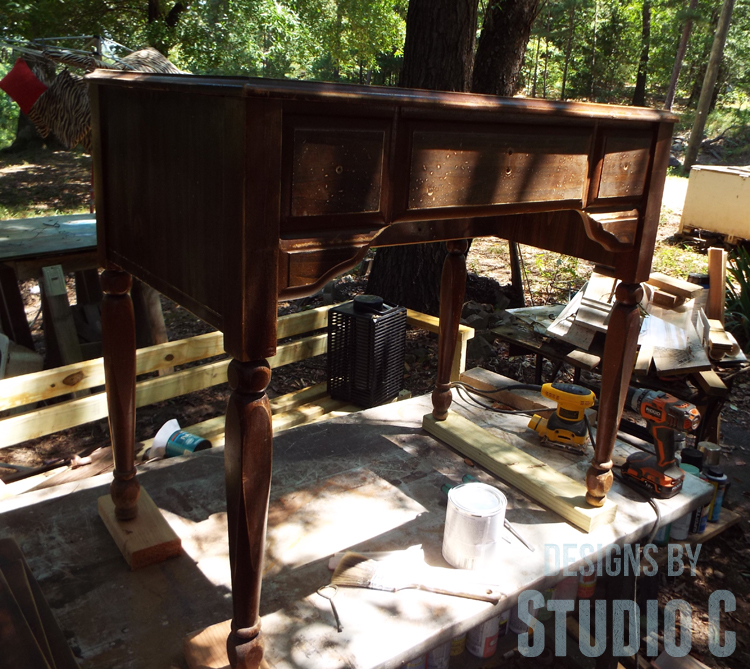
Hey there! Guess what? Last month, I stumbled upon an old sewing machine in a cabinet – and the best part? It was completely free! I’m a huge fan of vintage sewing machines and their cabinets because they’re just so cool to work with. However, the cabinet was looking a bit shabby, so I decided to give it a little makeover. Can’t wait to see how it turns out!
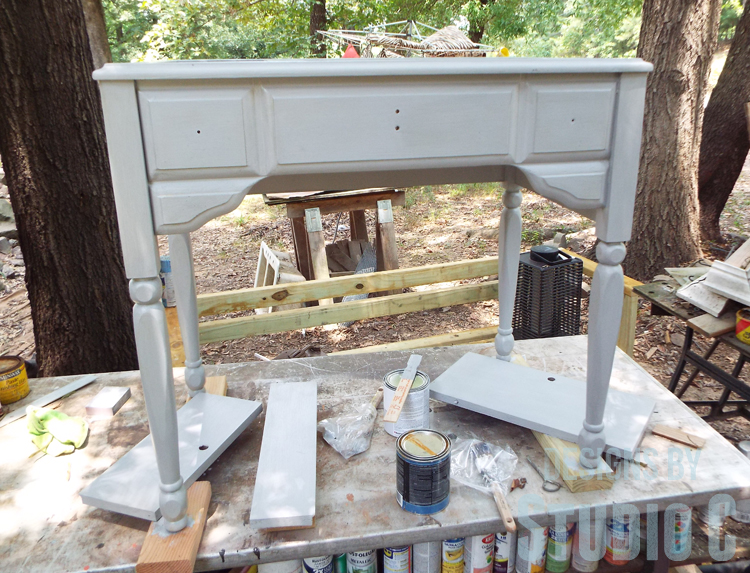
I started by removing the sewing machine from inside the cabinet and let me tell you, that sucker was heavy! It is definitely all metal and perfect for heavy-duty use! I removed the top covers and the door, then sanded the cabinet down using 220 grit sandpaper (<– affiliate link!).
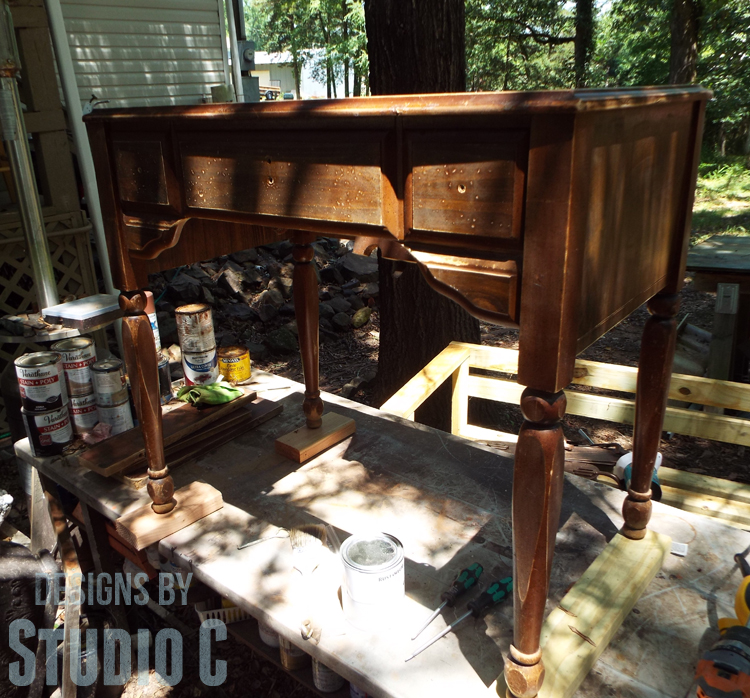
I decided I wanted to use chalk paint to paint the cabinet and in all honesty, it was a mistake. I never seem to have good luck with chalk paint and this particular brand just didn’t work well. It was too thick, dried too quickly and showed brush strokes but since I plan on keeping the cabinet, it doesn’t matter that much. (This particular paint would be suitable for small projects but not large-scale projects!) I used two coats of the paint then sealed it with a water-based polyurethane. (As a side note, I did follow the directions on the can of paint and used a quality brush but just don’t have good luck with it!)
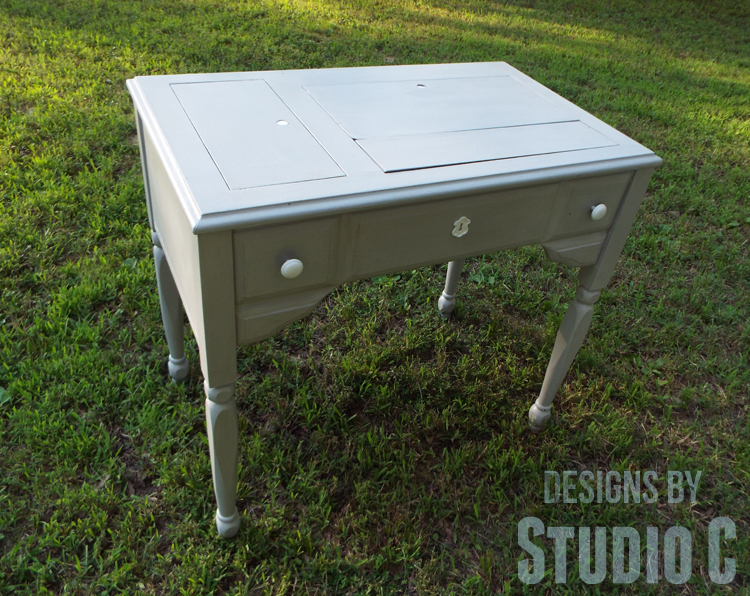
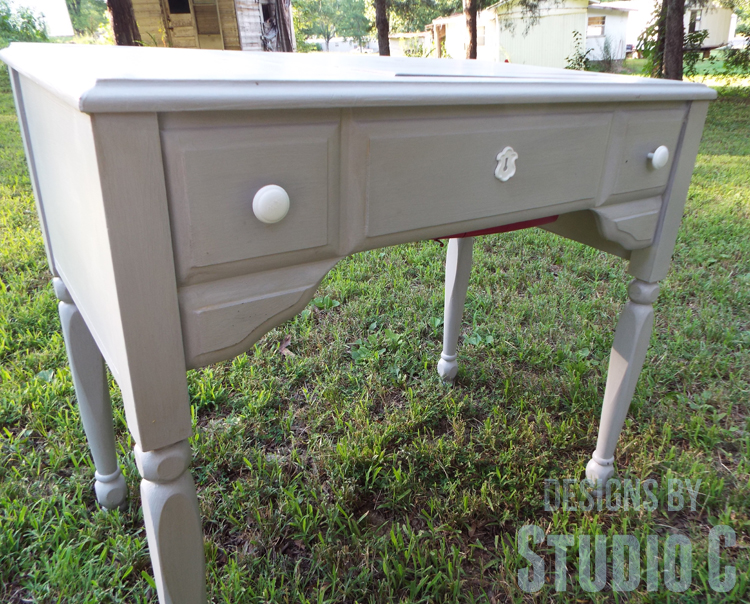
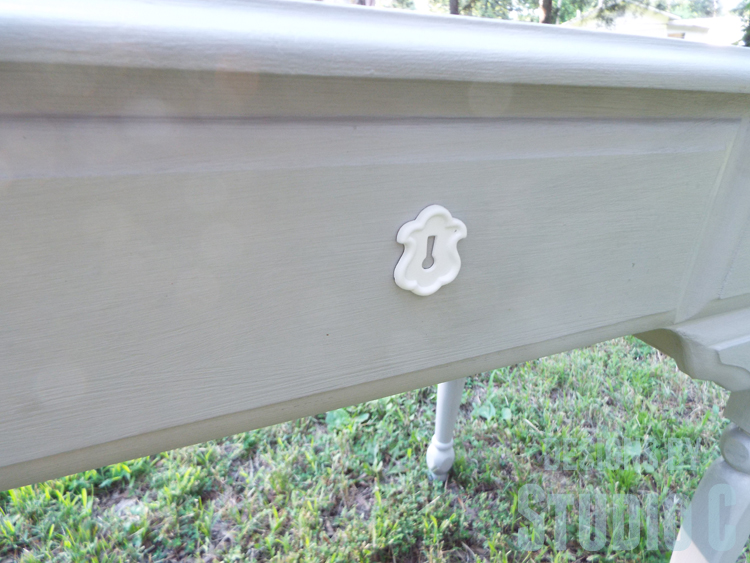
On the front of the cabinet are two knobs and a faux keyhole plate. I painted all three pieces with white spray paint then put them back on the front of the cabinet. I also painted the spring buttons on the top cover and the door.
I replaced the door and the covers, and after a makeover of its own I replaced the sewing machine.
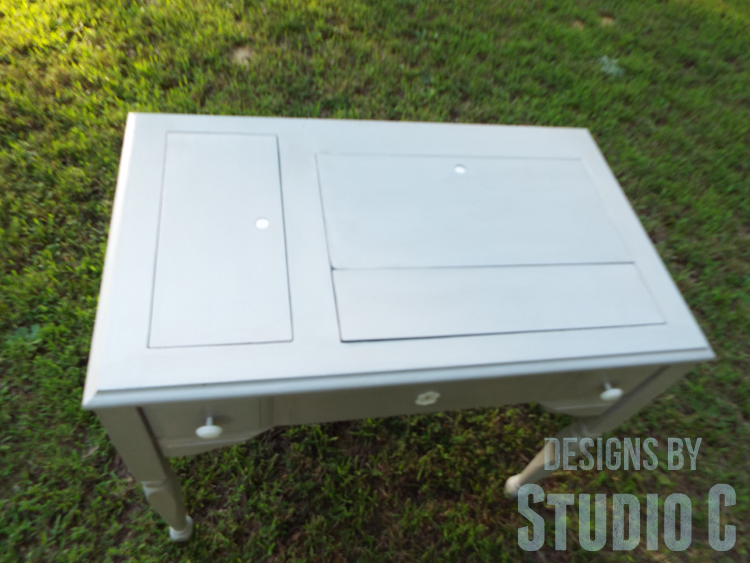
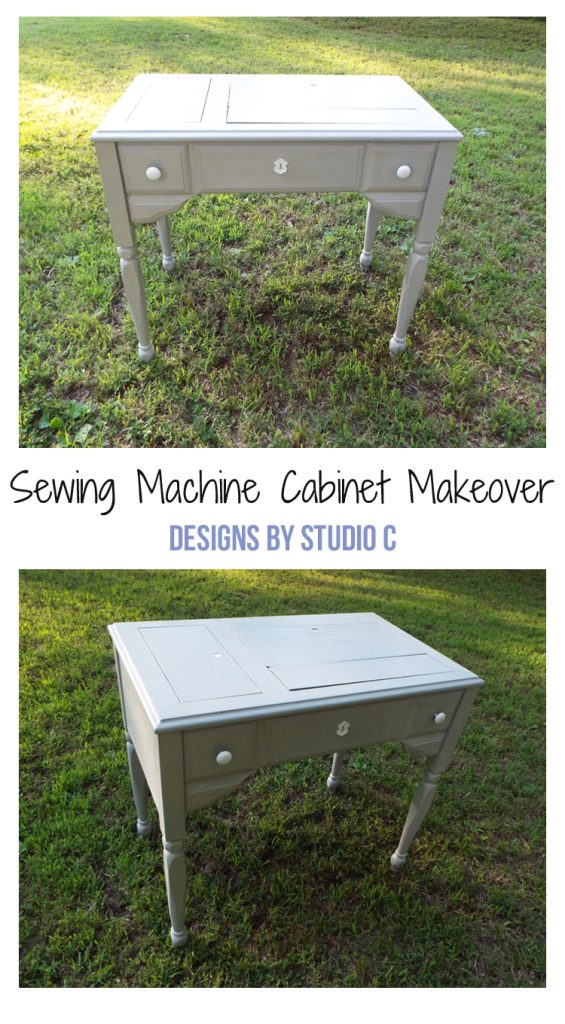
Now the cabinet is ready for use in my new craft room! The sewing machine cabinet makeover was super-easy but next time, I will stick with regular paint and steer clear of the chalk paint!
Originally posted 2016-07-01 08:00:00.

[…] sewing machines and use them regularly (yes, “them” meaning I have several). I gave the sewing machine cabinet a makeover so I thought I’d give one to the machine itself. Painting an old metal sewing machine is […]