Drywall Installation Tips, Part One
Installing drywall is definitely not on my list of favorite home improvement projects. It’s mainly because I feel that I’m not very good at it and can pick out every single minute flaw that I can see. Like with anything else, practice makes perfect and the more I do drywall projects, the better I get at the process. When installing new drywall, these tips and tricks for beginners (part one) will have even the newest of newbies installing and finishing drywall like a pro!
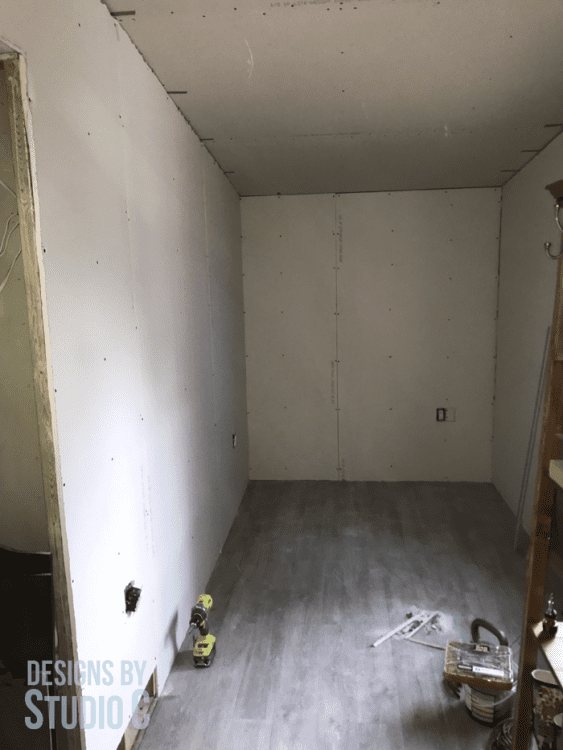
Tools of the Trade
When beginning any drywall project, it is important to have the necessary tools ready in addition to the drywall tape and joint compound (also known as “mud”). These tools include putty knives in three sizes (I use 3″, 6″ and 10″), sanding screens, a pole sander (I go more in depth on sanding in Part Two of this post!), a box cutter, a small laser level, a pencil, a drywall dimpling bit and masking tape.
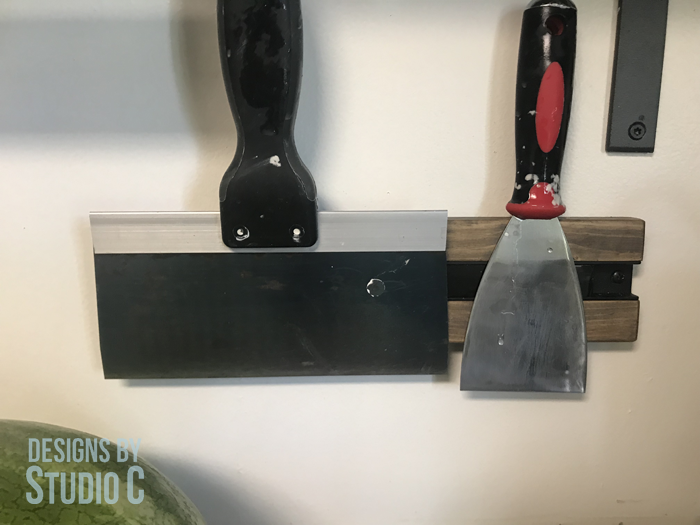
Marking the Studs with Tape
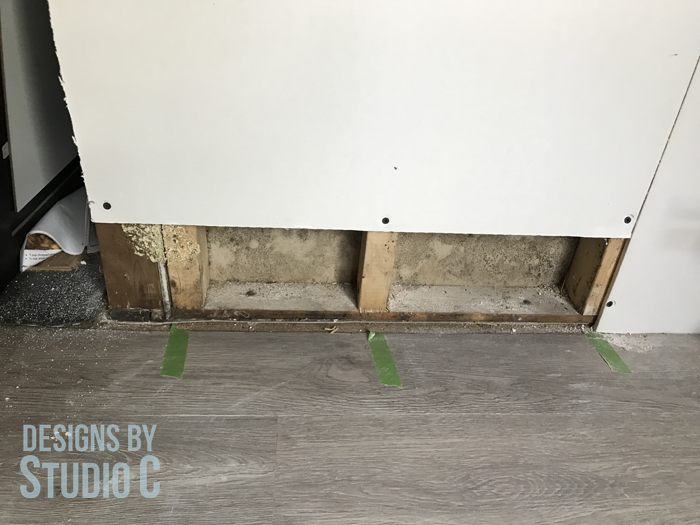
Before cutting and installing the drywall panels, mark the position of the wall studs by placing masking tape on the ceiling and the floor where each stud is located. Trust me, this will save a bunch of time locating the studs to secure the drywall.
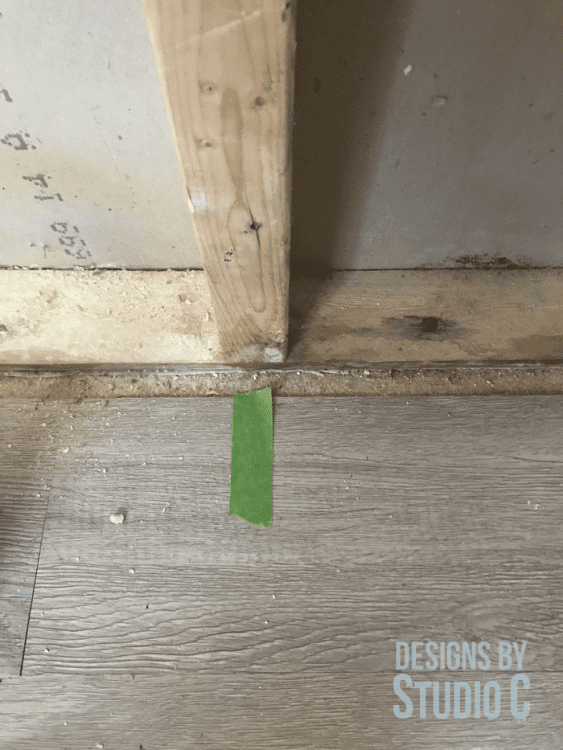
Seams, and Where to Place Them
The goal when installing (or “hanging”) drywall is to have as few seams as possible. Also, the seams need to land centered on a wall stud with raw or cut edges at a corner or edge that will be covered with trim such as a doorway or window. At each long edge of a sheet of drywall is a sort of indentation to allow for tape and mud, and to make it easier to make the seam less noticeable.
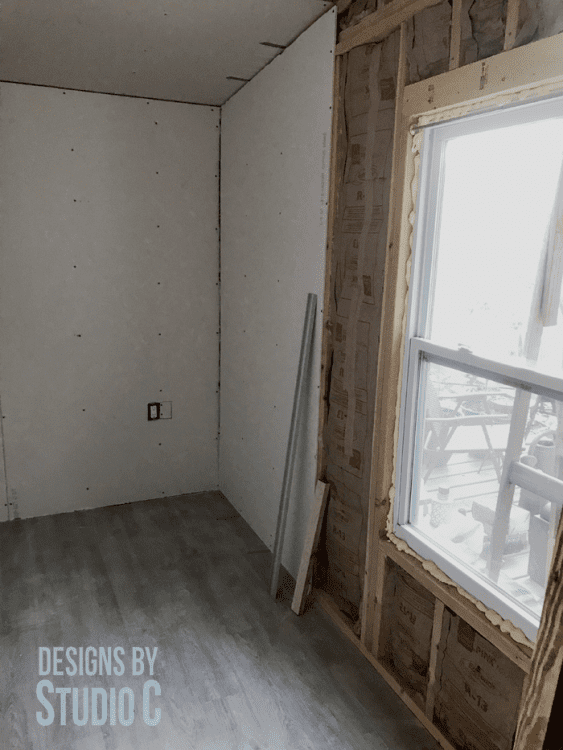
Adding Furring Strips
Sometimes, a seam won’t land in the center of a wall stud or maybe the drywall isn’t long enough for tall ceilings and has to be pieced… That is where furring strips come in! Furring strips are pieces of 1×3 that can be attached between wall studs vertically or horizontally, and serve as a place to secure the drywall seam. In the photo below, furring strips will be added under the drywall horizontally to add more of a surface for securing the drywall.
Additional Info
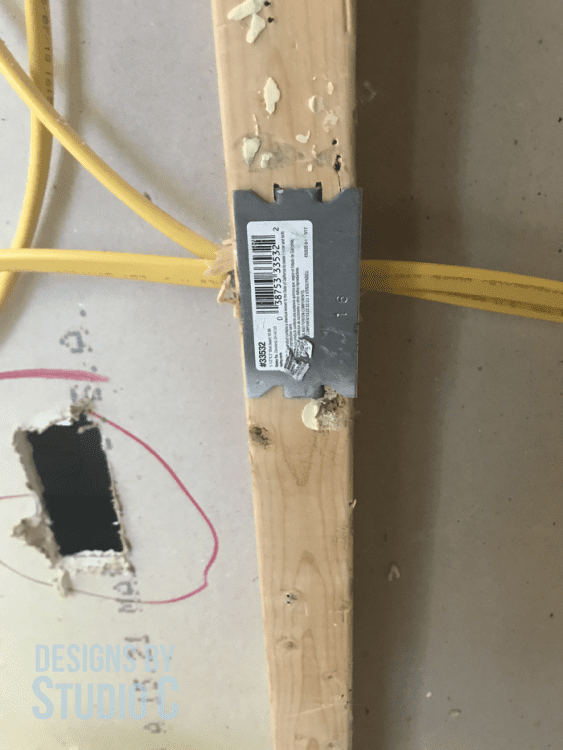
Before installing the drywall, it is a good idea to make sure that the electrical wiring that is passing through any of the wall studs has a nailing plate (<– affiliate link) installed on the face of the stud. This will prevent screws from poking through the stud into the wiring thus, preventing any electrical shock, shorts or problems!
Stay tuned for Part Two where I continue with more tips and tricks for installing drywall like a pro! Have questions about installing new drywall: tips and tricks for beginners (part one)? Leave a comment below!




Comments are closed.