How to Install a Pet Door
6 Easy Steps to Installing Your Dog or Cat Pet Door
Our outside kitty, Chester (not associated with the indoor cats, the Parkour Champs), has had a rough year. She’s lost three family members and is the last one in the outside bunch. She even survived the tree that fell on our house when she was a kitten! We started keeping her in the laundry room during the winter so she could stay warm, and it’s time for her to have her very own entrance so she can come and go as she pleases! The following tutorial on how to install a pet door is perfect for anyone wanting to give a furry friend access to a dry, safe environment. So let’s get started…
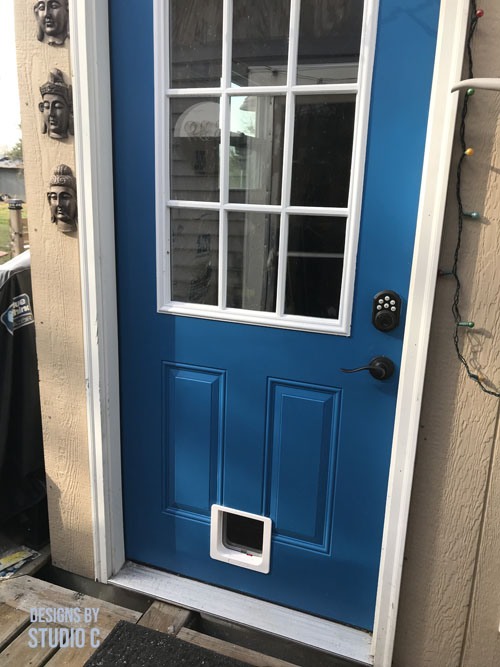
Clean and Paint, If Desired
The door to our laundry room is metal and I wanted to paint it first. This is a color we picked out shortly after the tree fell, and we’re finally getting around to painting. I cleaned the door by wiping it down with plain vinegar and letting it dry. I taped off the window frame and painted using a brush with a short handle.
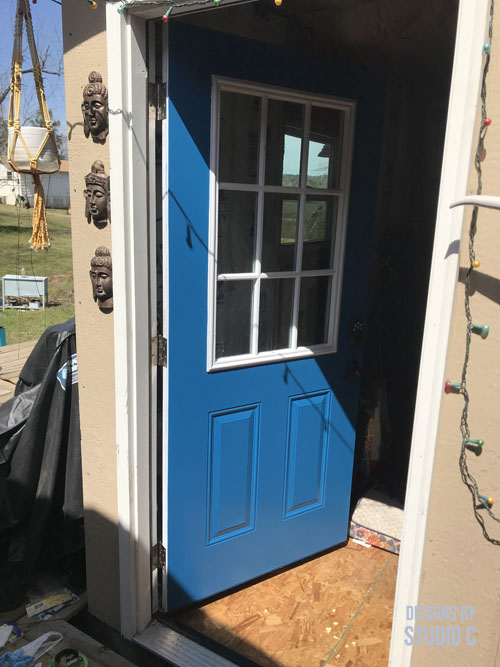
Safety First!
Make sure to wear proper safety gear before cutting the human door… Safety glasses and gloves are a must, especially since we’re working with a metal door. Make sure to sweep or vacuum when the project is complete so that no one, including your pet, steps on any metal shavings!
Unpack the Pet Door and Read the Instructions
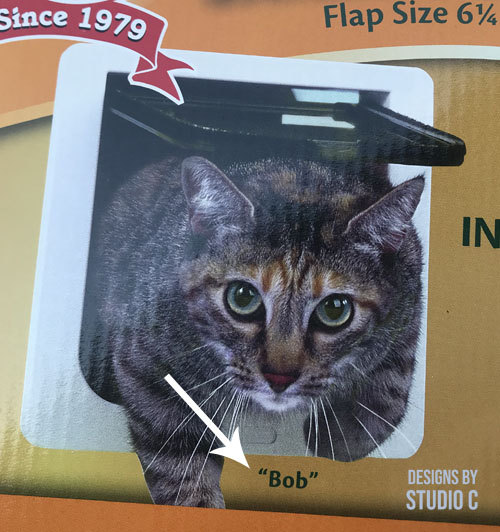
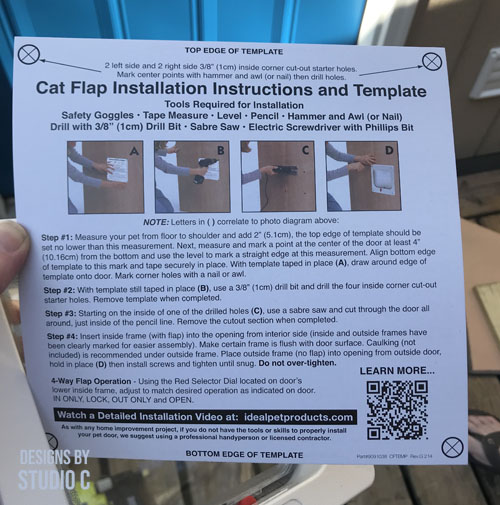
The MOST important part is to read the instructions that come with the pet door (<– affiliate link!). Even if you have a general idea on how to cut a hole in the human door and install the pet door, there may be a few tips on doggie door installation you haven’t though about. The instructions also contain a template for drilling the holes and cutting the opening. (Note that the kitty on the box is named “Bob”…)

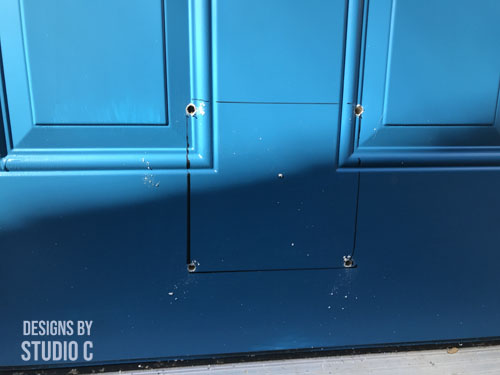
Drill Pilot Holes
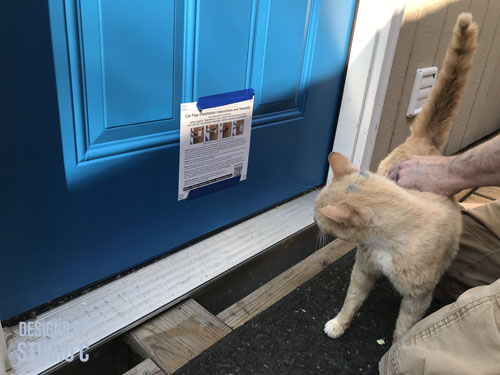
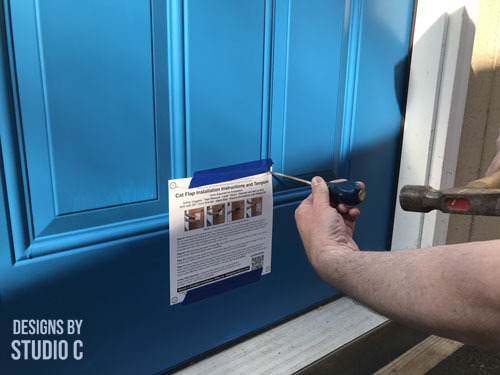
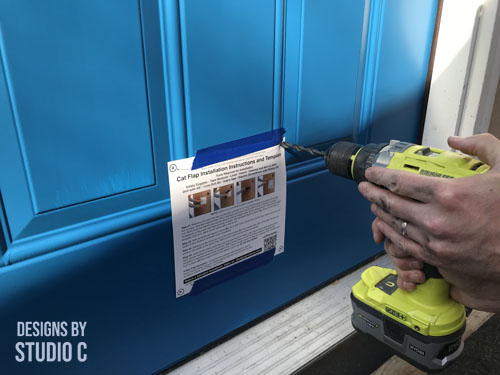
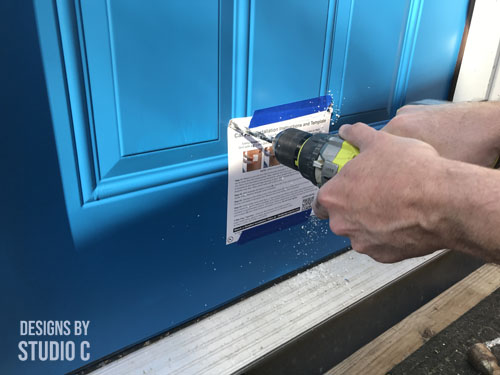
Using a drill bit for metal, we drilled holes as indicated on the template, using a 3/8″ drill bit for metal. It helps to use a punch or a scratch awl to mark the center of the hole, as well as give a starting point for the drill bit so it doesn’t wander. As you can see, Chester was “helping”, too (yes, that’s blue paint on her head).
Cut the Opening with a Jigsaw
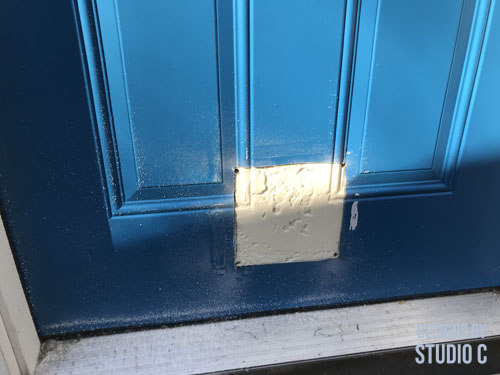
Draw lines, with a pencil or a marker and a straightedge, just above the holes to use as a guide for the opening. Install a blade for cutting metal on the jigsaw and insert the blade into one of the holes to cut. If the blade isn’t long enough to cut all the way through the door, repeat the process of drawing the lines, then cutting on the other side. It was really easy to cut through the metal door with the proper blade!
Install the Pet Door
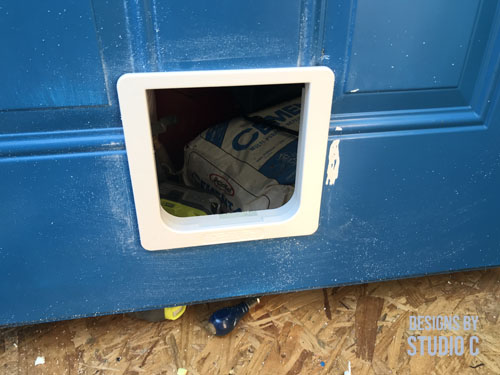
The pet door frame sandwiches the door in between the pieces, and is secured using screws (included in the door kit) from the inside. Use a bit of caulk along the top and sides of the pet door to seal it.
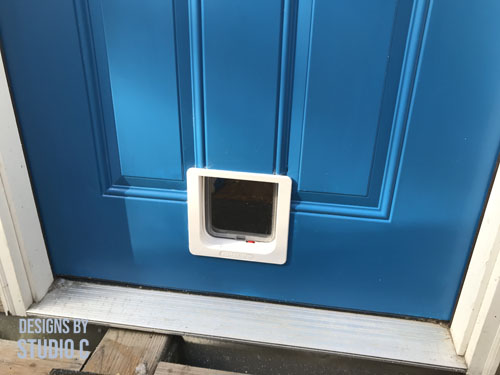
With a little training, Chester should get the hang of her new grand entrance, especially since she’s about ready to have kittens!
Have questions about how to install a pet door? Leave a comment below!
