Free Plans to Build a Joss & Main Branford Mirror Frame
Transform Your Space with a Stunning Branford Mirror Frame: Elevate Your Home Décor!
I absolutely love this frame! I already have two big mirrors and thought it would be perfect to make this frame for one of them. The plans to build a Joss & Main Branford mirror frame are incredibly simple and it only took me a few hours to complete from beginning to end!
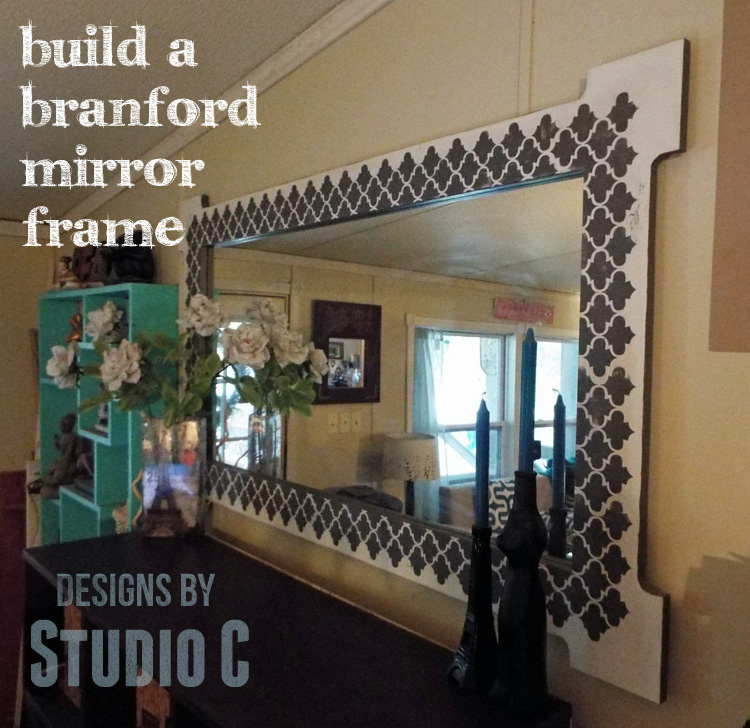
I included pics on how I did it because a picture is worth a thousand words, right? Actually, it just means I can’t describe it very well.
Materials:
- 1-1/4″ pocket hole screws (<– affiliate link!)
- Mirror clips
- Finishing Supplies
Lumber:
- I used two 8′ 1×6 pine boards for a 2′ x 4′ mirror
Cut List:
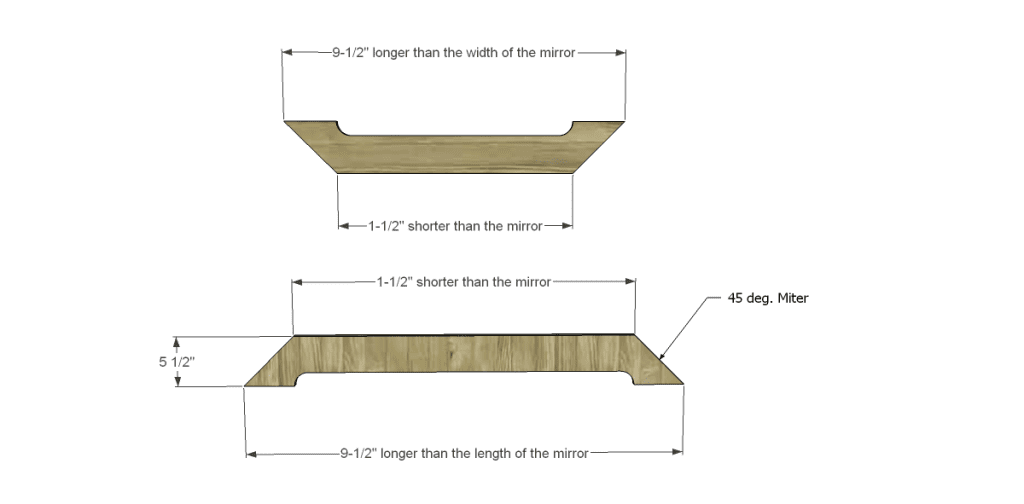
- 2 – 1×6 at 9-1/2″ longer than the length of your mirror
- 2 – 1×6 at 9-1/2″ longer than the width of your mirror
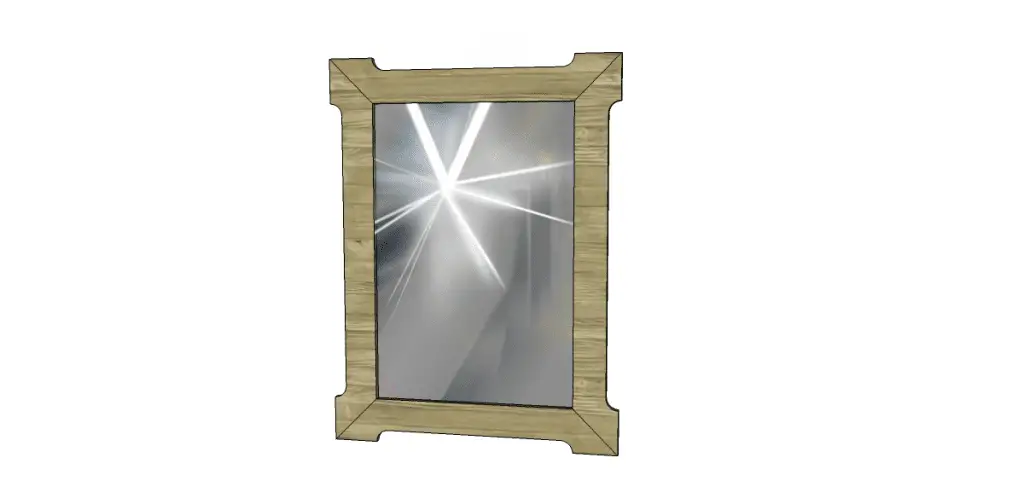
Click on the drawings to for a larger view!
Step One
Cut the pieces to length. The length and width of the boards overall will be 9-1/2″ longer than the mirror being framed.
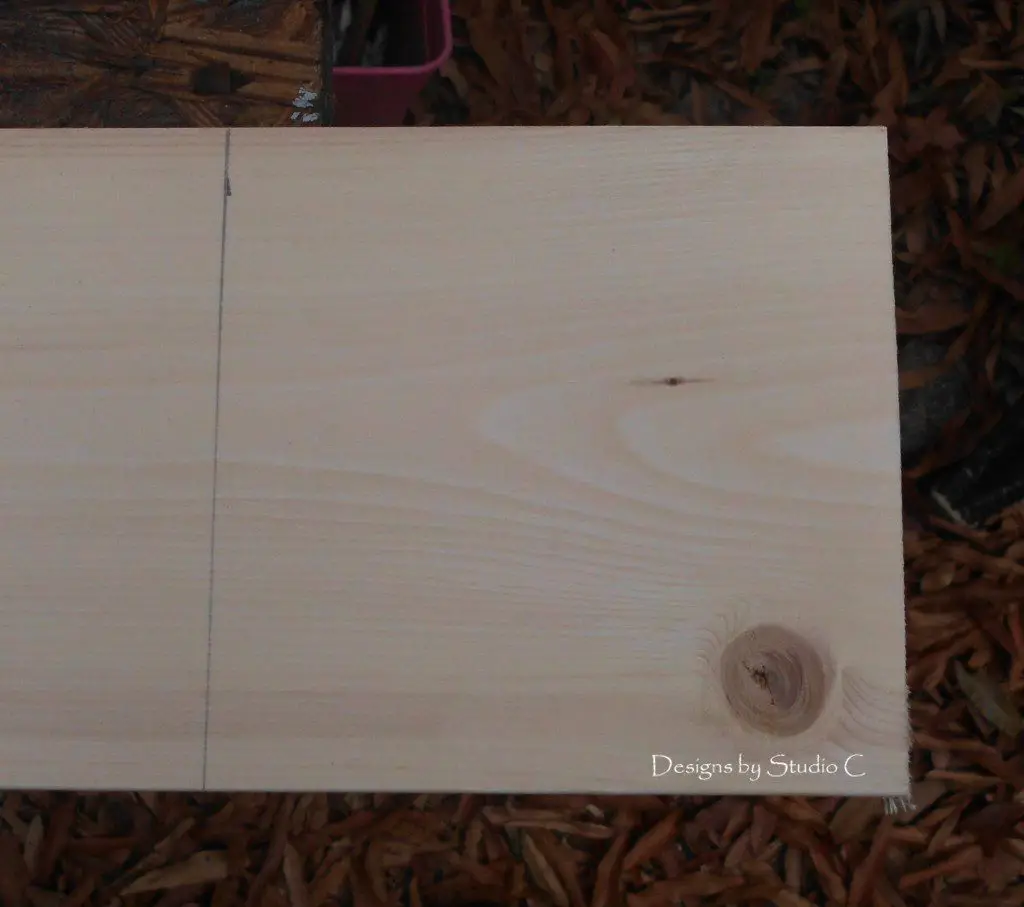
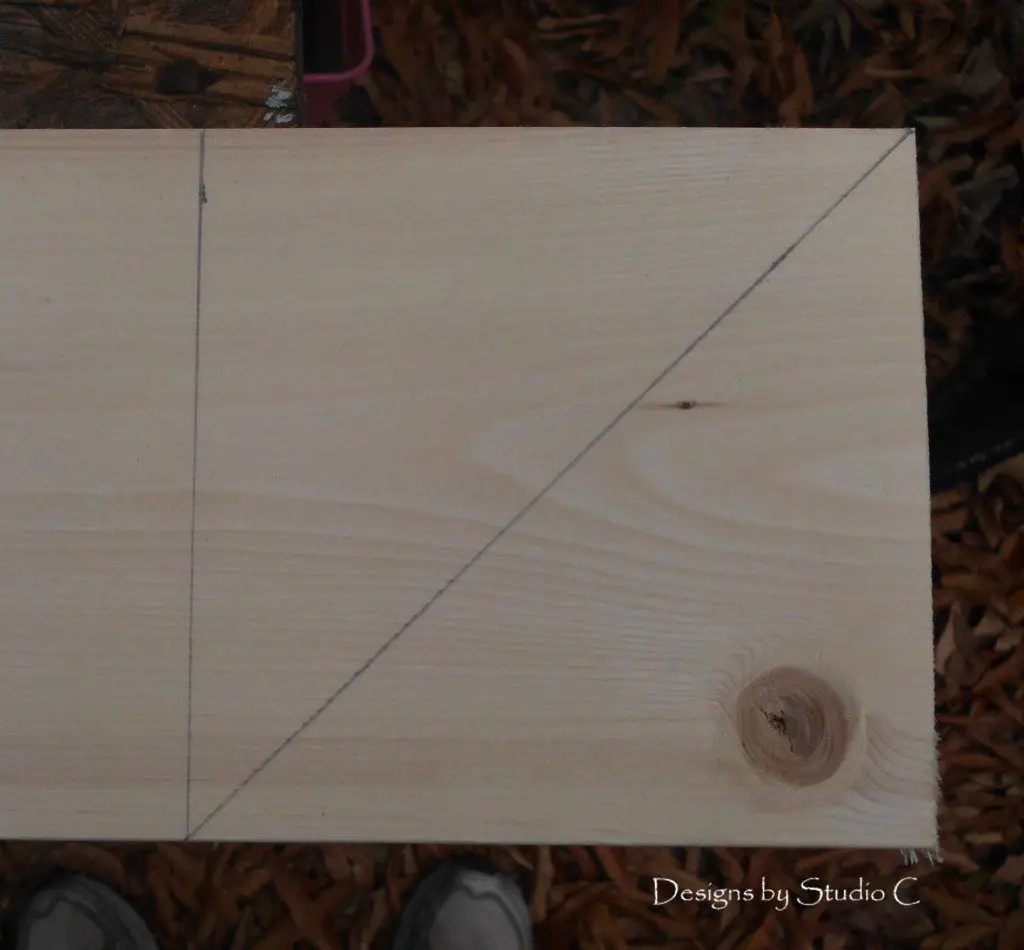
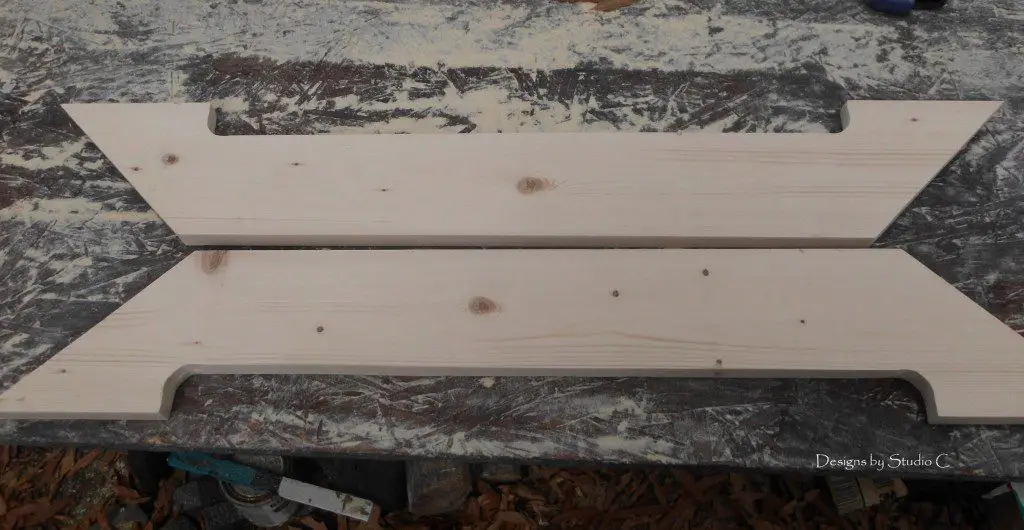
Draw a line 5-1/2″ from the edge of each piece, then draw a diagonal line from the corner to the line as shown in the picture which will give a 45 degree miter.
Step Two
Cut the miters in the ends of each piece.
Step Three
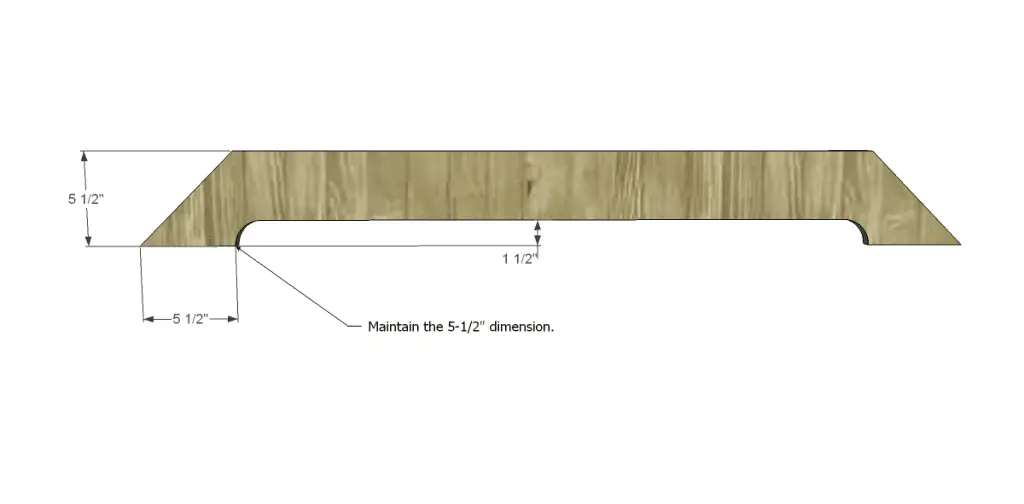
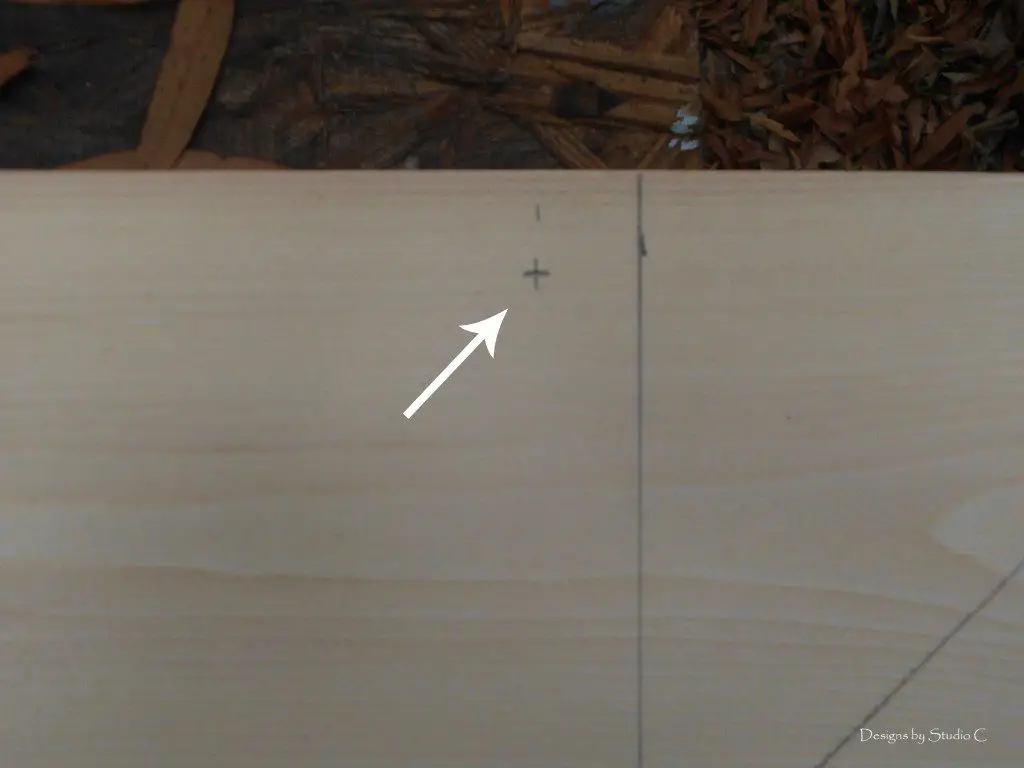
The curves are cut with a 1-1/2″ paddle bit. Make a mark 3/4″ from the line drawn 5-1/2″ from the edge. Make another mark 3/4″ up from the outside edge of the frame (see photo). This marks the center of the 1-1/2″ hole for the arc.
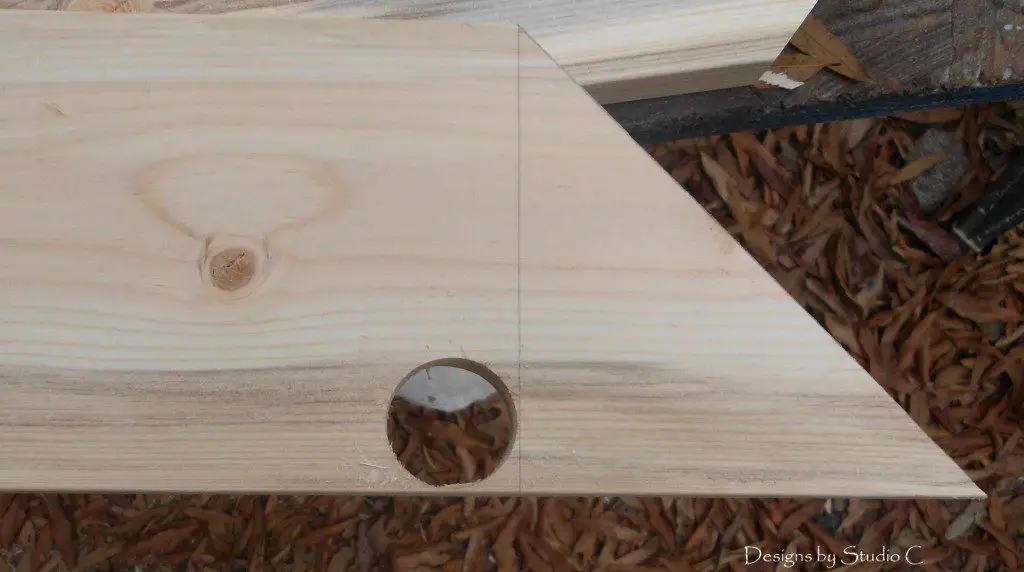
I used a drill press to cut the holes; a regular drill with the paddle bit can be used, as well!
Tip: When cutting holes in lumber with a paddle bit or hole saw, only drill halfway through then flip the board over to finish drilling the hole. This makes a nice, clean hole without tearout.
Step Four
Once the holes have been cut, draw a line connecting the holes to each other, as well as to the outside edge of the frame. Use a jigsaw to cut the lines. Clamp the boards together and “gang sand” the arcs and cutouts.
Step Five
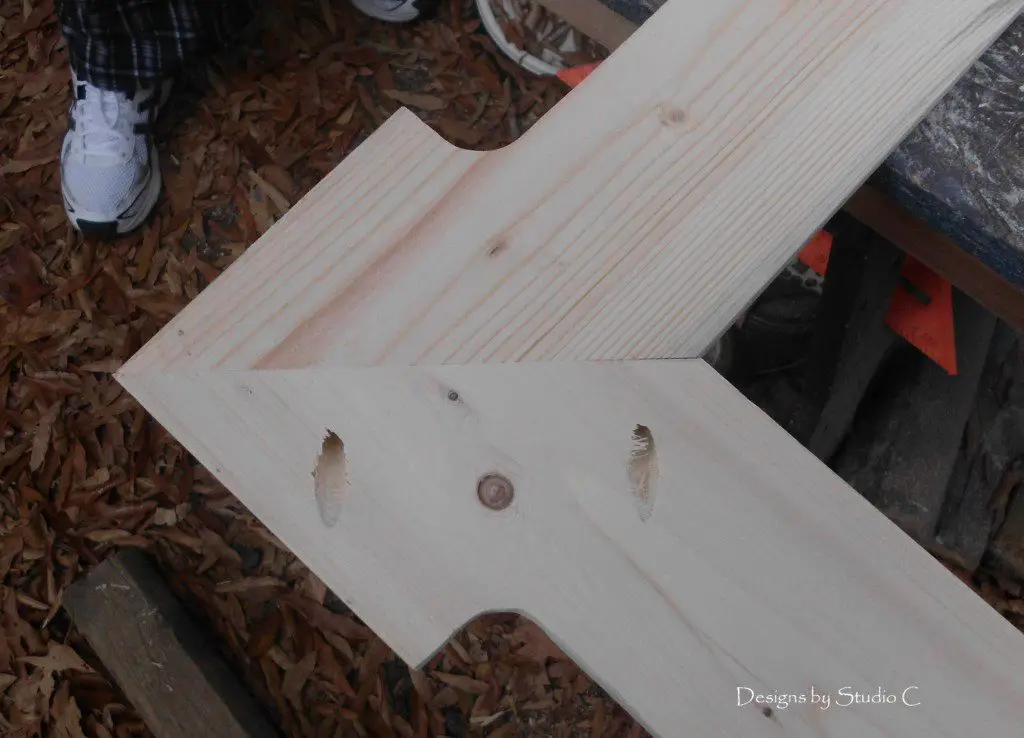
Drill pocket holes in the ends of the shorter pieces and assemble the frame.
Step Six
The frame is designed so the mirror overlaps the opening by 3/4″ on each edge. A rabbet can also be routed on the inside of the frame so the back of the mirror is flush with the back of the frame. If using this method, recalculate the overlap of the mirror to the frame according to the length of the rabbet. In other words, if the router bit being used cuts a 3/8″ rabbet, the overall length of the boards will be 10-1/4″ more than the length and width of the mirror. The width of a 1×6 is 5-1/2″ times 2 is 11″ minus the overlap (for a 3/8″ rabbeting bit, 3/4″ will have to be subtracted).
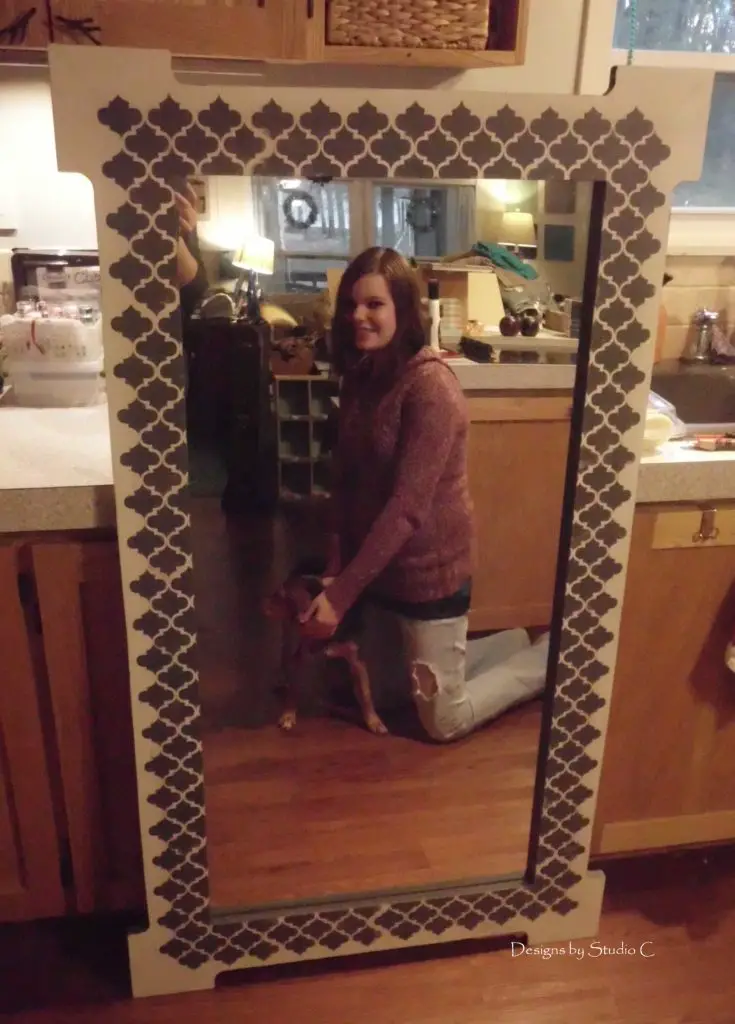
Finish as desired, then attach the mirror using the mirror clips or framing tabs if using a routed rabbet. I painted the frame white, then used grey acrylic craft paint to paint the outer edge as well as the inside edge of the frame. I used a stencil for the design and painted it the same grey, then finished with three coats of Rust-Oleum’s Ultimate Polyurethane in Soft Touch Matte. I also used a piece of corrugated board behind the mirror to protect it!
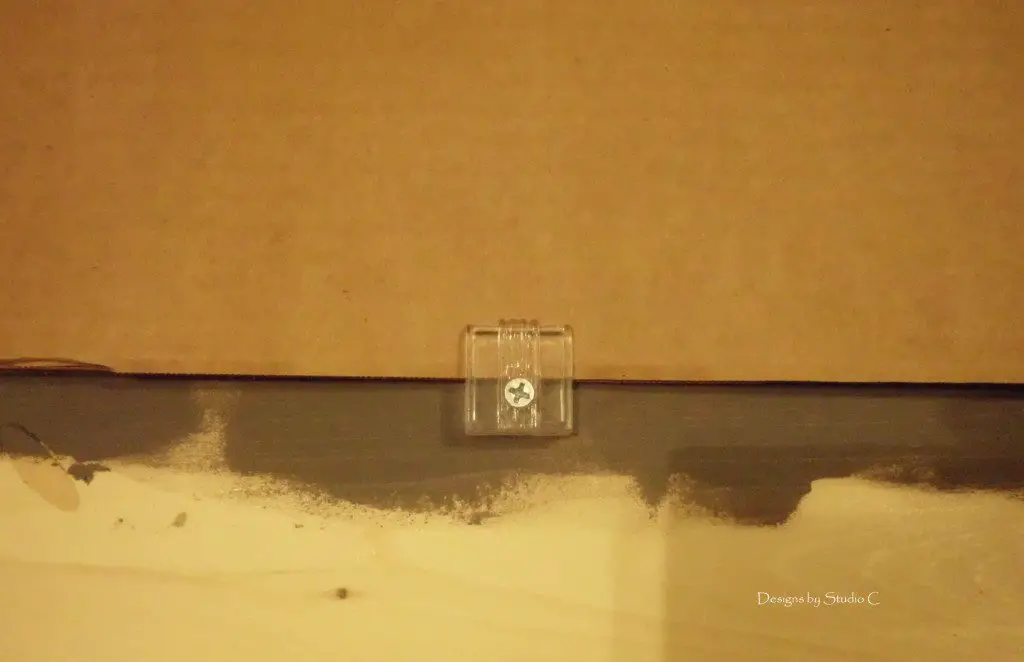
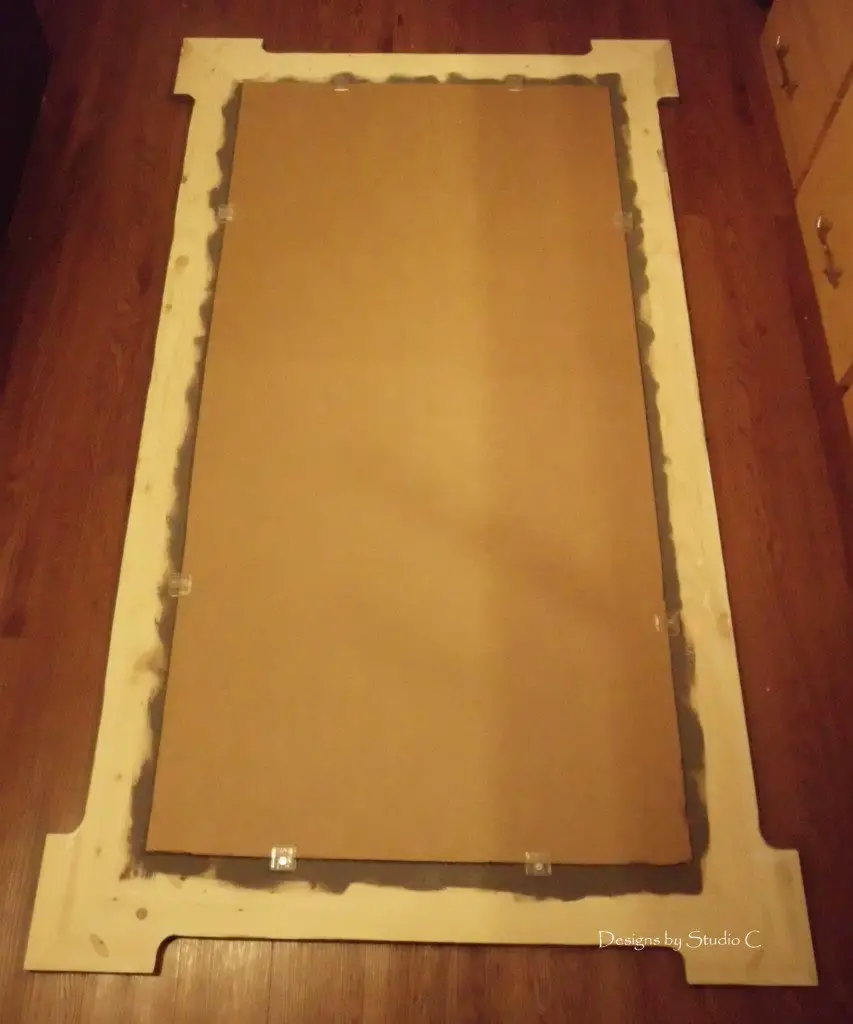
I used a french cleat to hang the frame on the wall because it is so large and heavy! Sorry for the horrible photos – there just isn’t enough light in my house but I’m sure you get the idea!
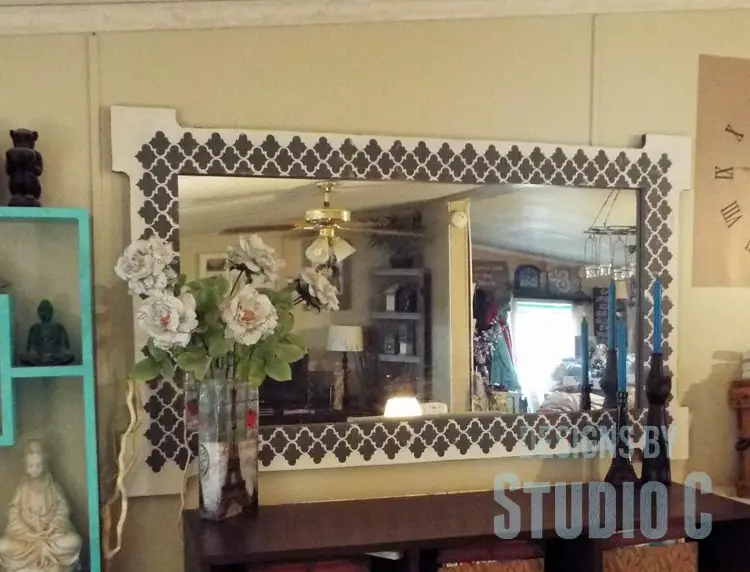
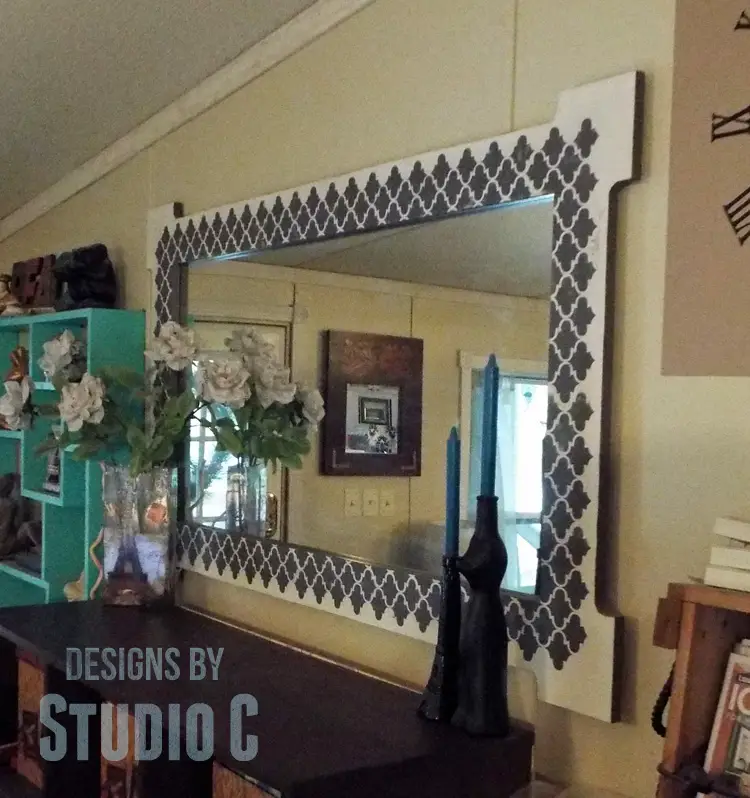
The Branford frame would also be awesome as a chalkboard or corkboard! Any questions about the free plans to build a Joss & Main Branford mirror frame? Leave a comment below or contact me at cher {at} designsbystudioc {dot} com!
Originally posted 2012-12-14 08:00:49.


[…] a frame to just about any mirror with these easy-to-follow free […]