Kitchen Remodel Part 2 (After)
In the last post, I shared pictures of my kitchen before and during the remodel. It took me seven months to complete the project but it was time well spent! Take a look at the new layout…
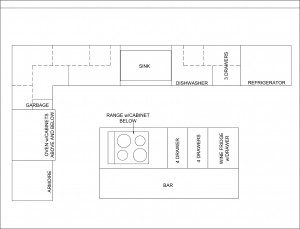
Now, more than one person at a time can fit into the kitchen which means my “special helpers” can contribute to the cooking and cleaning!
I built the countertops and applied the laminate myself!
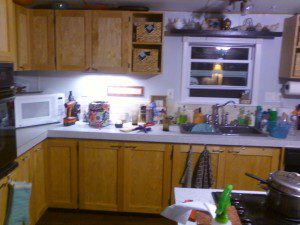
I have more cabinet space in the same amount of area…
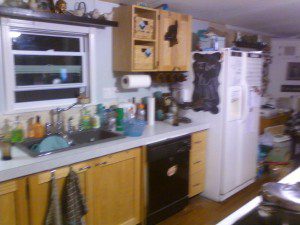
I went from having only three drawers to twelve!
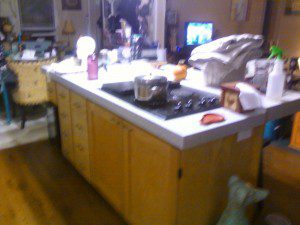
I built a rectangular island with a bar and incorporated a wine chiller into it. I moved the cooktop to the island (for an article on how to replace a cooktop go here).
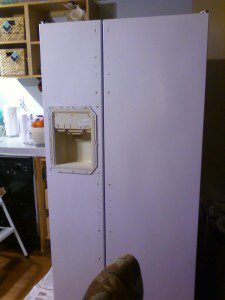
I even painted the refrigerator using Rust-Oleum Appliance Epoxy! It was so easy, if you can stand the fumes for a day it will be worth it!
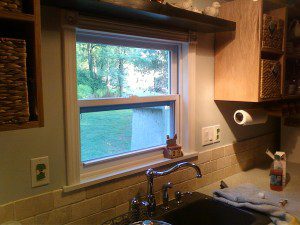
My boyfriend and I replaced the window with a much nicer and more energy efficient model.
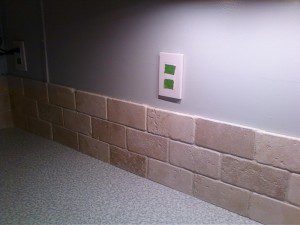
We also installed an awesome tumbled marble backsplash. Picking tile is the hardest part… I chose the same tile he has in his kitchen. It was much easier!
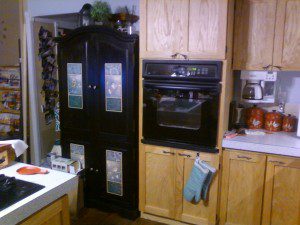
I built a new cabinet for the oven and located the oven where it should be so I won’t have to bend over and burn myself every time I use it!
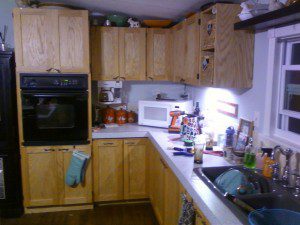
I refinished my armoire to use as a pantry…
So if you are afraid to take the plunge and remodel your own kitchen, don’t be! I had a few ideas in mind but did most of the designing as I went along. Keep in mind that the height of lower cabinets is 36″ and the depth is 24″. With upper cabinets, the depth is 12″ but the height varies, and the space between the countertop and the bottom of the upper cabinet is 18″ – 24″. This is not a quick project unless you have a ton of time on your hands but I’m sure that once you get started, you will have a great time!
Any questions? Leave a comment or email me at designsbystudioc@gmail.com
Originally posted 2012-04-08 08:00:03.


You have remarked very interesting points! ps nice website.
Thank you very much! Please come by again!
Hi, I just stopped in to visit your blog and thought I’d say thank you.
THANK YOU for stopping by!!
Thank you very much! I haven’t been blogging long but really enjoy it! Thanks for the support!
Hello..
I must say that the kitchen should be such that when ever the person enter the first expression should be Wow! You have done a fabulous job in making the kitchen look perfect. I was looking for the design for my place and reached here. I will look forward to it.
Thank you so much! I really appreciate it! After a year, I still think its pretty “WOW” and I’m glad that a few others do, too!
[…] Cher’s favorite project is her kitchen remodel, see those details here: Kitchen (Before) | Kitchen (After) […]