
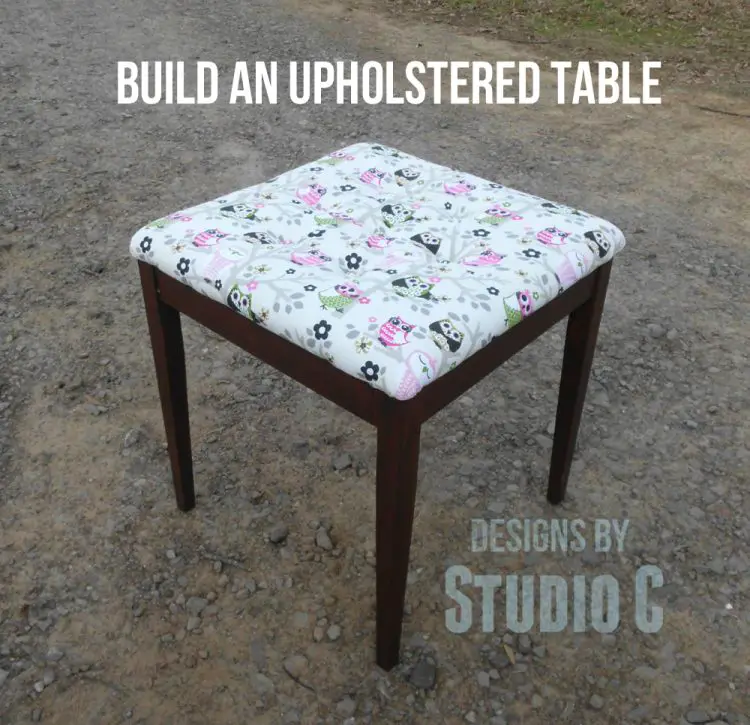
Free Furniture Plans to Build an Upholstered Table
My teenage daughter, The Han, is a student in the Gifted and Talented program at her school. She came home one day and mentioned that as a project for her class, she needs to build a table. Awesome! This is where the free furniture plans to build an upholstered table were born. This little side table could also double as a stool when extra seating is required, and features a tufted top.
Materials:
- 1-1/4″ pocket hole screws (<– affiliate link!)
- Wood glue
- Sandpaper (100, 150, 220 grits)
- Finishing supplies (primer & paint, or stain, sealer)
For the top:
- Upholstery fabric of choice
- 1″ upholstery foam
- 3/4″ screws
- 3/4″ washers
- 3/4″ covered button kit
Lumber:
- 1 – 1×3 at 6′
- 1 – 2×2 at 6′
- 1 – 2′ x 2′ sheet of 3/4″ plywood
Cut List:
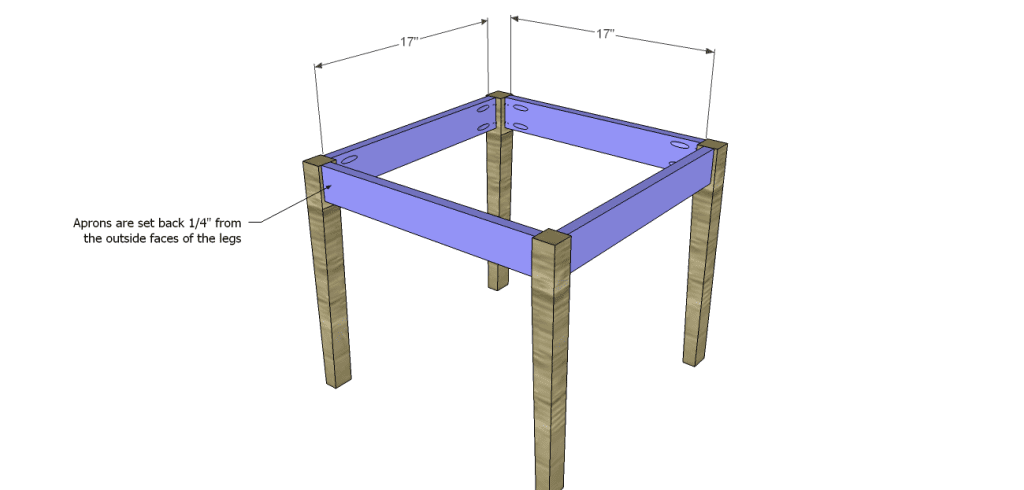
- 4 – 2×2 at 17-1/4″ – Legs
- 4 – 1×3 at 17″ – Aprons
- 1 – 3/4″ plywood at 20″ x 20″ – Top/Seat

Notes:
The Han did most of the work herself with the exception of cutting and assembling the table. The frame will be assembled and finished first, then the upholstered top will be attached.
Step One
Cut the pieces for the legs. The example has a taper cut in two faces of each leg both of which face to the inside.

Step Two
Cut the pieces for the aprons. With the pocket hole jig set for 3/4″ material, drill pocket holes in each end as well as one long edge of each piece. Secure to the legs using glue and 1-1/4″ pocket hole screws, positioning the aprons 1/4″ back from the outside face of each leg.
Step Three
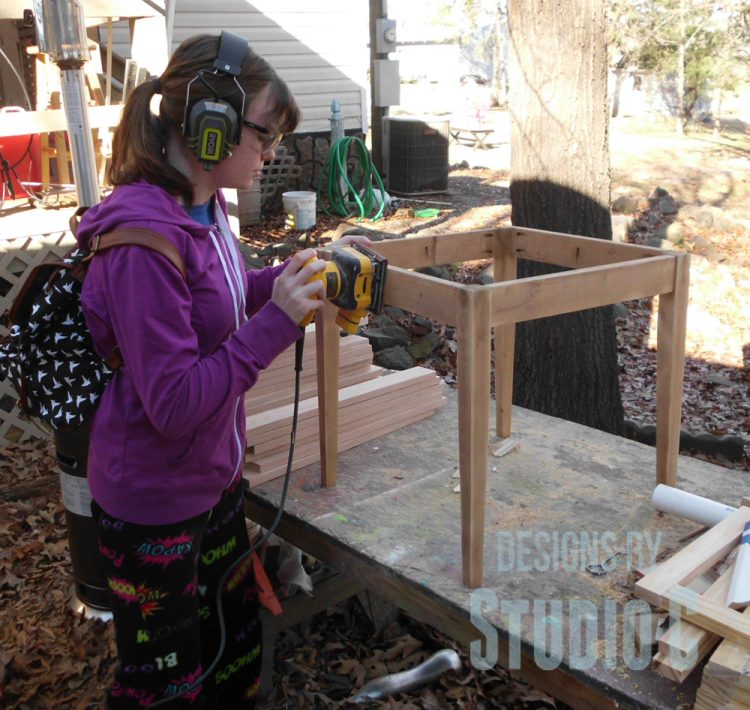
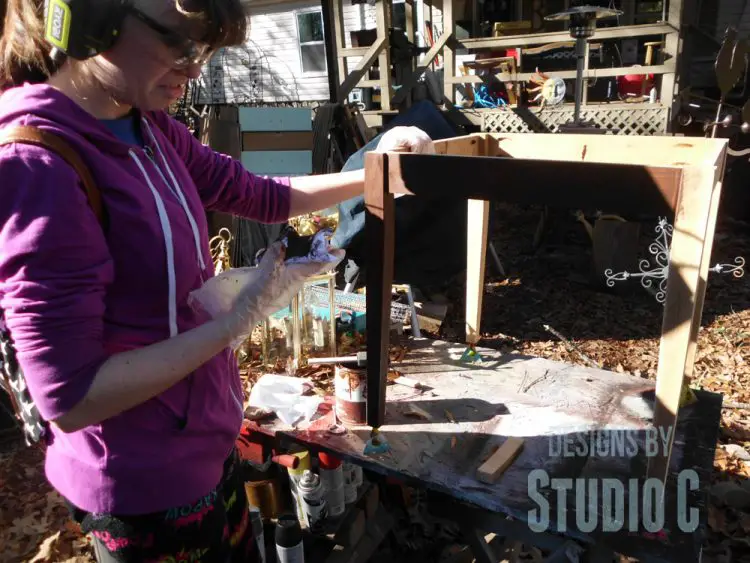
Thoroughly sand the frame and finish the frame as desired. The Han chose to stain the frame to her table using Rust-Oleum Ultimate Wood Stain in Carrington followed by three coats of Rust-Oleum Ultimate Polyurethane in Satin.

Step Four
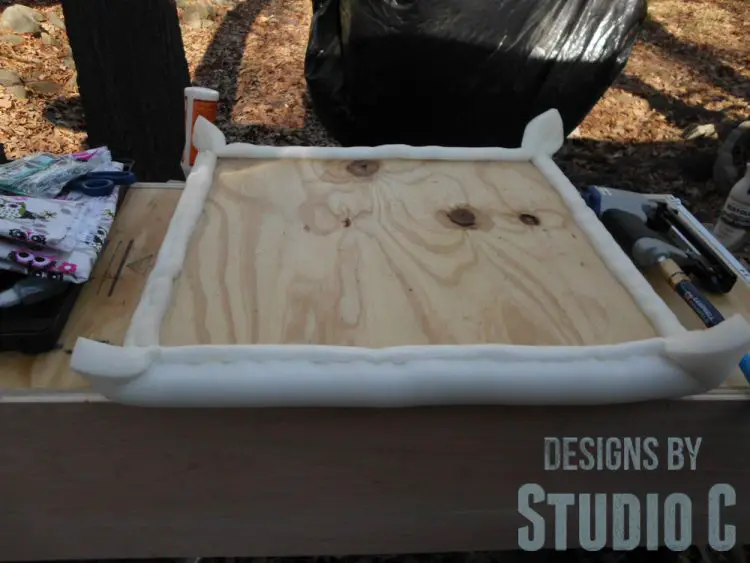
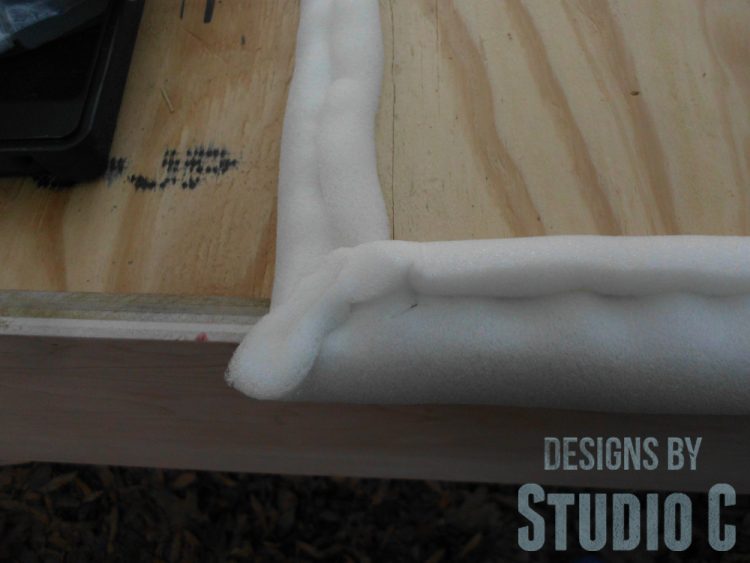
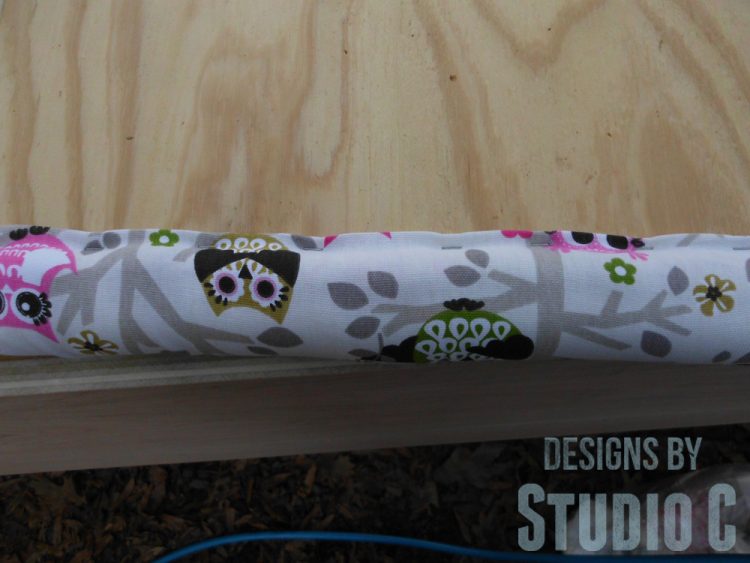
Cut the piece for the top. Cut a piece of 1″ upholstery foam to cover the top and sides of the top, securing to the underside of the piece using staples.
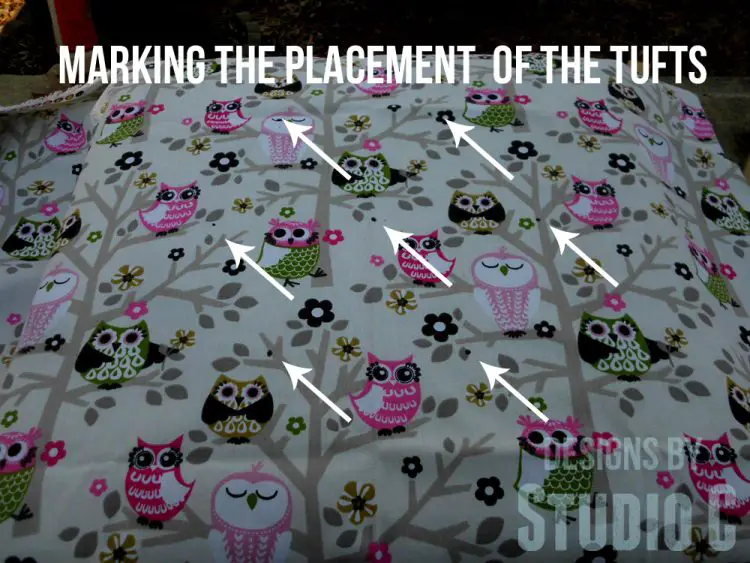
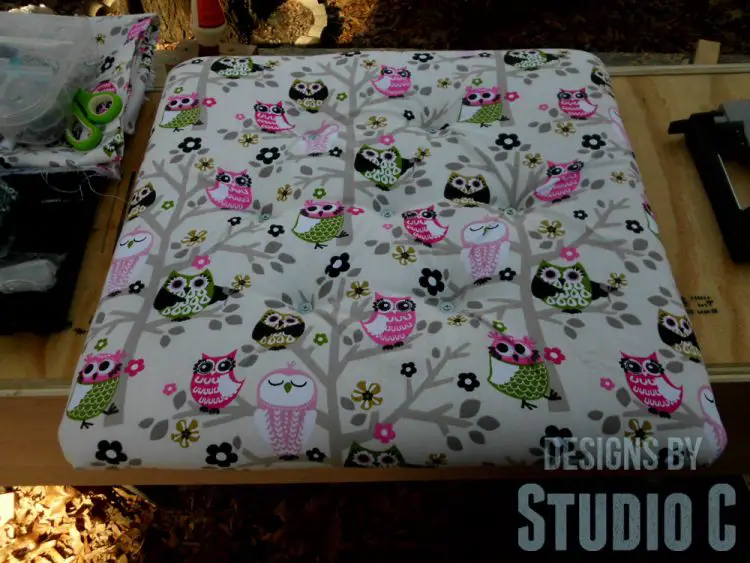
Position the fabric on top of the foam and mark the position of the tufts.
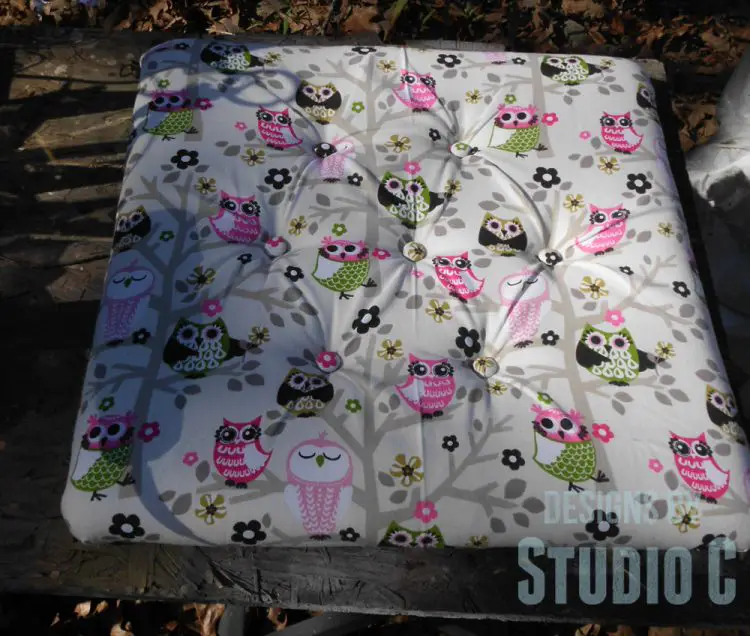
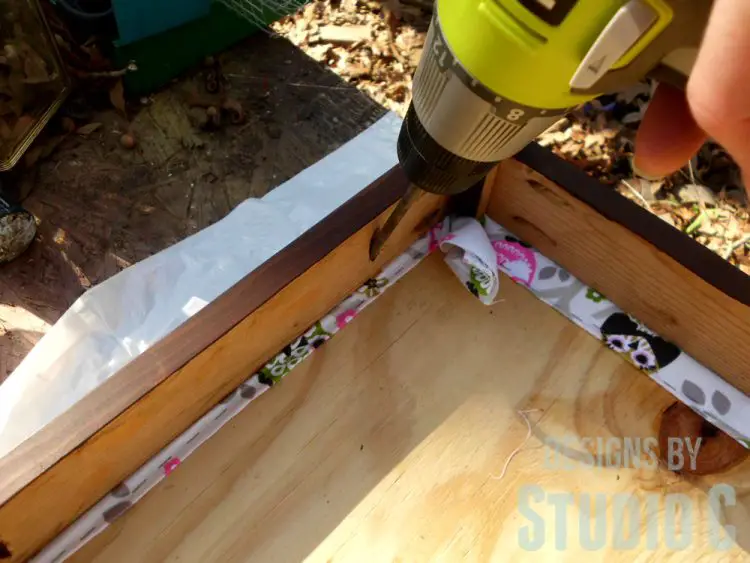
I found a super-easy tufting tutorial from Pneumatic Addict and decided to try that method. Position a washer over the mark for the tuft and drive a screw through the washer very slowly (to keep the fabric from twisting around the screw)!
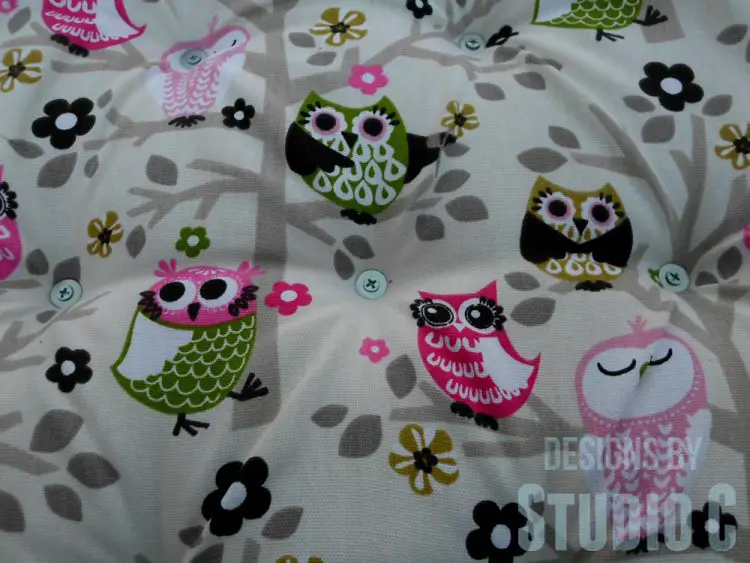
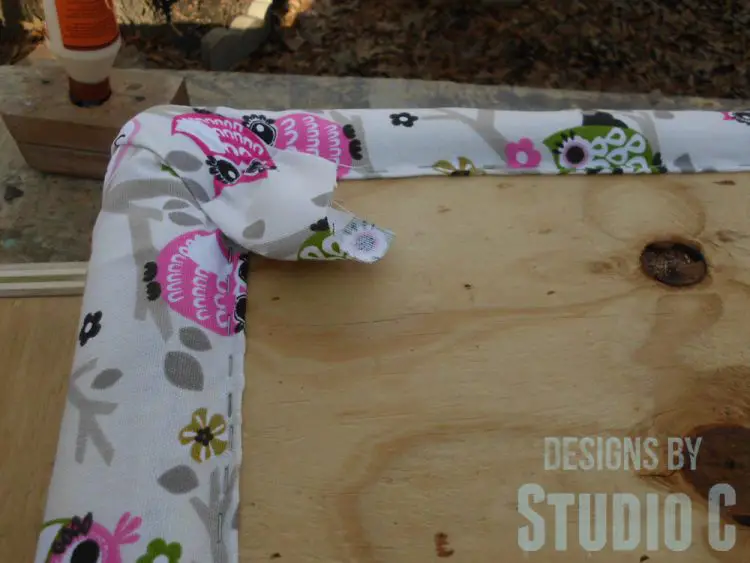
Secure the fabric to the bottom of the plywood using staples.
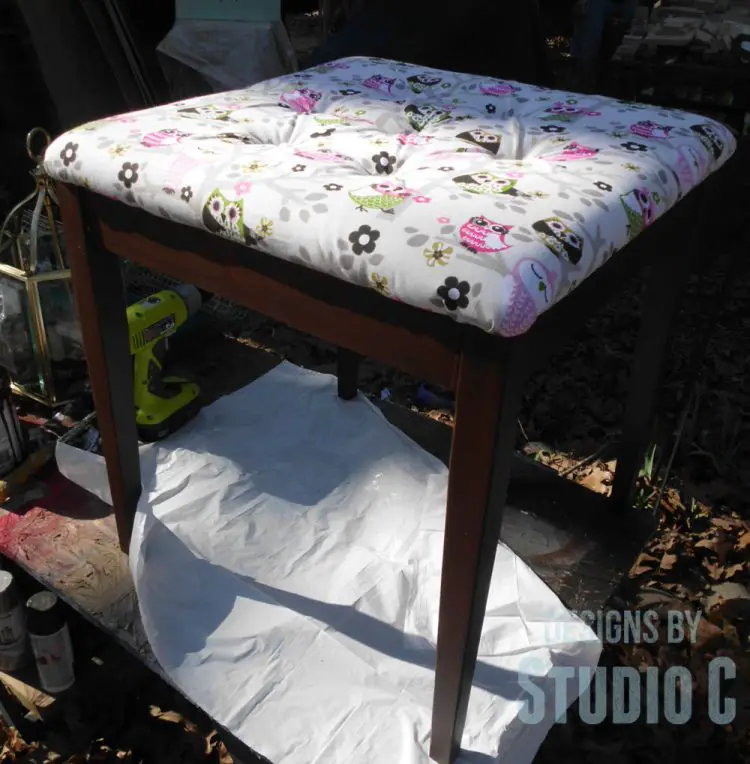
Cover the buttons with scraps of fabric and glue them into position over the washers.
Step Five
Position the top on the frame and secure it in place using 1-1/4″ pocket hole screws through the aprons.
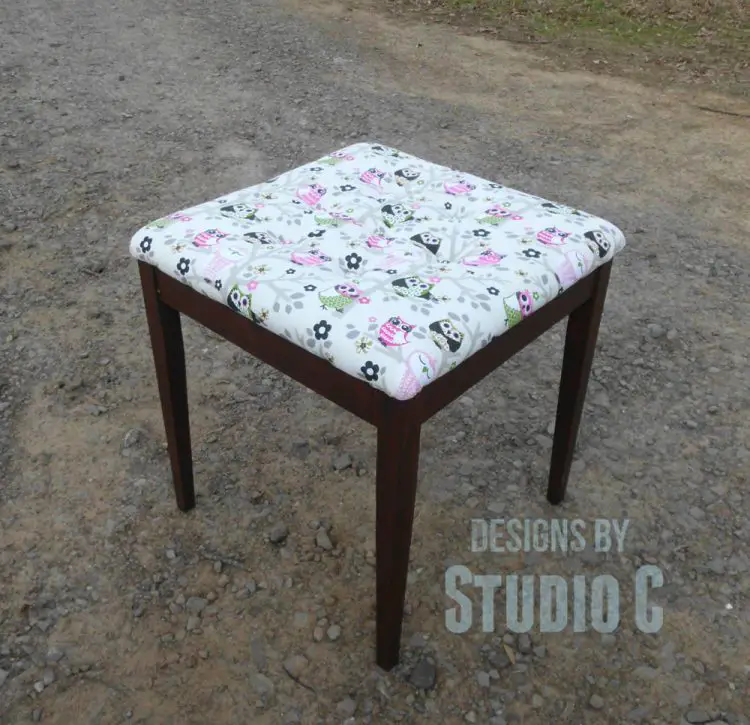
These free furniture plans to build an upholstered table are perfect for the beginner. The plans are simple to follow and the table plus the upholstery are easy to construct. Need help? Let me know at cher {at} designsbystudioc {dot} com.
For the record, The Han got an excellent grade on her table as well as a huge hug from the teacher for using a fabric with owls – the teacher’s favorite!
Sharing with:
Art is Beauty, One Project Closer
Originally posted 2014-02-03 08:00:02.


15 Comments
Cute … love the fabric choice
Thanks so much! I love the fabric also!
I love this and think it would be just perfect for my girls’ rooms. It looks easy enough for a beginner, so I am going to give it a try!
You can so do this, Jessica! It really is a very easy project and my daughter had fun with it – I think!
So pretty Cher. Looks like someone takes after mama.
Thank you, Elle! She has such a keen eye for design that I think it puts me to shame!
This chair is simply adorable! I love the owls. I’m fairly certain, I could never create such a thing, but I am in awe of those who can. Great job.#SITSBlogging
Thank you so much! My daughter did a great job on it (even though she complained about having to do it) and now wants to build another! Thank you for stopping by!
Love the owl fabvric. This is something I may be able to do! My dad loves to build things…this could be a nice spring project for us this year.
Thank you so much! It is a really easy project and I think you would do an awesome job! Thank you for stopping by!
Thank you so much! Trust me – once you start, you will be hooked and there will be no turning back, lol!! Thank you for stopping by and if you ever need help, let me know!
All of your work is just amazing! I’ve never done anything close to this, but given the opportunity you will be the place place to look! Now following fb & twitter =) Here from the #SITSBLOGGING Have a great week!
Thank you so much, I really appreciate it! If you want to try and need help, let me know – that is why I am here! I’m glad you stopped by!!