An Easy to Build Modern Address Sign
An Easy to Make Address Sign for Any Home
My son recently bought his first house. It is so exciting for him to have a home of his own! As a housewarming gift, I created this easy to build modern address sign just for him that would reflect his style and the vision he has for his new home!
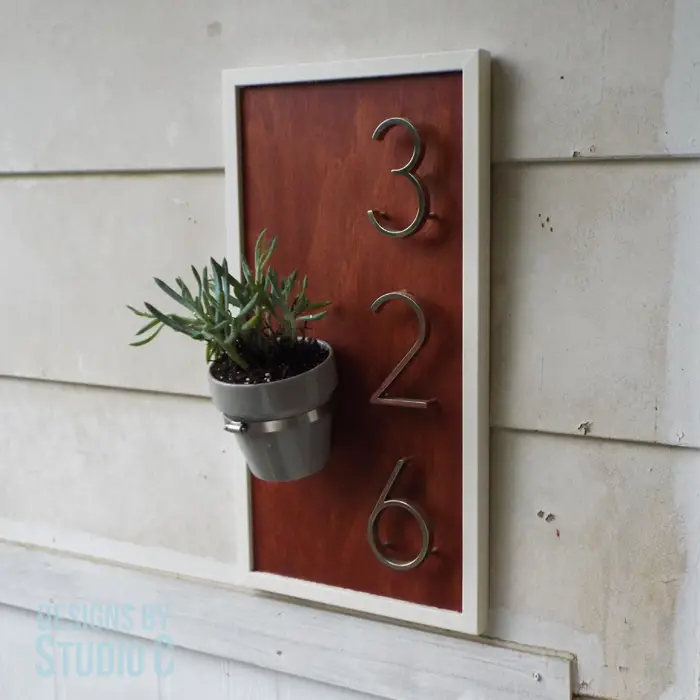
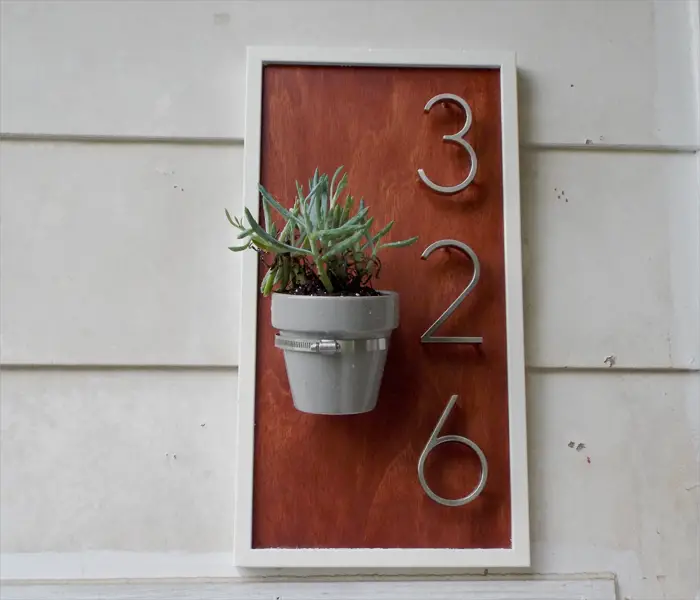
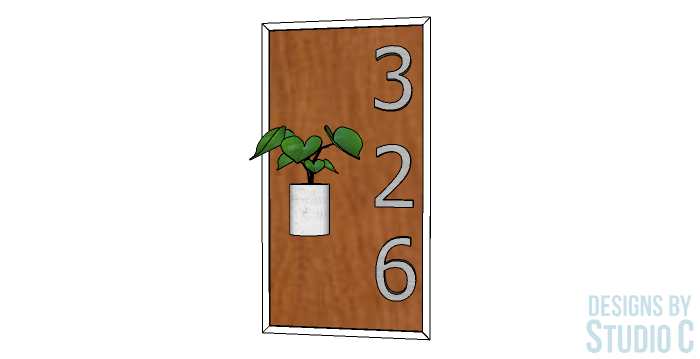
The base of the Modern Address Sign is plain plywood which has been stained then sealed with spar urethane. The frame is pine that has been painted with exterior latex paint. The numbers are standard house numbers and the planter is held in place with a regular hose clamp.
Materials:
- 2″ brad nails
- Hose clamp to accommodate the chosen planter (<– affiliate link!)
- Standard house numbers (<– affiliate link!)
- D-Tab or Keyhole hangers (<– affiliate link!)
- Clear caulk for exterior use
- Spar Urethane
- Exterior Paint
Lumber:
- 3/4″ plywood for the base
- 3/4″ x 1″ strips for the frame (ripped from a wider piece of lumber)
Notes About the Project:
Regular, untreated lumber can be used for this project but note that an exterior sealer is required, especially if the sign is exposed to the elements or if you live in an area with high humidity like I do.
The length of the base and the frame will vary depending on the numbers in the address.
Step One
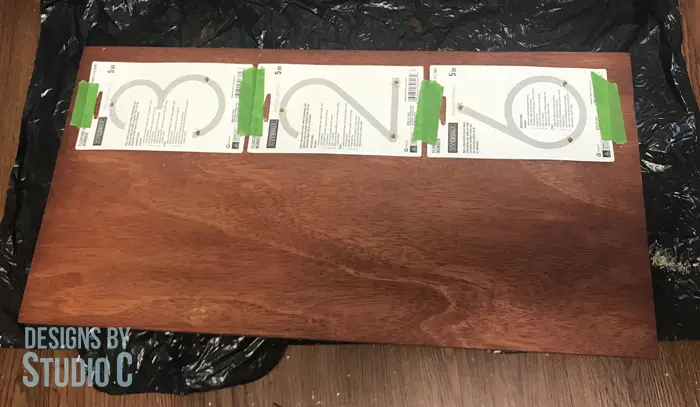
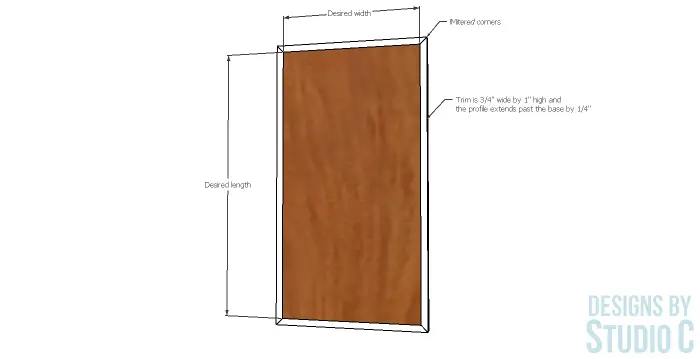
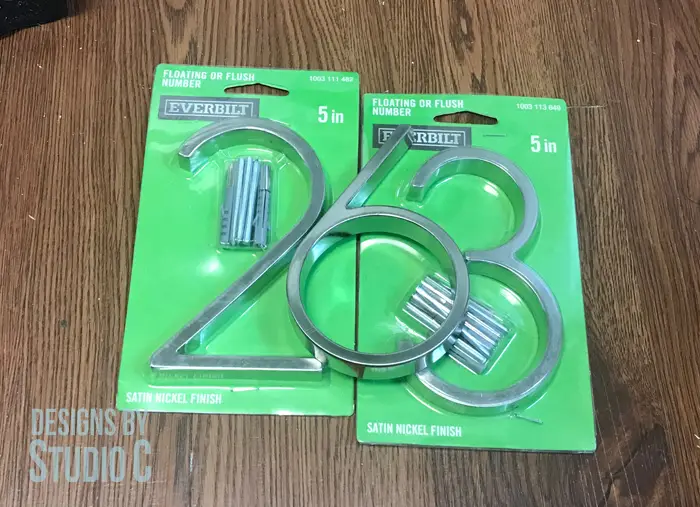
Determine the length and width of the base. While the numbers were still in the package, I laid the packages end to end then allowed for about an 1-1/2″ at the top and bottom for the length, then doubled the width of the package plus 1-1/2″ on each side for the width.
Thoroughly sand the base, then mark the position for the numbers. The numbers I chose stand away from the base, so I pre-drilled the holes for the hardware.
I used pre-stain wood conditioner then stained the base using RustOleum wood stain in Cognac. Once the stain was dry, I sealed both sides and the edges of the base using spar urethane.
Step Two
Cut the pieces for the frame. I cut mitered edges on the frame pieces but they can also be cut straight (just remember to allow for 2x the width of the frame on either the top or the bottom). I painted the frame pieces with exterior paint prior to securing them to the base with glue and 2″ brad nails.
Run a bead of clear silicone for exterior use along the inside of the frame on the base. Install the D-Rings to the back of the base for hanging.
Step Three
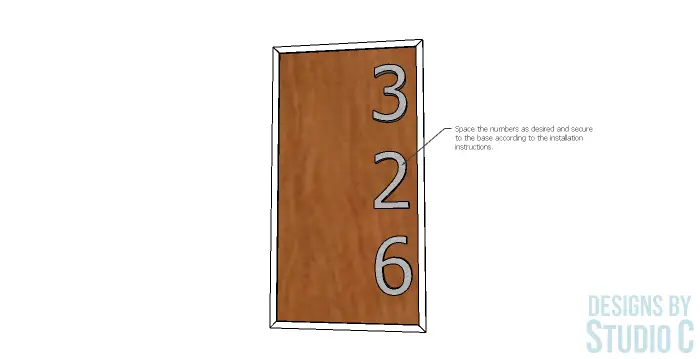
Secure the numbers to the base,
I installed the hardware on the numbers which consisted of threaded posts with solid tubes that screw into the back of the numbers. I added a bead of silicone in the pre-drilled holes before installing the numbers.
Step Four
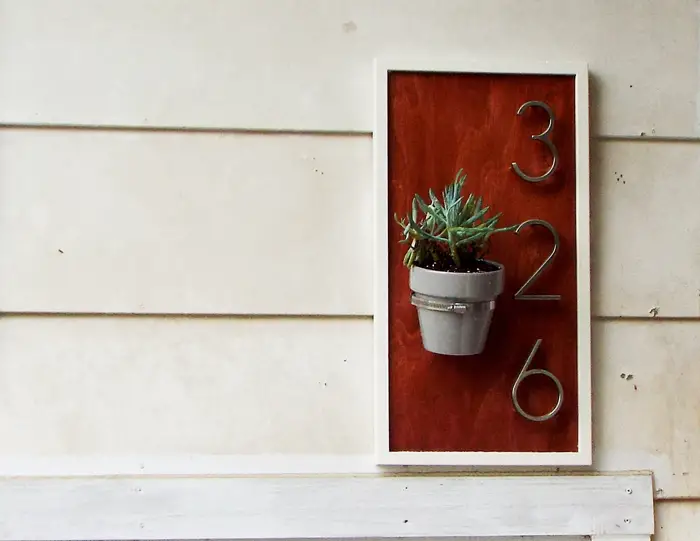
Determine the placement of the planter, and install the hose clamp by driving a self-tapping screw through the back of the clamp into the base.
Place the planter inside the clamp and tighten the clamp to hold it without falling out.
Have questions about the easy to build modern address sign? Leave a comment below!
Here are a couple of other address signs to make:
Originally posted 2019-04-28 08:00:26.


[…] modern address sign is perfect for mounting on your house. Follow along and build it using this free tutorial. Never […]
[…] Modern Address Sign […]
[…] photo below shows my sketch (along with a sketch of the house number plaque I made for my son!). I thought their shelf was upside down so I rotated it to have two shelves for […]