
DIY Joist Hanger Jig
An Easy to Make Jig for Mounting Joist Hangers
Because our walkway deck wasn’t intentionally made to see the light of day (a tree fell on our house taking out our living room, dining room and kitchen), the joists rotted under the deck boards creating a hazardous situation that needed to be addressed ASAP! There are only four joists on this side that need to be replaced but there are ten on the other side. That means installing 28 joist hangers which is a lot of work and can take a lot of time to make sure they are hung correctly. This DIY joist hanger jig uses scrap wood to build, and has a handle for ease of use. It sits flush with the bottom of the ledger board for accurate placement.
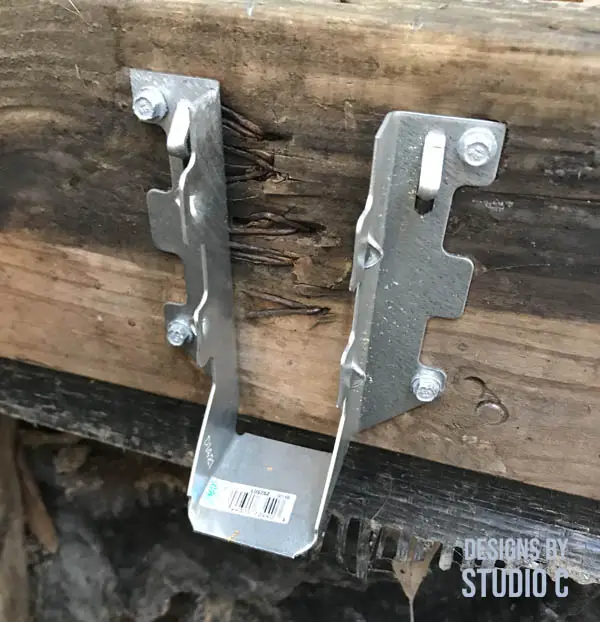
The joist hanger tool can be used for any depth hanger and holds the hanger in place for quick, easy and accurate installation!
Remember, use the correct fasteners when hanging structural joists! Deck screws, drywall screws and roofing nails are not to be used as they can sheer off with enough force. Simpson Strong Tie SD Connector screws (<– affiliate link!) are an ideal choice, as well as 10d or 16d nails used in all holes on the hanger for maximum load capacity. As always, if in doubt, consult a professional contractor!
Consult the local building codes in your area before undertaking a project such as this.
Materials:
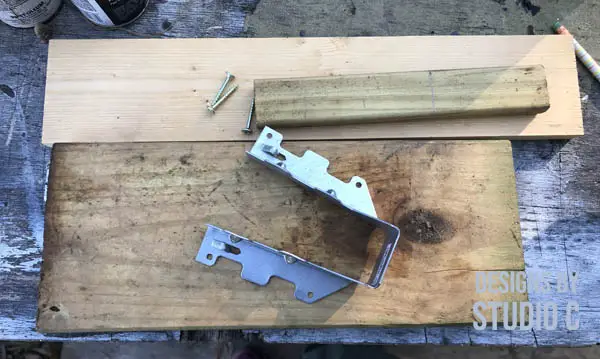
- Scrap wood: 1×2, 1×4, 2×6
- Two 1-1/2″ screws
- Three 2-1/2″ screws
- Utility handle
- Carpenter’s square (<– affiliate link!)
Let’s Get Started!
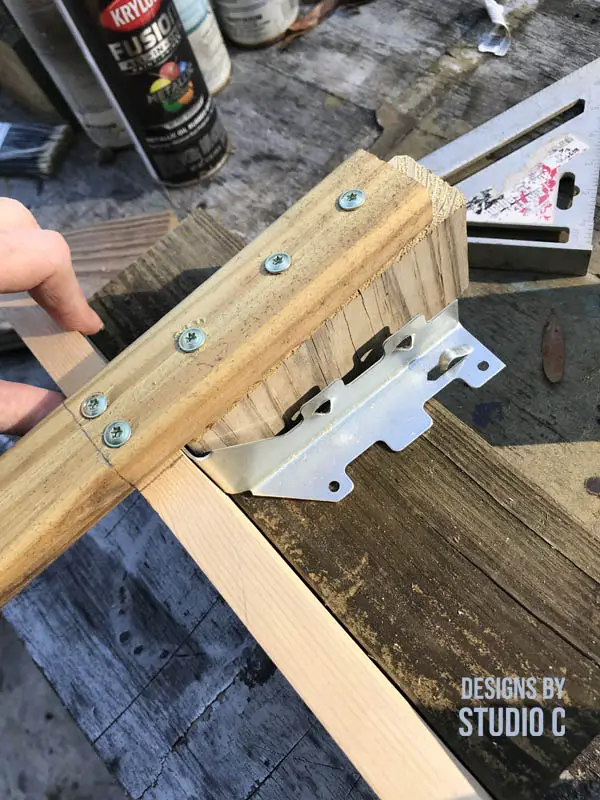
Measure the overall depth of the joist hanger, and cut a piece of 2×6 at the same measurement. Mine measured 2 inches, and so my piece of 2×6 was 2 inches.
Next, cut the 1×4 at about 12 inches long, and mark the center on one edge. Make a mark 3/4 away from the center line on each side for the placement of the 1×2.
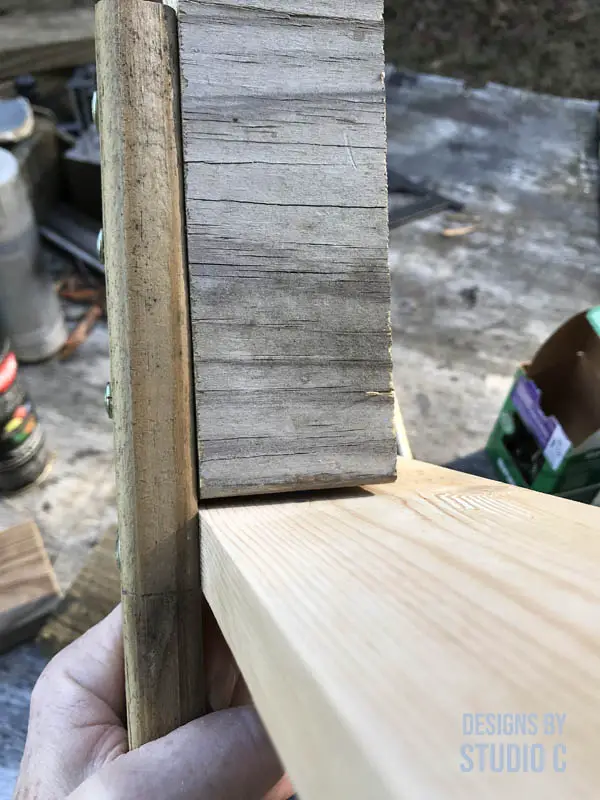
Then, cut the piece of 1×2 at approximately 10 inches long, and make a mark on one side at 5-9/16 down from the top. This line will align with the top face of the 1×4 board (mine doesn’t exactly line up – rookie move!). Use the carpenter’s square or speed square to make sure the 1×2 is perpendicular to the 1×4, and drive the two 1-1/2″ screws through the 1×2.
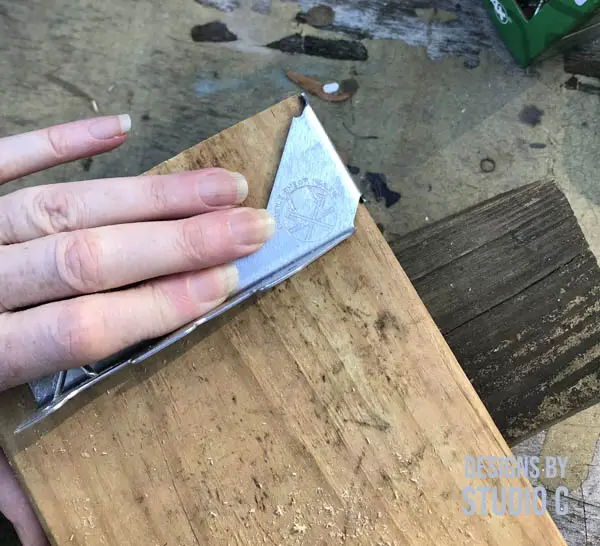
Place the joist hanger on the face of the 1×4 up against the 1×2, then place the 2×6 on top. Secure the 2×6 to the 1×2 using 2-1/2″ screws, then remove the joist hanger. There should be a very small gap between the 2×6 and the 1×4.
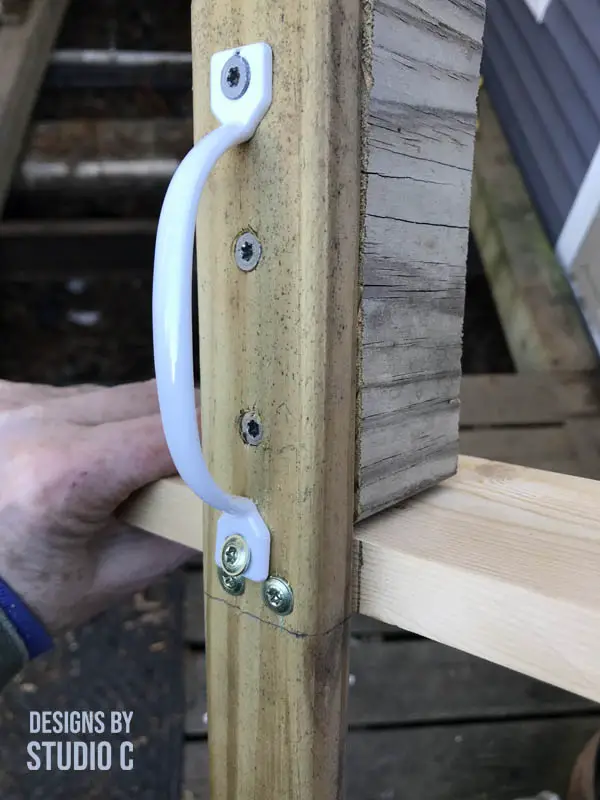
Install the utility handle, if desired, removing the 2-1/2 inch screws then reinstalling them through the holes in the handle.
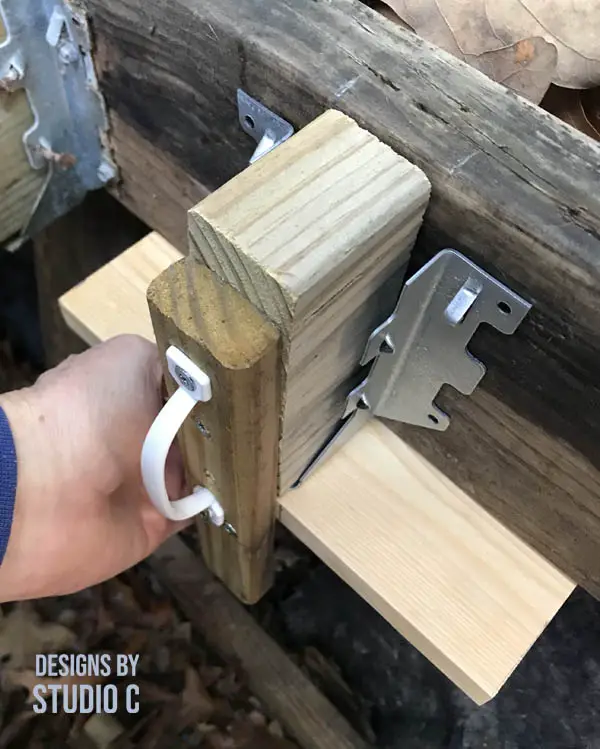
Install the Joist Hangers
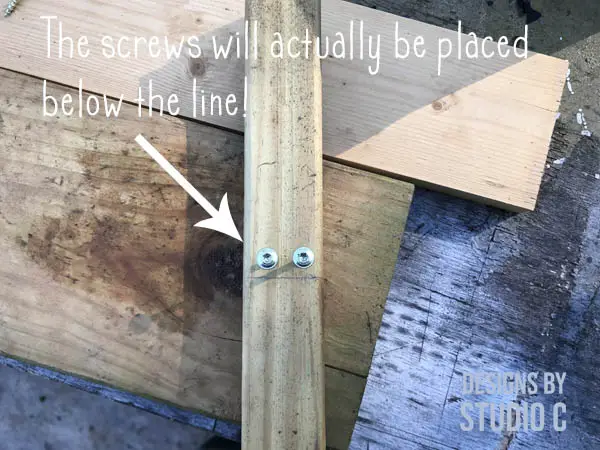
Place the joist hanger on the jig and position the jig on the ledger board with the 1×4 flush with the bottom of the ledger. Pinch the top of the joist hanger so that it touches the 2×6 on the jig, then drive the fasteners.
This joist hanger tool made the job so quick and easy, especially since I was doing it solo that day! Have questions? Leave a comment below!
