Plans to Build an Upholstered Bench with Tapered Legs
A Beautifully Rustic & Modern Upholstered Bench
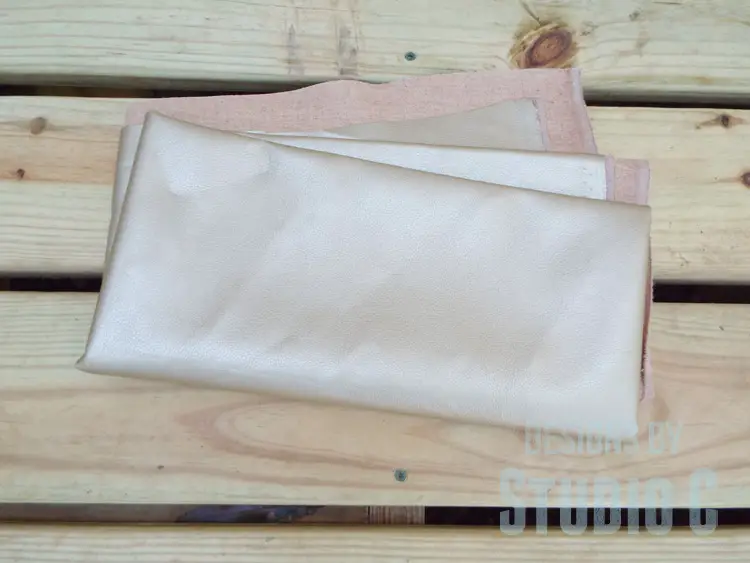
Sometimes, all it takes is a piece of fabric to inspire a furniture project! Such is the case with this bench… The plans to build an upholstered bench with tapered legs were inspired by a remnant of vinyl in a matte gold color! I used a dark stain on the pine frame, leaving it on for a short time in order to give it a lighter and more rustic look. The pieces for the frame itself started as a cracked 2x12x8′ from the cull bin at the home improvement store (I paid $4 for it!). The bench is an easy weekend project and is suitable for those new to furniture building!
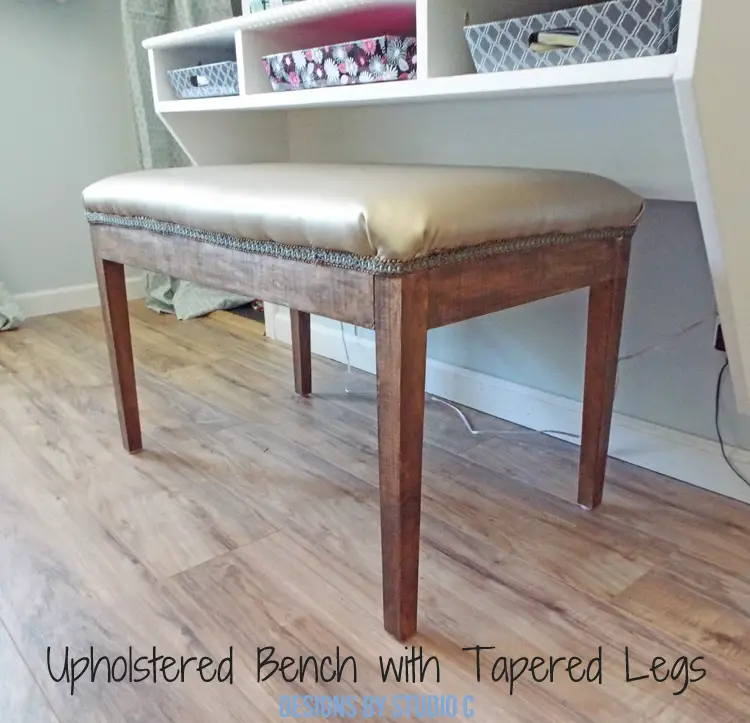
The plans to build an upholstered bench with tapered legs are suitable for all skill levels! A tapering jig comes in handy when building this project!
Supplies:
- 2″ screws
- 2-1/2″ screws
- 2-1/2″ pocket hole screws
- Wood glue
- Sandpaper (100, 150, 220 grits)
- Finishing supplies (primer & paint, or stain, sealer)
- Fabric of choice
- 2″ foam
- Upholstery batting
- Decorative trim
Tools Needed:
- Miter saw or Circular saw
- Drill
- Pocket hole jig
- Sander
- Pneumatic stapler
- Compressor
- Glue gun & glue sticks
Lumber:
- 1 – 2×2 at 8′
- 2 – 2×3 at 6′
- 1 – 2′ x 4′ sheet of 3/4″ plywood
Cut List:
- 4 – 2×2 at 17-1/4″ – Legs
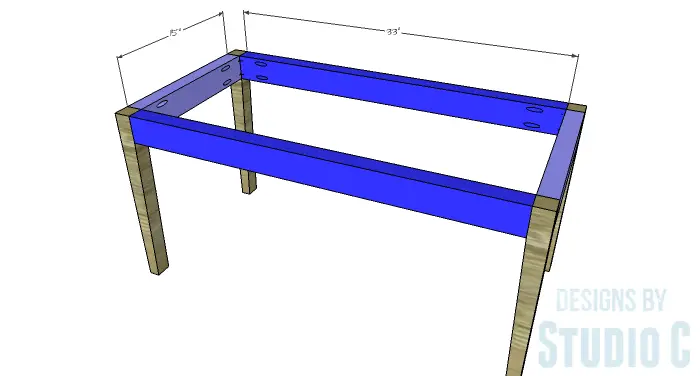
- 2 – 2×3 at 15″ – Frame
- 2 – 2×3 at 33″ – Frame
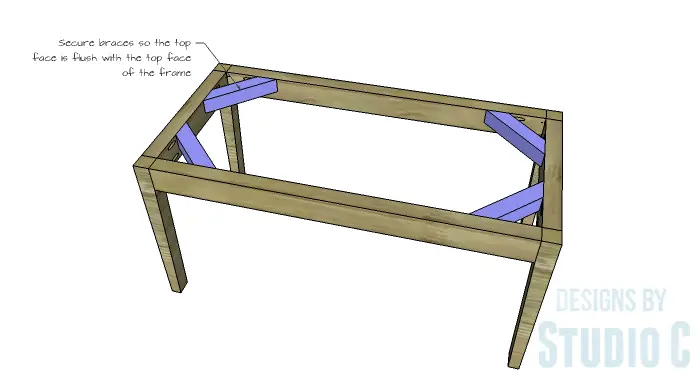
- 4 – 2×2 at 8″ – Corner Braces
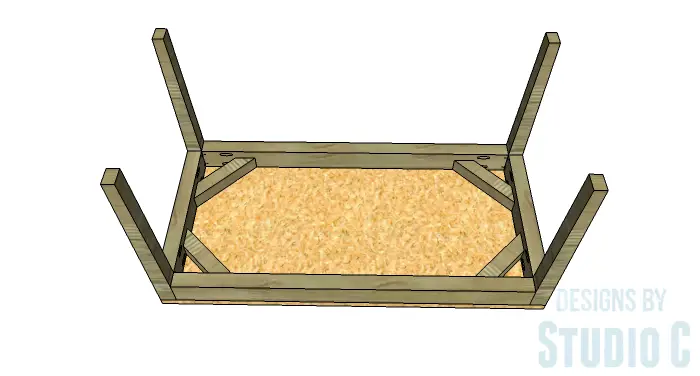
- 1 – 3/4″ plywood at 18″ x 36″ – Seat Base
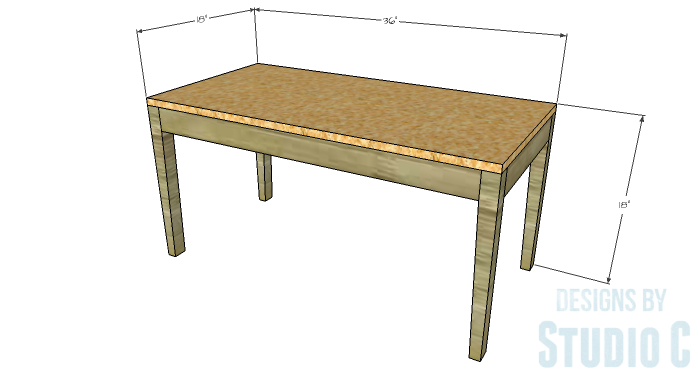
Click on the drawings for a larger view!
Notes about the project:
The tapers in the legs are completely optional!
Step One
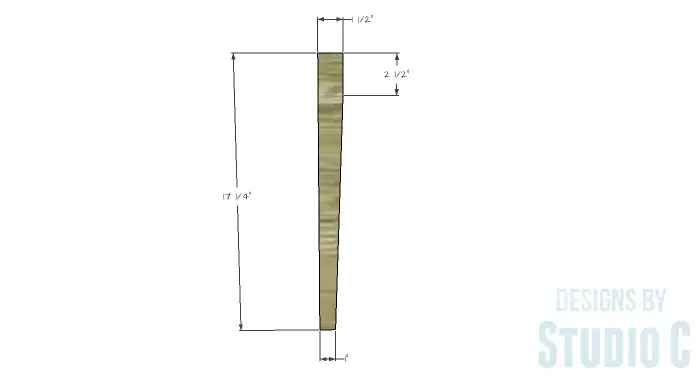
Cut the pieces for the legs. If a taper in the legs is desired, use a tapering jig and a table saw to cut the tapers.
Step Two
Cut the 2×3 pieces for the frame. Set the pocket hole jig for 1-1/2″ material and drill pocket holes in each end. Secure the framing pieces to the legs using glue and 2-1/2″ pocket hole screws.
Step Three
Cut the pieces for the braces and cut a 45° miter in each end. Secure the braces to the framing using glue and 2-1/2″ screws. The top face of the braces will be flush with the top face of the frame.
Step Four
Cut the piece for the seat. Secure the seat to the frame, with the edges flush, using 2″ screws through the braces into the underside of the seat.
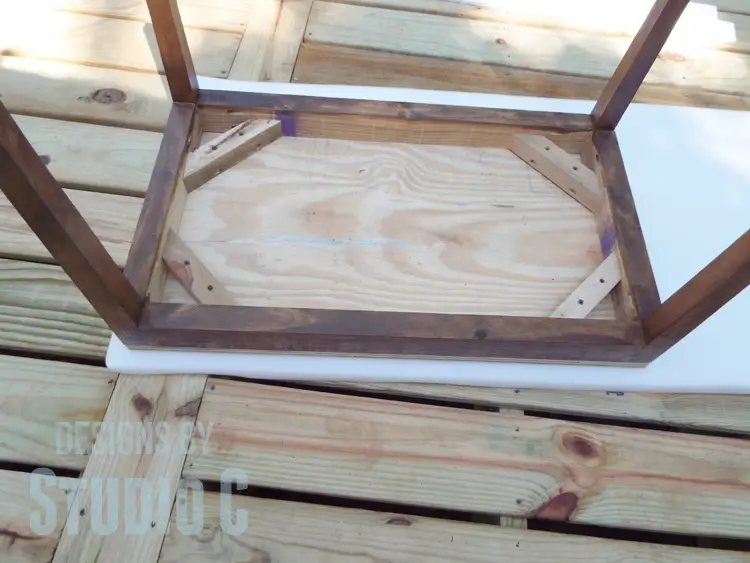
Finish the frame as desired.
To upholster the seat, lay the frame seat side down on the foam and trace around it. Cut the foam 1/2″ to 1″ larger than the seat using scissors or a bread knife.
Cut a piece of batting to fit over the foam, and cut a piece of fabric for the seat. The batting and fabric both should be about 3″ larger than the foam on all sides.
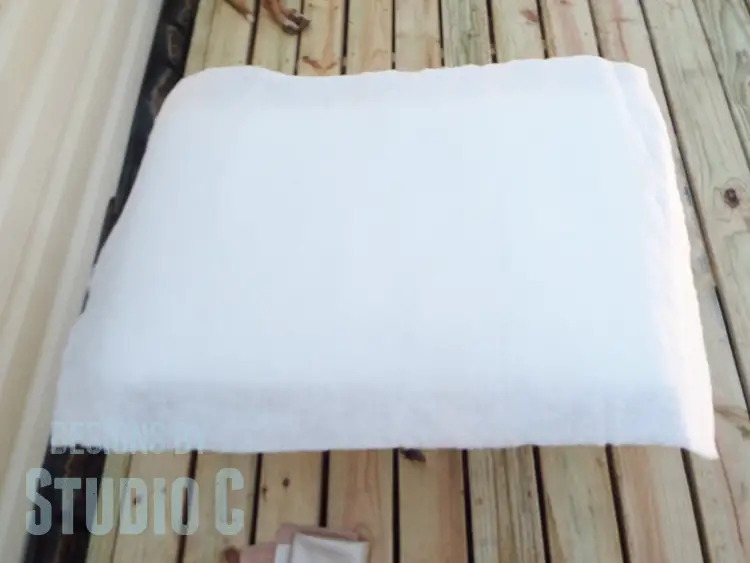
Pull the fabric and batting over the sides of the foam stapling in place along the edge of the plywood seat. Use enough staples to hold the fabric and batting in place, spacing them about 2″ to 3″ apart. The corners can be pleated and stapled in place after trimming away the foam.
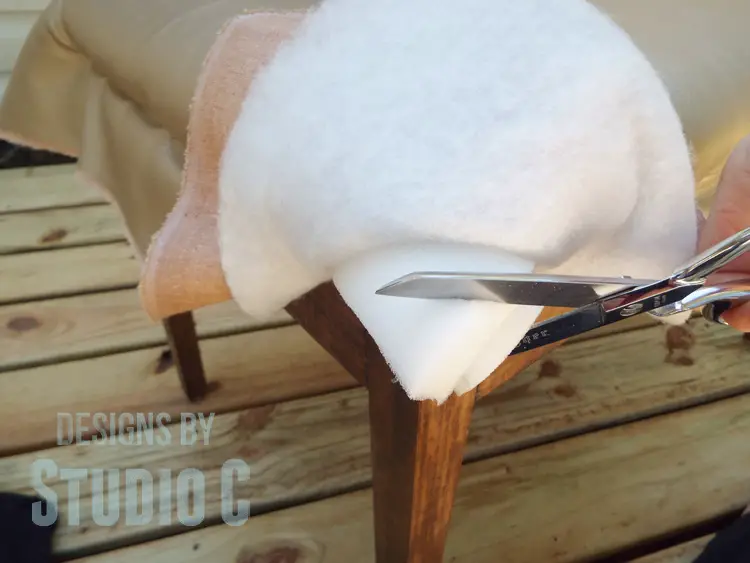
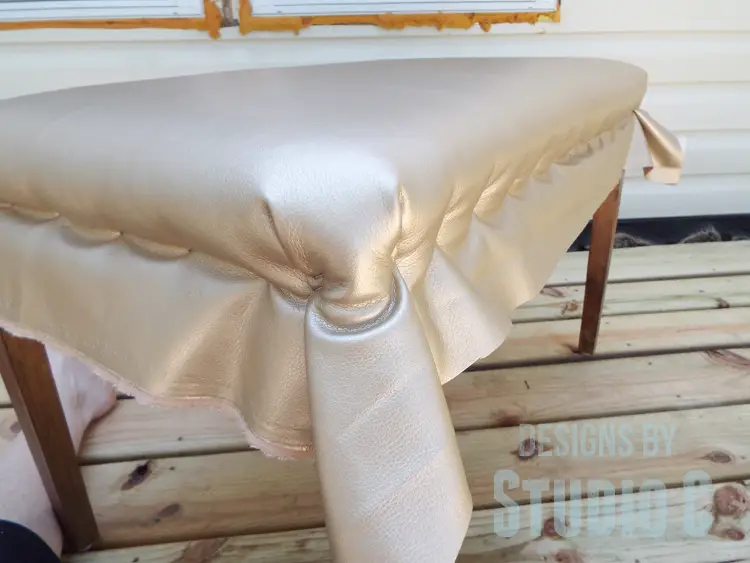
Once all sides have been secured, fill in the spaces between the staples with more staples (ha ha!). Trim away the excess fabric and batting with a razor blade or scissors cutting close to the bottom edge of the plywood seat base.
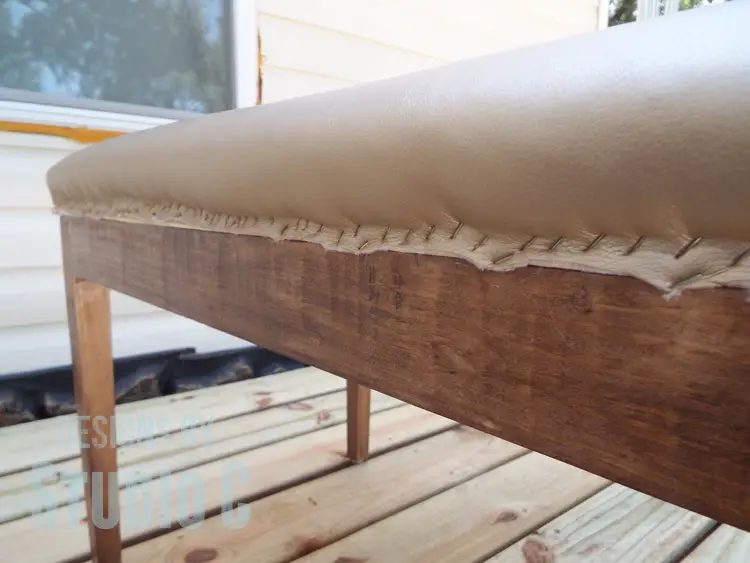
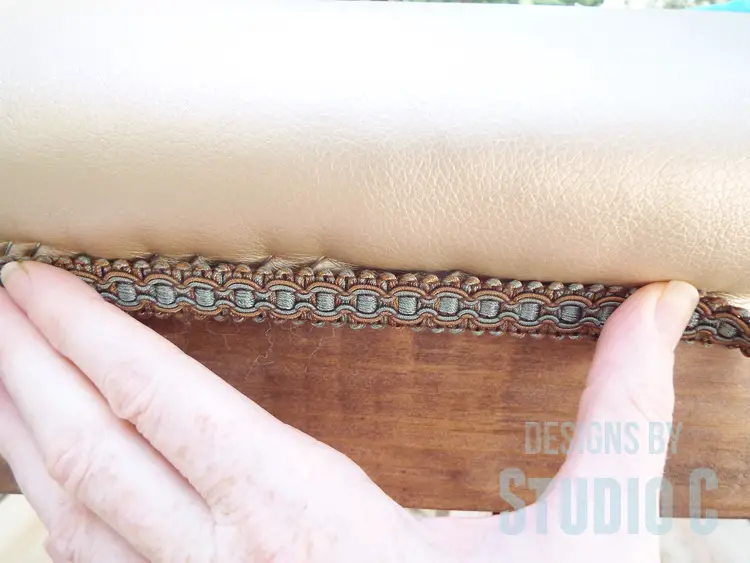
Using the glue gun, secure the decorative trim over the staples along the bottom edge of the plywood seat. I was originally going to use gold circles that looked like upholstery nail heads but I didn’t do a very good job of stapling and the trim didn’t cover them. I opted for some braided trim from my sewing stash.
This bench would be a great addition to a mud room or at the foot of a bed.
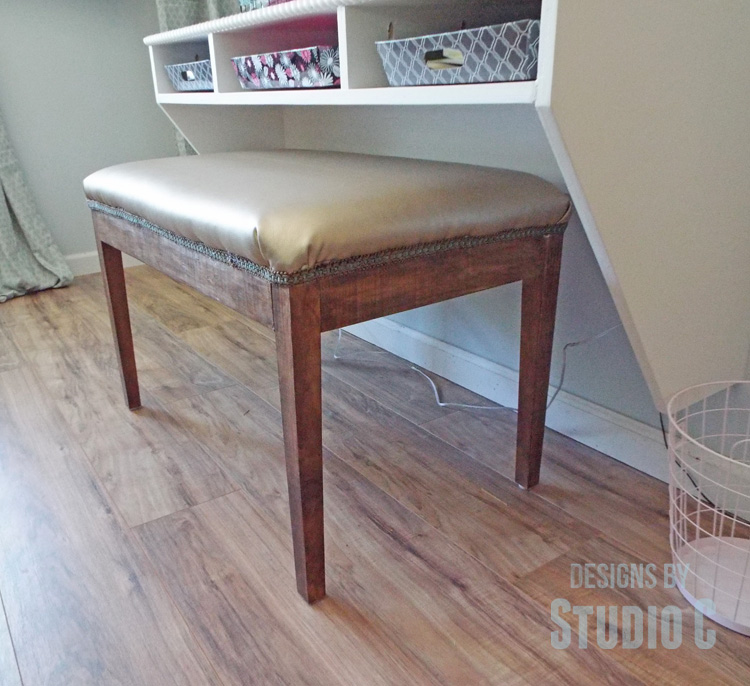
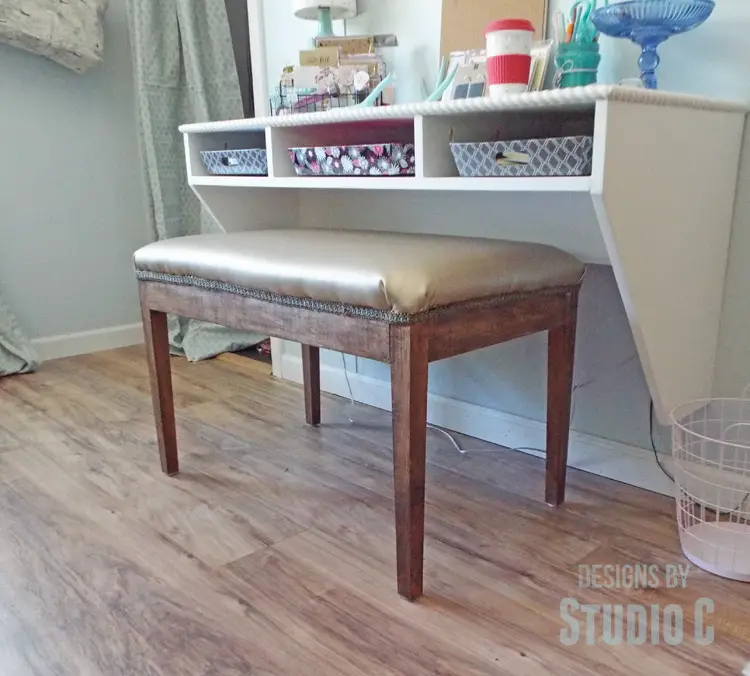
Have any questions about the plans to build an upholstered bench with tapered legs (or a better way to do the corners)? Leave a comment below!
Originally posted 2016-09-26 08:00:09.


[…] this upholstered bench which features tapered legs. At the link are also the instructions to do the […]