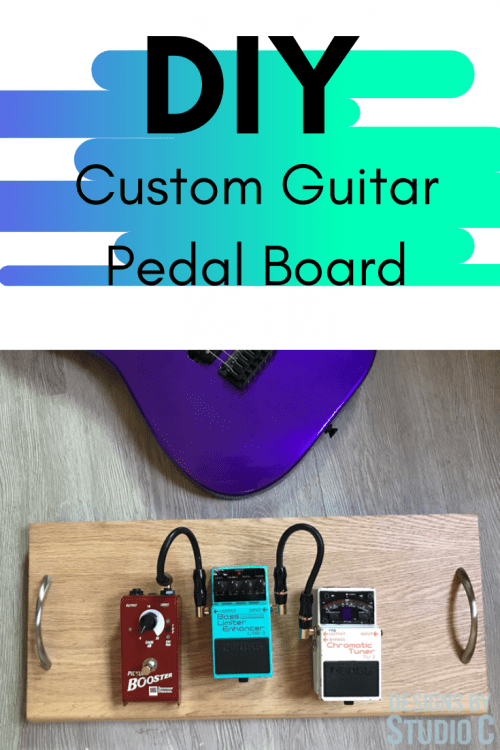
DIY Custom Guitar Pedal Board
A Guide to Building Your Own Guitar Pedal Board
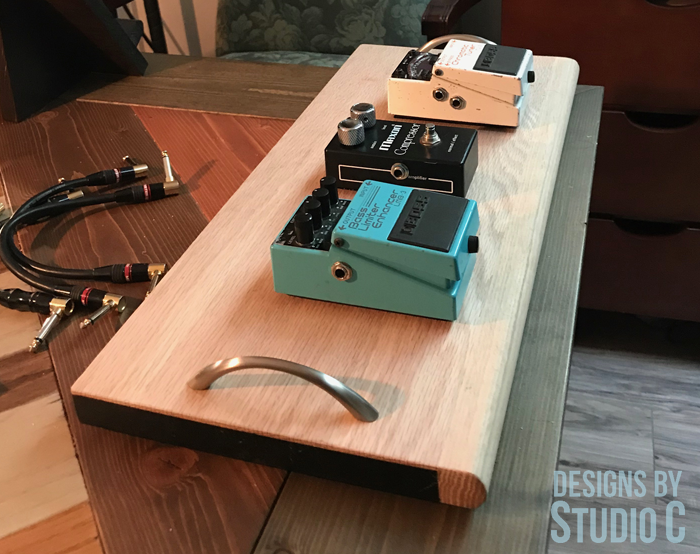
Oftentimes, musicians use pedals with their guitars or basses to enhance the sound. There are several different pedals that do several different things, and they are normally used in conjunction with each other. They are mounted to a base that keep them easy to access, and easy to transport from gig to gig. This DIY Custom Guitar Pedal Board, created using an oak stair tread, features handles on either side and large strips of hook and loop tape to keep the pedals secure while allowing them to be removed to replace the batteries.
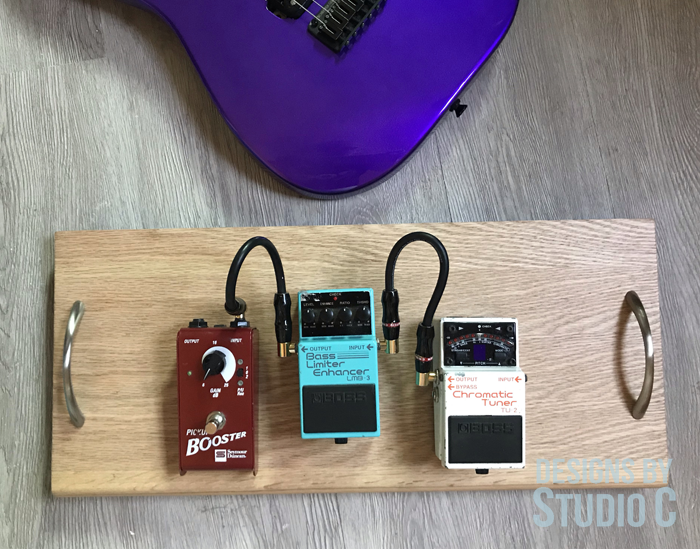
If you want to create the ideal setup for your sound and make it easy to switch between a variety of effects, then building your own pedalboard is the perfect solution. With this guide, you’ll learn how to assemble the necessary pieces and make the most out of your personal guitar pedal board.
Materials:
- 1″ thick stair tread (generally 11-1/2″ x 48″)
- 2 wide drawer handles
- Drill with a 3/16″ bit
- Wide, self adhesive hook & loop tape
- Sandpaper
- Finishing supplies
Step One
Start by laying out the pedal on the tread to determine the length and width of the base. There were three pedals going on this base, and there had to be enough space between them to allow for the cables (to be plugged in and removed), as well as space for the handles.
The tread was cut to length with the miter saw, then cut to width with the table saw (the bullnose edge faces to the front).
Step Two
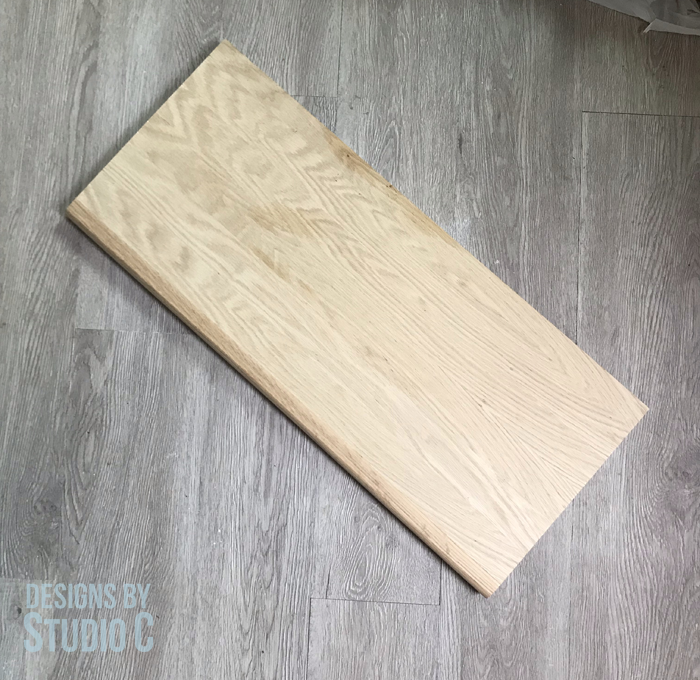
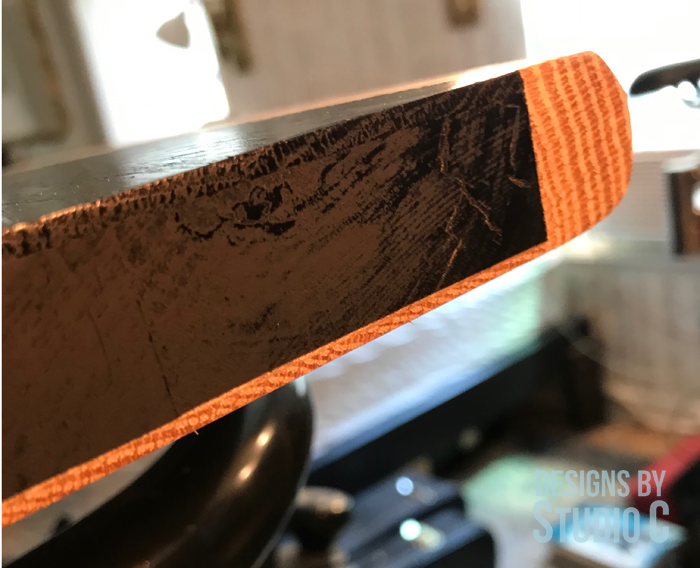
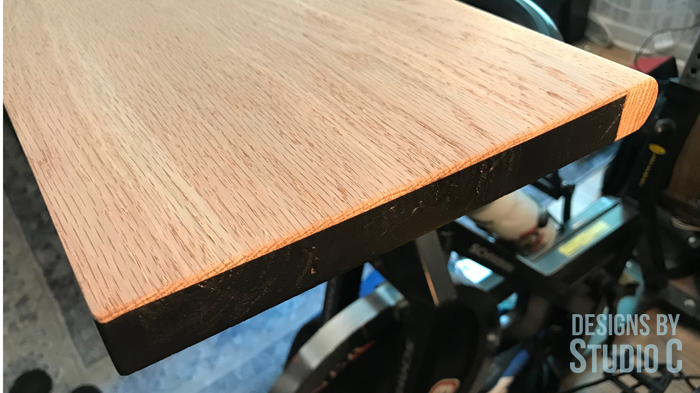
Thoroughly sand the base. This base was created using an oak stair tread. I thought it was solid oak but it turns out it is an 1/8″ oak veneer on the top and bottom with a 1″ solid oak bullnose over a pine core.
Step Three
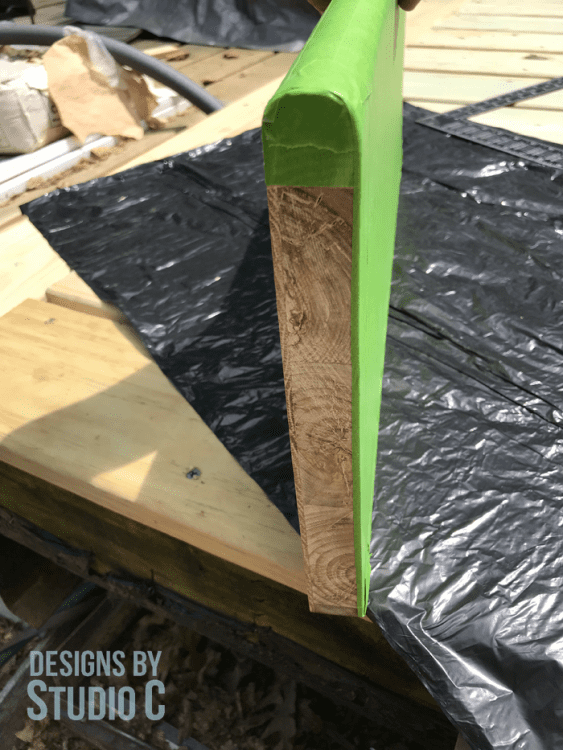
Paint or stain as desired. The oak veneer and bullnose were taped off and the rest was painted matte black with spray paint. Once the tape was removed, the oak had to be sanded again and then a clear polyurethane was applied.
Step Four
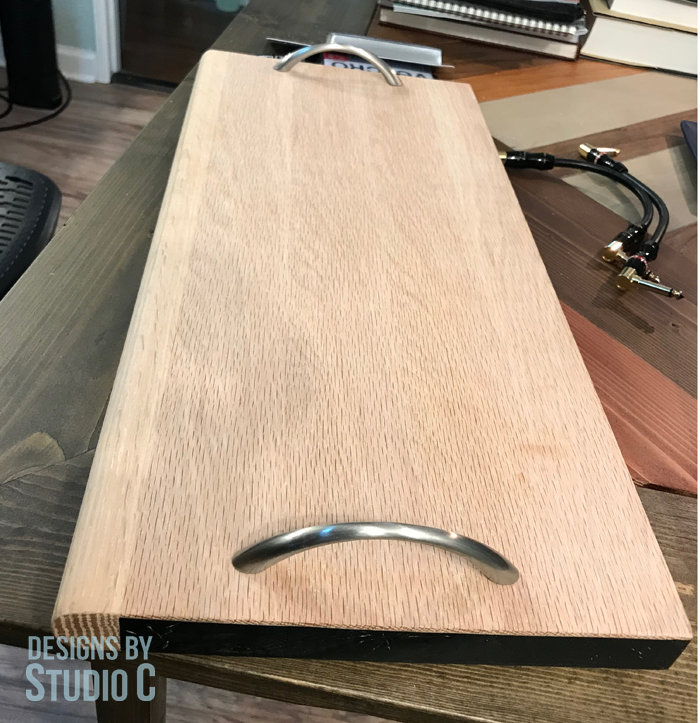
Mark the position of the handles. The holes for the handles were drilled 1″ in from each side edge. The handles were installed using 1-1/2″ screws.
Step Five
Mark the position of the pedals and apply the hook and loop tape to the base. Apply the corresponding side of the tape to each of the pedals.
Have questions about the DIY Custom Guitar Pedal Board? Leave a comment below!
