Build a Shed with Old Doors – Access Door and Shelving
Hanging the Door and Adding Shelving for Storage
Here it is – the last post in the series on how to Build a Shed with Old Doors featuring the access door and shelving… In this final post, we’ll hang the access door and add shelving to the framing on the back wall for storing small things like gas cans, wasp spray, weed killer, etc.
I originally built this shed in 2014 and it is still standing strong, though it does need a fresh coat of paint! I’ve had no issues with leaking or sagging, and I’m confident that the shed YOU build will be just as strong! As always, if you have any questions about the construction, feel free to ask!
A funny story: one of the panes of glass in the access door on my shed was shattered by an errant rock thrown by the weed eater. I removed the bits of broken glass and cut a piece of Plexiglas to fit, securing it with clear silicone. It has held up really well!
Anyway, the other posts can be found by clicking the links below:
- Part One – Materials, Supplies and the Cut List
- Part Two – The Platform and the Frame
- Part Three – The Trusses and the Roof
Let’s get this fabulous shed finished up… Are you ready?
Step One
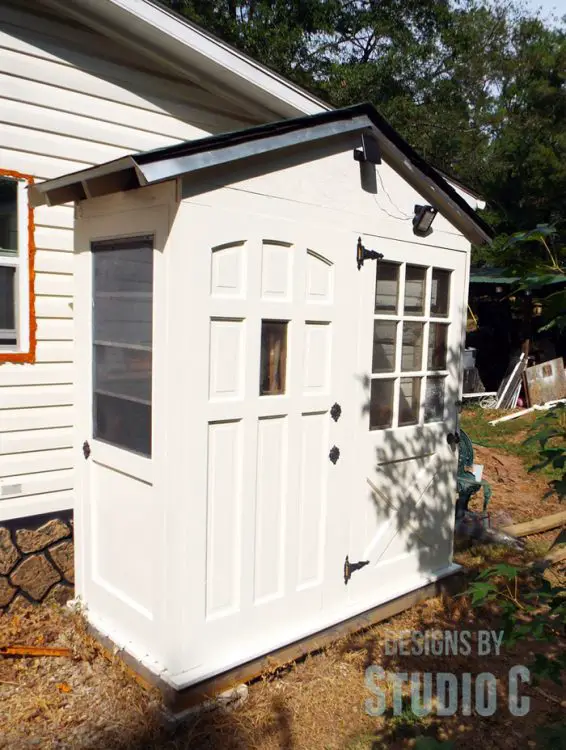
Install the gate hinges on the doors, then install the access door in the opening, trimming the height of the access door as necessary so that the door swings freely. Install the gate hasp to secure the door, and add a doorknob if desired. See the installation instructions on the packaging…
I didn’t closely photograph this step. I shimmed the access door in the opening, and then installed the hinges on the door and framing. Since the hinges sort of lay over the front of the access door (as seen in the photo below), I just did it all in one step!
Step Two
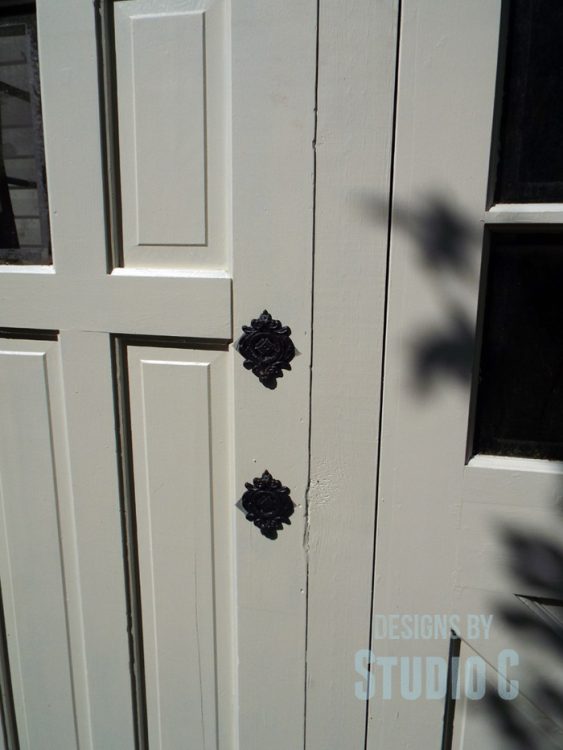
Cover the doorknob holes with decorative plates. I found cast iron hooks at Hobby Lobby with a decorative plate on the back. I removed the hook, backed the plate with a piece of window screen, and secure the plates over the holes with screws. Here is something similar on Amazon (<– affiliate link!).
Step Three
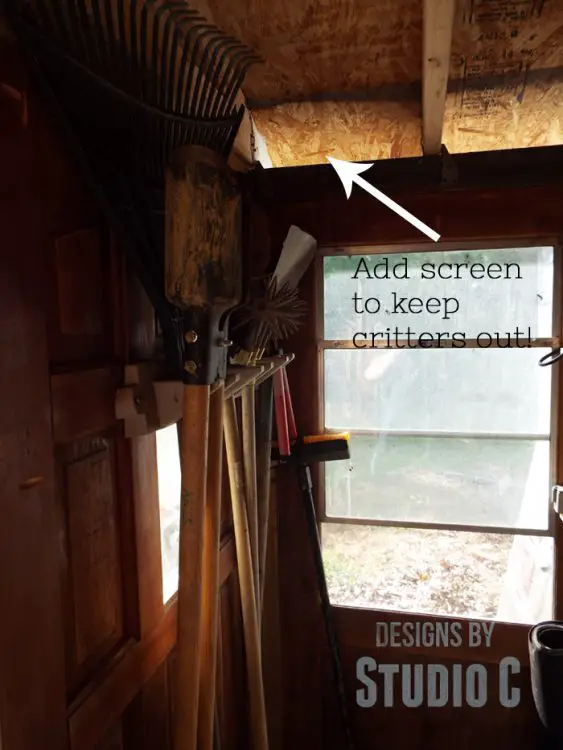
Cut pieces of window screen to cover the eaves from the inside and secure in place with staples. The screen will keep critters from nesting in the shed!
Paint as desired. I painted mine to match the siding on my house, and chose not to paint the inside.
Step Four
To build the shelving:
I cut two 1×8 pieces of lumber to length, then marked the position of the studs on the stud wall. I cut notches for the studs, then drilled pocket holes in one side of each notch. I secure the shelves to the studs using 2-1/2” pocket hole screws. The shelves sort of wrap around the studs and are very solid! Even though they stick out past the framing, they do not get in the way of anything and have been very handy!
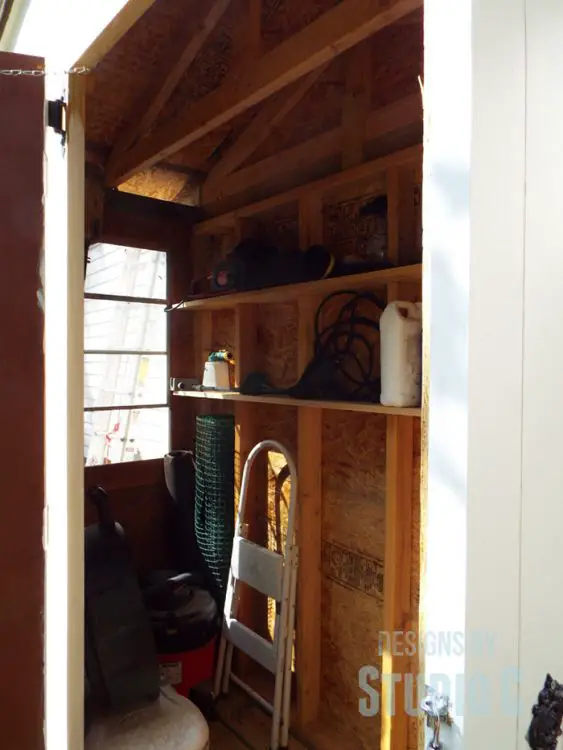
Here’s another photo looking inside with the door open… I mounted the head of a bow rake to the back of the door to hang garden tools! I also open the windows on the narrow doors (on the sides) for ventilation during the summer.
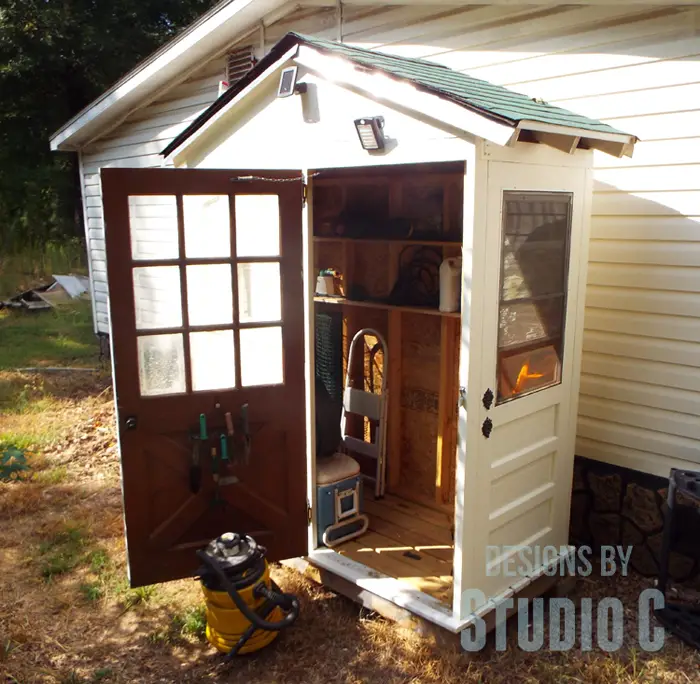
I sincerely hope you’ve found the Build a Shed using Old Doors series useful… It was a fabulous build and really holds a lot of stuff! Again, if there are any questions about the construction, contact me at cher {at} designsbystudioc {dot} com!


[…] the final post in the series, Part Four, we will hang the door, add shelving inside and I’ll share what I used to cover the holes in the […]