Step-By-Step Guide on Using a Hole Saw in a Drill Press
Using a hole saw in a drill press is an essential skill for a variety of DIY projects. Learn how it’s done with our easy-to-follow guide as we explain what tools are needed, how to prepare, and helpful tips and tricks for pro results.
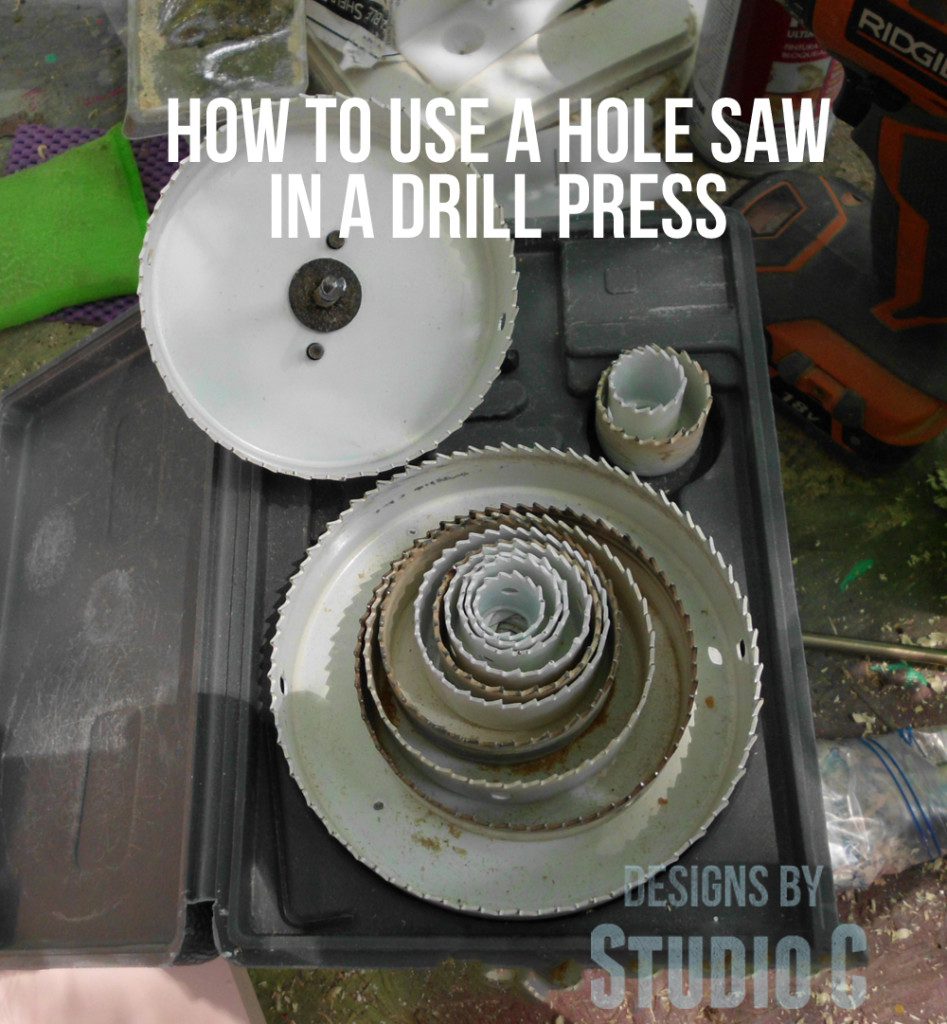
A hole saw is just that – a saw that makes holes. Hole saws come in all sorts of sizes ranging from 9/16″ all the way up to 6″ or more, and can cut holes in a variety of materials such as sheet metal, glass and tile, and wood. I recently used mine to cut a series of holes in a 1×6 to create a wine cradle for a liquor cabinet.
Marking the Placement of the Holes
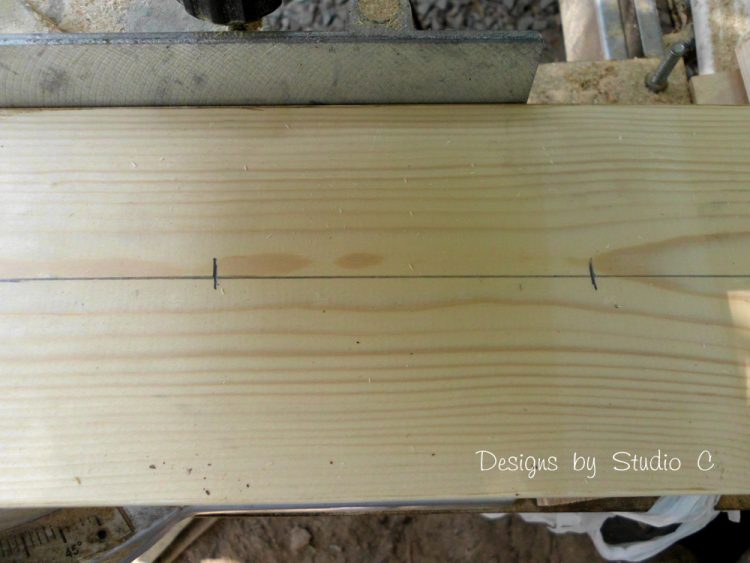
To start, draw lines marking the position of the holes on the lumber. I wanted to drill six holes evenly spaced at 5″ on center. I located the lengthwise center of the board, then made marks evenly spaced across the board.
Attaching the Hole Saw in the Drill Press Jaws
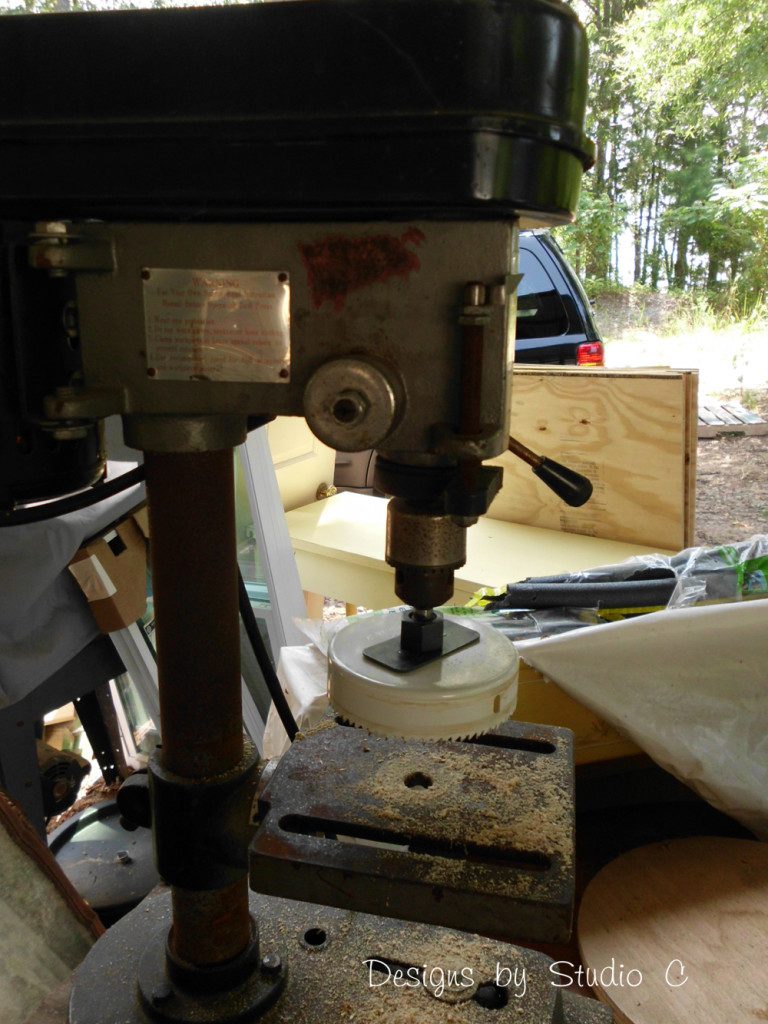
The next step is to attach the hole saw in the drill press’ jaws. To do this, open up the jaws of the drill press and place your hole saw into its center. Make sure it’s secure and locking it tight with a wrench or other device. Once you’ve securely attached the hole saw, lower it slowly towards the material that you’re going to be drilling into until it touches, then tightened further. You want to make sure that there’s no wiggle room in between either surfaces as that could cause any potential damage during your drilling process.
Adjust Cutting Speed to Match Material Being Drilled
When it comes to controlling the speed of the drill press, it’s important to ensure that you’re cutting at a rate that matches the material type being drilled. It is also essential to regulate your cutting speed conscientiously – as this will affect the quality and accuracy of your hole saw results. Once everything is lined up, slowly increase the drill press speed setting until a clean bit pattern appears in your workpiece. Remember to use trial and error if needed for the perfect drilling speeds for your desired material types.
Drilling Clean Holes
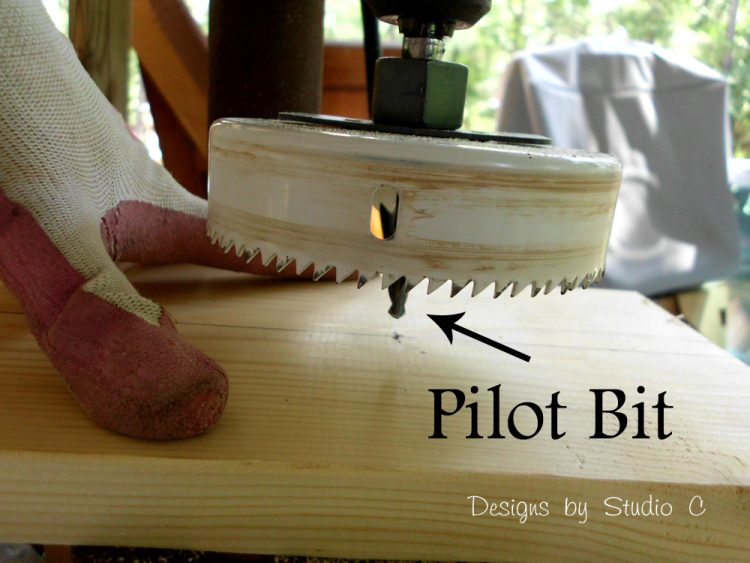
When drilling the hole, start slowly and use minimal force to avoid burning the wood, dulling the hole saw, or overheating the drill. To achieve a cleaner finish and less tearout, place your workpiece onto the drill press and drill the hole only partway through it. Flip the board over and fit the pilot bit into the pilot hole that was created on the opposite side. Then lower it until completely finished.
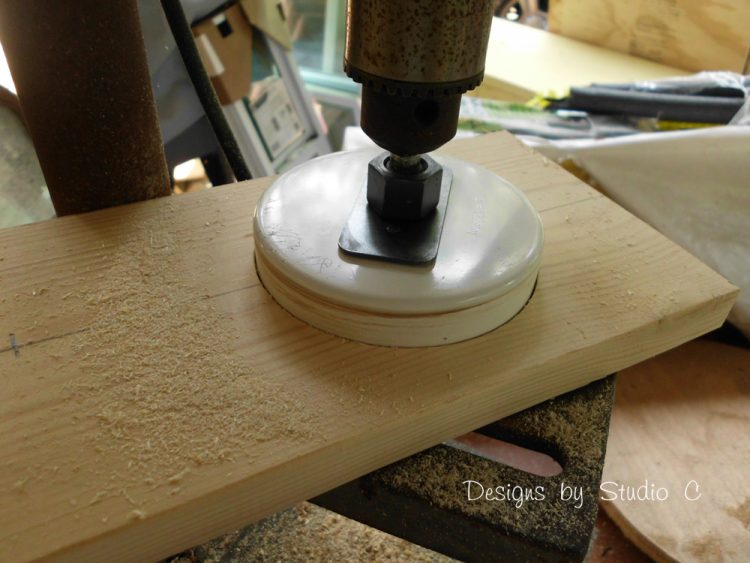
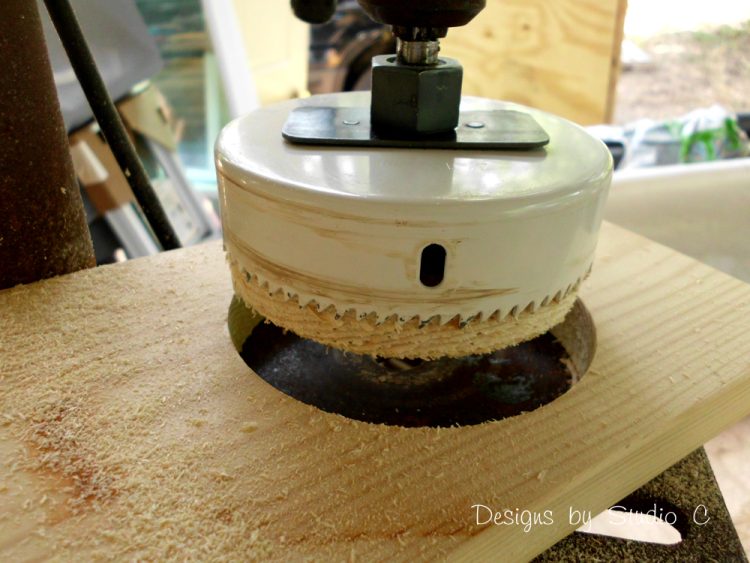
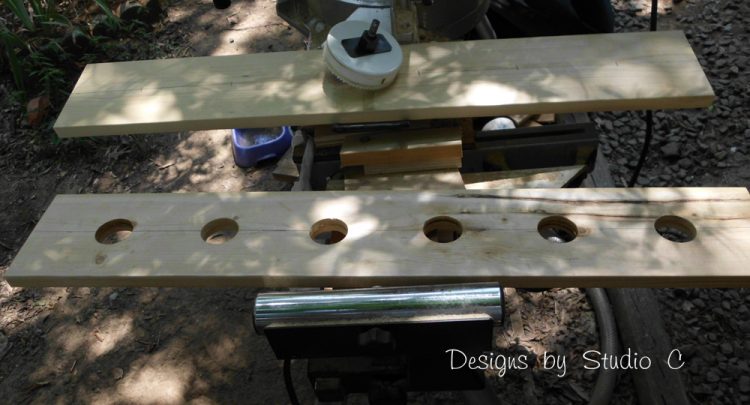
Without a doubt, the most important part of using a hole saw in any drilling situation, is to ensure it’s lined up with the corresponding material accurately, and that the chosen speed setting is correct. After that you simply need to take care in operating them – by following through with a careful and deliberate drilling motion until the entire hole is cut through the material. If you hear or feel any resistance while drilling, immediately stop and double-check to make sure your drill bit has not gone awry.
Originally posted 2013-07-25 08:00:04.


1 Comment
Pingback: Making a Stylish & Practical DIY Room Divider