A Fabulous Ottoman or Footstool for Any Room!
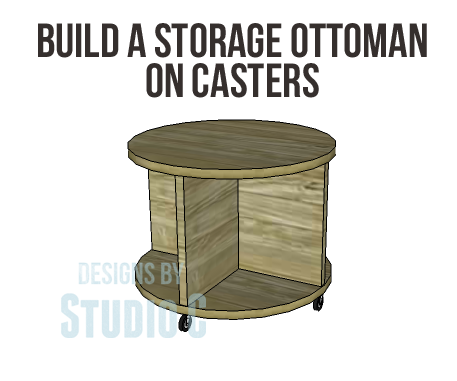
This is the perfect project for that urge to build something… The plans to build a storage ottoman on casters are quick, cheap, and the ottoman is definitely useful! Who couldn’t use extra storage and a place to prop your feet? Plus it is a great way to use up a few scraps laying around!
Materials:
- 1-1/4″ brad nails
- 1-1/2″ casters with screws
- Finishing supplies
Lumber:
- Scrap pieces of plywood or MDF OR
- One – 2′ x 4′ sheet of plywood
- One – 2′ x 2′ sheet of plywood
Cut List:
- 2 – 3/4″ plywood circles – 18″ in diameter – Top & Bottom
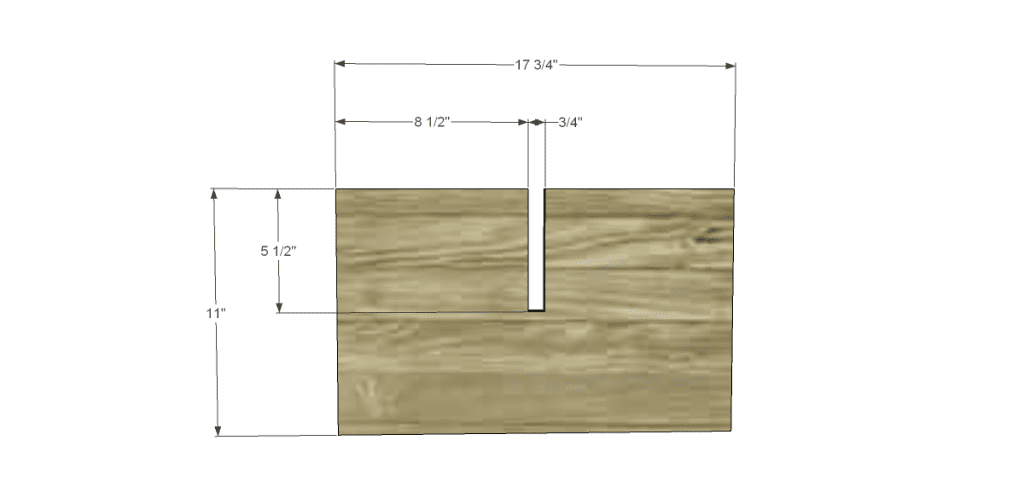
- 2 – 3/4″ plywood at 11″ x 17-3/4″ – Dividers
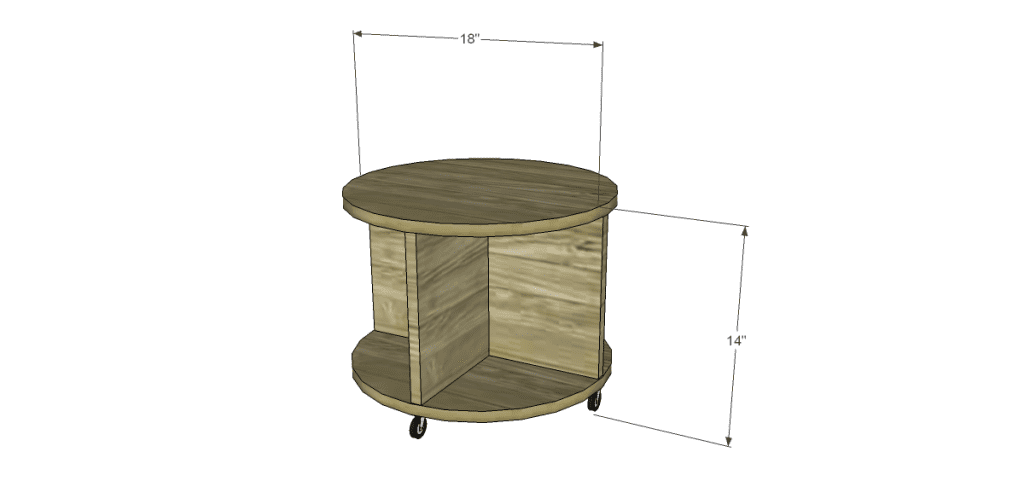
Click on the drawings for a larger view!
Step One
Draw out the circles on the plywood. There are many ways to do this but I prefer the “string, thumbtack & pencil” method. Cut out using a jigsaw or saw of your choice. I cut mine on the bandsaw since I just learned how to use it! You could also build a jig for the bandsaw and cut the circles that way.
Cut the pieces for the dividers. Cut the notches as shown using the saw of your choice. Sand all of the pieces thoroughly.
Step Two
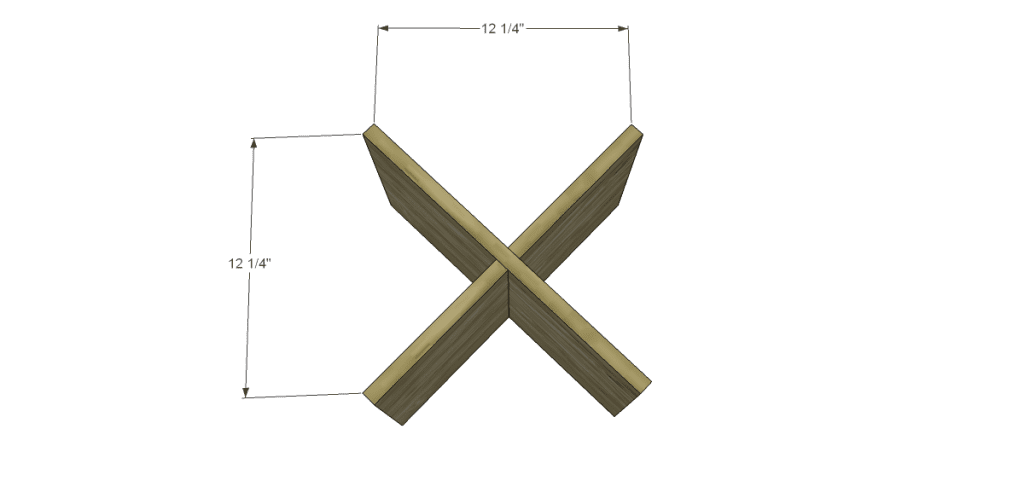
Assemble the dividers, then position the top and bottom. Attach to the dividers using glue and 1-1/4″ brad nails.
Step Three
Attach the circles (the top and bottom) to the dividers using glue and 1-1/4″ brad nails.
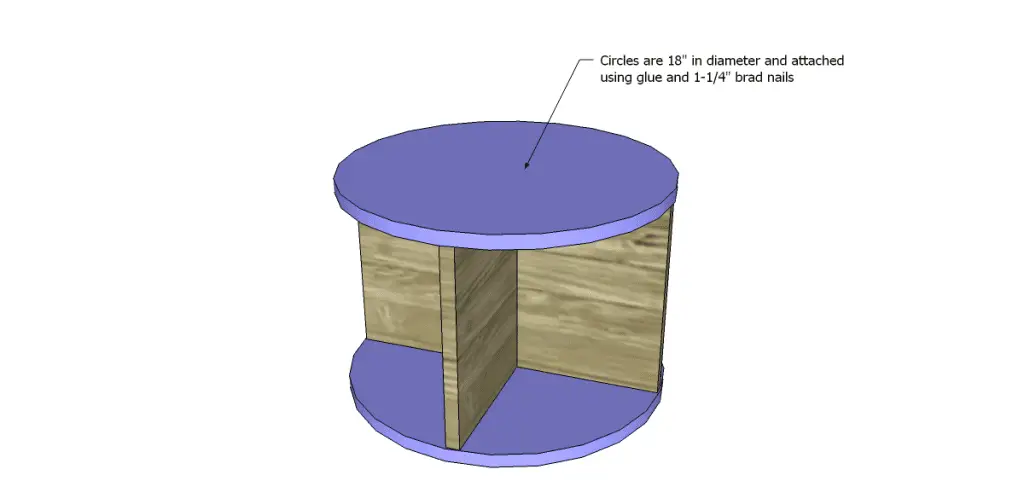 Finish as desired, then attach the casters to the bottom using 3/4″ screws. Prop up your feet and relax!!
I used 3/4″ MDF to make an ottoman like this and love it! The top can also be upholstered to make it more comfortable for your feet. This ottoman is also a great piece of extra seating!
The plans to build a storage ottoman are suitable for any skill level and can be customized however you’d like. Have any questions about building the ottoman? Leave a comment below or contact me at cher {at} designsbystudioc {dot} com.
Originally posted 2014-07-28 08:00:58.



2 Comments
Pingback: How to Upholster the Storage Ottoman
Pingback: How to Upholster the Storage Ottoman | Designs by Studio C