Personalized Modern Wood Round 3-Dimensional House Address Sign
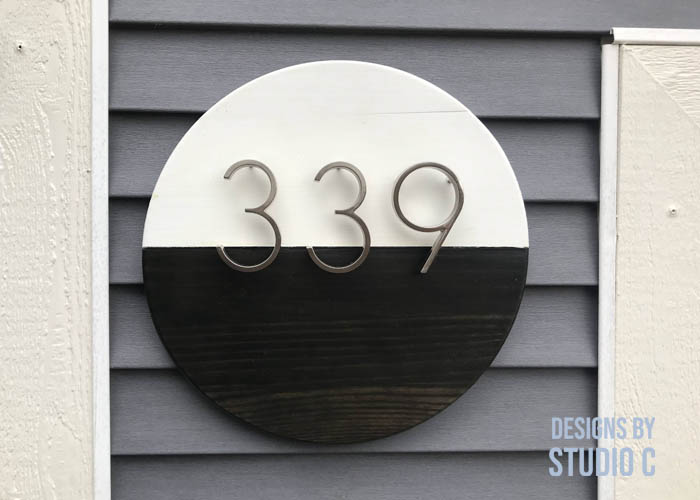
Having a nice address sign on the home is super-popular and this round modern address sign is no exception! Using a thick wood round from the home improvement stores, modern house numbers, stain, and paint, this address sign is easy to make and so fabulous!
Materials:
- 1″ thick wood round (I found mine at Home Depot)
- Modern house numbers (<– affiliate link)
- Varathane Charred Wood Stain
- Varathane Spar Urethane
- Painters tape
- Gloves, etc. for staining
- Exterior paint of choice (I used Behr in Silky White)
- Small Hanging Cleat (<– affiliate link!) or D-Ring for Hanging
Notes About the Project:
- I used the charred wood stain because I thought it would be cool. Use any other wood stain, if desired .
- The “line” separating the paint and stain doesn’t have to be horizontal – it can be vertical, diagonal, etc. Make it your own!
- A small cleat is the easiest way to hang the sign though other hanging hardware can be used, as desired.
Step One
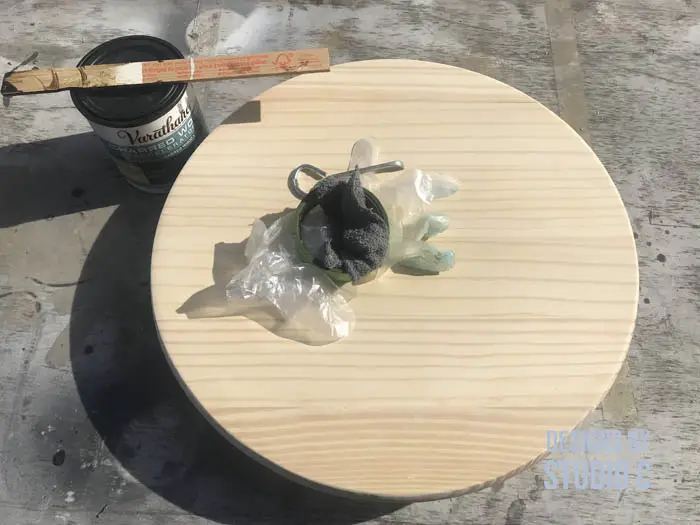
Begin by thoroughly sanding the wood. Start with 150 or 120 grit, then finish with 220 grit. Wipe off the dust!
Step Two
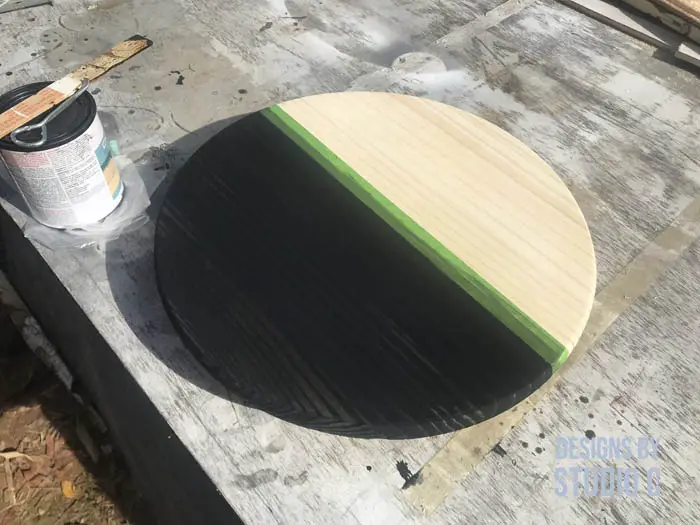
Place the painters tape where ever desired. I placed mine along the grain in the center of the wood. Apply a couple of coats of the charred wood stain. This stain is awesome and I’ve used it in another project with great results!
Once the stain is dry, apply at least three coats of polyurethane (if the sign is placed in a covered area) or spar urethane (if the sign will be exposed to the elements).

Step Three
Remove the painters tape and apply a new piece over the edge of the stain and sealer. Apply a couple of coats of exterior paint on the bare wood above the stained portion and let it thoroughly dry, then remove the tape.
Step Four
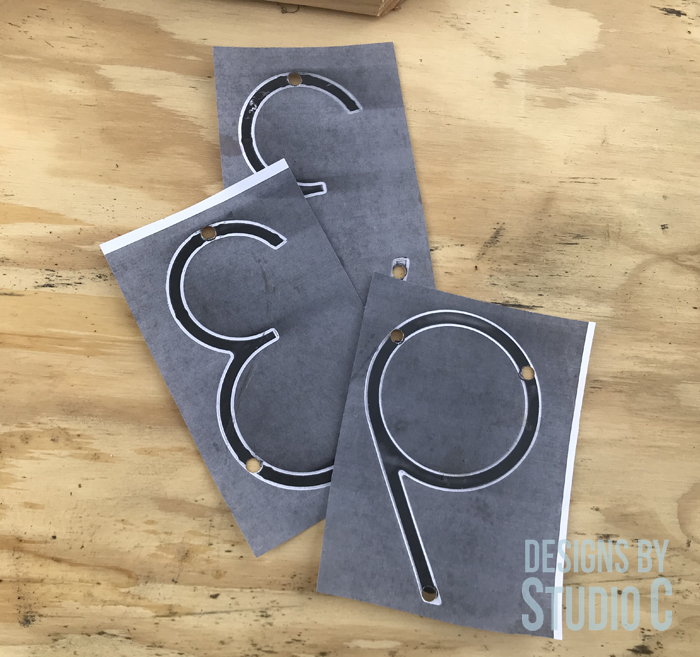
Position the numbers however desired. The cool thing about the numbers I used is that there is a template on the back of the package for drilling the holes for the posts. Oh, hey, I forgot to mention that the numbers I used do not sit flat on the surface – they stand away from the surface in a sort of “3D” manner! Secure the numbers according to the manufacturer’s instructions (and don’t leave the unopened packages of numbers outside so that the template on the back gets ruined like I did).
I forgot to photograph this step, but you can take a look at my previous house number sign because I used the same style of numbers!
Step Five
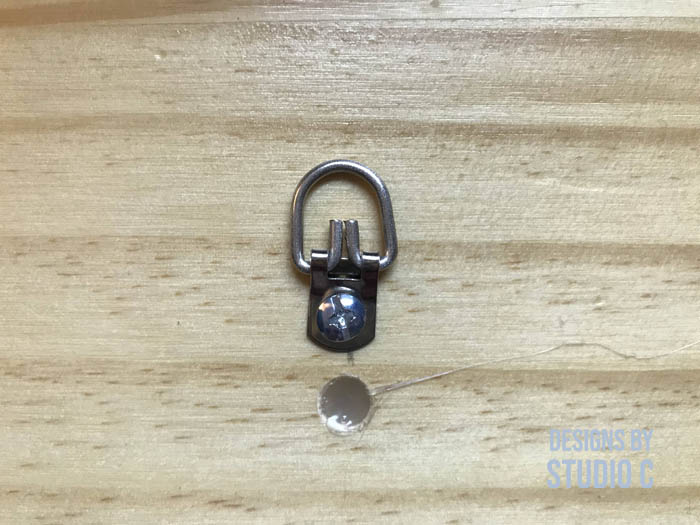
Install the hanging cleat according to the manufacturer’s instructions (or you can make your own!) or use a D-Ring like I did.
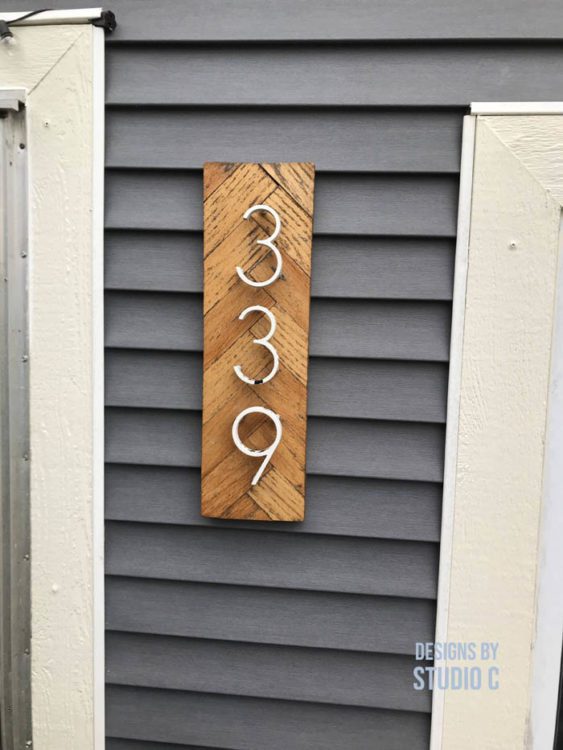
I hung the new address sign in place of my other DIY modern address sign which will be cleaned up, repaired, and used on another area of the house. I’m a bit sentimental about it because it was the first project I made after the tree fell on the house and I really want to keep it!
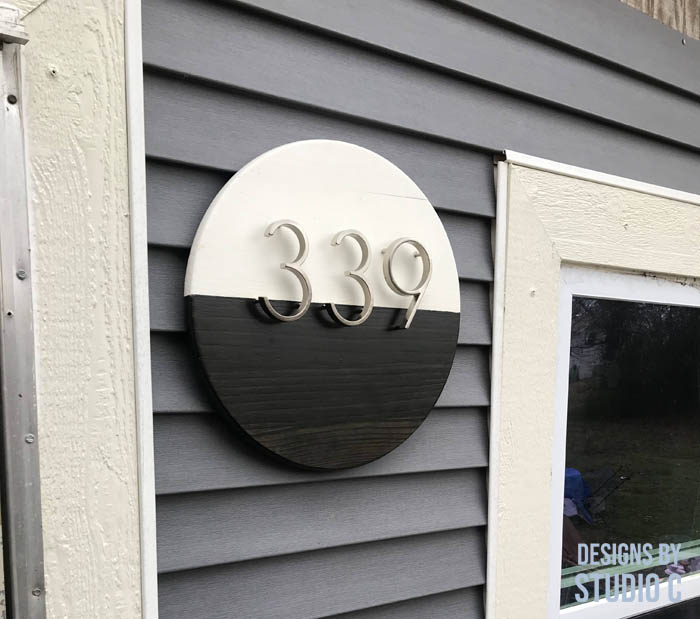
I think the round modern address sign looks fabulous and it fits with the modern aesthetic I’m trying to achieve on the outside of my home. Have questions about the address sign? Leave a comment below!



Comments are closed.