How to Wet Sand a Wood Project
Create a Smooth as Glass Finish on Wood Projects
Do you ever wonder how some woodworkers get an amazing smooth as glass finish on their projects? Sanding. Yes, definitely, and while most of us hate it, it is a necessary process in taking a wood project from OK to WOW! I have another method of sanding I use – one that I actually learned as a teenager… I will share how to wet sand a wood project and get that smooth “I can’t believe this is wood” finish!
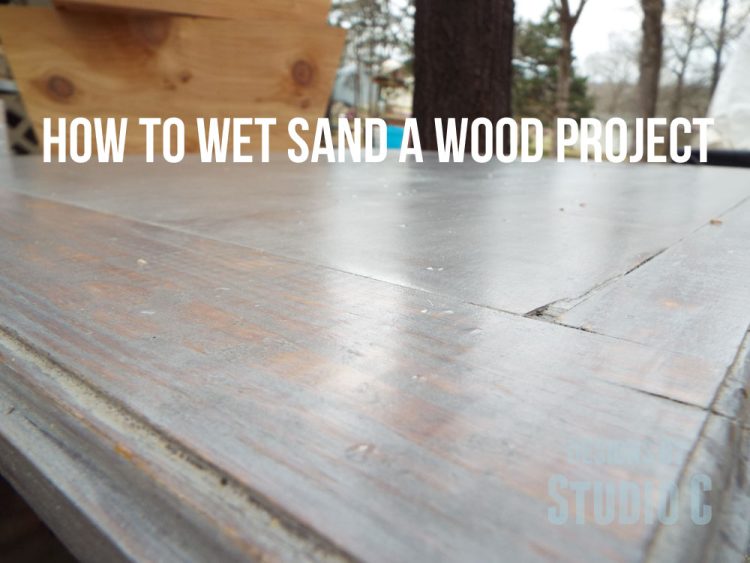
Are you familiar with wet sanding wood? It is a technique that is mostly used in the automotive industry and that is actually how I learned it. My dad is a mechanic and when I got my first car (a sweet 1967 Volkswagen Squareback) it was still a work in progress. The dashboard had only been primed and not painted. To make a long story short, my dad painted it and then showed me how to wet sand it so that it was like glass. In fact, it was black and reflected my purple 80s nail polish really well! I didn’t need to carry a mirror because I could always look in my dash to check my hair…
Materials:
- Project to be sanded
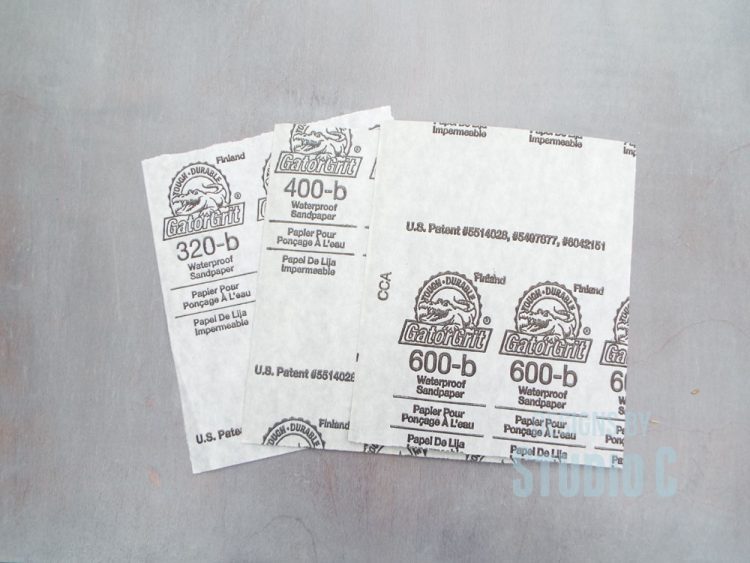
- Waterproof sandpaper – 320, 400, 600 grits (<– affiliate link!)
- Old towel or cloth
- Small container of water
- Wood sealer of choice
Wet sanding is really very easy and requires no special skills except for the ability to smile through more sanding – ha ha! For this tutorial, I am going to wet sand a top to a table I will be sharing later. The top has already been stained and had three coats of sealer applied. I am a huge fan of Rust-Oleum Wood Care products, and used their Ultimate Polyurethane in Matte for this project. I do not normally sand between the first three coats, but you can if you’d like.
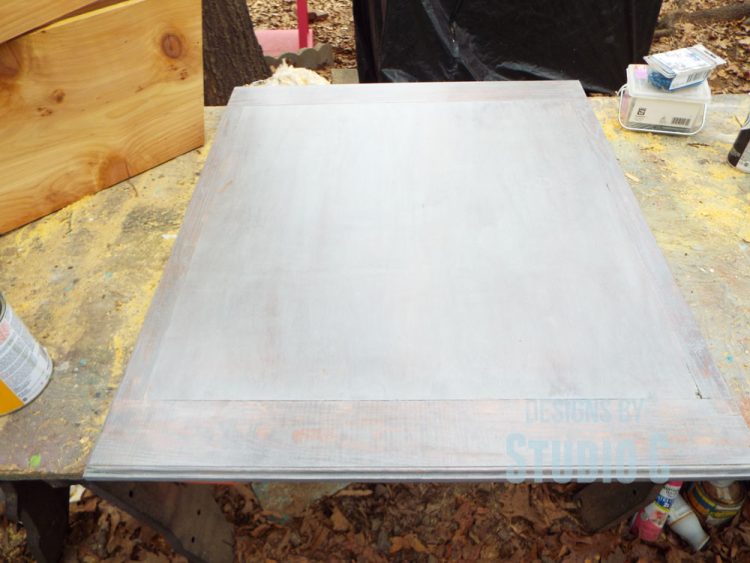
I am also a huge fan of Gator Grit Finishing products. They make the BEST sandpaper whether it is for general sanding or wet sanding!
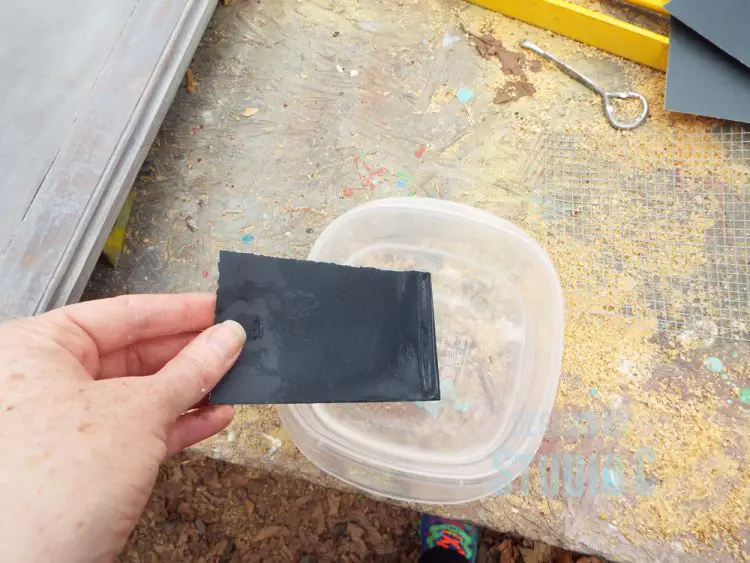
Using the 320 grit sandpaper, dip it in the container of water, and start sanding the wood piece. Keep the sandpaper wet as you sand the wood piece but don’t sand so hard that the finish is removed.
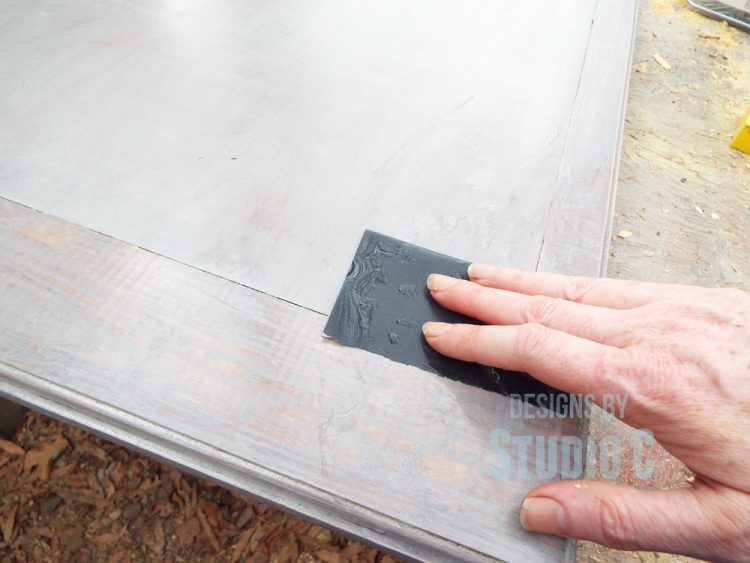
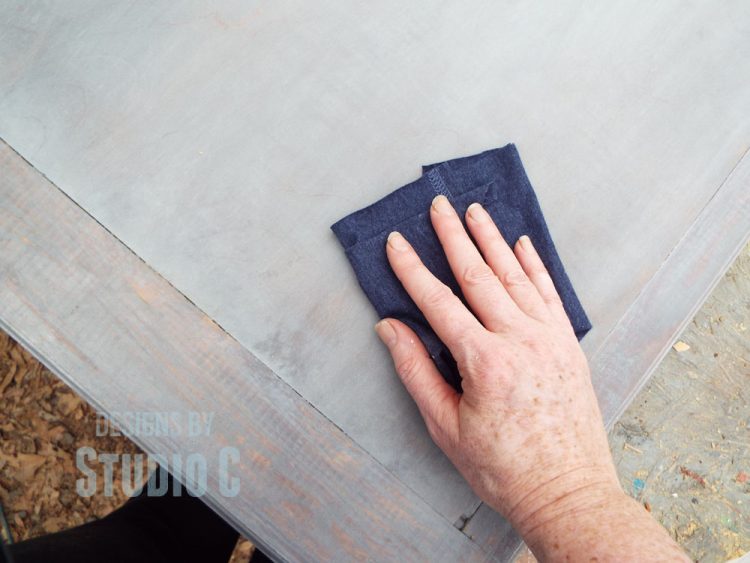
Use the cloth to wipe the excess water and sanding dust off of the wood piece.
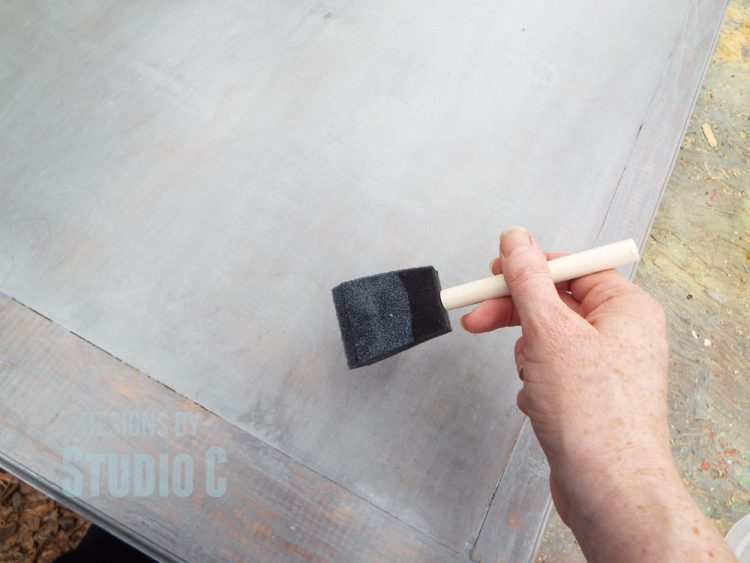
Apply another coat of sealer, then let it dry. This should be the fourth coat of sealer.
Once the fourth coat is dry, repeat the entire process using the 400 grit sandpaper, including applying a fifth coat of sealer. Then, repeat the process one more time with the 600 grit sandpaper, then finish by applying a sixth coat of sealer.
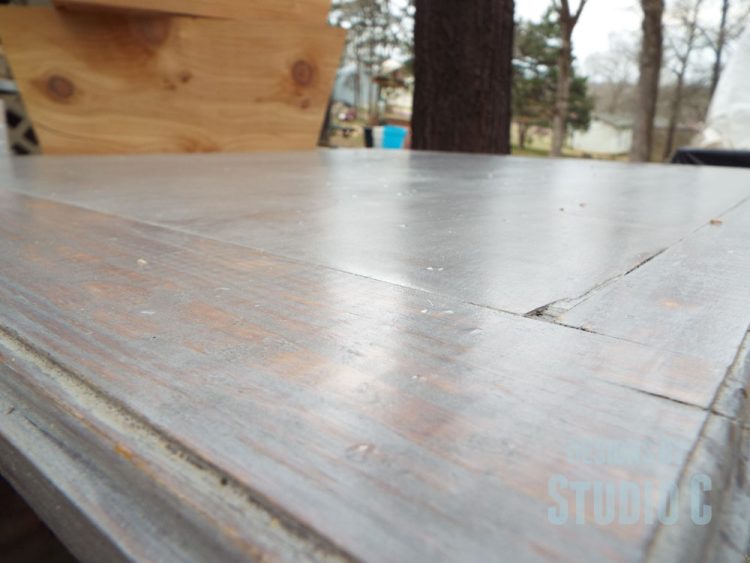
That is it! Super easy, right? To me, it really takes my projects to the next level and makes them look (and feel) that much more professional! Have any questions about the tutorial on how to wet sand a wood project? Leave a comment below!

I love wet sanding look but never knew how to do it properly. I did some stairs one time and got really close with a squirt bottle and one pass with fine sandpaper. I’ll try the real thing next time.
Thanks so much, Linda! I have been incorporating it into more projects and LOVE the look (and feel) of it!
I never knew what wet sanding was, though, I do recall seeing many a diy show where it was done. Amazing. I love how simple you make it seem!
Thanks, Jessica! I love the way it makes my projects look and i wish I would have remembered to do it sooner!
love it! this reminds me of the beauty of a french polish (so labor intensive) but with the durability of a poly.
Thank you so much, Sarah! It was actually really fun to see it come together, so to speak! I plan on using the technique on all of my projects! Glad you stopped by!
[…] sanding for an extra smooth surface on furniture projects is the only way to go says Cher from Studio […]
[…] Wet sand the polyurethane sealer in between coats for a professional finish! […]