
How to Repair or Replace the Pad on a Sander
If you use your power sander regularly, it may be time to replace the pad. Generally, the pad on a sander is made of a thin, ridged foam to cover the metal plate underneath. With constant use, it is natural for the pad to wear. I have two ¼ sheet sanders and both need the pads replaced, as well as a bit of TLC. I’ll show you two easy ways to repair the pad on a sander that are easy and inexpensive!
Buy a Replacement Part for the Sander
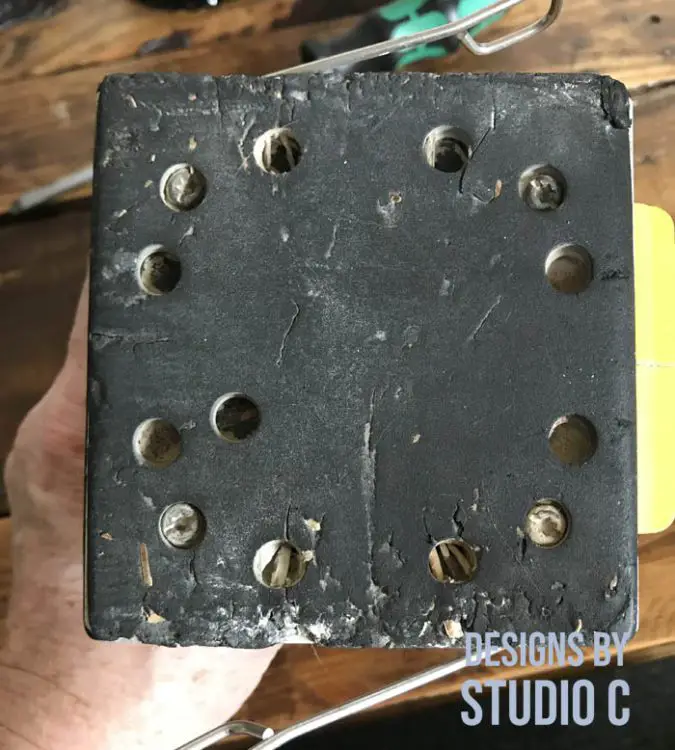
My regular go-to sander is a Dewalt ¼ sheet sander. I have had this sander for many years (10+, at least), and it is certainly used consistently. The pad is full of splinters and chips of wood, and is so worn out that the screws that attach the pad to the sander are close to messing up my next project! I found a replacement pad to fit (<– affiliate link if you have the same sander) and also did a bit of cleanup on the sander itself.

Remove the Pad and Clean the Sander
Using a Phillips screwdriver, remove the screws holding the pad onto the sander. Use an old paint brush to clean out any accumulated dust and debris in and around the platform. A small attachment (<– affiliate link!) on a wet/dry vacuum can also be used!
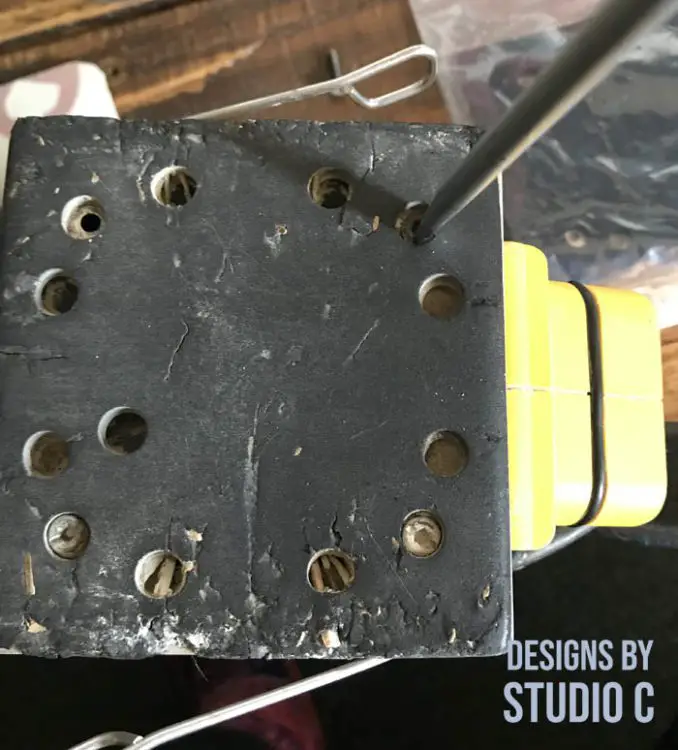
Position the new pad on the platform and replace the screws. That’s it… Quick, easy and inexpensive!
But what happens if there is no replacement part or you just don’t want to spend the money on a new pad?
DIY a Replacement Pad for the Sander
My other sander is a Ryobi ¼ sheet sander that I bought to use to sand drywall. Yes, I know drywall joints are supposed to be sanded by hand. I’m lazy, and I hate taping and mudding drywall… I’m not above putting a screen on the sander and connecting the wet/dry vac to get the job done quicker – but more on that later.
I’ve only used this sander a handful of times (like, less than 5) and when I did use it, I noticed that the pad wore down very quickly leaving the screw heads for the platform exposed. That is No Bueno and a quick way to ruin a project.
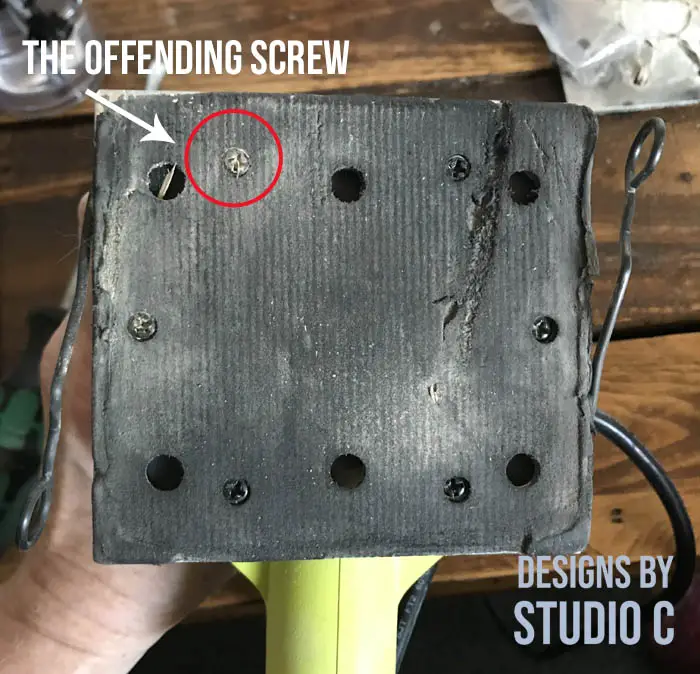
Buying a replacement pad is out of the question because my theory is this: if the pad wears down after only using it a few times, then a replacement pad is going to do the same thing. So, I decided to DIY the replacement pad.
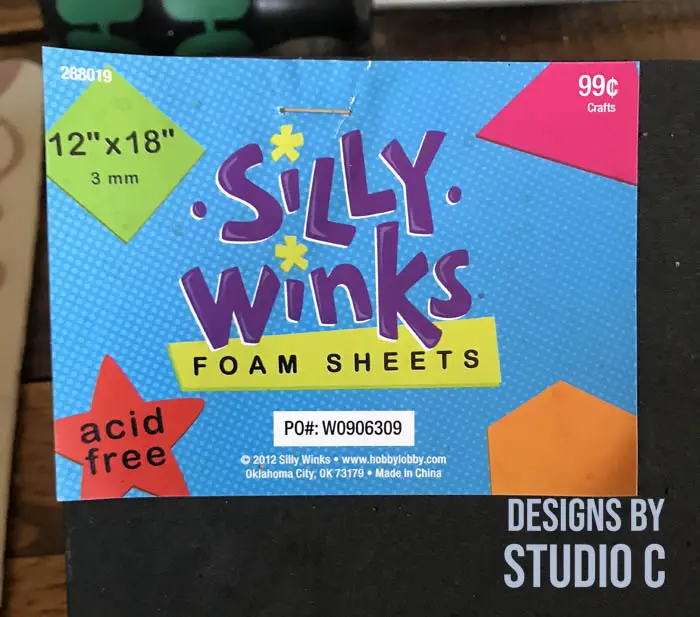
Craft Foam to the Rescue
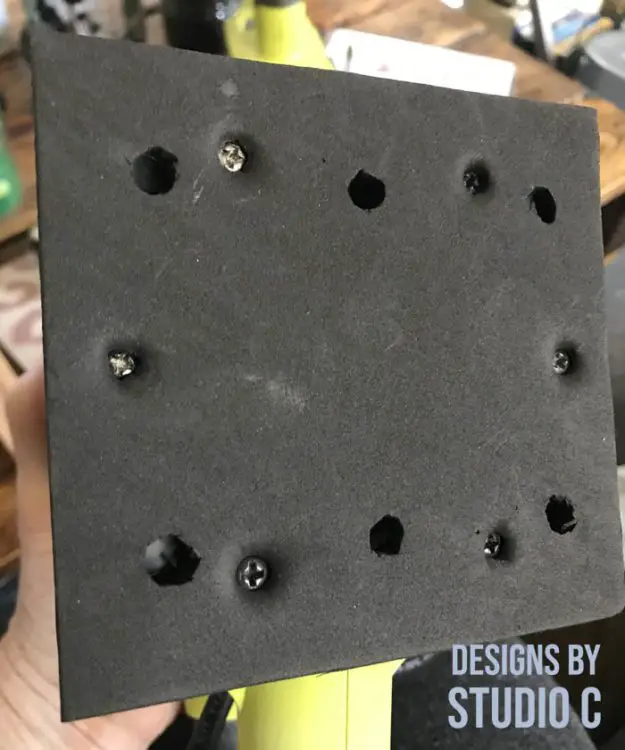
If you look at the pad on the sander closely, you’ll see that it resembles craft foam. Craft foam comes in a variety of thicknesses but 4mm or 6mm works best for this project, and it can be applied using contact cement. (I used two pieces of 3mm craft foam)
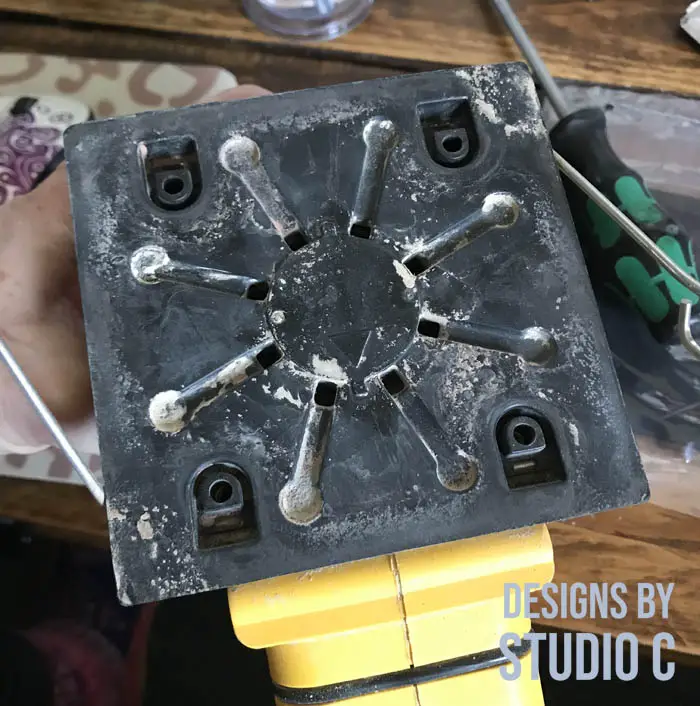
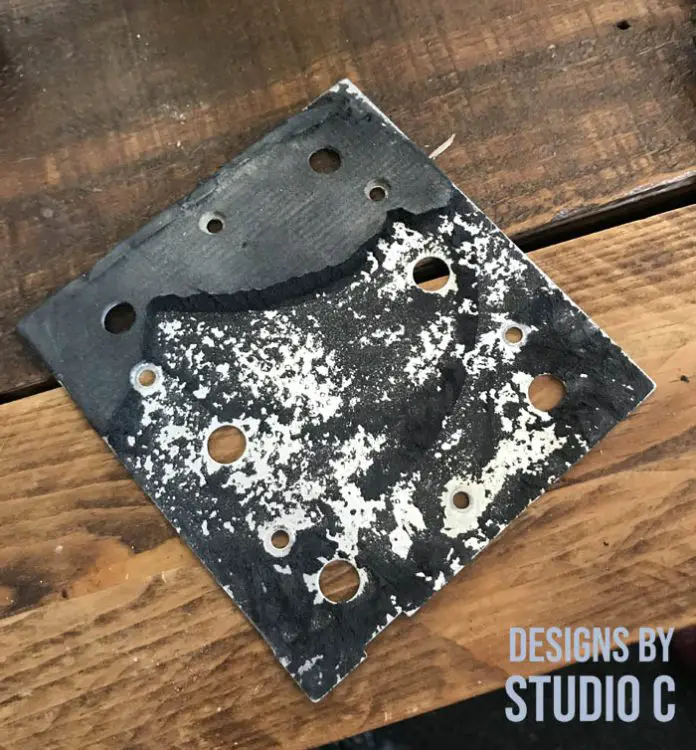
Start by removing the screws holding the pad to the platform, and remove any debris on the pad and in the sander. I decided to adhere the craft foam directly to the aluminum base for the pad. I used a metal drywall spatula to scrape off the old pad and made sure the base was totally smooth so there wouldn’t be any bumps under the new pad.
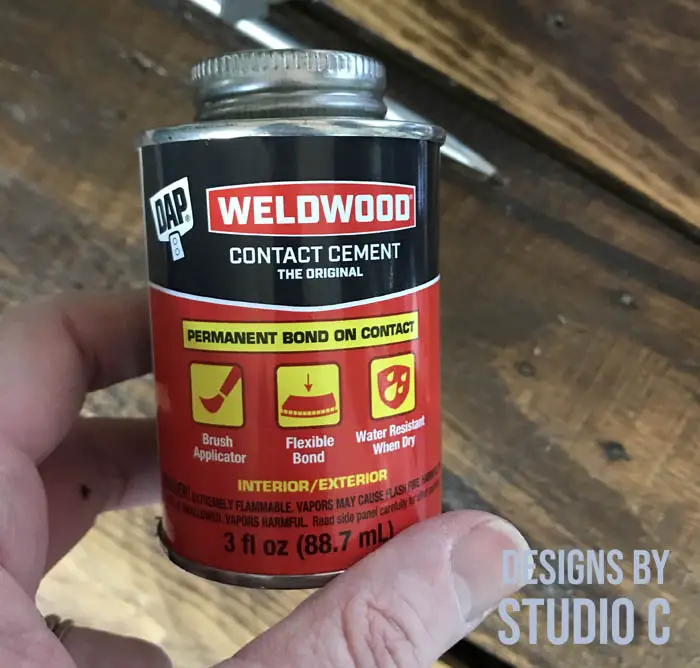
Cut a piece of the craft foam the same size as the pad on the sander. Apply a coat of contact cement to the back side of the craft foam, as well as to the top side of the sander pad, and let the cement dry.
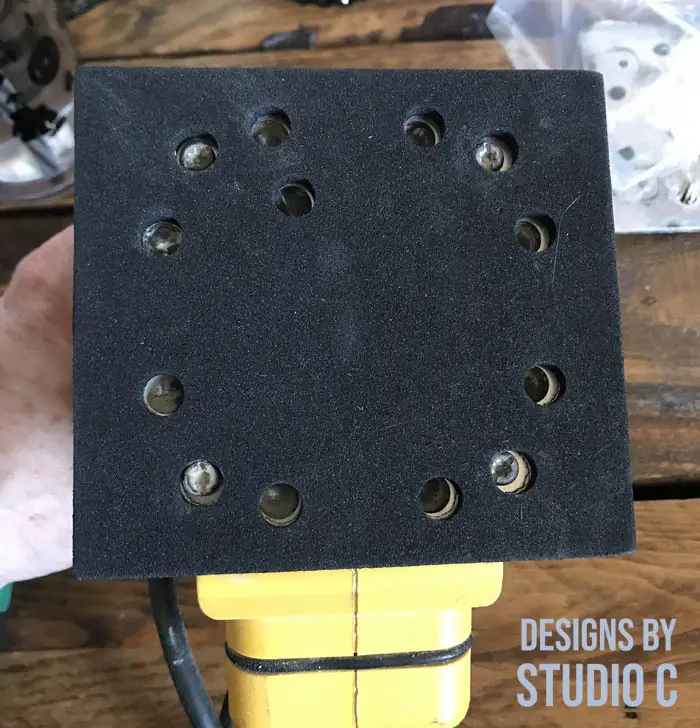
Once the cement is dry (about 10-15 minutes), position the craft foam on top of the sander pad so that the sides that are coated with the cement come into contact with each other (hence, the name “contact cement”). If there are holes on the existing pad for dust collection, they can be cut out of the new pad using a sharp craft knife.
Position the pad on the sander and replace the screws.
There you go – two ways to repair the pad on a sander… I found that the DIY pad is a little more rigid than the replacement part, and I’m sure both will work equally well! Do you have another method? Leave a comment below!
Originally posted 2021-12-24 16:37:50.


Comments are closed.