
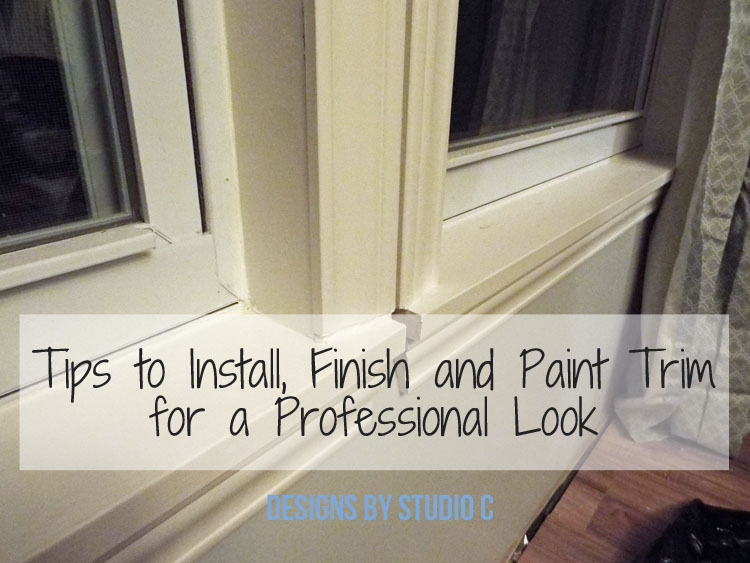
Getting Ready to Install Trim in the Home? Read This First…
I am working on a remodel in my dining room that consists of new window and flooring installation. I am in the homestretch and installing trim around the windows, ceiling and floor. I’d like to share a few tips to install, finish and paint trim and casing that I’ve learned during all of the remodeling I’ve done that will save time and create a thoroughly professional look!
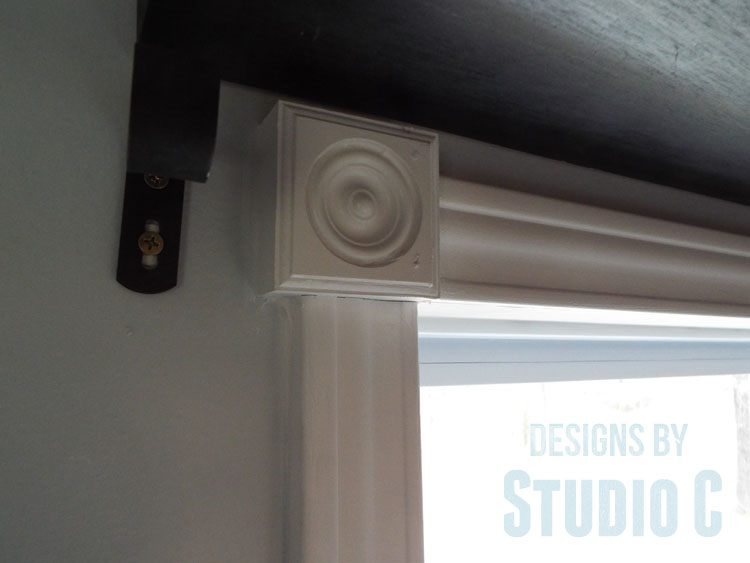
Do not cut each piece at once, cut the pieces to fit.
In my experience, if I cut the pieces all at one time, there will always be one or several that are short. Going around the windows, I cut the vertical pieces and installed them first. I installed the corner blocks next, then cut the horizontal top piece.
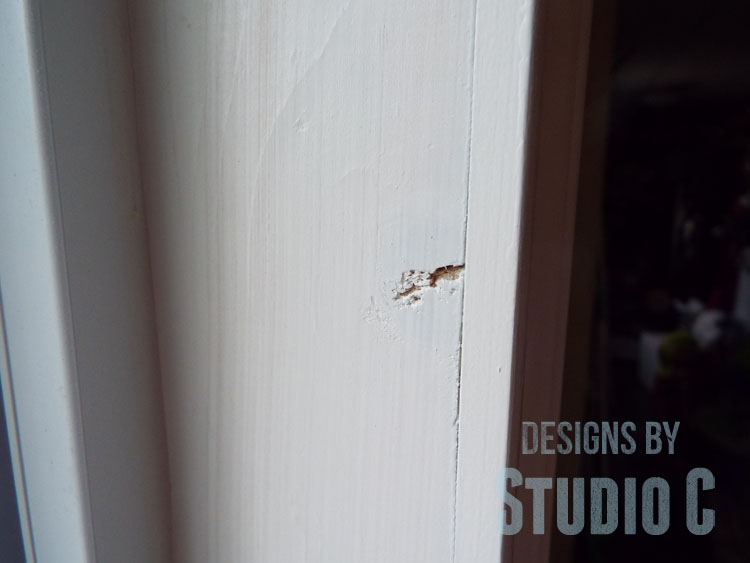
Apply the first coat of paint then fill the nail holes and other imperfections.
I find this is the easiest way to find holes or imperfections that I missed when filling. I use bare pine wood for the stops around the window, then use primed casing around the window. Applying a coat of paint first lets me see what flaws in the wood will show and what will not.
Paintable caulk is your friend.
A long time ago, I used to think that if I had to fill any sort of gap, seam, hole, etc. that my work wasn’t very good work. Now (especially with trim), I look at it this way – using caulk (<– affiliate link!) to fill the joins and gaps can take the trim project from “Oh, you installed trim” to “Wow, what fabulous trim work!” It will look more cohesive and professional for just a couple of dollars and a little more time.
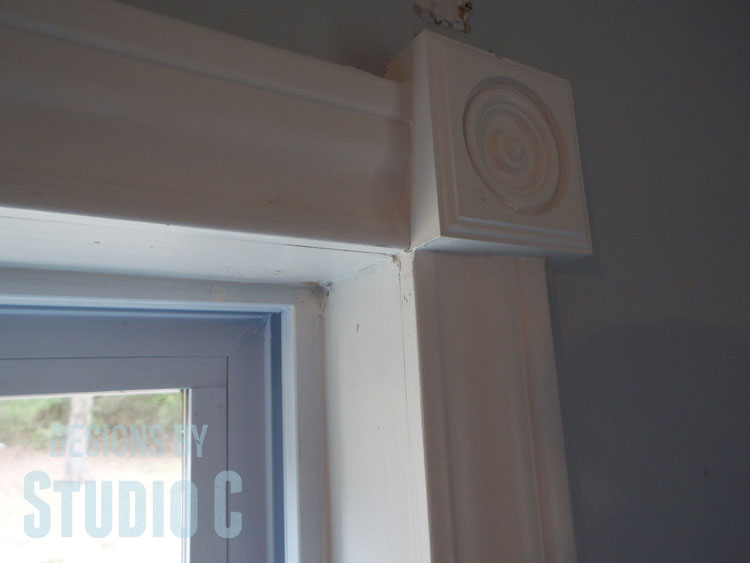
Don’t be afraid to get creative with joins or placement.
When I was installing trim over the double windows on the north wall of the dining room, there was not enough space between them to use the corner blocks side by side. I decided that I could use the corner blocks on the outside of each window then miter the corners on the inside where the trim sat between the windows. It worked out perfectly!

I love the way the trim looks compared to other areas in my home where it looks unfinished. I plan on going back over the rest of the trim in the house to add caulk and repaint. What are your favorite tips to install, finish and paint trim and casing? Leave a comment below!
Originally posted 2016-02-22 08:00:23.


Comments are closed.