How to Tie Dye Fabric to Upholster a Bench Seat
Tie Dye Fabric for an Upholstered Bench Seat with Tulip One-Step Tie-Dye!
I am so excited to partner with I Love To Create to share this easy tutorial using their Tulip One-Step Tie-Dye to tie-dye the fabric and upholster the bench seat!
It is so fun to create custom fabric for a special project. With Tulip One-Step Tie-Dye, it is so easy – the colors are bold, bright, and colorfast so they do not fade in the wash! It is as simple as adding water to the bottle, shaking the bottle to dissolve the powder, and start creating a masterpiece! Tie Dye Your Summer with Tulip One-Step Tie-Dye!
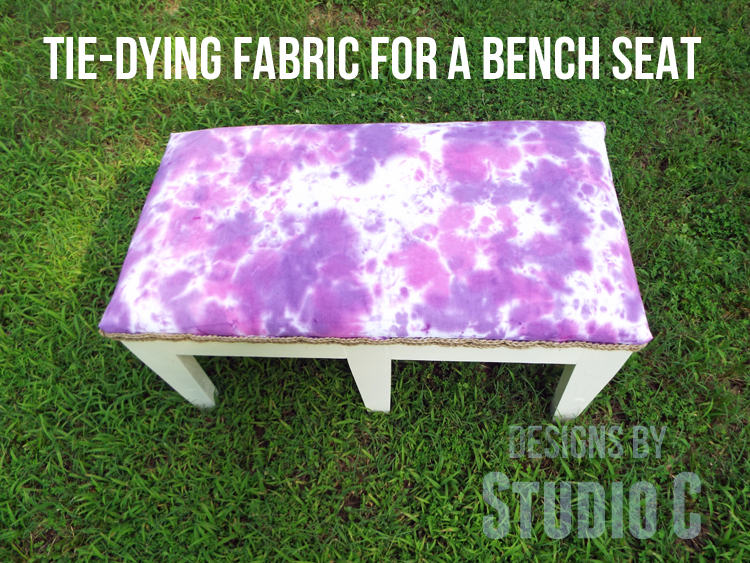
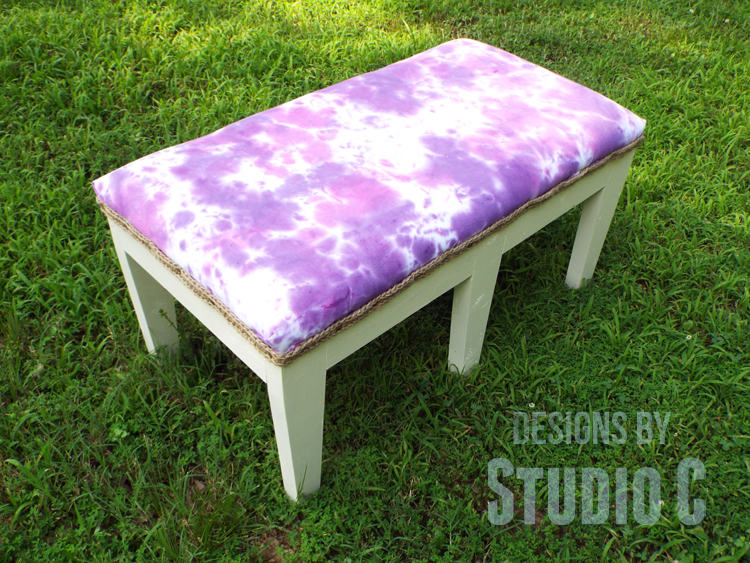
Previously, I shared plans to build an easy 2×4 bench. I decided that the Tulip One-Step Tie-Dye would be perfect to create the fabric to upholster the bench. This bench would be perfect for extra seating outdoors such as the porch, lounging by the pool, or for roasting marshmallows by the fire.
Materials:
- 2/3 yard of canvas fabric
- Plastic gloves
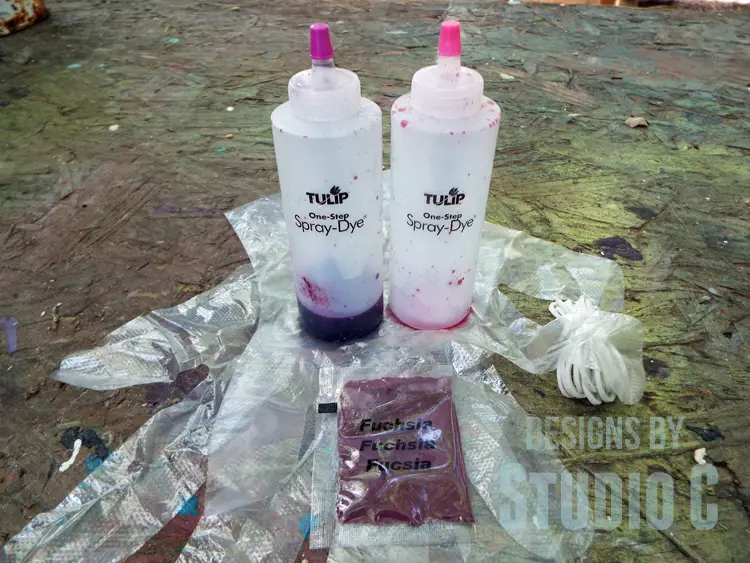
- Tulip One-Step Tie-Dye (<– affiliate link!)
- Plastic garbage bag
- 1 – 24″ x 72″ roll of 1″ foam
- Staples and heavy-duty staple gun
- 1″ wide trim (to cover the staples)
Start by pre-washing and drying the canvas fabric. This removes any sizing and pre-shrinks the fabric. The Tulip One-Step Tie-Dye works best if the fabric is damp so I ran mine through the washer on the rinse cycle before I dyed it.
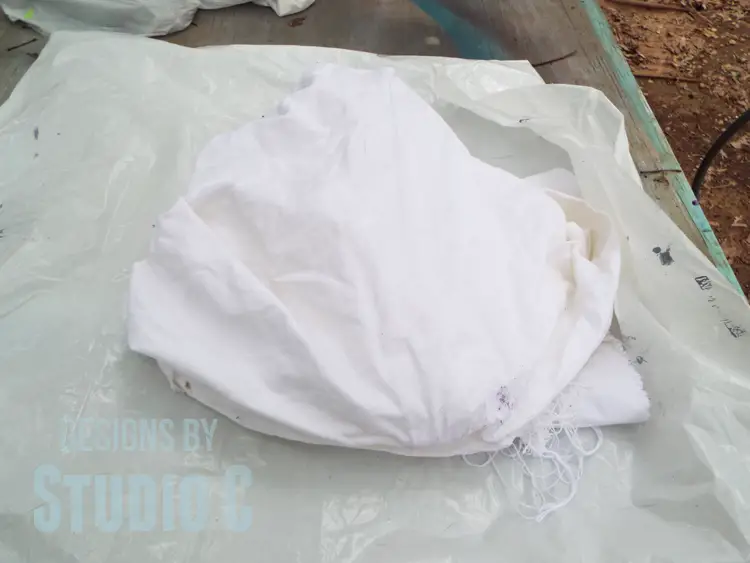
I decided to use the “crumple” method and the Tulip One-Step Tie-Dye in Fuchsia and Violet. Spread out the garbage bag on an outdoor surface then “crumple” the fabric into a ball. Put the gloves on, and add water to the dye bottles according to the directions, shaking well to dissolve the dye powder. Apply the dye over the fabric. I carefully turned the fabric over so that the rest of the piece would be dyed, as well.
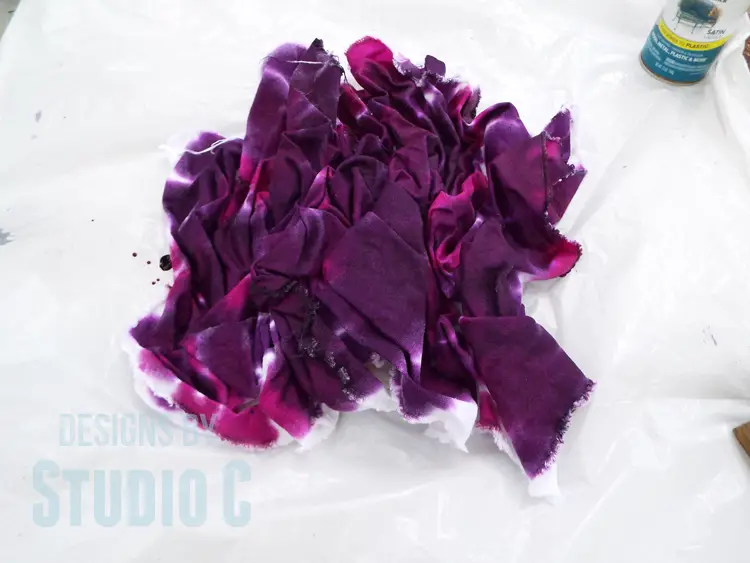
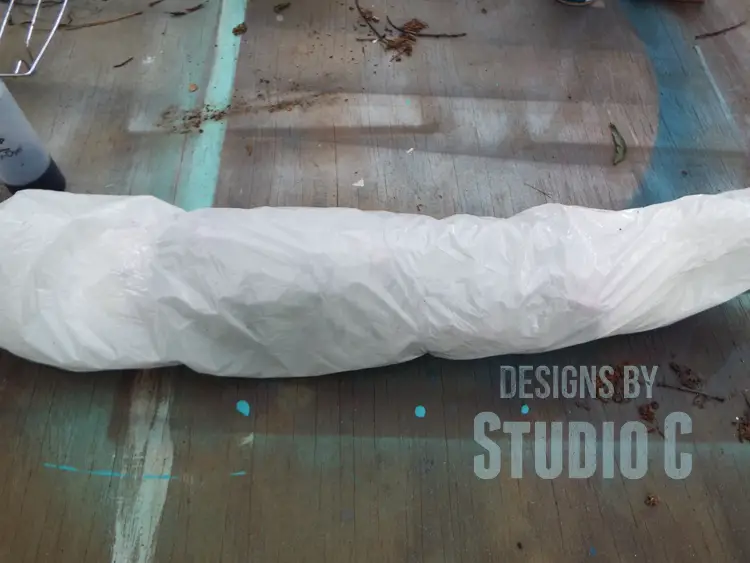
Wrap the fabric in the garbage bag and let it sit for six to eight hours. This lets the dye completely penetrate the fabric and create an awesomely colorful pattern!
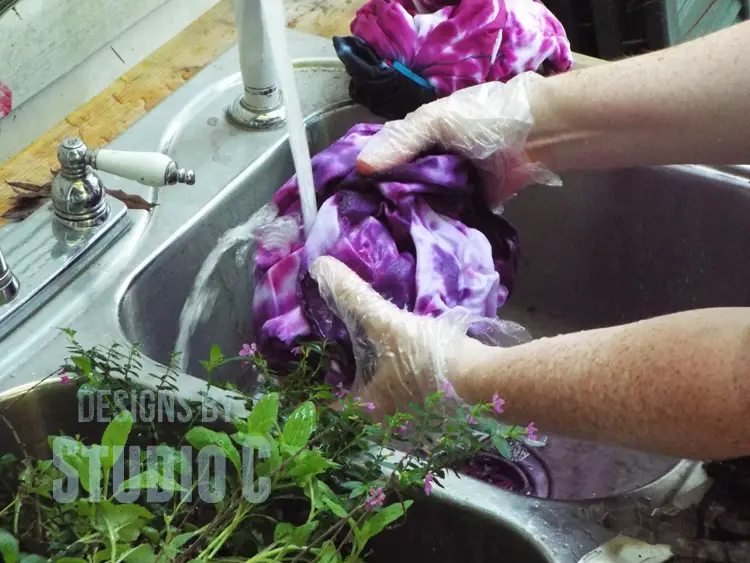
Rinse the fabric thoroughly until the water runs clear, and put it in the washing machine on the rinse cycle. Once the rinse cycle is complete, put the fabric piece in the dryer.
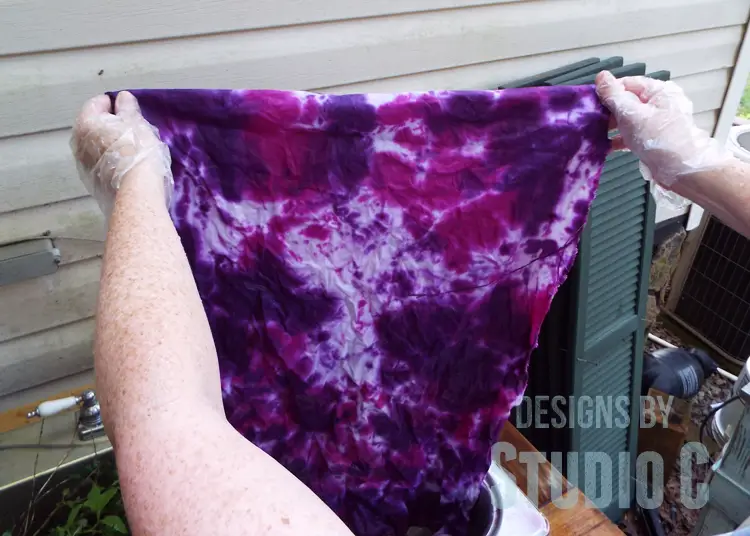
To upholster the bench, cut one piece of 1″ foam the same size as the bench seat. Cut another piece of 1″ foam at least 2″ larger on each side. Wrap the foam around the sides of the bench, then secure in place with the staples.
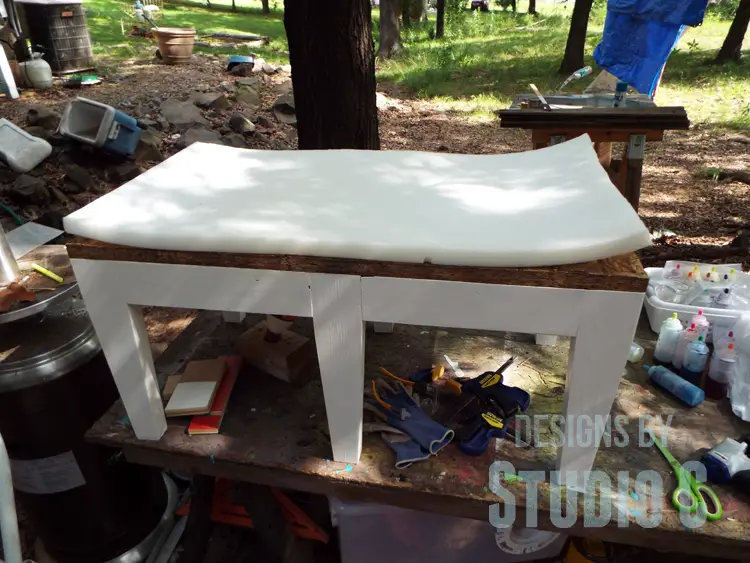
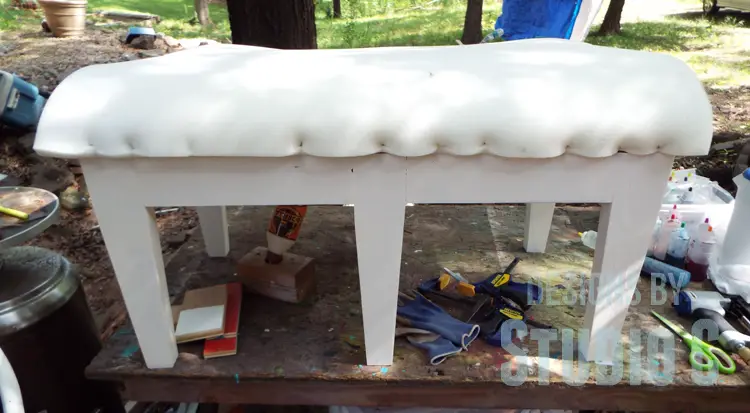
Position the fabric over the foam and staple it to the sides, pulling it so that it is snug as it is being secured to the bench sides. The fabric will cover the foam.
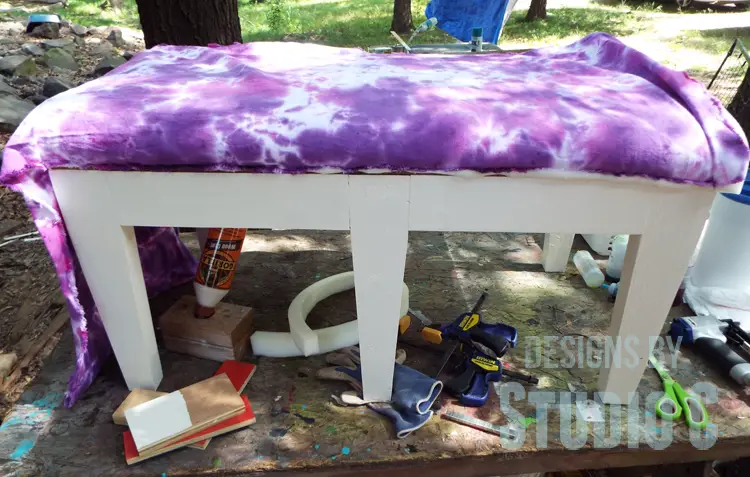
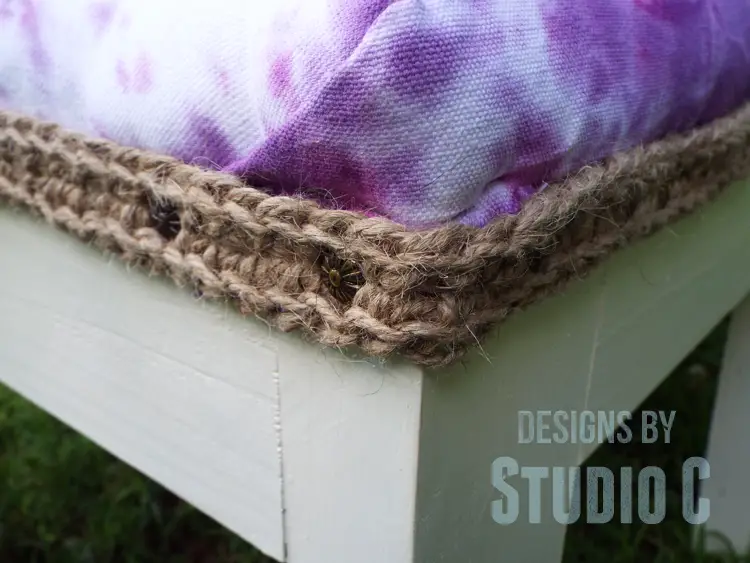
Trim away any excess foam and fabric, then apply the trim using hot glue or upholstery nails to secure it in place over the raw edges of the fabric. (I crocheted the trim for my bench using jute twine!)
It doesn’t get any easier (or fun!) than that!! I love Tulip One-Step Tie-Dye and know you will as well. Connect on Facebook, Twitter, Pinterest, or check out the I Love To Create blog for tons of other tie-dye ideas and techniques!
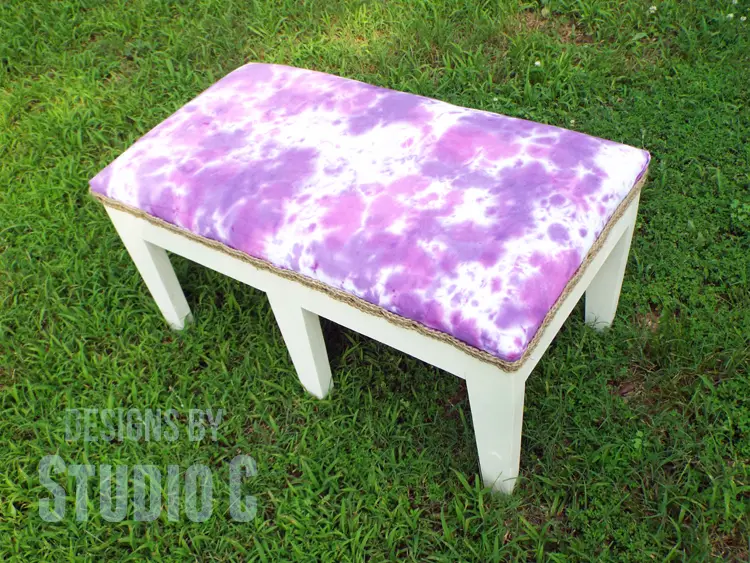
Awesome, right? Ha ha! Thanks so much, I Love To Create, for the supplies to create these fabulous projects! Have any questions about how to tie-dye fabric to upholster a bench? Leave a comment below or contact me at cher {at} designsbystudioc {dot} com!


It says comments on this entry are closed but I hope you see this. Can you tell me the best place to purchase the right canvas fabric to do this? I have the perfect bench.
Hi, Robin!
I purchased the canvas I used at WalMart. I know that Hobby Lobby and Hancock Fabrics also have it in stock, if you have one of those stores near you.
The “comments closed” is a WordPress thing and my computer guru can’t make it go away, but I did see your question through Disqus!
Thank you for reading and for contacting me!!
[…] my other site, Designs by Studio C, I wrote a post on Tie-Dying Fabric for a Bench Seat using Tulip One-Step Tie-Dye. The gracious folks at I Love to Create sent extra tie-dye to create […]
[…] my other site, Designs by Studio C, I wrote a post on Tie-Dying Fabric for a Bench Seat using Tulip One-Step Tie-Dye. The gracious folks at I Love to Create sent extra tie-dye to create […]