Tips and Tricks to Install Drywall
More Drywall Installation Tips (Part Two)
Continuing with this article on tips and tricks to install drywall, part two (part one is here) outlines a few techniques on marking the studs on the drywall sheets, cutting holes for outlets and switches, floating, etc. and even a link to a technique I wish I’d used when installing my drywall!
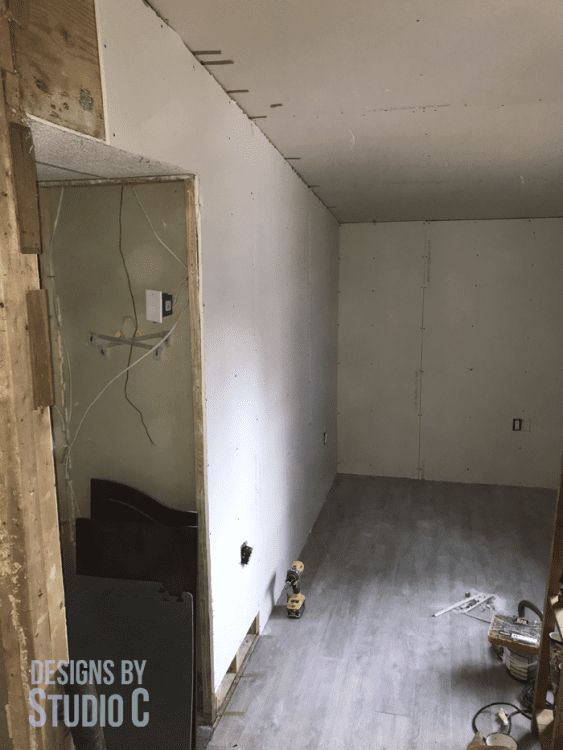
Marking Studs on Drywall Panels
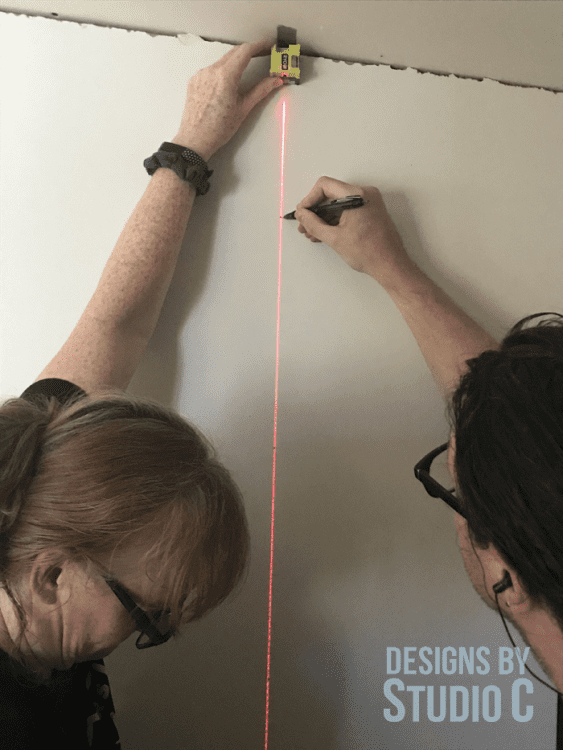
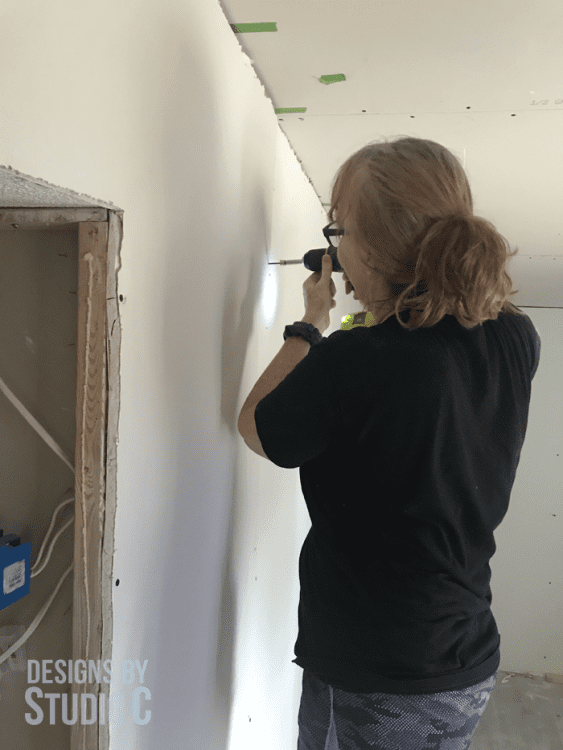
So the drywall panels have been hung and need to be screwed down. A foolproof way to find the studs is to use a laser level. Remember marking the studs with masking tape on the ceiling and floor? Position the laser level at one of these pieces of tape on the ceiling and line up the laser with the corresponding piece of tape on the floor. Make marks with a pencil along the line on the drywall, and drive the screws using a drywall dimpling bit.
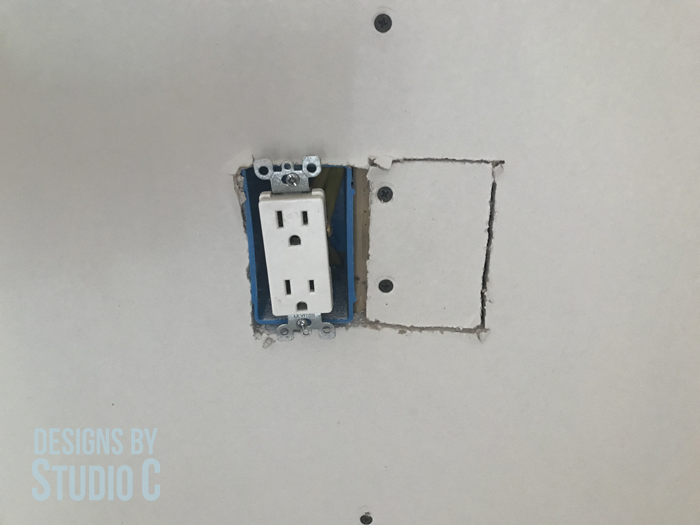
Cutting Holes for Outlets and Switches (Drywall Math is Hard)
This is my least favorite part because no matter how accurate my measurements are, the holes are ALWAYS off. I may have cut a hole for a switch in the correct place once but never again. A suggestion in a Do It Yourself forum said to “put a screw in the top and bottom of the outlet box and press the drywall onto it”. It will be done after the piece is cut to size for the wall, and marks the position perfectly so an opening can be cut for the electrical box. (I’m definitely trying this next time!)
Floating Mud and Tape
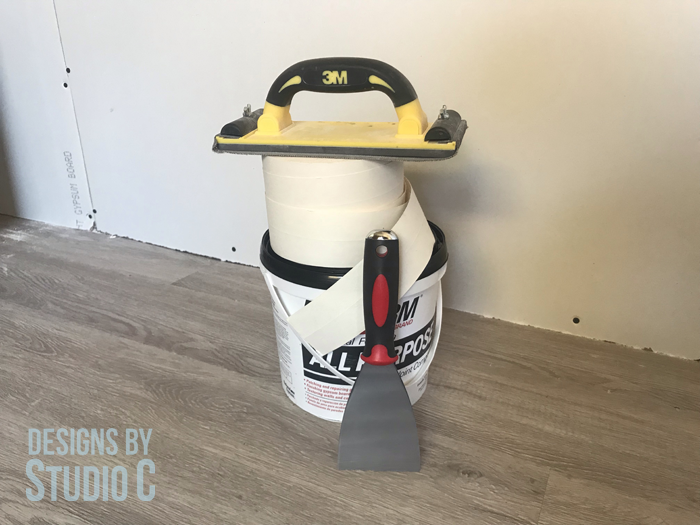
Floating the mud and tape is the most tedious part of hanging drywall, only because it is a slow process allowing ample dry time between coats. There is no one way to do it, it is something that has many techniques and applications. This is how I do it: the first coat of mud is applied to the seam with a putty knife, then the tape is placed over the seam. The putty knife is used to smooth the tape and squish out any excess mud. I apply a bit of mud over the tape and smooth it out, then let it dry overnight. The next day, I sand it with a sanding screen (sanding is outlined in the next paragraph), then apply a second coat with a wider putty knife, also letting this coat dry overnight. I repeat the process a third time, then sand once more when it is dry.
Never Ending Sanding and Dust
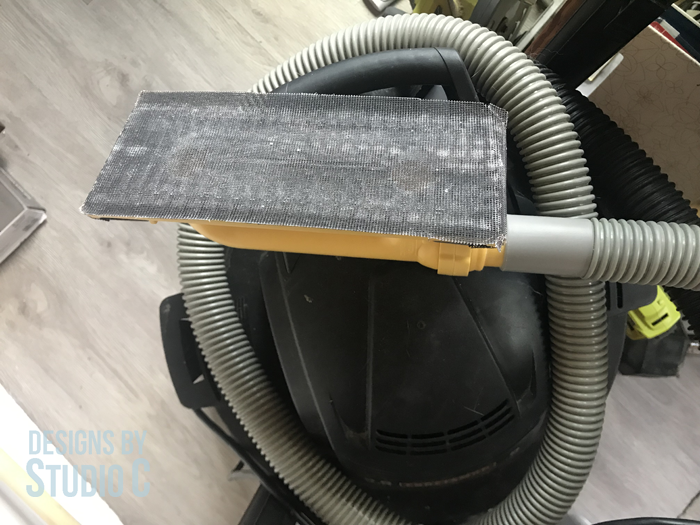
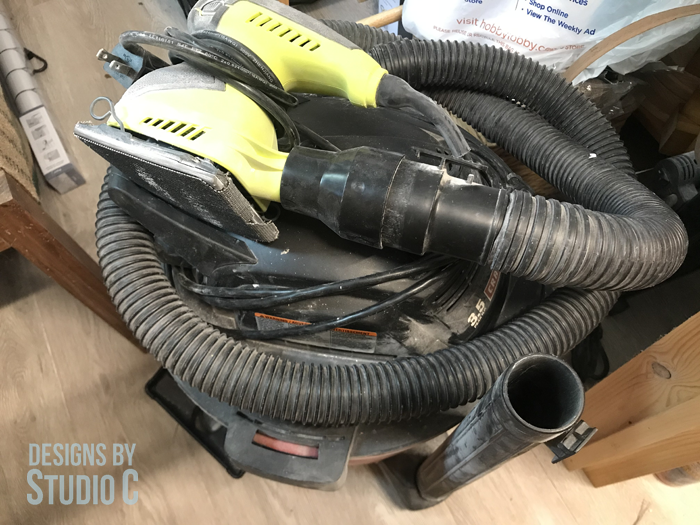
I’m not going to lie – sanding drywall is a mess. The dust gets everywhere and coats everything but it has to be done. The most common way to sand drywall is by using a pole sander with the sanding screen attached to the end. There is also a sanding attachment for a wet/dry vac that will remove the dust while sanding (pictured below). I came up with a way to do it that creates less dust and makes cleanup so much easier. I use a 1/4 sheet sander with a round dust port (like this one from Ryobi <– affiliate link!), fitted with a hose that connects to a wet/dry vac. I cut the sanding screens in half (they fit perfectly on the sander), turn on the vacuum, and sand the high spots on the mud. It creates far less of a mess, and the dust is contained inside the vacuum. I don’t recommend using a sander without using a vacuum attachment nor do I recommend using regular sand paper.
Trim Covers Everything
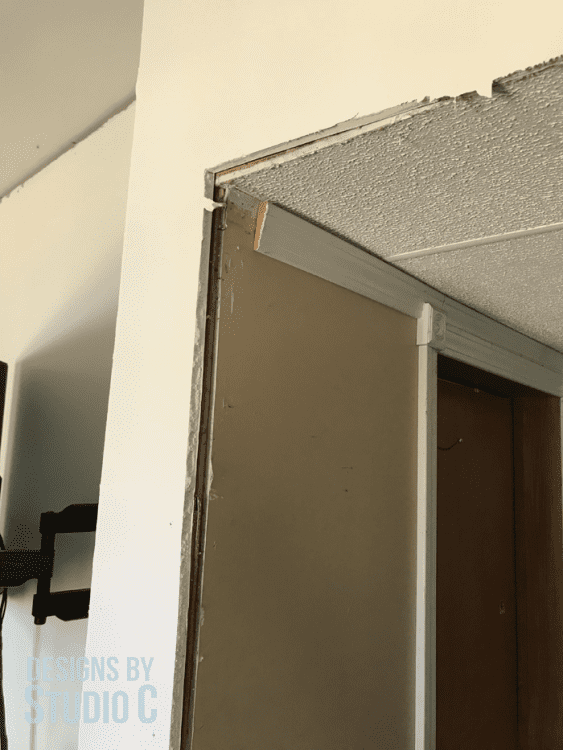
If cuts on the drywall at the ceiling or floor are ragged, just remember that trim covers everything! I also used narrow trim around the plastic covers on the electrical junction boxes where the holes didn’t line up. Lazy? Yes, but don’t judge. I think it looks neat!
Priming and Paint
Bare drywall and joint compound definitely need to be primed for best results. I used two coats of Kilz 2 (no affiliation, this is just my brand of preference). Once the primer was dry, I used two coats of paint in a satin sheen (satin hides blemishes and makes mistakes less obvious!). I also used a flat white paint on the ceiling that goes on PINK then dries to white. It makes the paint easy to see and the flat sheen really hides any mistakes!
I am not a professional when it comes to installing drywall – these are the techniques that work for me and I find that the more I do them, the better I get at it! Have questions about installing new drywall: tips and tricks for beginners, part two? Leave a comment below!
