How to Make Trim Using a Router and a Table Saw
An Easy Way to Make Your Own Trim
Using a router to create decorative edges is a no-brainer… Insert the bit of your choice and go! I have a cabinet I am working on and I made a major faux pas. While I cannot elaborate on the cabinet (it is for a future post), I can elaborate on the mistake and why I needed trim to hide it. So let me share an easy tutorial on how to make trim using a router and a table saw.
While working on the side panels and frames for the cabinet, I had a serious brain fade and cut the panels too narrow. There was a gap of about 1/4″ on each side between the panel and the legs. Great. Yeah, yeah, I know – “measure twice, cut once” and I swear I measured a bazillion times (plus I drew the plans) but somehow I got distracted and cut it wrong. I needed something to hide those gaps because there was no way paintable caulk was going to look right!
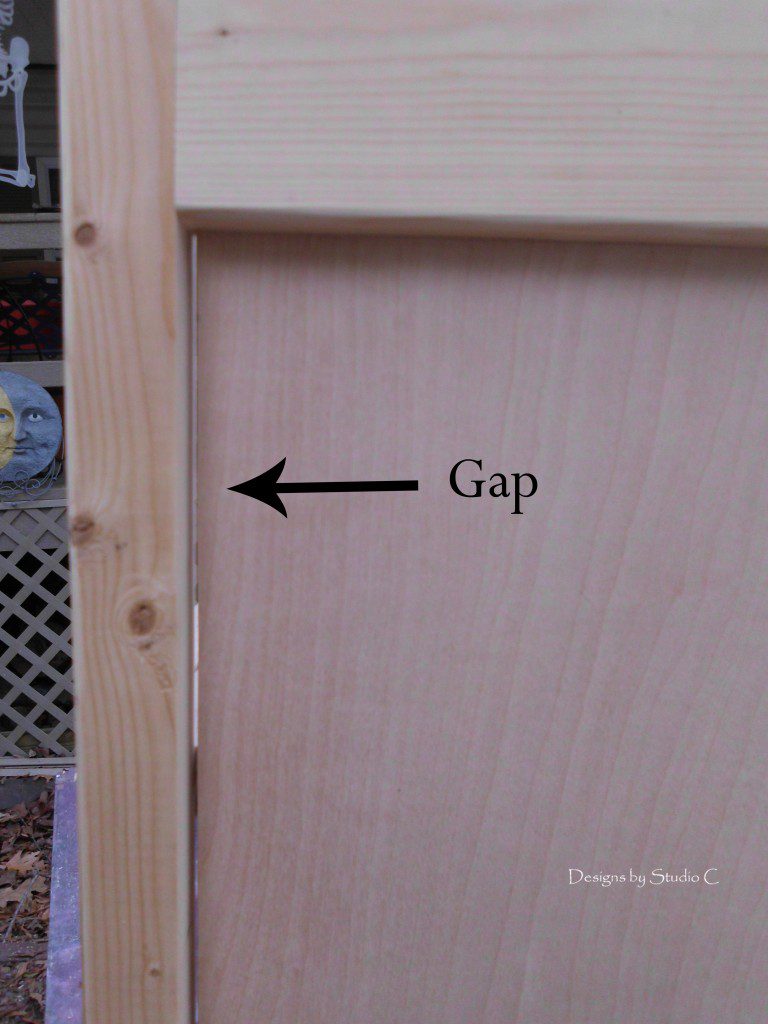
I know that fancy, narrow trim can be purchased at the big box stores but they also have a fancy and not-so-narrow price attached to them! I want to use what I already have at home so I came up with an idea to create my own.
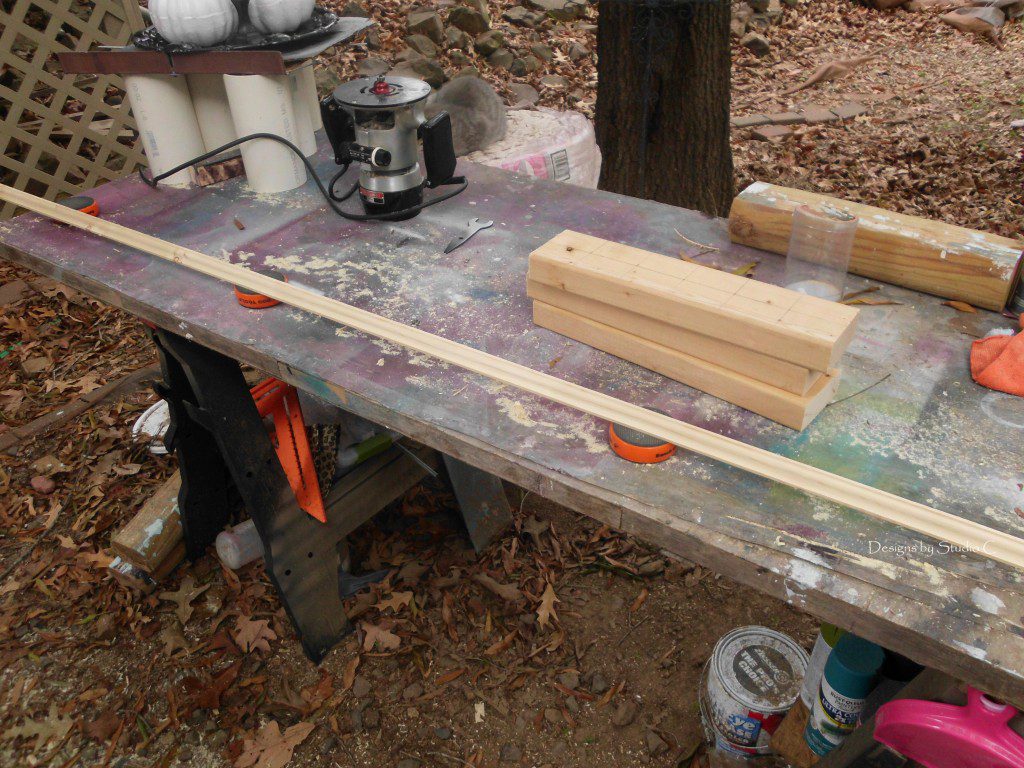
I started with an 8′ pine 1×6. I inserted one of my fancy bits into my router (which by the way is as old as I am – it was my dad’s) and routed an edge on each side of the 1×6.
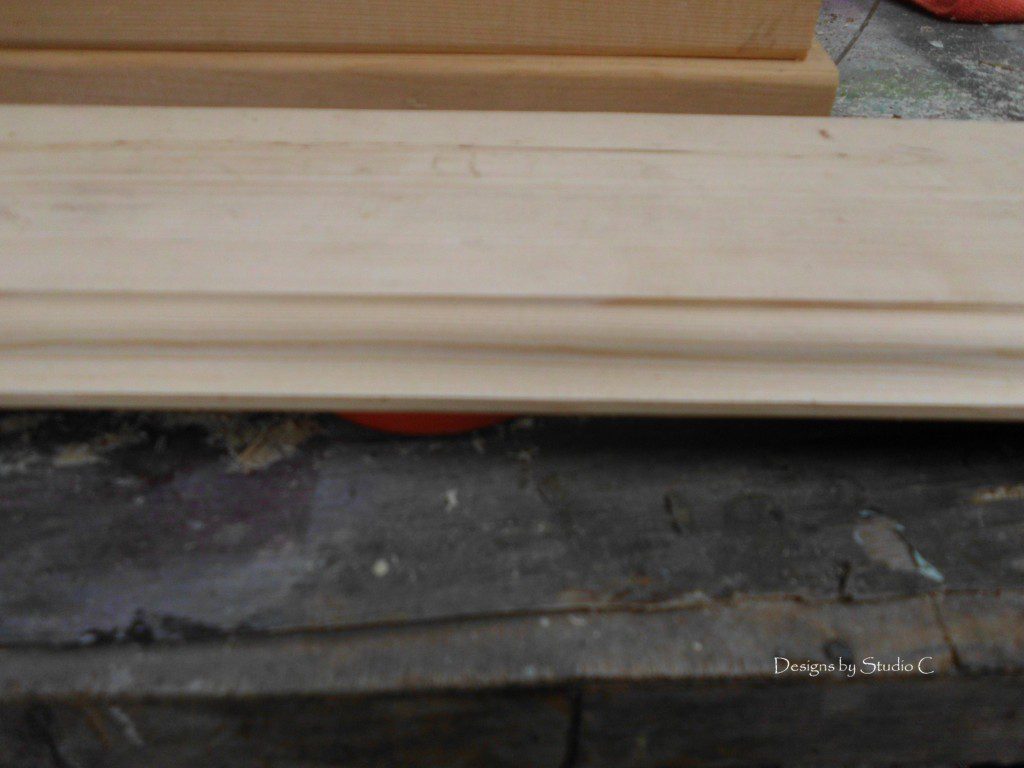
I set up my table saw to rip the routed edge off of the board. A 1×6 measures 5-1/2″ so I set the fence on the table saw 4-3/4″ away which allowed for the width of the trim (5/8″) and the kerf of the blade (1/8″).
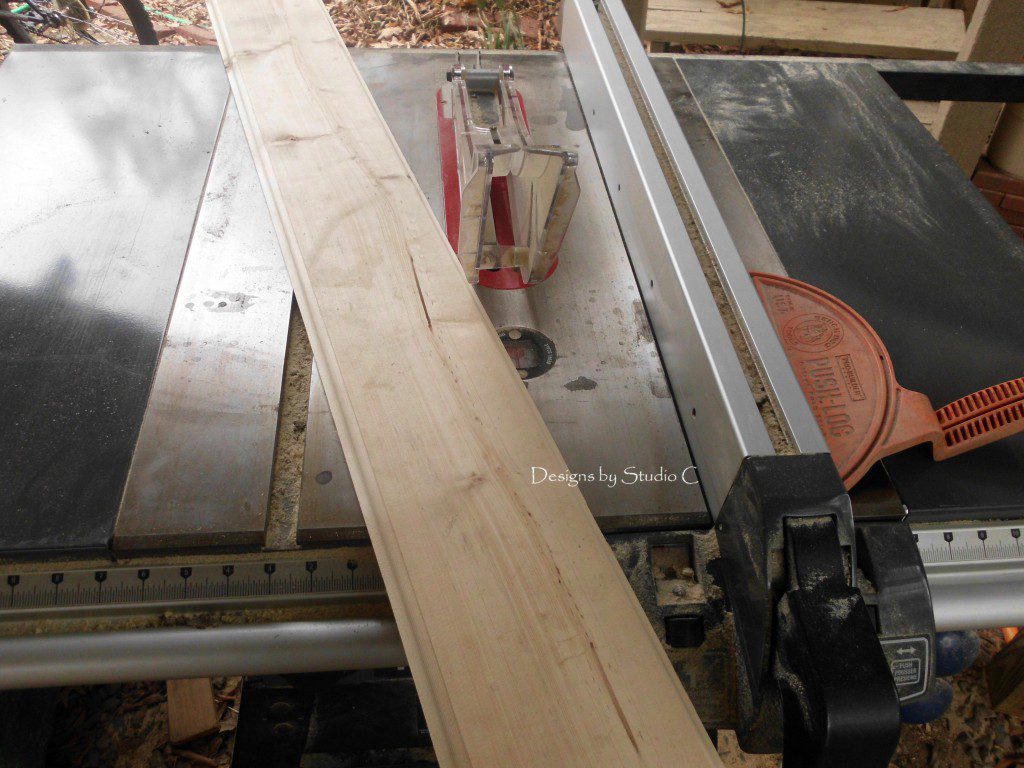
Once the first piece was cut, I moved the router fence to 4″ from the bade to cut the other piece.
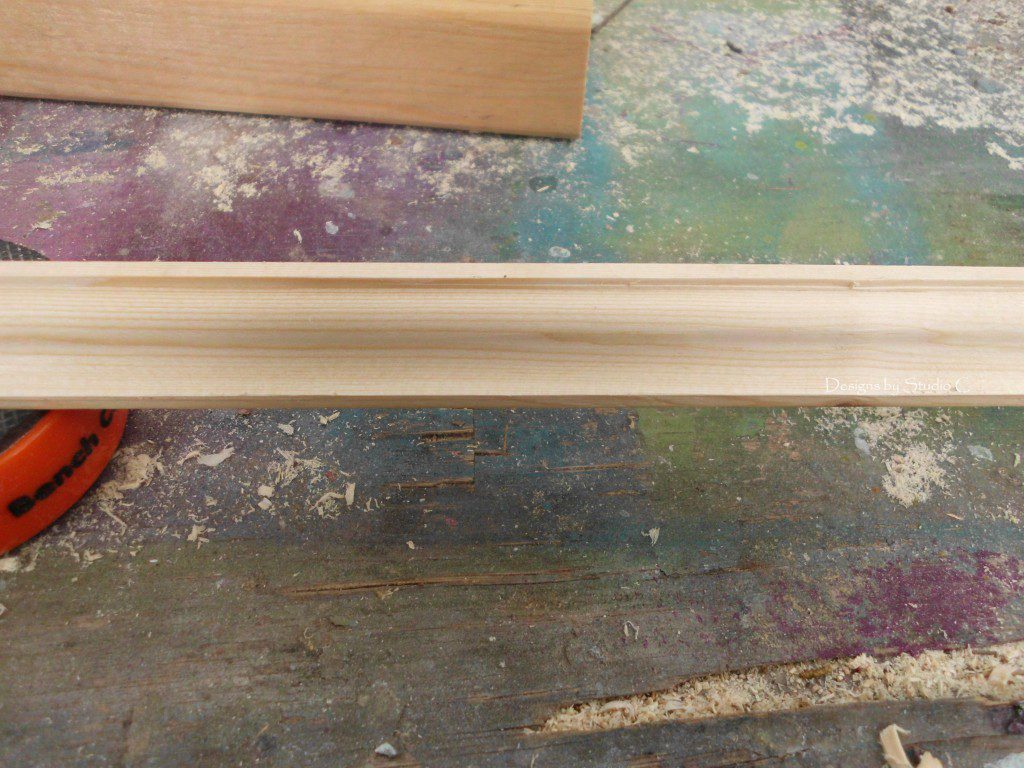
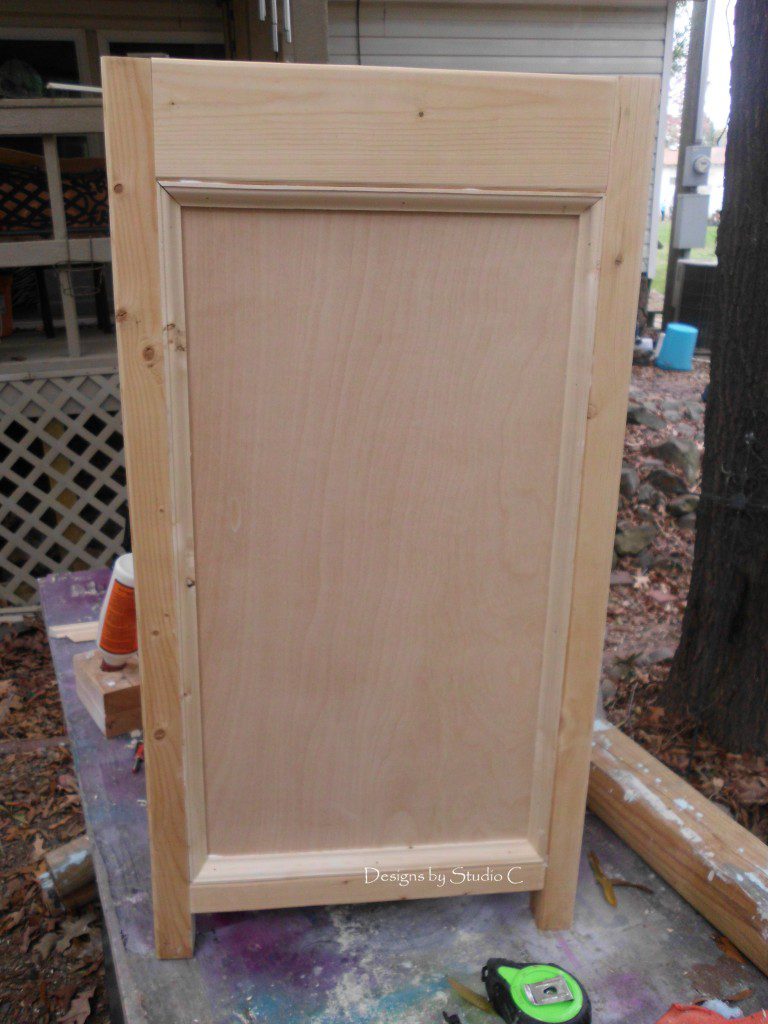
To cover the gaps on my cabinet, I measured the length of each panel inside the frame and cut a piece to fit, complete with mitered corners, then created the shorter horizontal pieces. I used glue and brad nails to secure the trim to the panel.
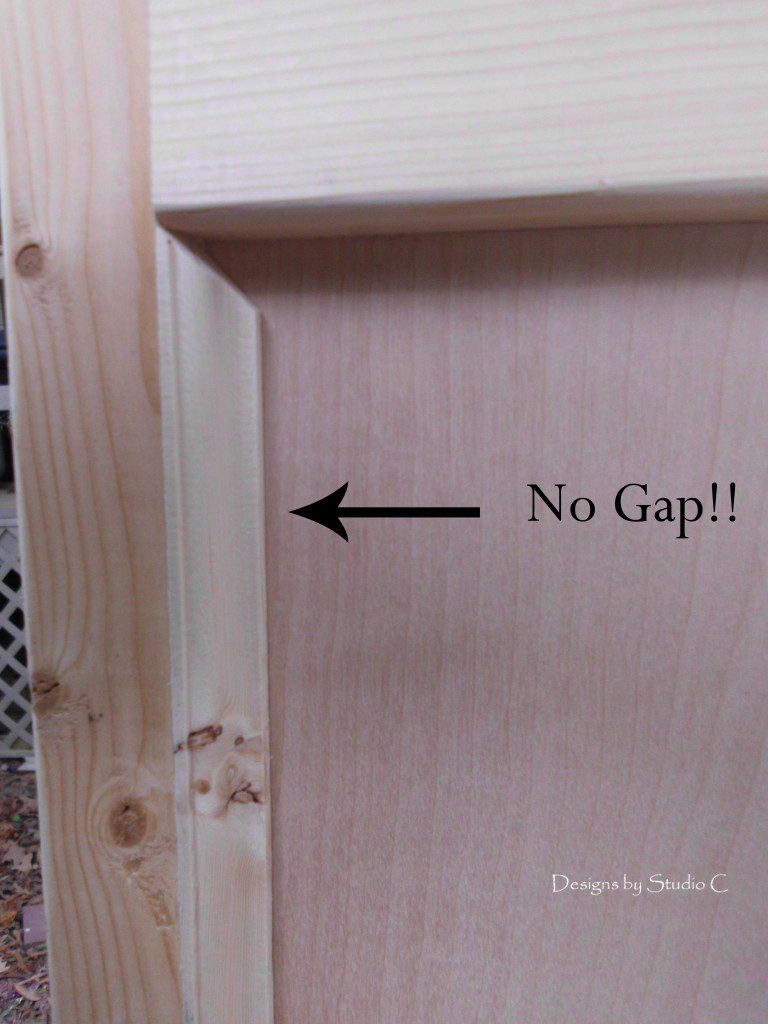
Whew! Crisis averted! Stay tuned in the next couple of weeks for plans for this great cabinet. The mistakes are optional and not included in the plans – ha ha!!
Have any questions on how to make trim using a router and a table saw? Leave a comment below!
Originally posted 2012-11-15 08:00:41.

