How to Make a Copper Pipe Magazine Sling
Easy to Make Storage for Magazine, Books or Papers!
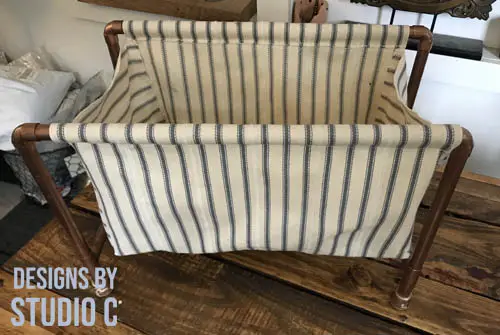
I have a “thing” for copper pipe… Though it can be a little costly for fittings, projects made with it are so awesome and a great element to any room. This project, a copper pipe magazine sling, is a great piece for organizing magazines, paperwork, books, patterns, etc. It can also become a bed for a cat (ask the Parkour Champs – they love it!).

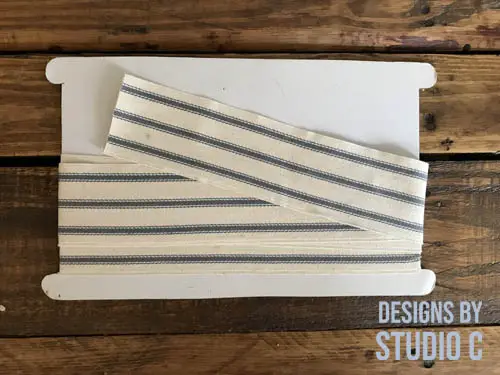
The “sling” part is made using upholstery webbing that I stitched together to make a solid piece of fabric but any sort of fabric can be used. The most awesome part is that sewing skills are NOT required! The sling can be assembled with a hot glue gun for an easy-peasy project!
Materials:
- 1 – 1/2″ copper pipe at 8′
- 8 – 1/2″ copper elbows
- 4 – 1/2″ copper tees
- Pipe cutter (<– affiliate link!)
- Fast setting adhesive (<– affiliate link!)
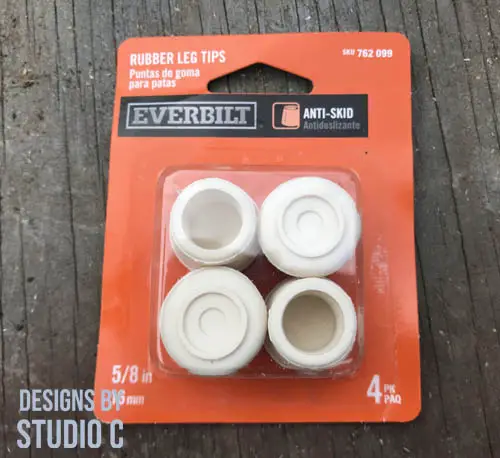
- Rubber tips for the feet
- Steel wool
- 1 yard of fabric
- Hot glue gun & glue sticks
Cut List:
- 2 – 1/2″ copper pipe at at 16″
- 4 – 1/2″ copper pipe at at 10″
- 2 – 1/2″ copper pipe at 8″
- 4 – 1/2″ copper pipe at 2″
Step One
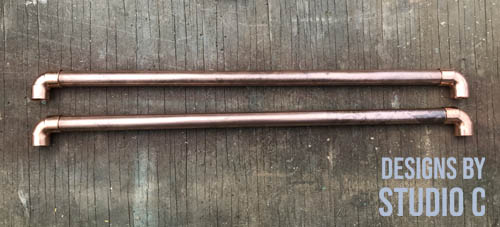
Use the pipe cutter to cut all of the pieces to length. Glue an elbow to each end of the longer pieces with the fast-setting adhesive.
Glue a 10″ piece in the end of each elbow. Glue a tee and a 2″ piece at each end.
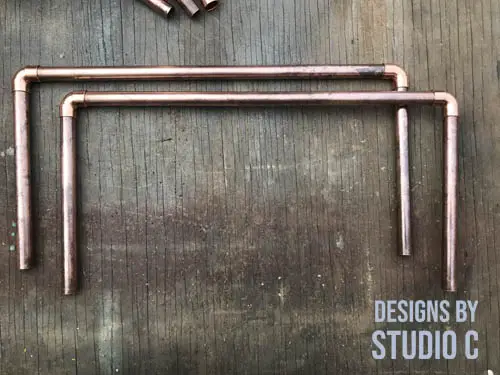
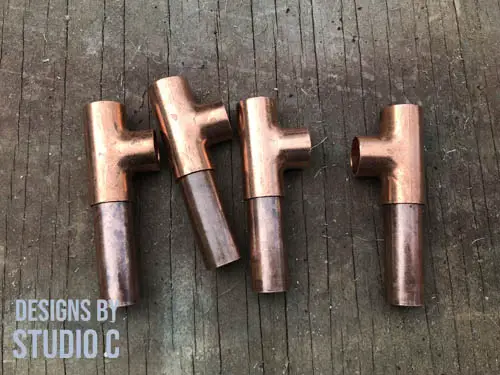
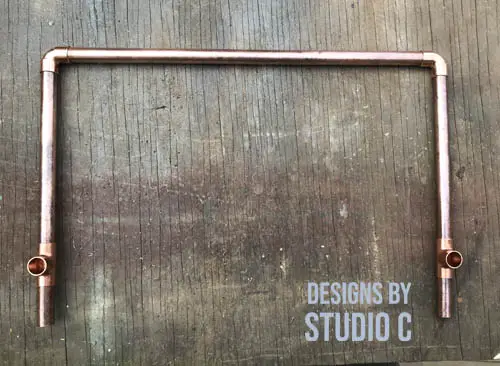
Add the rubber tips at the end of the 2″ piece.
There will be two of these assemblies that will make up the sides.
Step Two
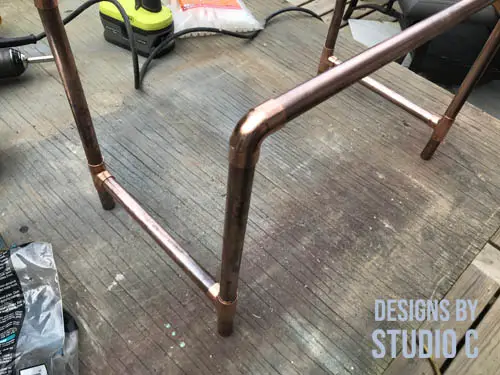
Glue an 8″ piece in each of the tees on one assembly, then glue the other assembly on the opposite side to make the frame.
Step Three
Use the steel wool to buff the pipe and fittings. If needed, use copper spray paint on the frame and feet. I totally did this myself, so no shame or judgement from me!
Step Four
I did not photograph the steps to create the fabric sling. I made drawings, instead, along with photos of the sling I made.
Cut a piece of fabric at 17″ x 33″, and two pieces at 9″ x 11″. On the 9″ x 11″ piece, fold over one of the 9″ edges by about 1/2″ and glue in place to make a hem. Use caution with the glue gun – a blister on the finger makes it hard to finish other projects or type blog posts.
Use a pencil to make a couple of marks along the 33″ edge of the longer piece of fabric: make one mark at 12-1/2″ and another mark 8″ from that (which should leave 12-1/2″ to the end, right?). Repeat for the opposite side. Now, make a 1/2″ clip with scissors at each mark. The clips will allow the longer piece to turn the corners on the smaller piece.
With the right sides facing, place the smaller piece on the larger piece between the clips aligning the edges. Apply a bead of glue along the edge between the clips and press the 9″ edge of the smaller piece onto the glue.
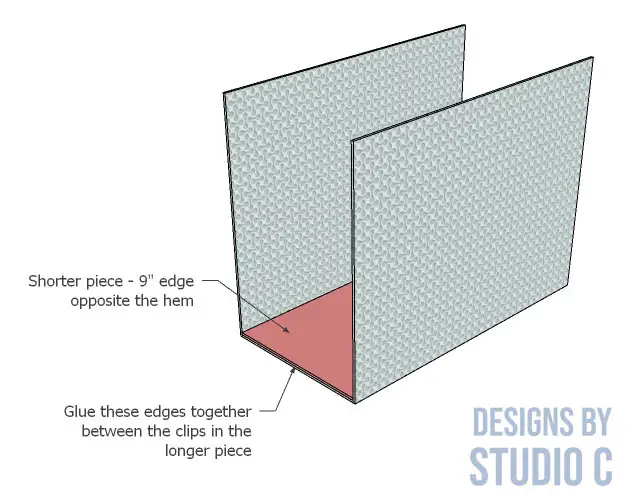
Now, secure the longer edges with glue.
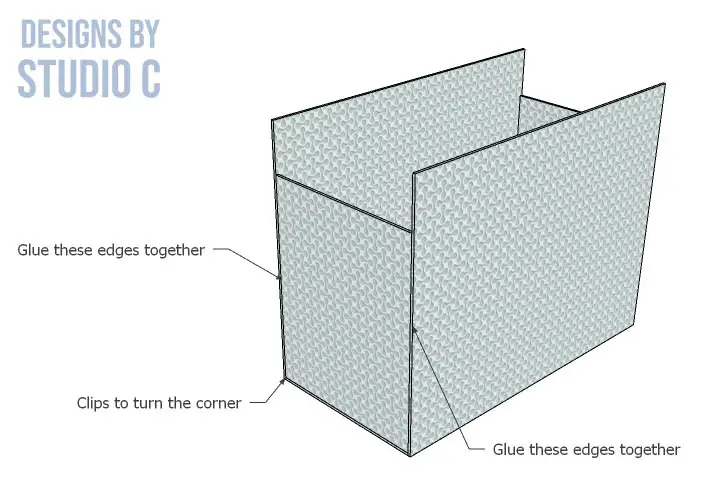
As the last step, turn the fabric right side out and place it in the copper pipe frame. Fold the top edge over the longer horizontal pieces of the frame and glue it in place.
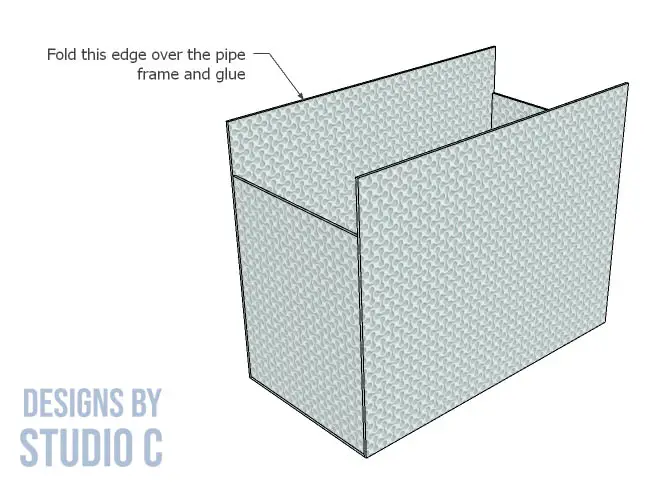
Here are a few photos of the fabric webbing I stitched together for my magazine sling… I didn’t glue my frame together and can remove the fabric as needed.
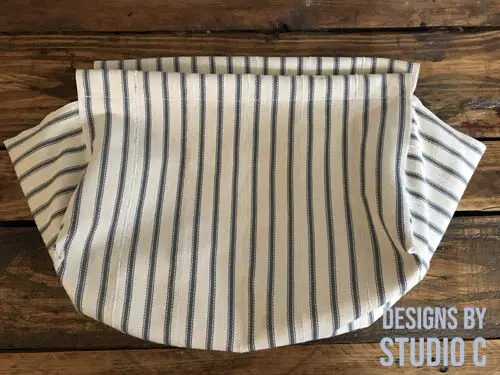
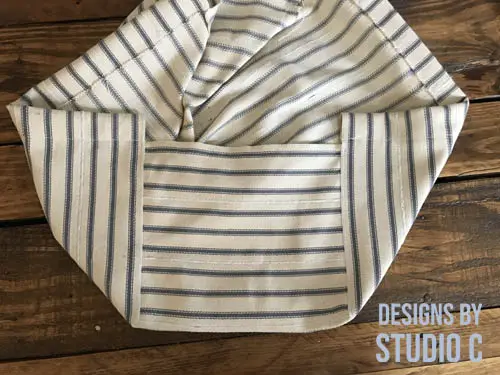
I added a piece of corrugated board to the bottom for stability and to “square” the bottom.

This copper pipe magazine sling is a super easy project! I’ve used the pipe to make a base for a table as well as a fabulous bar cart! Have questions about this project? Leave a comment below!

