How To Install Kitchen Cabinets
A Simple Guide on Installing Cabinets in the Kitchen
These cabinets were a DIY project, and I’m really excited about installing them! I wrote a post awhile back about Planning and Building a Custom Cabinet (Part 1 and Part 2) which would be the perfect starting point if you are interested in doing it all yourself.
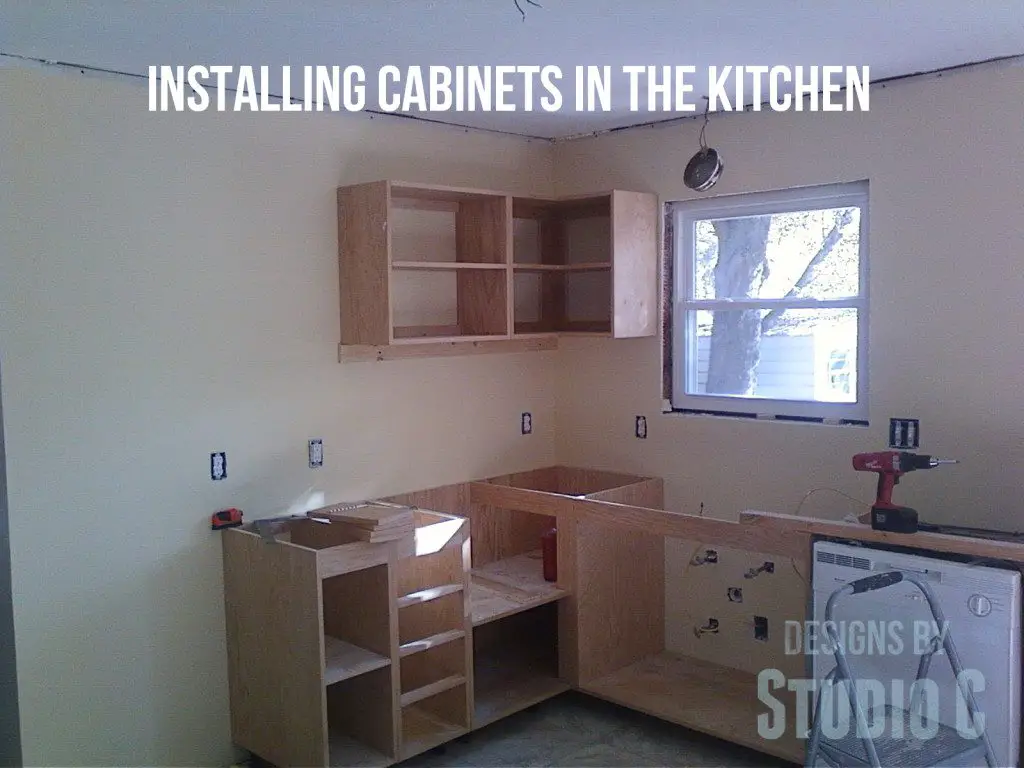
What You’ll Need:
- 1-1/4″ screws
- 3-1/2″ screws
- Straight level and laser level (<– affiliate link!)
- Straight scrap board
- Shims
Lower cabinets always have a toe-kick measuring 3″ deep by 4″ high to allow room for your feet when standing in front of them. The standard height for lower cabinets is 36″ from the floor to the top surface of the countertop. When I am constructing lower cabinets, I like to add adjustable cabinet legs to the bottom of the cabinet, which aids in leveling the cabinet as well as keeps the cabinet off of the floor in case of water damage. Replacing the toe-kick board is a heck of a lot cheaper than replacing an entire water logged cabinet! I use the Adjustable Leveler Legs (<– affiliate link!) which can be adjusted from 3-11/16″ to 5-7/8″ high and are fantastic if the floor is uneven. Holes have to be bored in the bottom of the cabinet to allow for the locating pin on the top bracket, which will be positioned 4″ from the front edge of the cabinet.
The top bracket will then be secured with the included screws. The legs are then snapped into the brackets, and adjusted to the proper measurement (4″).
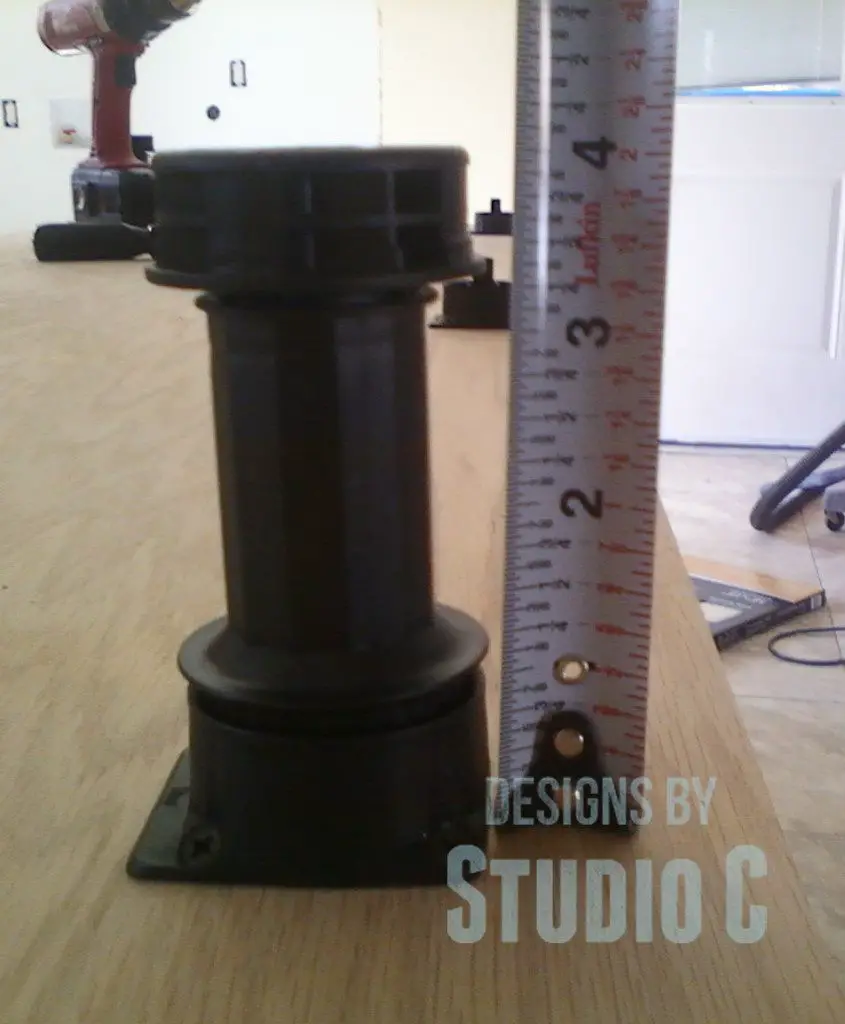
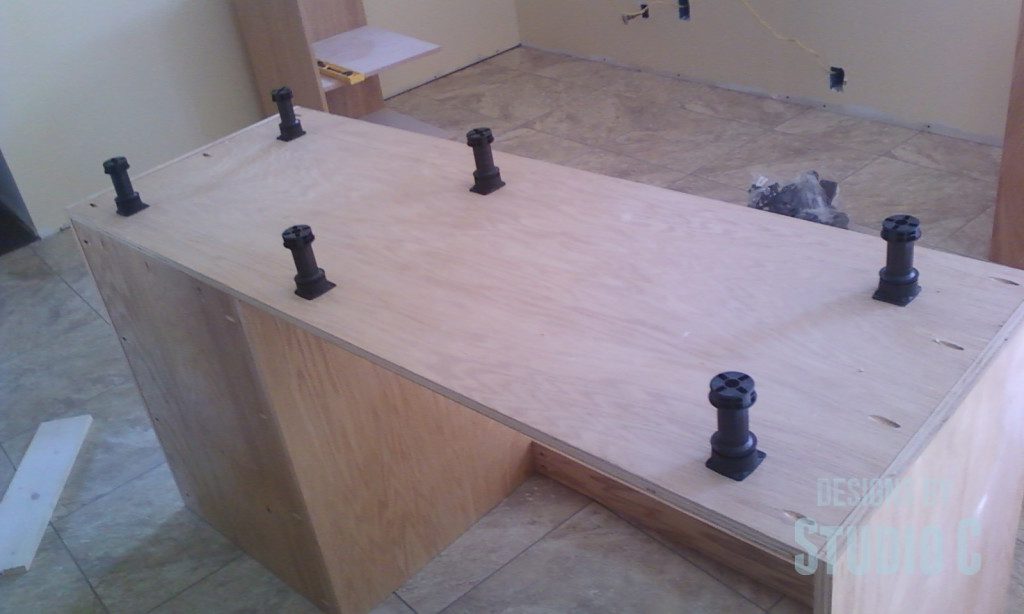
When installing cabinets, always start with the corner and work outward. Position the corner cabinet, then level it in both directions. The cabinet is then secured in place using 3-1/2″ screws through the back of the cabinet into the wall studs. The cabinet show is one we built that is a combination of corner cabinet and sink cabinet.
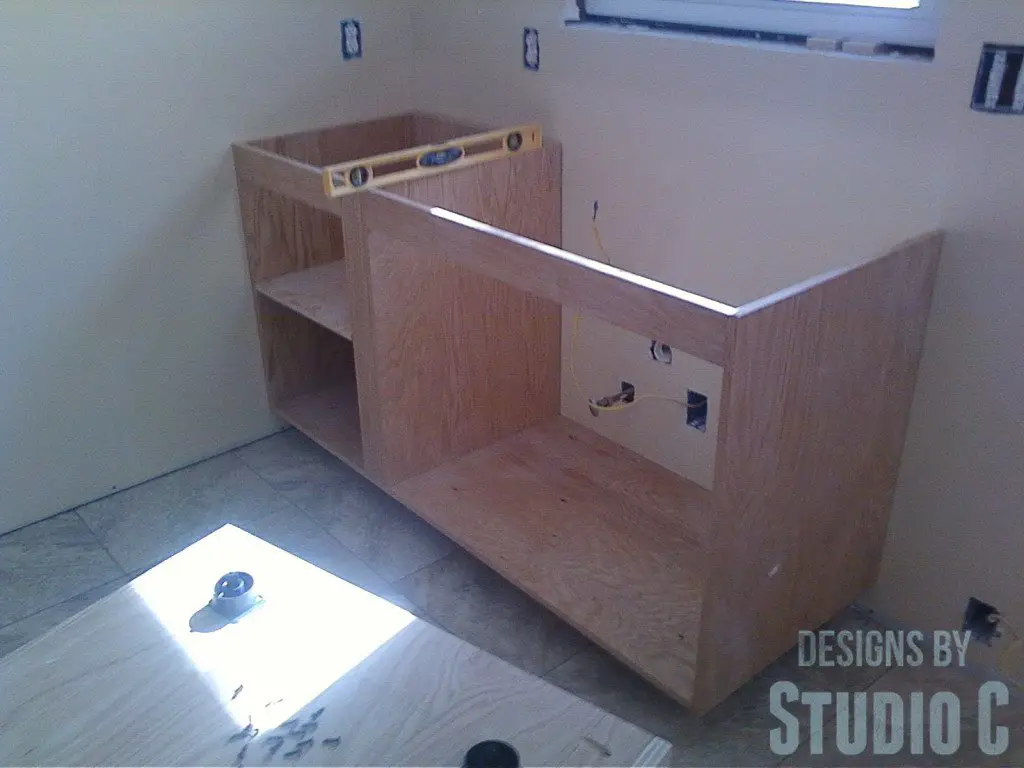
Position the next cabinets on either side, leveling then securing into each stud. The cabinets are then secured to each other using countersunk 1-1/4″ trim screws through the side panels toward the front.
When it is time to install the toe-kick, it is just a straight board with clips attached to the back (they come with the legs) that snap on the legs. It doesn’t get any easier than that!
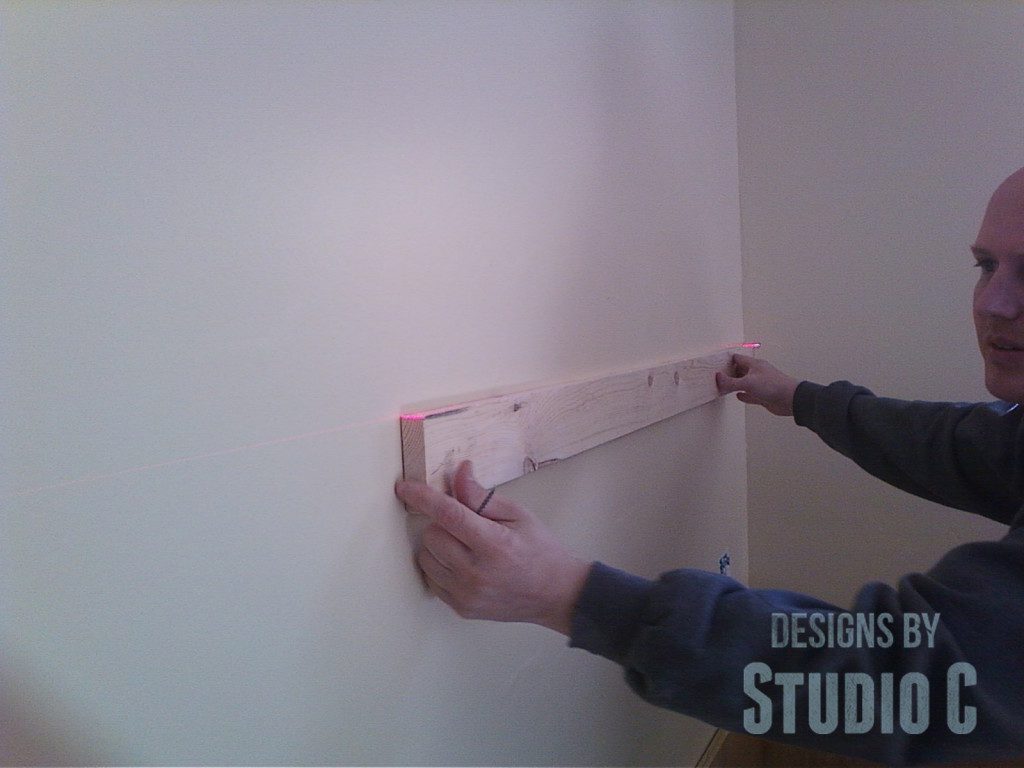
For upper cabinets, they are generally located 18″ to 24″ from the top of the countertop to the bottom of the cabinet. We located these at 24″. to aid in the installation, we used a laser level to shoot a line across the wall, then installed a ledger board (a board where the cabinets can rest) across the wall.
The same rule of thumb for lower cabinets applies – start with the corner and work outward. The corner cabinet was positioned, leveled, then secured using 3-1/2″ screws through the back of the cabinet into the studs at the top and bottom. I like to put the screws into every stud possible.
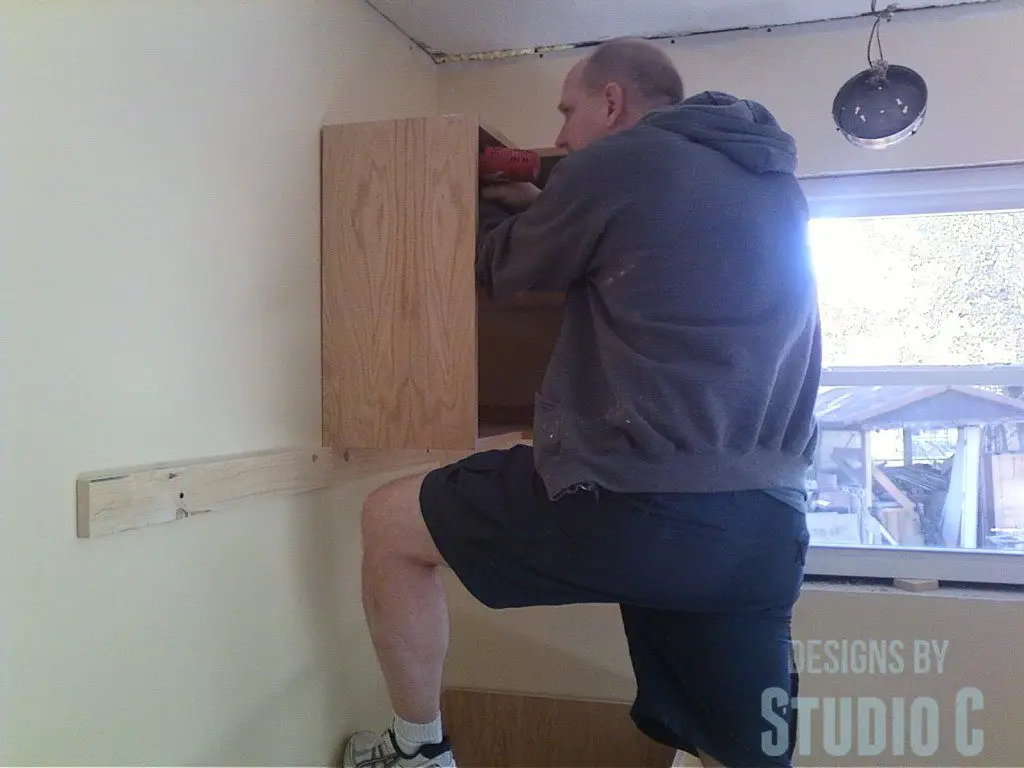
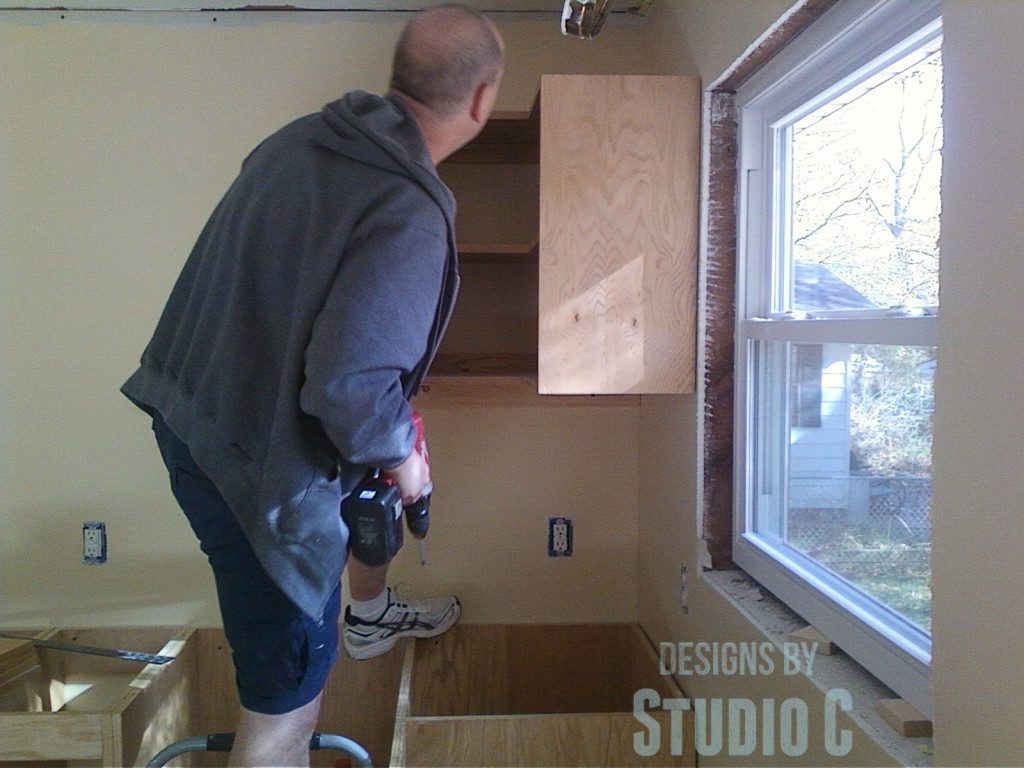
The next cabinet can be positioned and secured in the same manner. A few shims may be necessary if the walls are uneven. The cabinets are then secured to each other using trim screws at the front edge top and bottom.
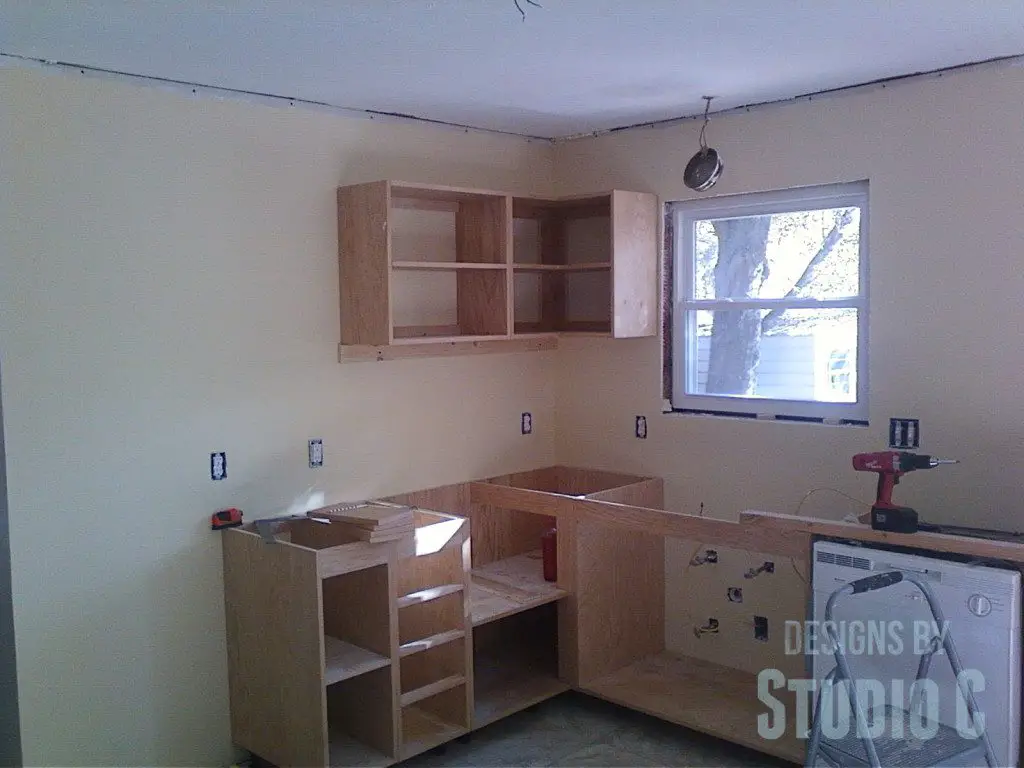
Of course, we still have a few cabinets left to build! Hopefully, this guide on how to install kitchen cabinets will help get you started in the right direction with your cabinet install! If you have any questions or need help with the Cabinet Planning posts, let me know at cher {at} designsbystudioc {dot} com or leave a comment below!
Originally posted 2013-11-26 08:00:06.


Amazing. You two are so impressive. How cool to have a house filled with furniture you’ve custom made.