Building a Custom Cabinet Part 2
How to Plan and Build a Custom Cabinet Part 2
Well, hello there! If you were here for How to Plan and Build a Custom Cabinet Part 1, we covered the measurements for the cabinet to be built, the cutting of the boards, and the assembly of both the cabinet and door. Today, I will be sharing How to Plan and Build a Custom Cabinet Part 2 which focuses on installing the door, the panel, and the hardware.
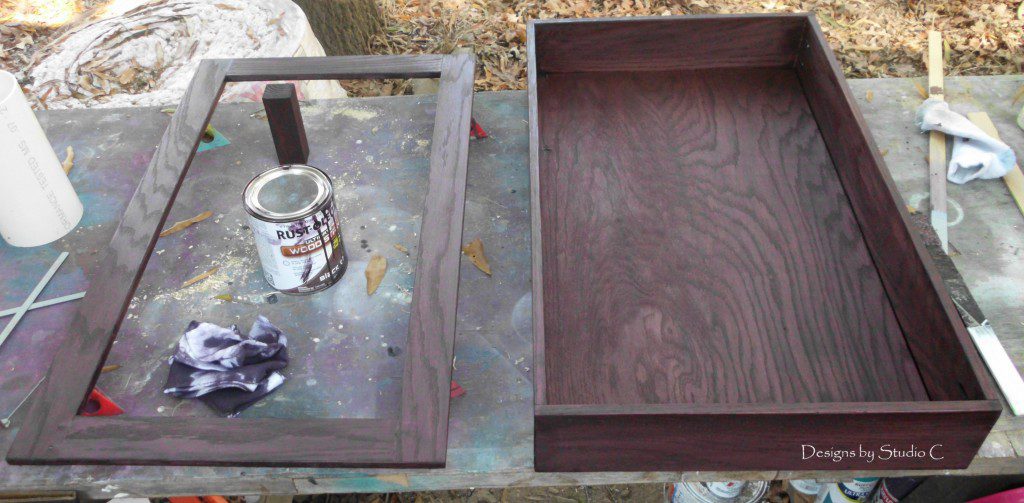
So we have the cabinet and door assembled, and now we’re ready to finish the cabinet!
I was going to use satin polyurethane over the bare wood to match my kitchen cabinets. Rust-Oleum sent me a care package which included a couple of quarts of their Ultimate Wood Stain in Black Cherry… Swoon!!! I am in L.O.V.E! That stain is the most bee-yoo-tee-full shade! I am completely obsessed with a huge fan of Rustoleum’s Wood Care Products because they really deliver on quality! It is easy to apply (with no brush streaks), dries quickly, plus the polyurethanes create a nice, hard coat making my projects look really professional!
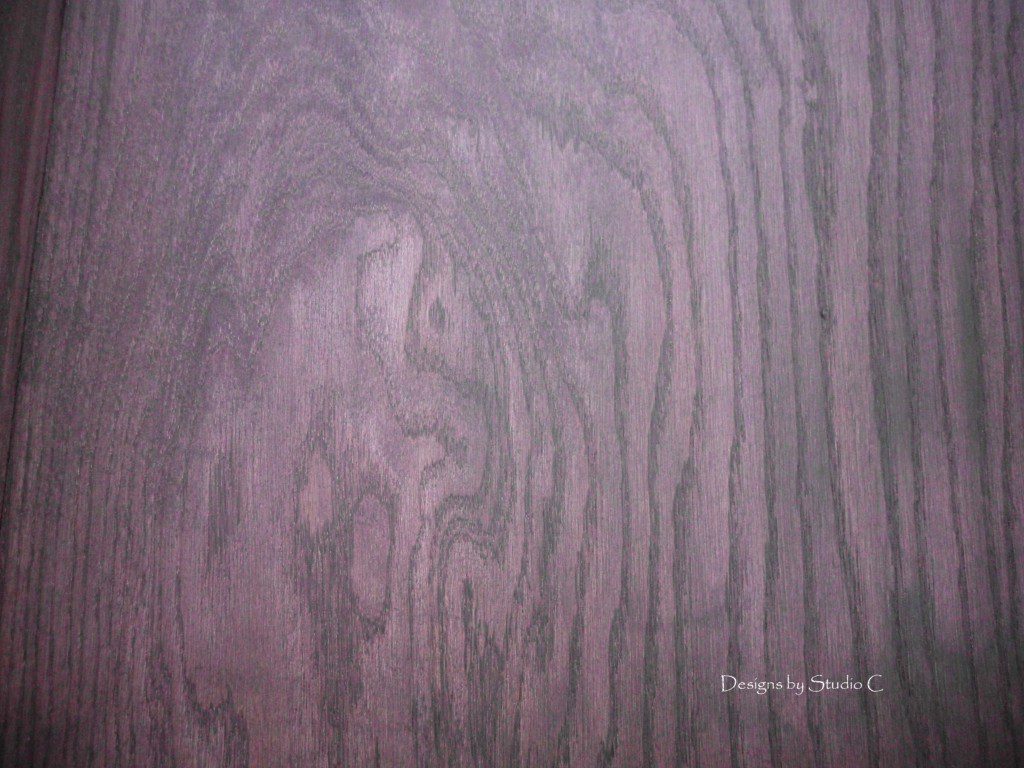
Once the stain was dry, I sealed the cabinet with three coats of Rustoleum’s Ultimate Polyurethane in Soft Touch Matte.
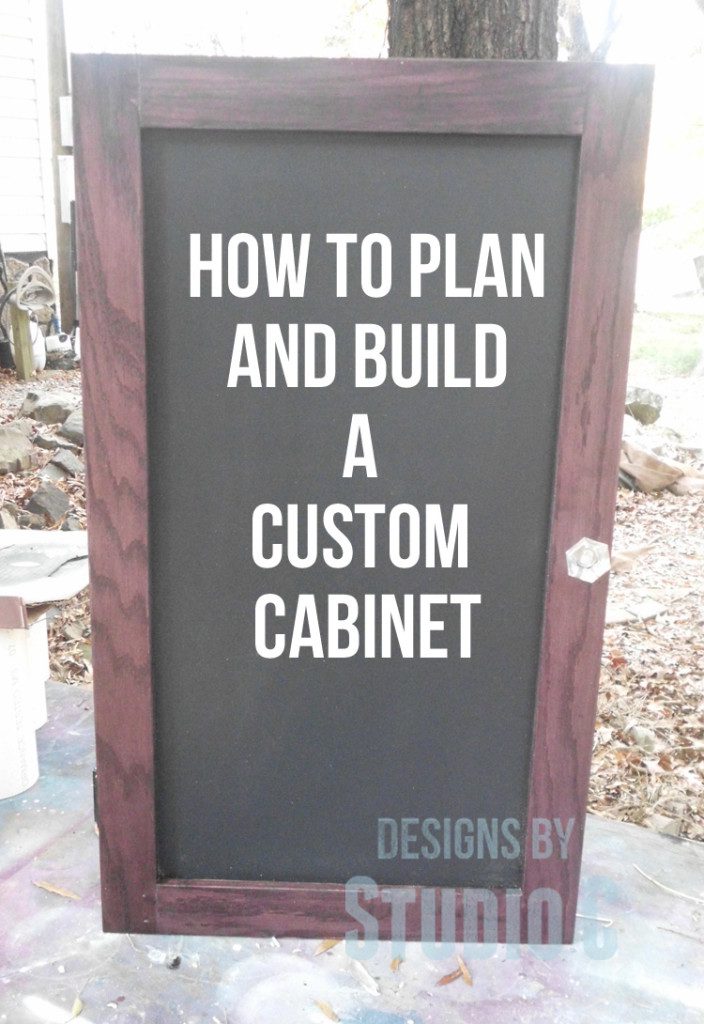
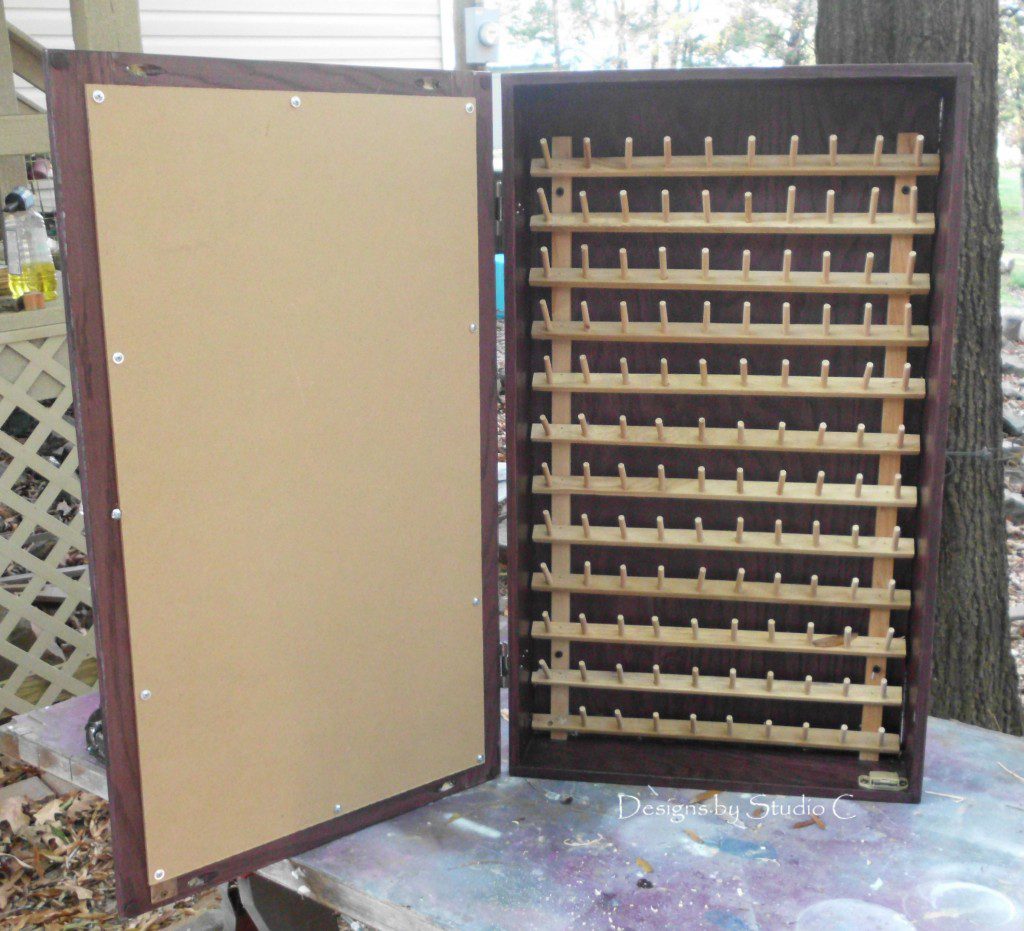
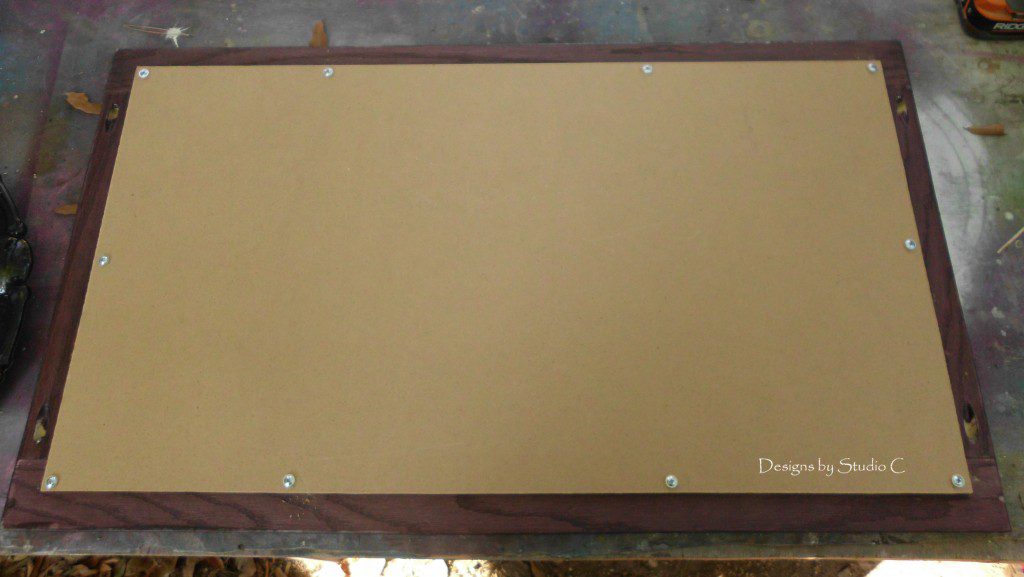
When everything was dry, I measured the opening of the cabinet to allow for the chalkboard piece. I cut it at 15″ x 27″, then fastened it to the inside of the door with 1/2″ pan head screws. A mirror can also be added using mirror clips, or by routing a rabbet inside the frame so the mirror or whatever panel you choose will sit into it.
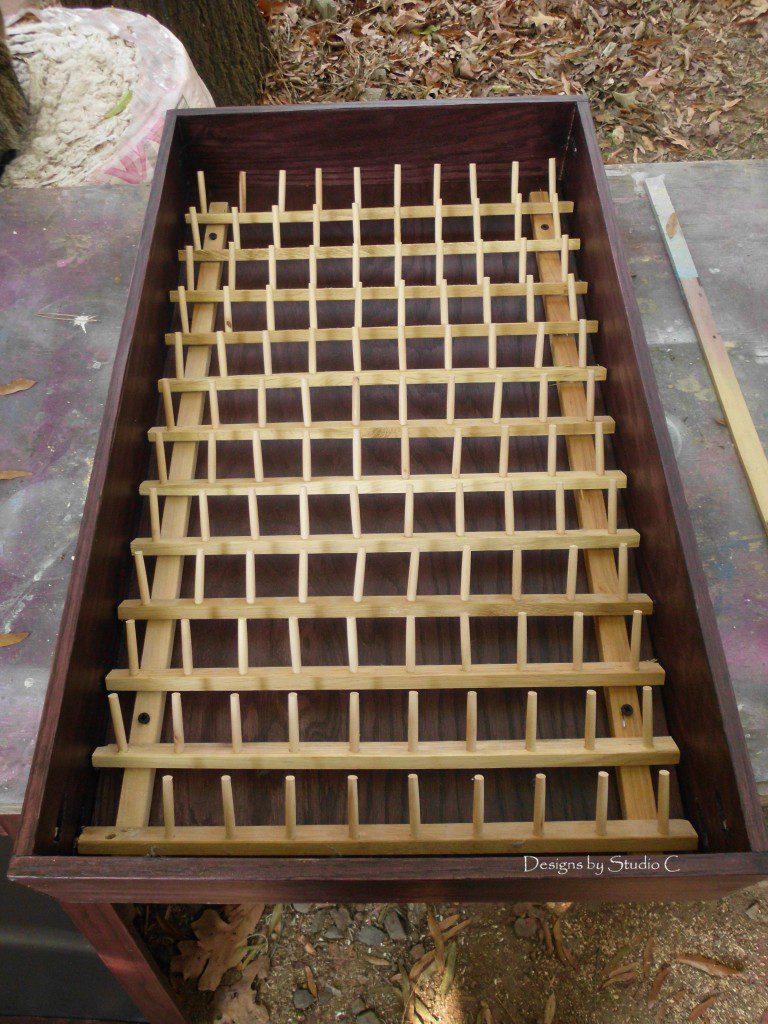
I attached the rack to the cabinet using screws through the rack braces. (The rack holds my many spools of embroidery thread that I’d like to hide!)
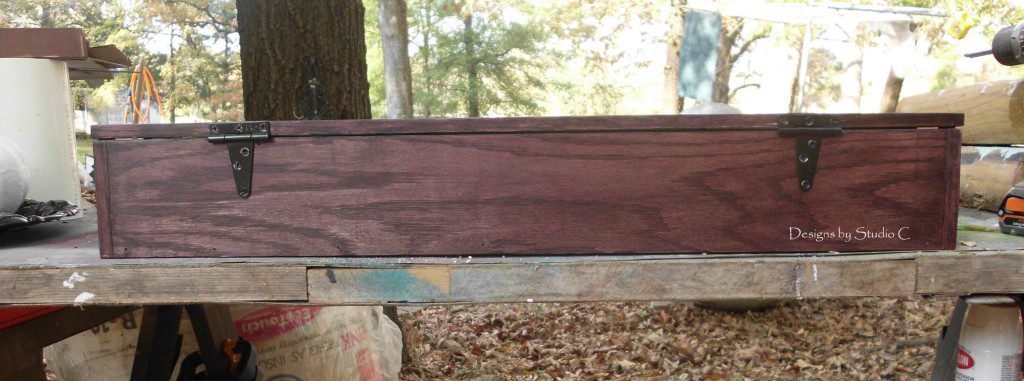
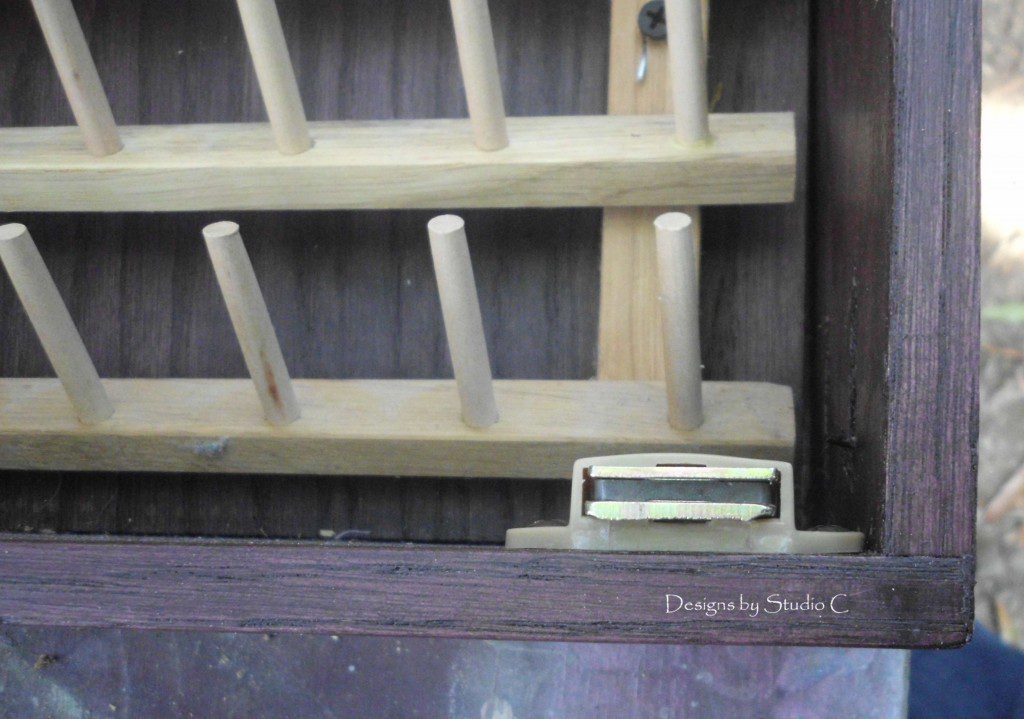
I drilled a hole in the door for the knob, then installed the hinges. (I am horrible at installing these types of hinges!) I also added a magnetic catch to keep the door closed. The catch is at the bottom so it won’t interfere with the thread on the rack.
When I am ready, I will mount the cabinet to the wall by locating the studs, then inserting screws through the cabinet into the stud. It helps to make sure the cabinet is level before inserting the second screw!
The cabinet can be built to conceal basically anything – it can even conceal a fuse box providing the back is left off (and care is taken when attaching it to the wall).
Anyway, I hope this takes some of the intimidation out of cabinet-creating for those who are new to woodworking! Any questions about how to plan and build a custom cabinet part 2? Leave a comment below!
Originally posted 2012-11-14 08:00:48.

[…] (Part 2 can be found here) […]
[…] Today, I’ll share my tutorial on how to plan and build a custom cabinet part 1. The basic planning, cutting, and assembling will be included in Part 1, and finishing, hardware, and chalkboard (or mirror) will be included in Part 2. […]
[…] them! I wrote a post awhile back about Planning and Building a Custom Cabinet (Part 1 and Part 2) which would be the perfect starting point if you are interested in doing it all […]
[…] I wrote a step-by-step tutorial on planning and building a custom cabinet of any size (Part 1 and Part 2), as well as How To Build a Custom Vanity. Building your own cabinets is easy and can be […]