
An Easy to Make Candleholder Using 2x4s
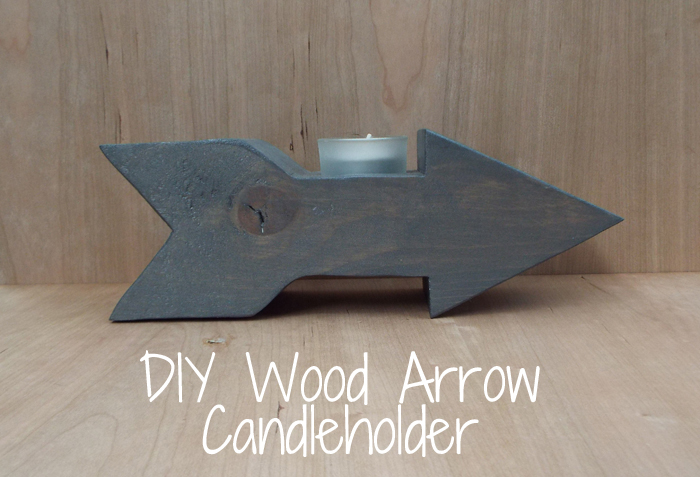
This project was created for the Power Tool Challenge with the theme of “Secret Santa”! The idea was that the project will be created then mailed to one of the other bloggers in the group as a surprise. So fun, right? I created a super-easy DIY Wood Arrow Candleholder using a template and my bandsaw, then finished it with a metallic polyurethane. While this candleholder isn’t exactly a “Christmasy” project, it is the perfect quick to make gift for any occasion!
Materials:
- Scrap pieces of 2×4
- Wood glue
- Clamps
- Shape template of your choice (I also created a Mustache Candleholder years ago!)
- Bandsaw
- Sander (I used an oscillating tool with a sander attachment) with sandpaper
- 1-7/8″ Forstner bit (<– affiliate link!)
- Tealight candle & holder
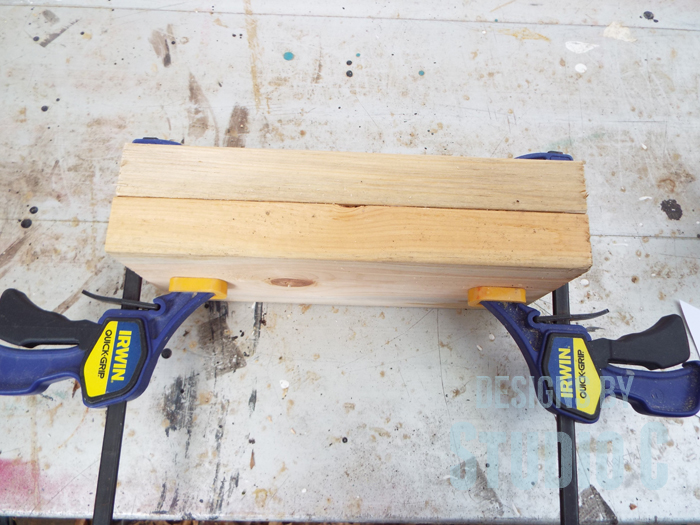
Step One
I glued two 12″ pieces of 2×4 together (face to face) and clamped them until dry. A scrap piece of 4×4 post can also be used, if desired.
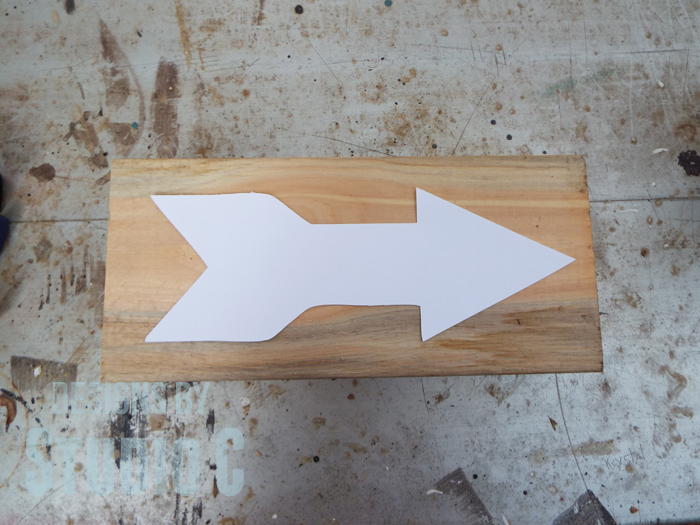
Step Two
I traced the template on one face of the 2x4s.
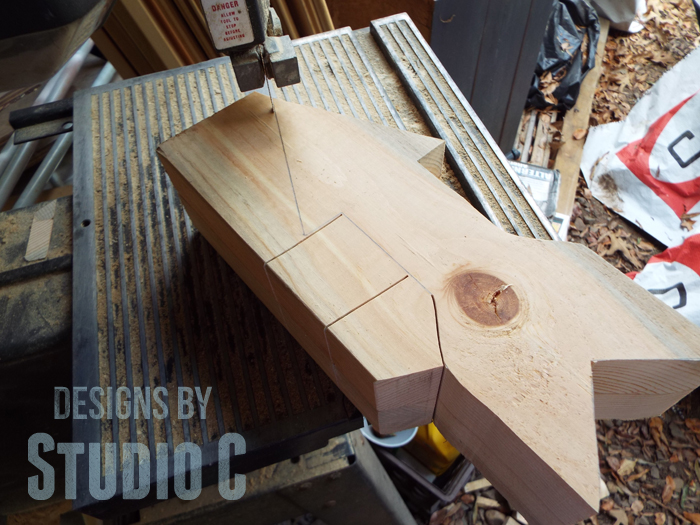
Step Three
Then, I cut out the shape with my bandsaw. A bandsaw is really easy to use and is my favorite power tool! If you’ve never used a bandsaw but want to learn, check out my post on Bandsaw Basics!
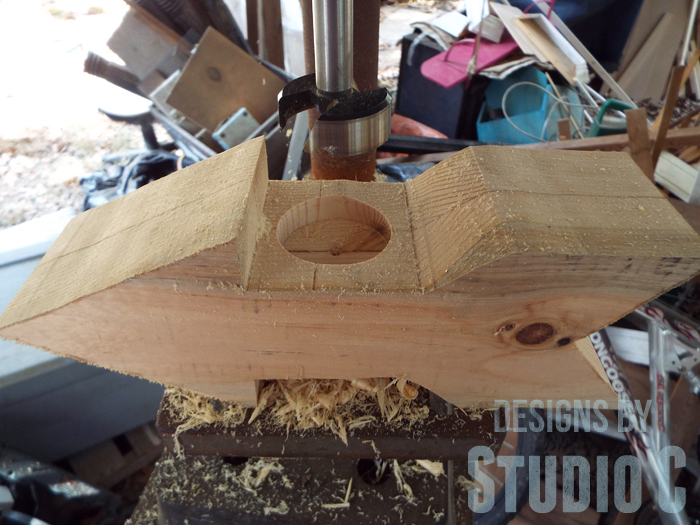
Step Four
I used my drill press with a 1-7/8″ Forstner bit to cut the hole for the tealight candle and holder. The Forstner bit is the perfect size for the glass holder. I drill the hole as deep as the bit, which is approximately 1/2″. In all honesty, it doesn’t have to be that deep – just deep enough for the glass holder sit and not move.
Step Five
I used an oscillating tool with a sanding head on it to sand the faces of the candleholder. The small shape gets into the tight areas nicely to create a smooth finish.
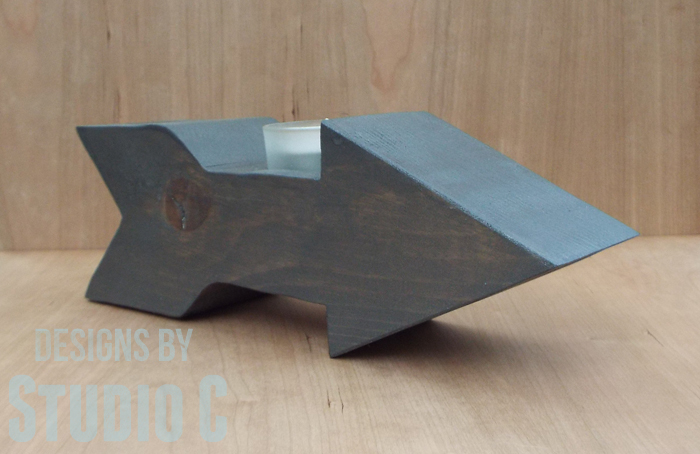
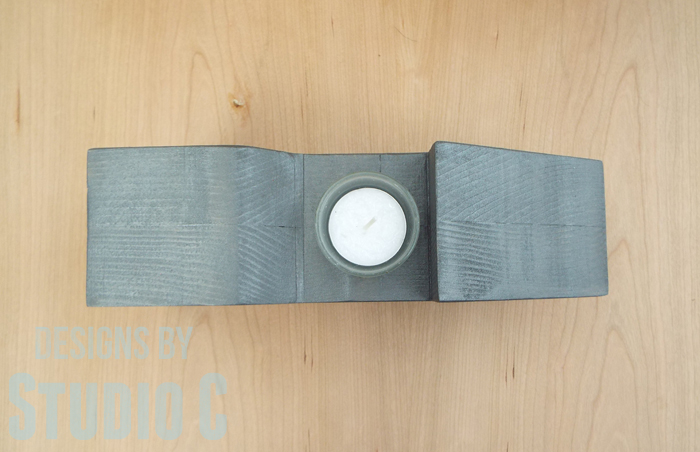
As a fabulous finish, I applied three coats of a metallic polyurethane, lightly sanding between coats. The metallic polyurethane gives the candleholder just a bit of sparkle!
Isn’t it great? I knew who the lucky recipient was in advance but couldn’t say – it would’ve spoiled the surprise! Needless to say, she loved it and used it in photos on her own blog posts!
Awesome, right? Have any questions about the DIY Wood Arrow Candleholder? Leave a comment below!
Take a look at more Power Tool Challenge inspiration from my fellow bloggers:
Originally posted 2015-11-12 05:00:30.


11 Comments
Love it! I have tool envy, you used a band saw and drill press, both are on my wish list! The arrow turned out great!
Thanks, DeDe! My dad gave them to me (to make room in his shop) and the bandsaw is definitely my favorite tool!
Cher I am so jealous you have a Bandsaw – it was on my Christmas List last year but Santa ignored my wishes. It’s back on this year’s list because this girl would much rather have a band saw than perfume. I can see your fabulous arrow candleholder pointing towards the Christmas Tree beside a tabletop Santa (which I happen to have). Finger’s crossed this baby is on it’s way to my house via Secret Santa!
Awww, marie, maybe Santa will bring it this year! My dad gave me this one (and a lesson on using it, lol!) and it is my favorite tool! I’ll keep my fingers crossed for you, too!
Cute idea for gifts. I need to try that metallic poly, it looks really cool.
Thanks, Amy! The metallic poly is awesome!!
You come up with the best ideas. I love this one!
Thank you so much, Paula! We missed you this round!
Now I need a band saw. And a drill press. : ) I love this project!
Thank you so much, Jeanie! The bandsaw is my favorite tool!! 🙂