DIY Plans to Build a Folding Hexagon Table
A Table Designed for a Great Cause
Awhile back, I created this table for a charity event (with PureBond plywood) with the proceeds benefiting the Breast Cancer Research Center. My friend, Jake, purchased the table and then donated it to a young friend of his who is also battling cancer. How awesome is that? Anyway, I had every intention of publishing the plans to the table but it never happened. So, since October is Breast Cancer Awareness Month, I figured today would be a great day to share the DIY plans to build a Folding Hexagon Table!
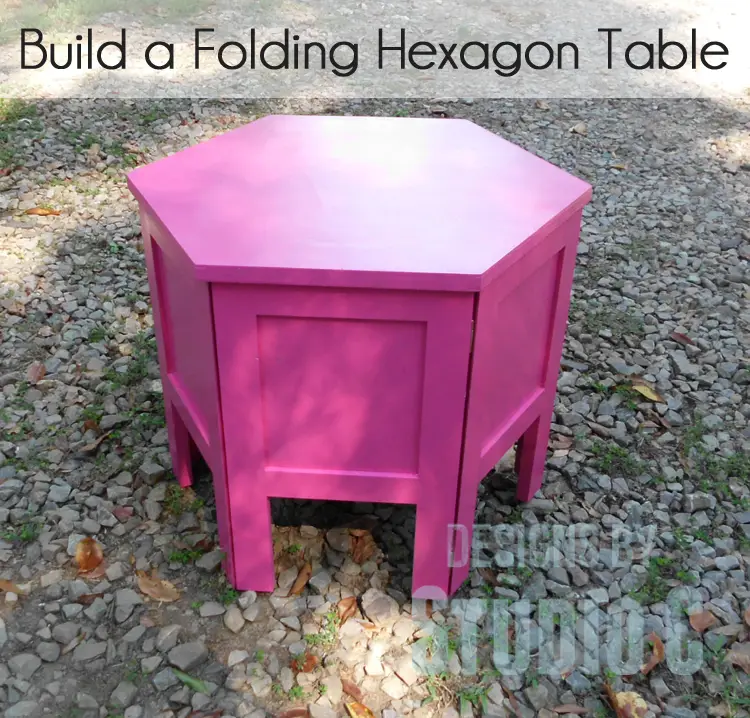
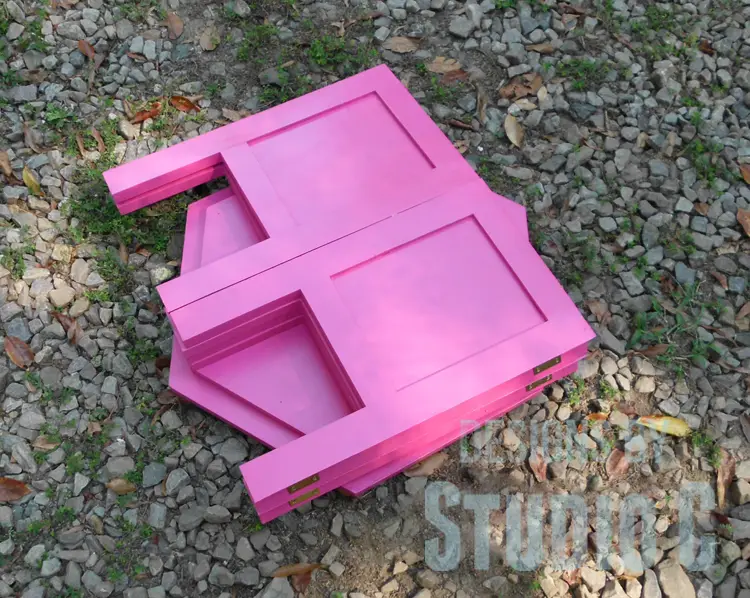
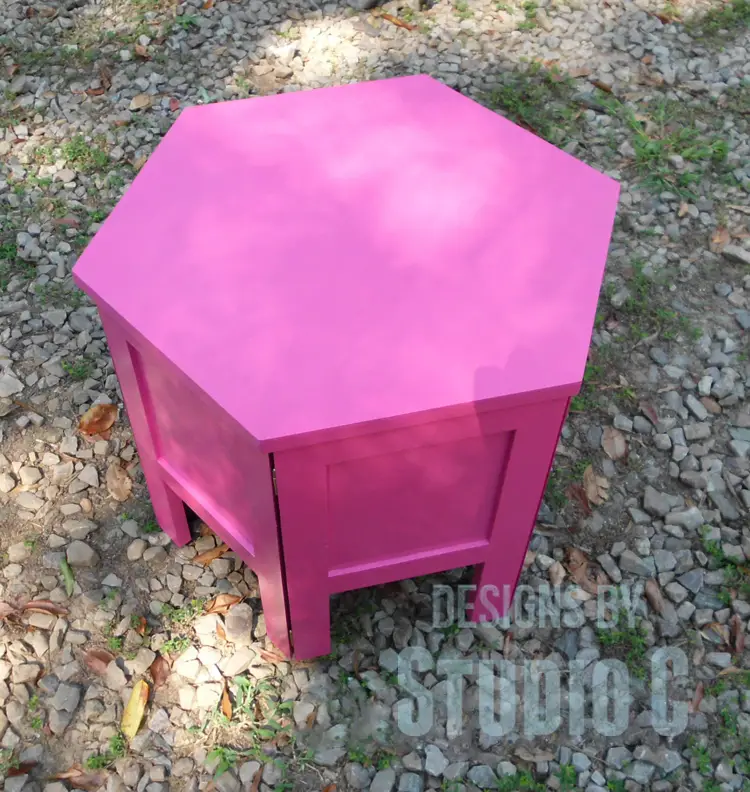
The table folds flat for easy storage – each leg assembly is hinged to the other. The top has a “stop” on the underside to hold the top in place and make the legs sturdy! I finished the table using a Fuchsia paint with several coats of Polycrylic in gloss that I sprayed with my HVLP sprayer.
Materials:
- 1″ pocket hole screws
- 1-1/4″ pocket hole screws (<– affiliate link!)
- 6 sets of hinges
- Edge banding, optional
- Wood glue
- Sandpaper (100, 150, 220 grits)
- Finishing supplies (primer & paint, or stain, sealer)
Lumber:
- 1 – 1×2 at 8′ (plywood cut into strips will work equally well!)
- 3 – 1×3 at 8′ (plywood cut into strips will work equally well!)
- 1 – 2′ x 4′ sheet of 1/2″ plywood
- 1 – 2′ x 4′ sheet of 3/4″ plywood
Cut List:
- 12 – 1×3 (ripped to 2″ wide) at 19-1/4″ – Panel Legs
- 12 – 1×2 at 6-3/8″ – Panel Frame
- 6 – 1/2″ plywood at 6-3/8″ x 8-1/8″ – Center Panels
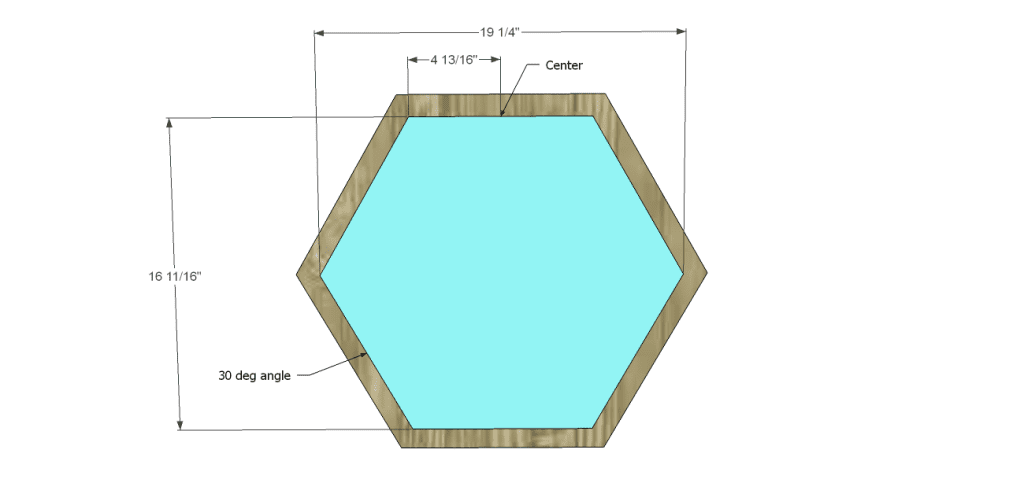
- 1 – 3/4″ plywood at 16-11/16″ x 19-1/4″ – Leg Stop
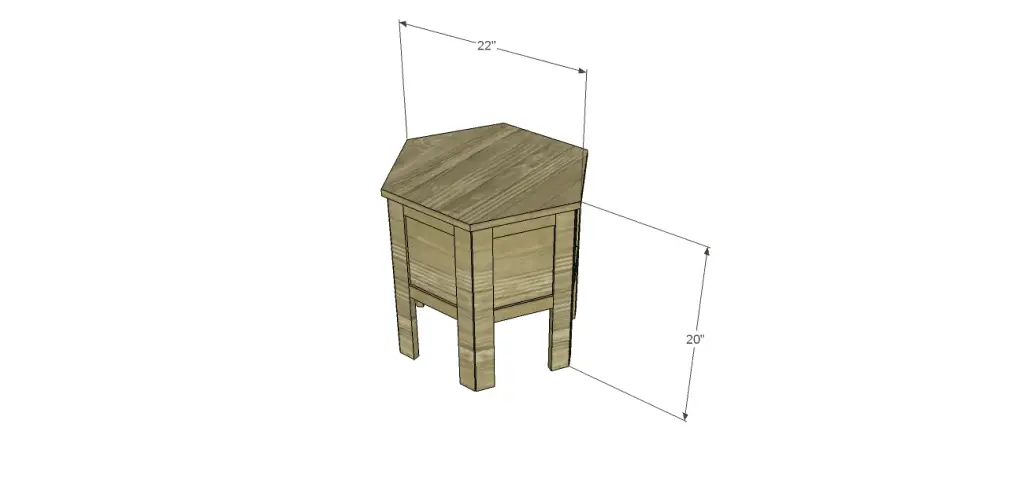
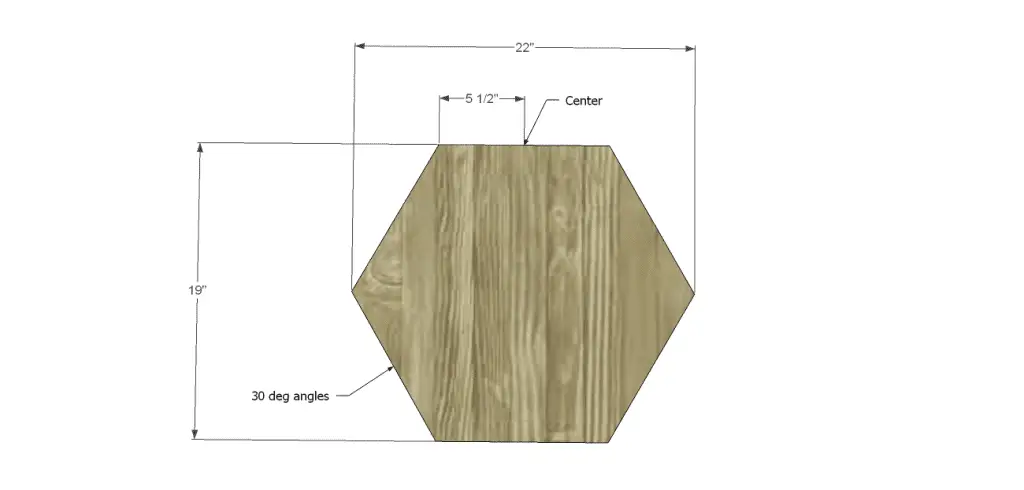
- 1 – 3/4″ plywood at 19″ x 22″ – Top
Step One
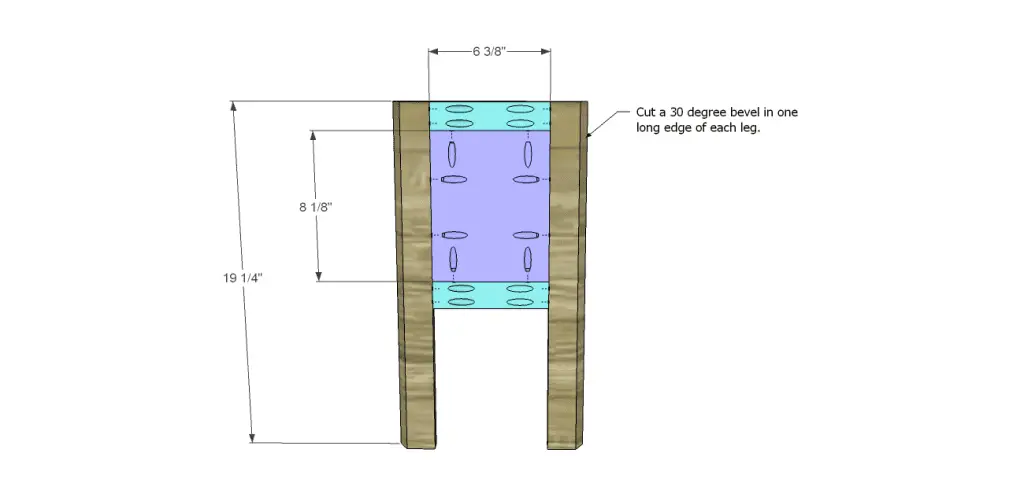
Cut the pieces for the legs. Using a table saw, set the blade to rip a 30 degree angle along one long edge of each piece. Each leg piece should also measure 2″ wide at the widest point.
Cut the 1×2 pieces for the frame. With the pocket hole jig set for 3/4″ material, drill pocket holes in each end of each piece. Secure to the legs as shown using glue and 1-1/4″ pocket hole screws.
Cut the pieces for the panels. With the pocket hole jig set for 1/2″ material, drill pocket holes in all four edges of each panel. Insert into the frame, then secure using glue and 1″ pocket hole screws.
Step Two
Cut the pieces for the leg stop and the top. To cut the angles in the top and the leg stop, start by cutting the piece of plywood to width and length. Draw lines marking the center (vertically and horizontally). At the center of the 22″ edge, make a mark 5-1/2″ on either side of the center line. Draw a line from the 5-1/2″ mark to the center of the 19″ edge. These lines will form 30 degree angles. Cut along the lines to shape the top. Repeat this process for the leg stop.
Position the leg stop on the top as shown. Secure in place using glue and 1-1/4″ brad nails. Clamp, if desired, until dry.
Step Three
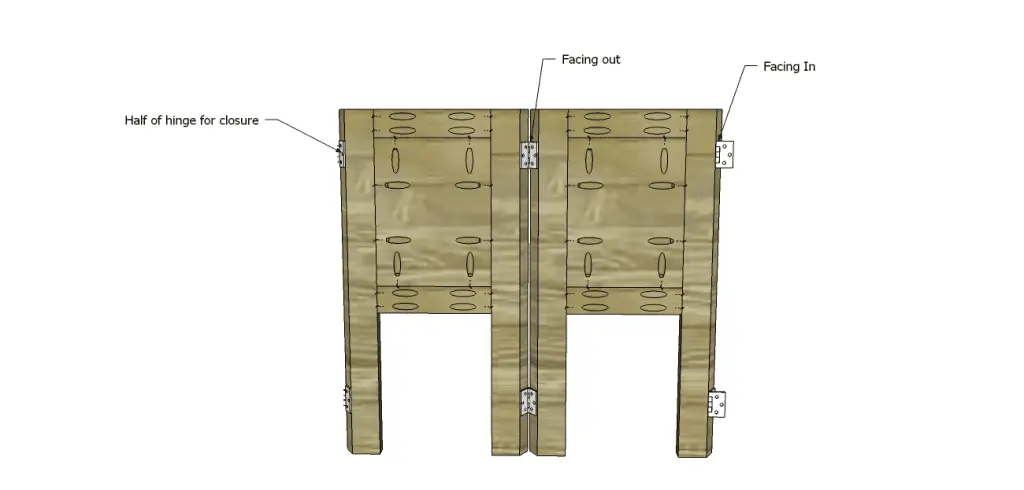
To assemble the legs, lay all of the leg panels out in a row, inside facing up. Alternate the hinges so the piece can fold – in other words, install one set of hinges facing to the outside between one pair of panels, then install the next set of hinges facing to the inside for the second and third panels, etc. To close the leg base, install the last set of hinges but remove the center pin holding the hinges together. Use a paperclip or safety pin to close the base, but will be easily removable if the base is to be folded.
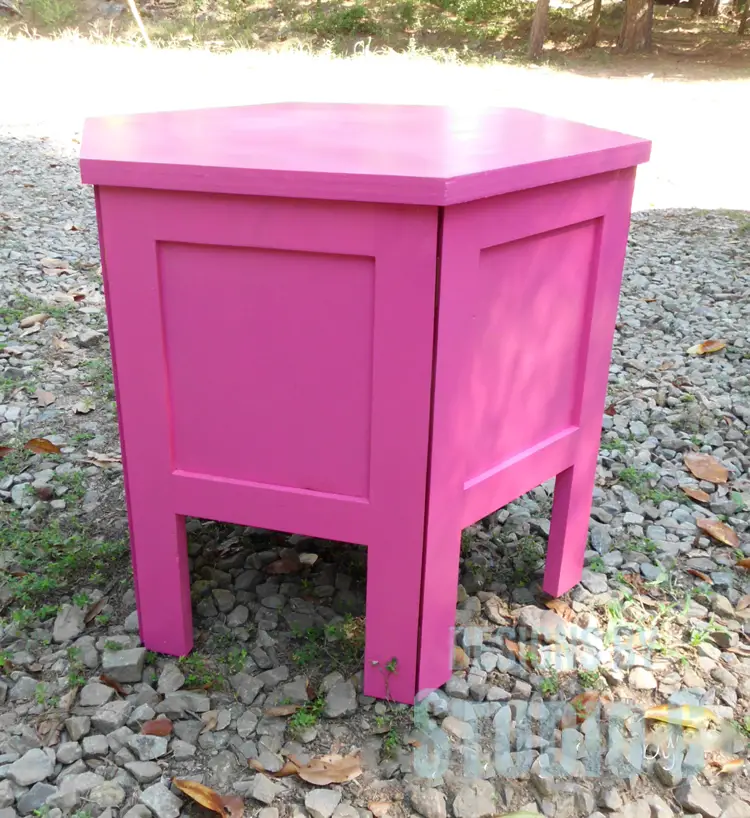
Finish as desired!
This table is a really easy build! It was so beautiful when finished that I promptly added it to my “to build” list… (That should be a clue as to how long the list is since I added it a year ago!) Use the DIY plans to build a Folding Hexagon Table to build one for yourself or donate it to a charity benefit! Any questions? Leave a comment below or contact me at cher {at} designsbystudioc {dot} com!
Originally posted 2014-10-02 08:00:40.


[…] A Table Designed for a Great Cause […]
If you ever need a reason to bid on this table the picture should be reason enough. Brooke, a year ago, with her table at Christmas. The evil demons of cancer know no bounds and hits us and our friends every day. Every dollar towards research counts in the search for a cure. Keep up the good work Cher.
[…] folding table has a feature in which each leg assembly is hinged to the other and the top lifts off for easy […]