DIY Furniture Plans to Build an Upholstered Chair, Part Three – The Upholstery
Cover the Frame in the Fabric of Your Choosing!
At this point, we are at the DIY furniture plans to build an upholstered chair, Part Three – the upholstery. The Part One post outlines the supply and material list, and Part Two is the plan to build the wood frame for the chair. So for this part, an upholstery stapler (<– affiliate link – I use a pneumatic stapler with a compressor), a pair of scissors and a tack hammer are needed.
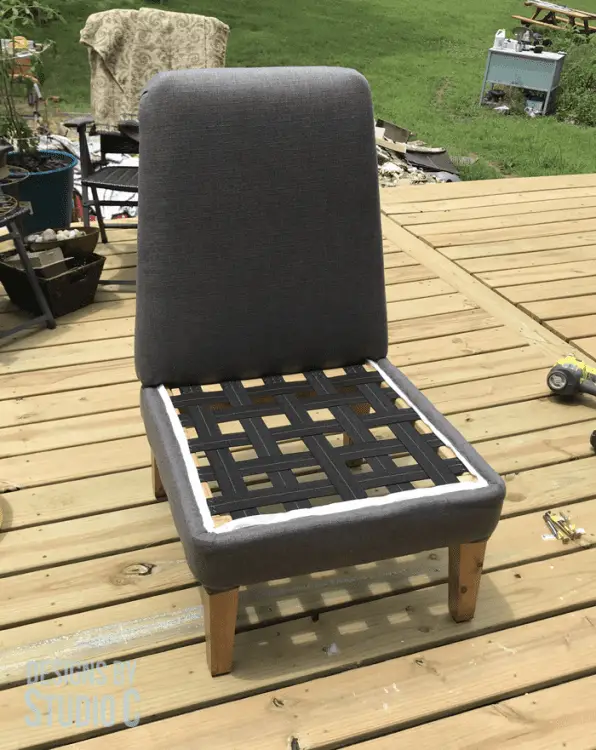
Let’s get started…
To Upholster the Back:
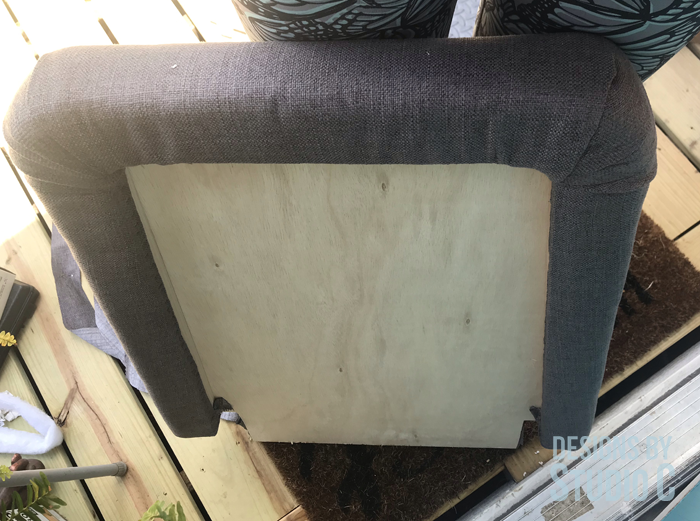
Before applying the edgeroll, trace around the back frame on a piece of kraft paper or newspaper to create a pattern and set it aside. Edgeroll will be used to cover the outside edges of the plywood on the front and the outside edges of the frame on the back. Edgeroll covers the edges of the frame so that if the foam or batting shifts, the hard edge cannot be felt through the fabric. It is for comfort but also gives a nice, professional appearance.
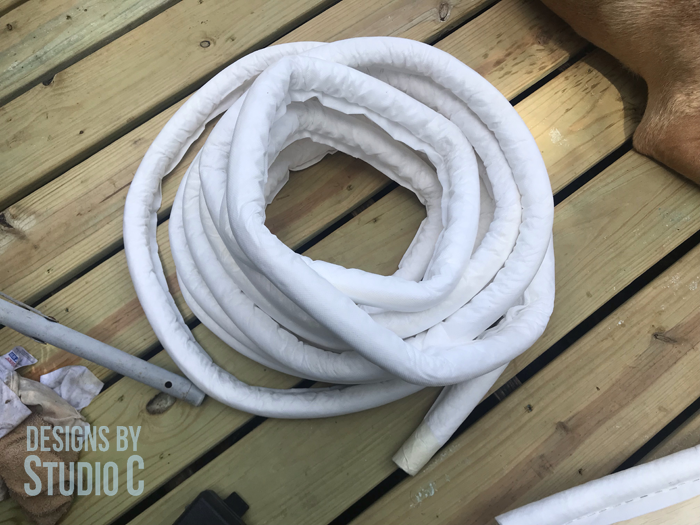
The edgeroll has a lip on it, and the lip will be stapled to the back of the chair (facing toward the center) approximately 1/4″ from the edge of the plywood. Once it is stapled all around the plywood (not around the bottom edge or the notches) it is then folded over and stapled along the sides of the frame. Edgeroll will also be applied on the edges of the frame on the opposite side. (There are also some great videos on YouTube on securing edgeroll.)
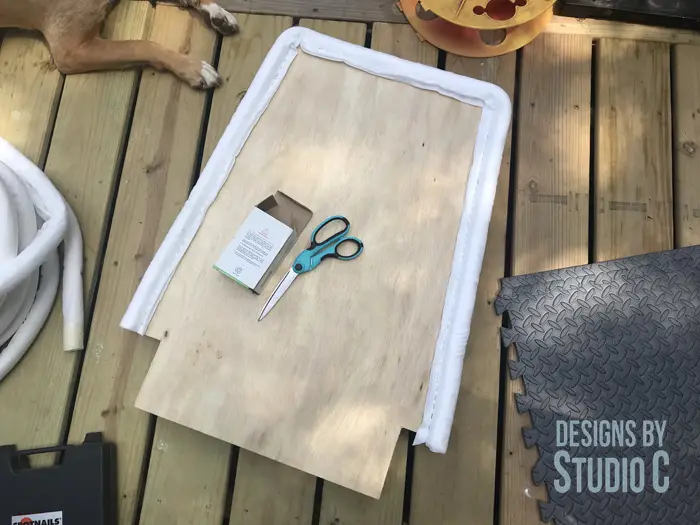
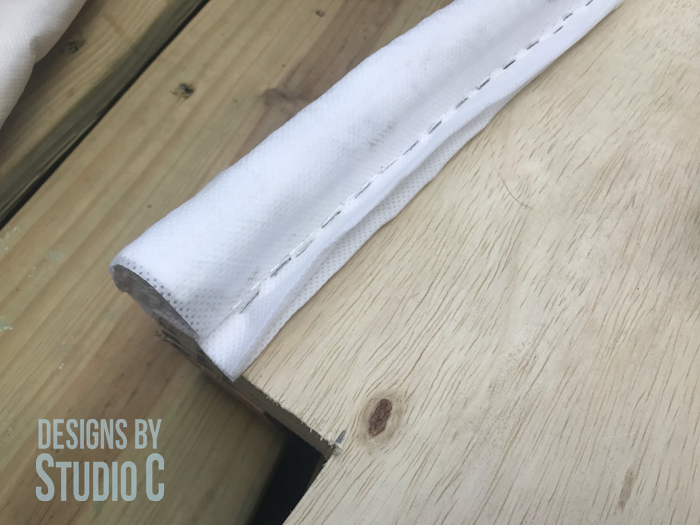
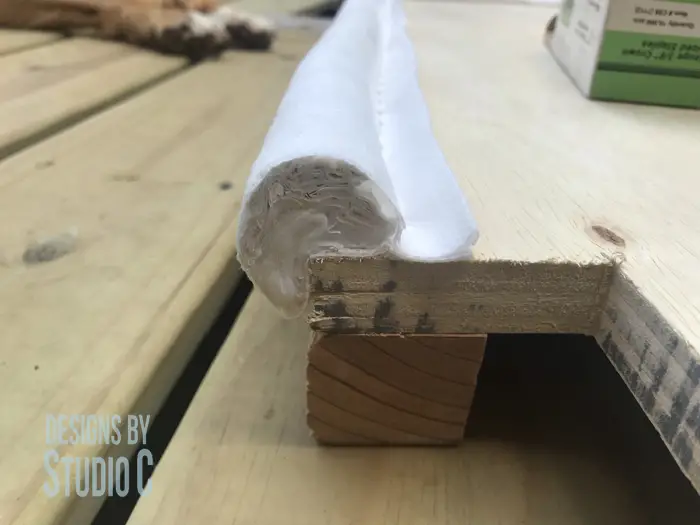
Once the edgeroll is in place, cut a narrow strip of the 1″ foam to fill in the side of the frame between the edgeroll pieces. Using the paper pattern, cut out a piece of the 1″ foam in the shape of the back and secure it to the plywood using spray adhesive (not shown).
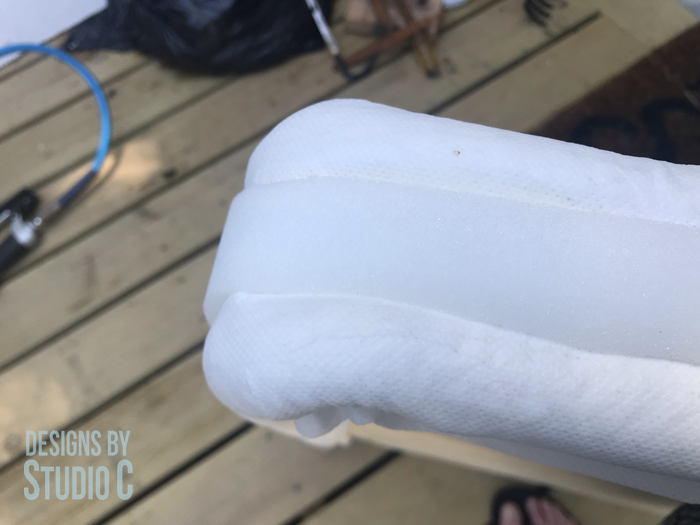
Next, place the back piece on the upholstery batting (or Cushion Wrap) with the foam side down. Roll the batting over the sides of the back piece and staple it to the back of the plywood, trimming away the excess batting (not shown).
Spread the upholstery fabric on a flat surface wrong side up, and place the back piece on top frame side up. Pull the fabric up over the sides of the back (like the batting) and staple to the back of the plywood, trimming away the excess fabric. The fabric will also cover the bottom extension and will be stapled at the very bottom of the plywood as well as within the notch. Set the back aside.
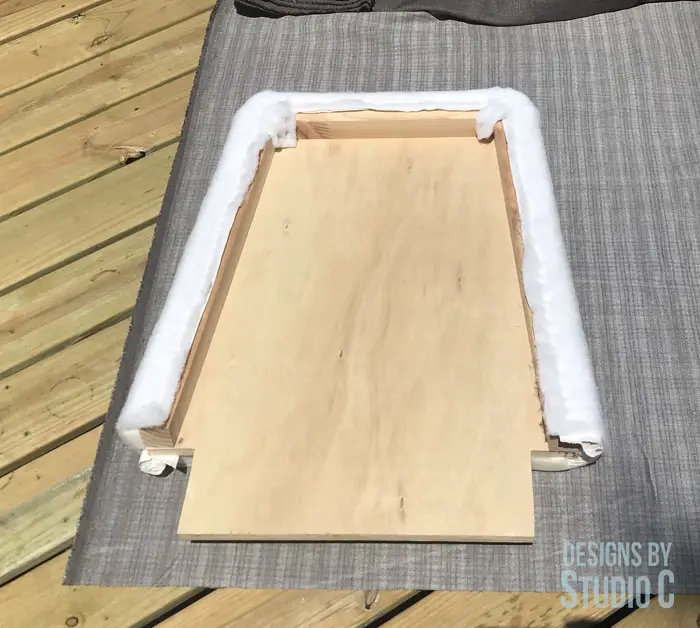
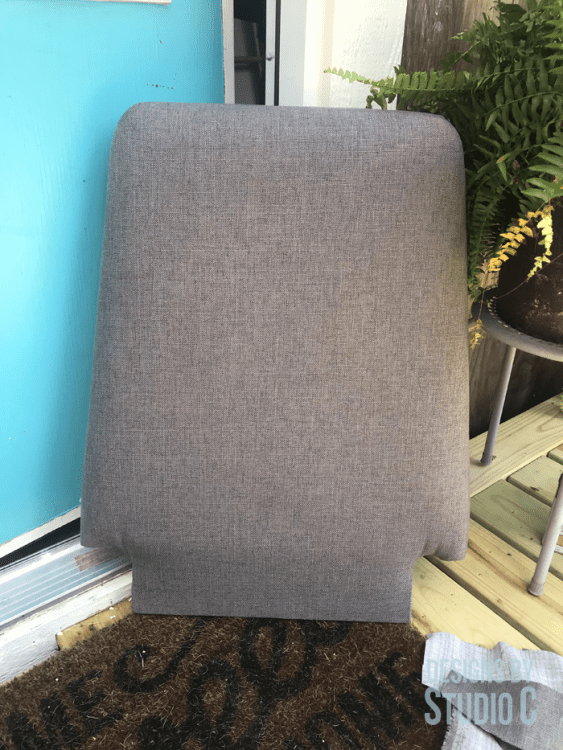
To Upholster the Seat Frame:
Cut ten pieces of Elasbelt at about 26” long: there will be five pieces used in the length of the seat and five pieces in the width of the seat. Staple five pieces of Elasbelt, evenly spaced, along the top of the seat support. Stretch the pieces of Elasbelt across the seat opening and staple to the other side (the front of the frame). Staple the remaining five pieces to one side then weave them across the pieces already secured to the frame and staple on the other side. The Elasbelt will be difficult to stretch without the stretcher tool but I’m sure pliers and an extra person will work! I created a video tutorial on using Elasbelt that can be found below.
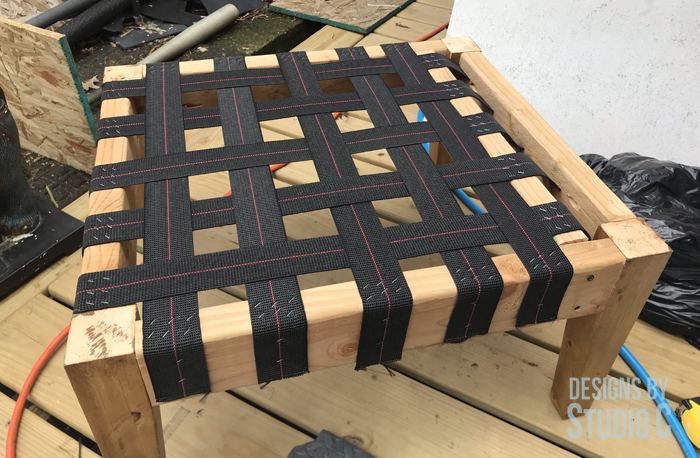
Once the Elasbelt is secured to the frame, edgeroll will be applied around the top of the seat frame along the sides and front, and along the bottom between the legs at the sides and front only (not the back). Install it in the same manner as on the back frame.
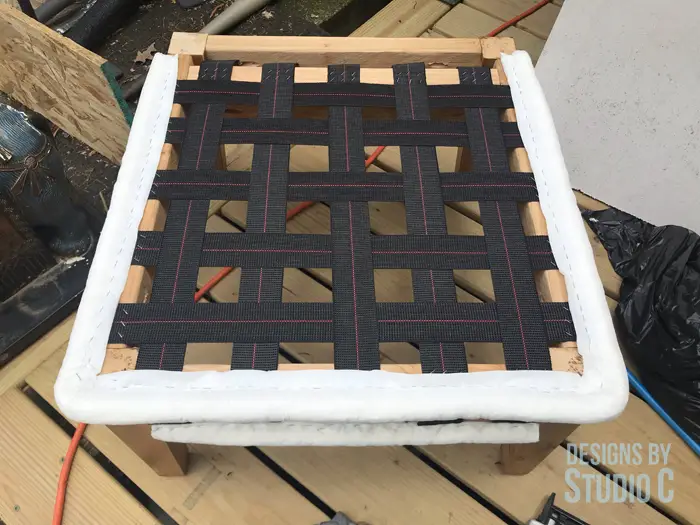
Cut a strip of 1” foam to fit between the edgeroll on the side of the seat frame. It can wrap around the back and be stapled in place on the back of the frame (not shown).
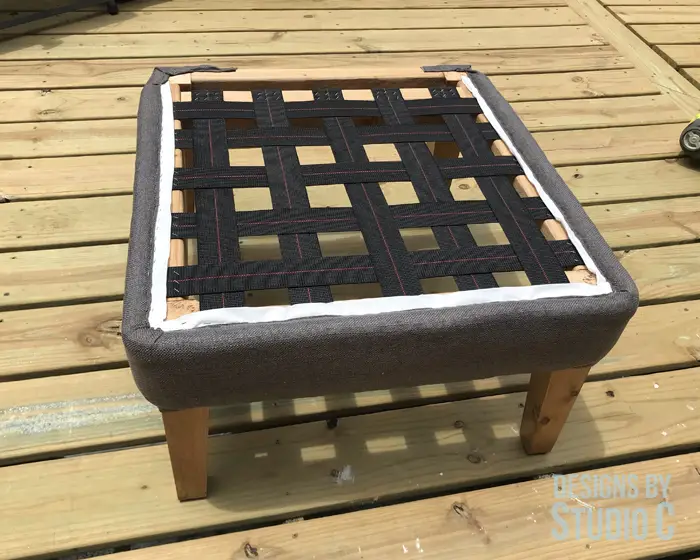
Cut a strip of upholstery fabric at least 75” long x 10” wide. Fold under approximately ½” on one long edge and staple it to the top of the seat frame over the edgeroll. The piece should cover the front and sides entirely with a small portion of it wrapping around to the back. Fold under ½” on the opposite long edge and staple the fabric to the bottom of the frame between the legs (the fabric will just wrap around the legs).
To Secure the Back to the Seat Frame:
Insert the extended piece of the back frame (the plywood) between the seat support and the back piece of the seat frame. Because of the 10° angles cut in the back frame, it will sit at an angle. Insert the wedge (from Part Two in the plans to build the frame) and position it on the underside of the seat between the plywood for the back and the back seat frame piece. Pre-drill holes for the Lag screws then drive two ¼” x 4″ Lag screws through the back frame piece all the way through until the head sits flush with the back frame (they should go all the way through the back frame, the shim, the plywood and the seat support). I forgot to photograph this step but I’ve outlined it in the photo below. The screws on the outside will be covered by the fabric for the back.
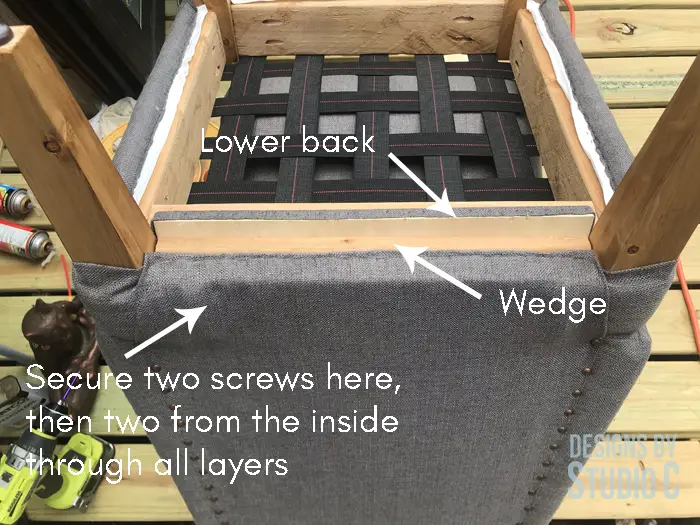
Lay the chair on its side and drive the two remaining Lag screws through the seat support all the way through. This is will keep the back secure in the frame!
To Cover the Exposed Portion of the Back of the Chair:
Use the pattern of the back frame to cut out a piece of fabric, extending the lower portion between the notches by about 3”. Fold the top edge about 1” and secure to the back of the chair frame using decorative upholstery nails. Fold the sides under and continue securing the fabric with nails all the way down each side to the bottom of the frame. The bottom of the fabric can be secured to the underside of the frame with staples.
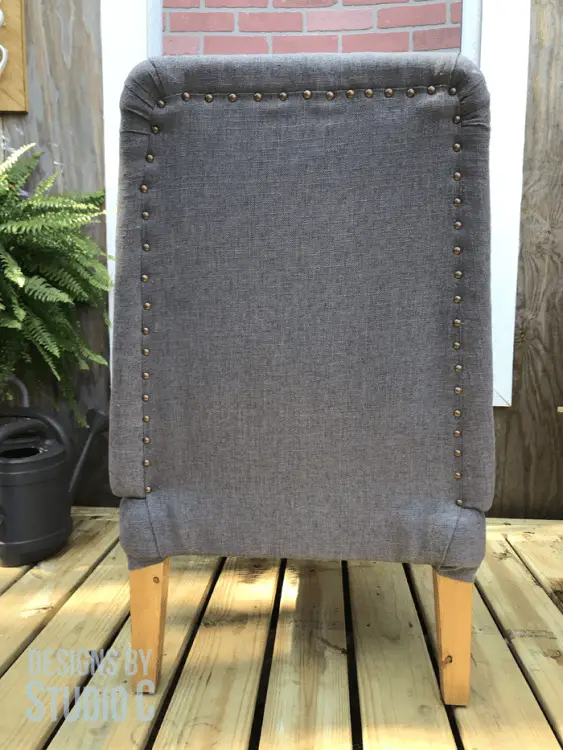
Stay tuned for Part Four where we will create the cover for the seat cushion, step by step! Have questions about the DIY furniture plans to build an upholstered chair, Part Three – the upholstery? Leave a comment below!
Originally posted 2019-07-14 13:45:07.

