My dad has a saying – “Good work takes time”. He’s not referring to taking your time on a project… He’s referring to procrastination, a skill that at times I believe I have mastered!
I ordered this plywood back in January. I cut it for my project in April. I am just NOW getting around to finishing it. I have no idea why it has taken me so long!
Let me talk about this plywood, first. It is Purebond by Columbia Forest Products in Walnut, available at Home Depot. Purebond plywood is made with a soy-based adhesive making it formaldehyde free and non-toxic! It is LEED compliant and cost competitive – in fact I find it to be cheaper than regular hardwood plywood at other home improvement stores. Did you know that Purebond plywood can be ordered at Home Depot in all different types of species? That’s where I got mine! Ordering was easy, the order arrived very quickly, and it was a really great experience! Stop by the Pro Desk at Home Depot for more information on special ordering and for more information on Purebond plywood, click the “Purebond Pledge” button on my page!
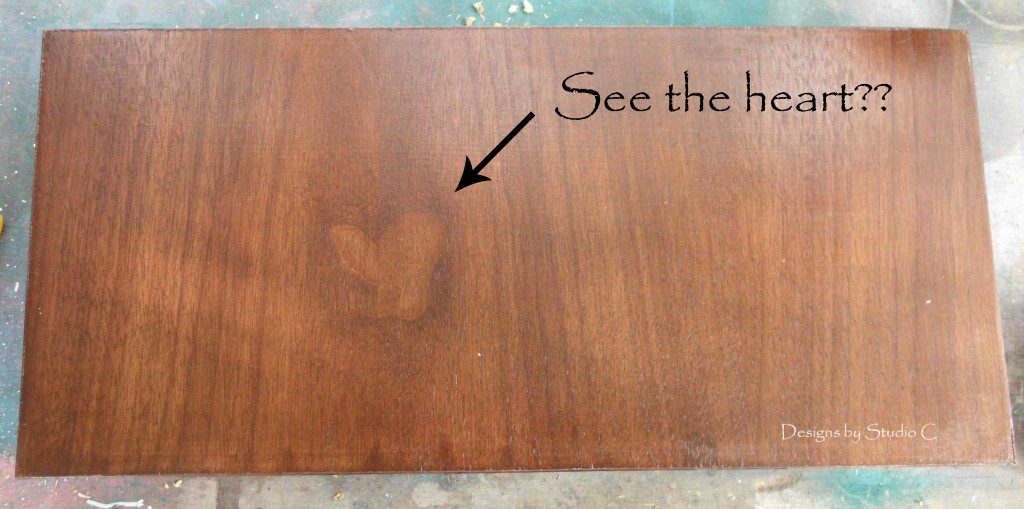
The veneer used on this plywood is beautiful! I LOVE walnut – especially the rich chocolate brown tones! It is so fabulous! In fact, when I was staining one of the drawer fronts I found that a spot on the veneer looks like a heart – awww!
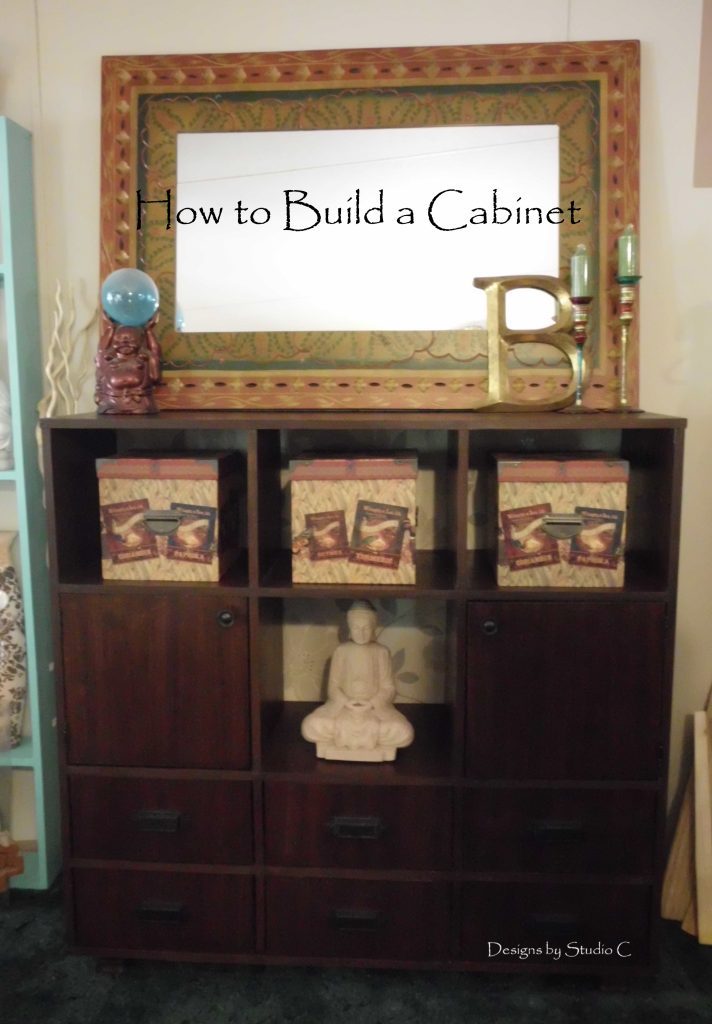
I designed this cabinet for my living room with the walnut plywood in mind. I wanted lots of drawers (so I can hide all of my incense and burners) and a few cubbies to store boxes with DVDs. As with most of my plans, the size can be customized to suit your needs – just add to either the length, height, or both!
Come back and visit me tomorrow! I will post plans for this cabinet which include a materials list, a cut list, a lumber list, as well as drawings.
I cut all of the pieces as listed in the cut list. I like to draw lines before I attach each shelf, that way I know where it goes and keeps everything where it should be!
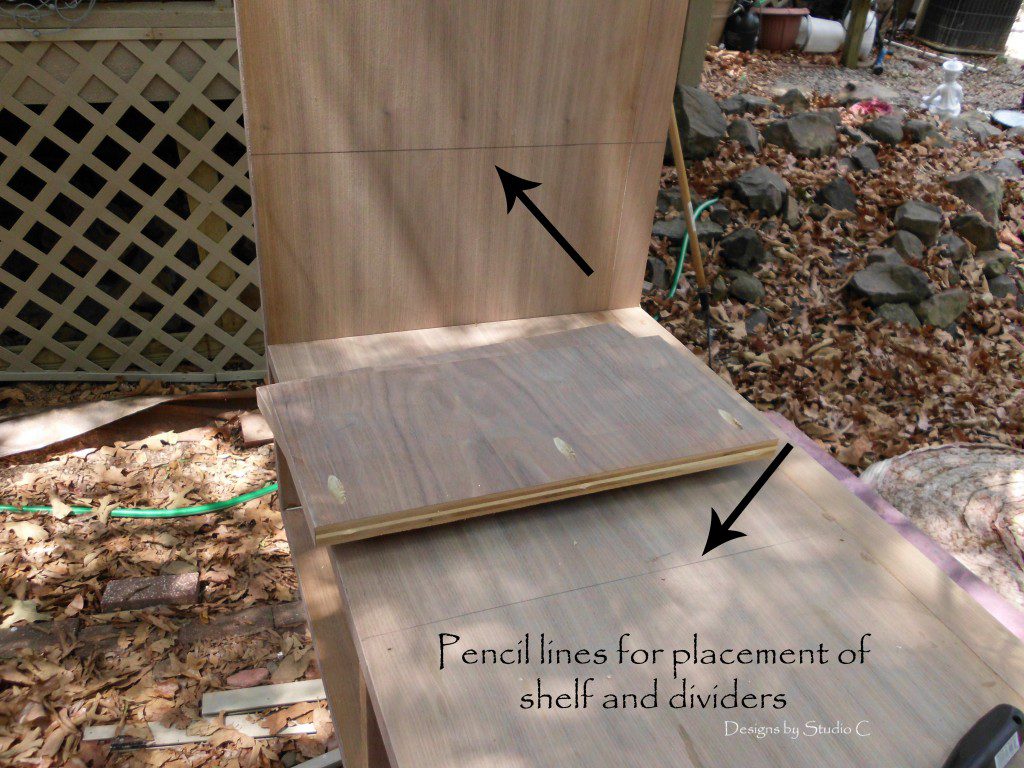
I attached the first set of drawer dividers to the bottom as shown in the plans using glue and 1-1/4″ pocket hole screws, then attached the sides and the next shelf.
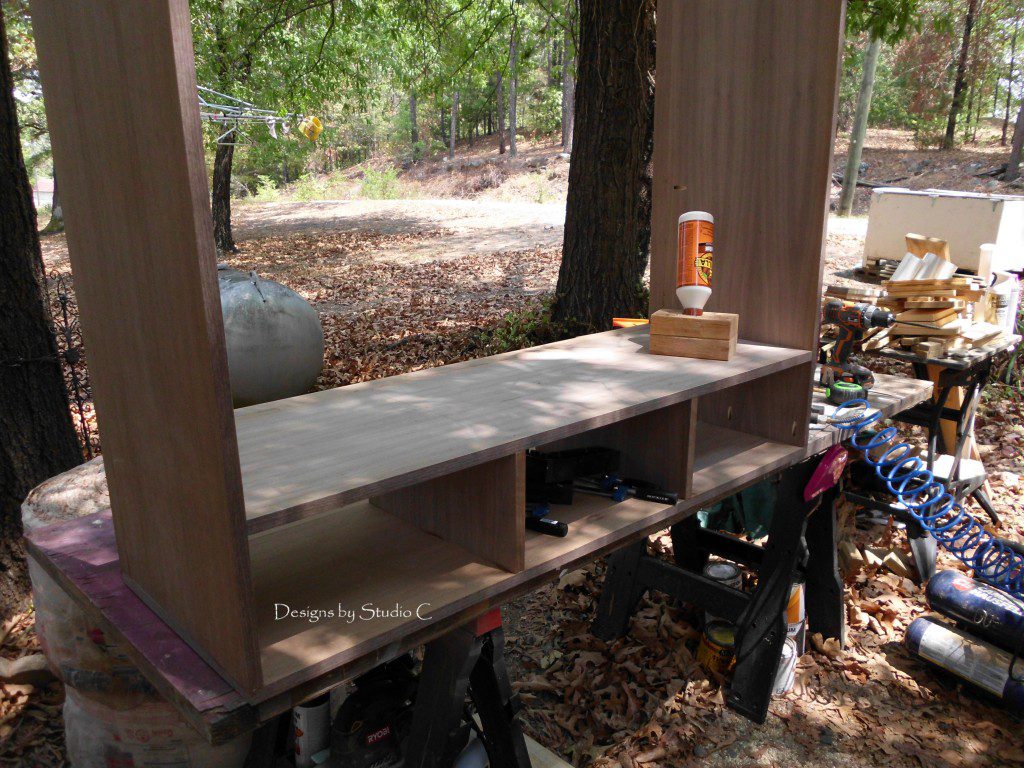
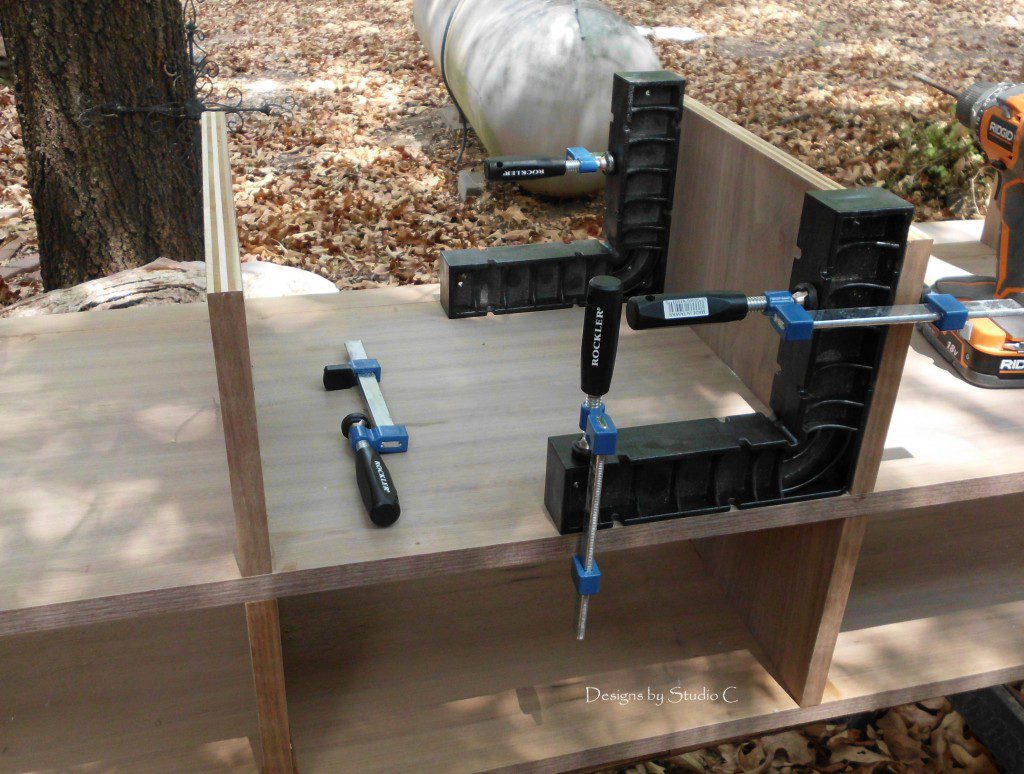
I used a right angle jig (<– affiliate link!) and clamps to keep everything square. This is my favorite tool and I really need to use this because I am so bad at making things “not straight”!
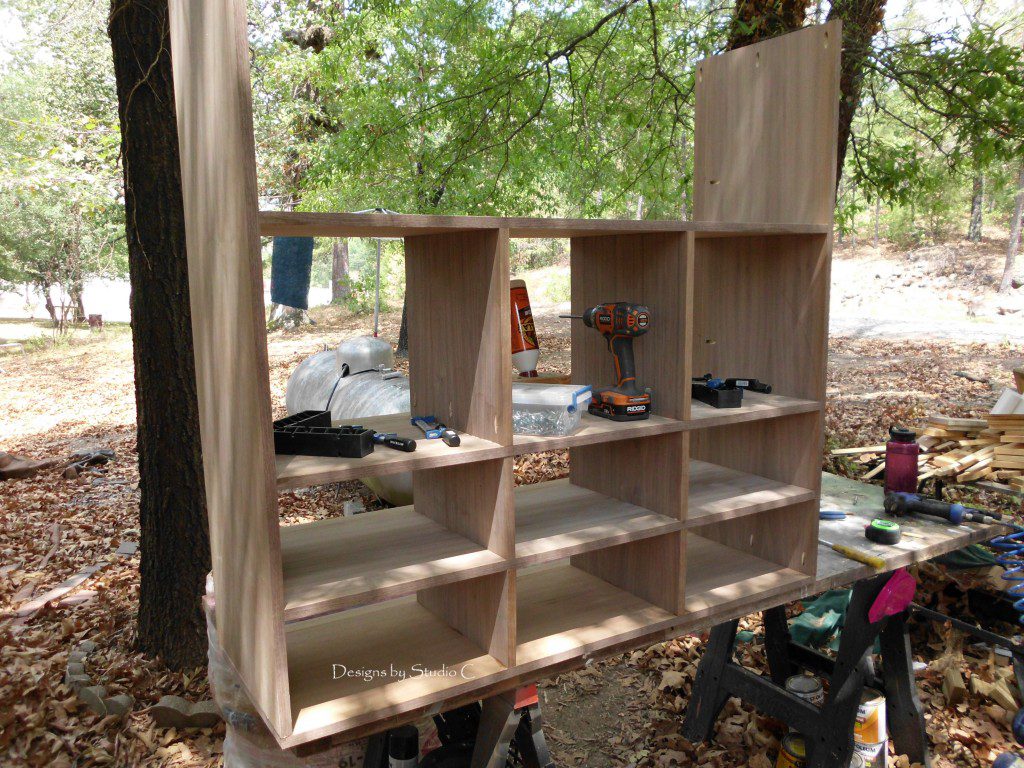
I continued adding dividers and shelves according to the plans, then finished with the top.
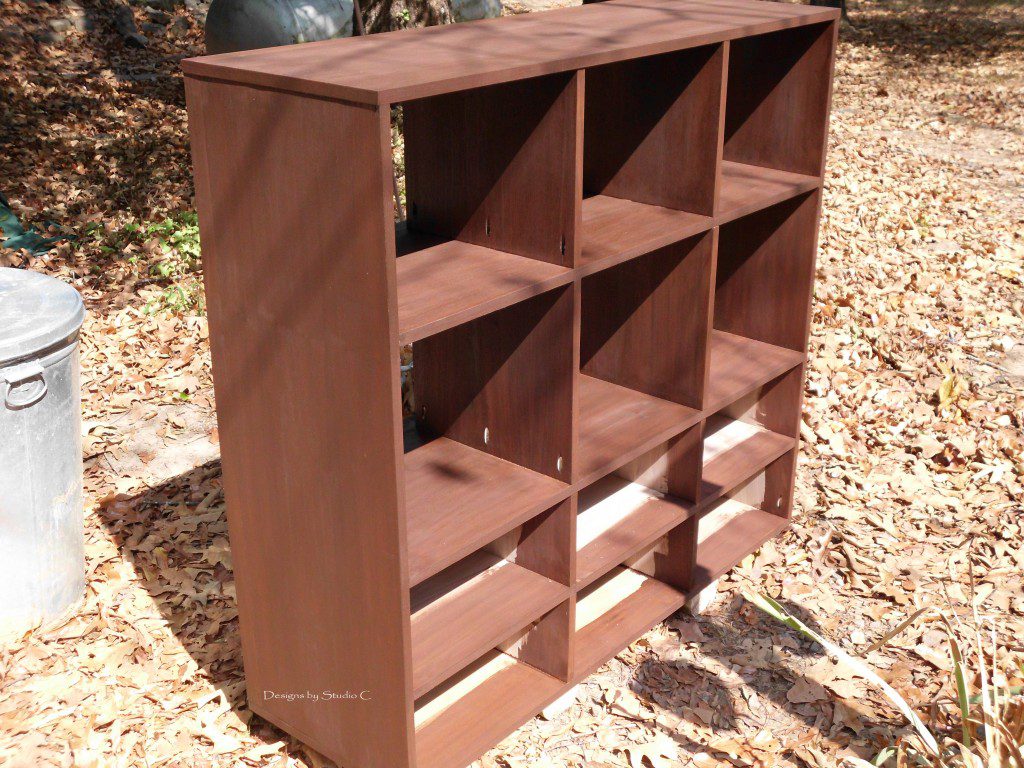
I stained the cabinet with Rust-Oleum’s Ultimate Wood Stain in American Walnut. I sealed the cabinet with Rust-Oleum’s Ultimate Polyurethane in Satin.
I cut the piece for the back and covered it with wallpaper, then attached it to the back of the cabinet. I attached the legs and the center leg support to the bottom of the cabinet. I built the drawer boxes, then installed the drawer slide hardware. I added the drawer fronts and the handles.
I installed the hinges on the doors. In order to place them correctly, I shimmed the door into the opening (there is a 1/8″ gap around all sides of the door), then used blue painter’s tape to mark where the hinge post would be. I installed one screw in each hinge, then closed the door and checked the opening.
I moved the cabinet into the living room, hid all of my stuff in it, then wiped off any remaining drool marks left by me!
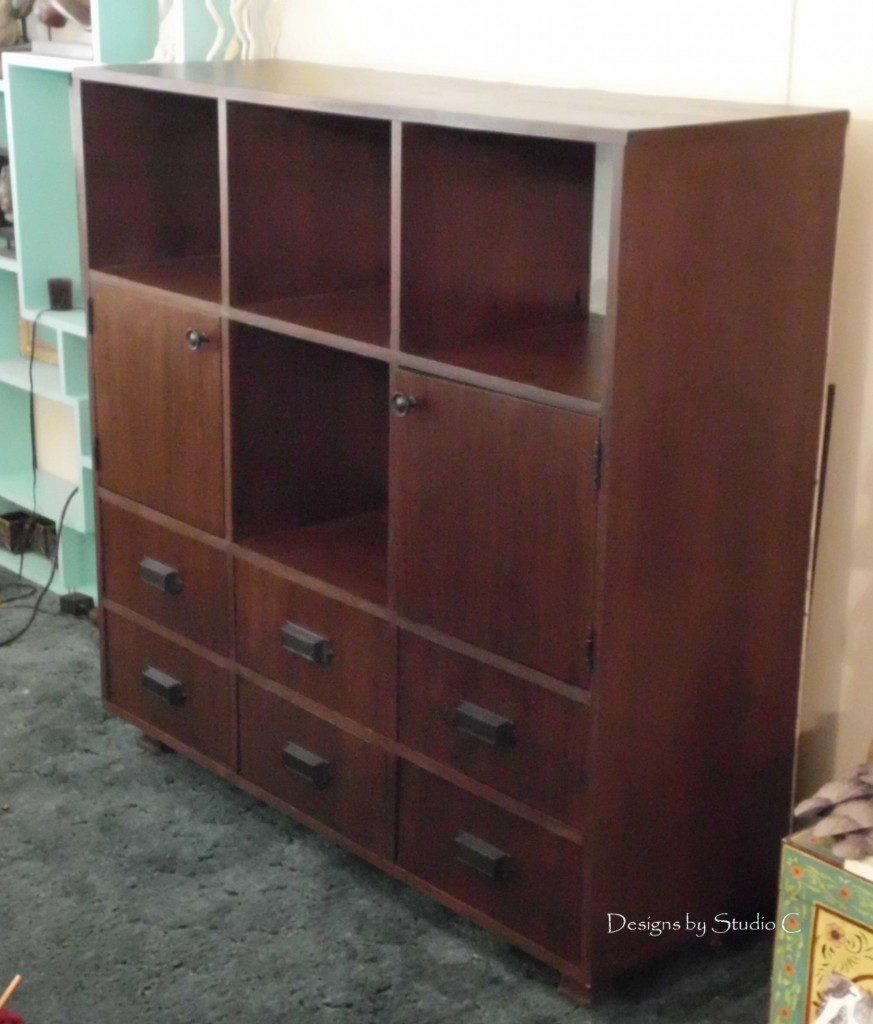
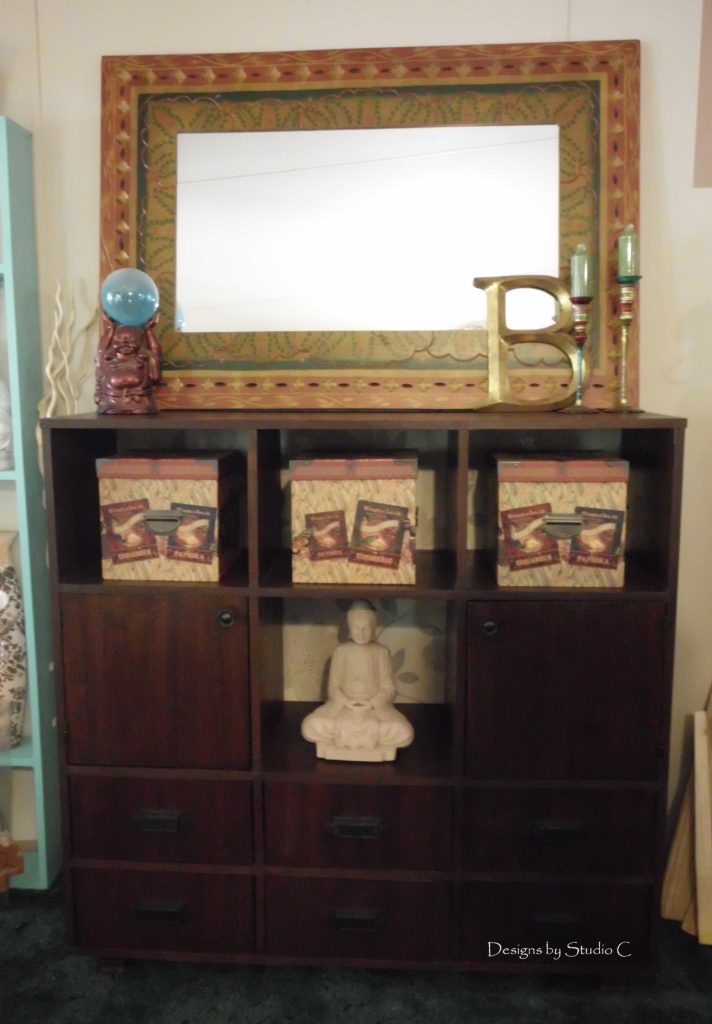
What a beauty! I really should have worked on this sooner!
Originally posted 2012-08-16 08:00:01.



Comments are closed.