How to Make a Planter Using an Old Wooden Chair
Make an Awesome Planter for the Garden or a Porch
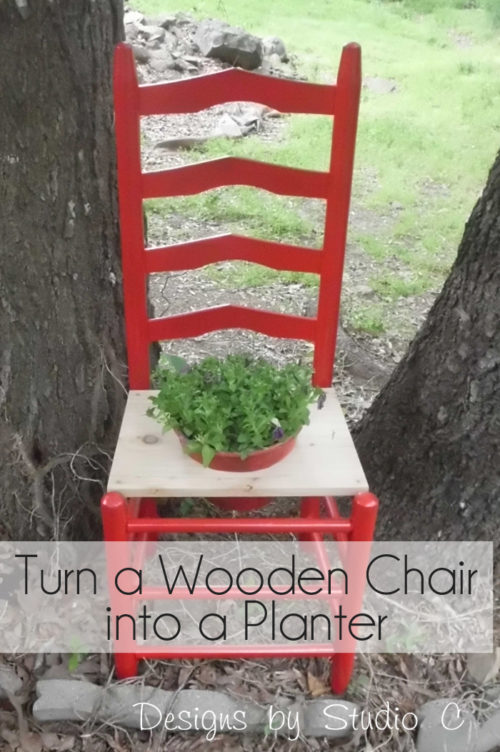
Hooray! The weather has finally straightened out a bit and it is time to work on the yard! I want to incorporate more flowers and plants in the yard but get bored with plain old planters. Today, I’ll share how to make a planter using an old wooden chair and create a one of a kind planter sure to wow any of your visitors!
Materials:
- Old wooden chair
- Cedar boards or treated plywood
- 1-1/4″ screws for outdoor use (<– affiliate link!)
- Plastic or clay pot
Start by removing the seat of the chair. The seat in my chair was damaged from spending way too much time outside. It was easily removed by removing the screws from the underside.
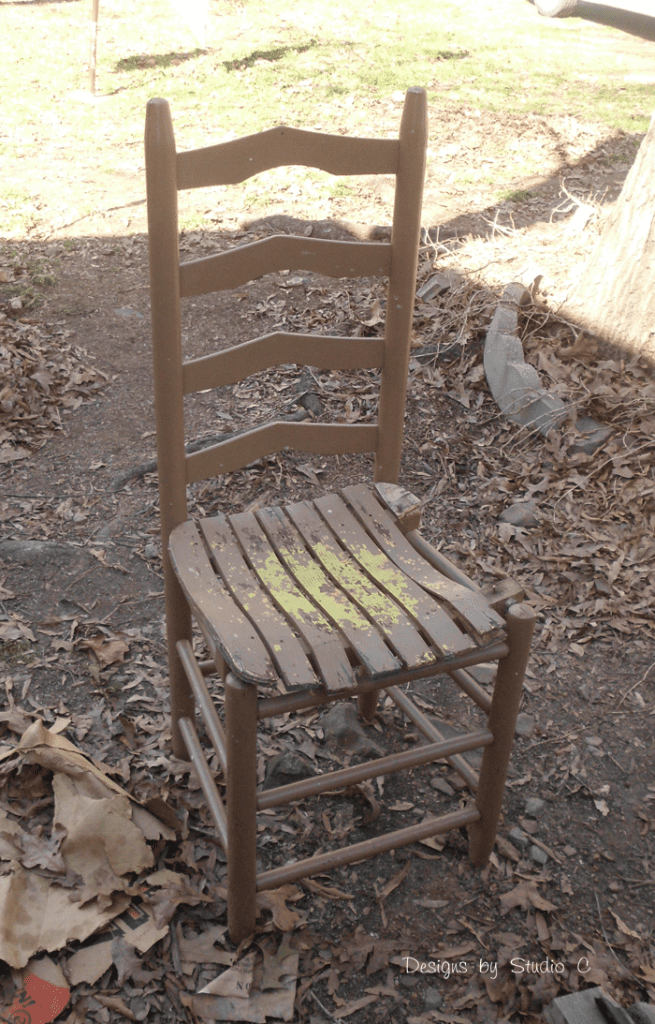
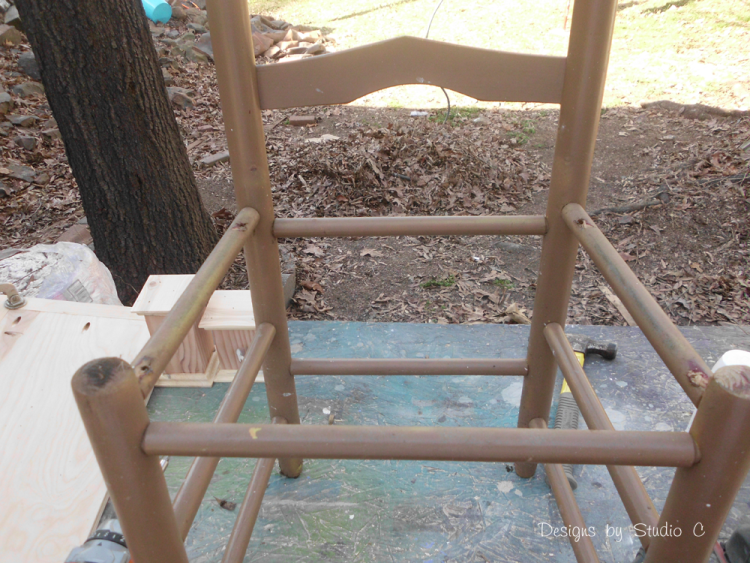
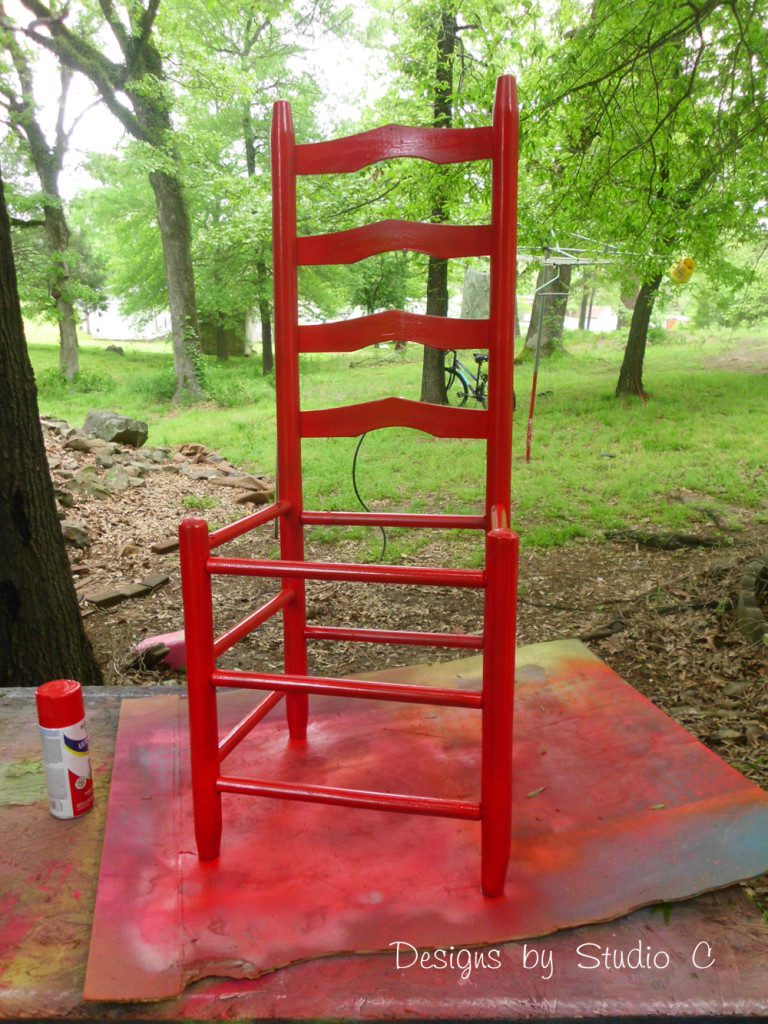
I previously painted this chair a pretty light brown color and the paint was worn but it’s nothing that a good sanding couldn’t fix! I lightly sanded then spray-painted the frame. I used Rust-Oleum Ultra Cover 2x spray paint in Apple Red. Two coats sufficiently covered the frame and it looks awesome!
Measure the area where the board will sit for the “seat”. Cut the board and mark the center with a pencil. Measure the diameter of the pot, subtract the amount the lip will overhang, and transfer the markings to the board.
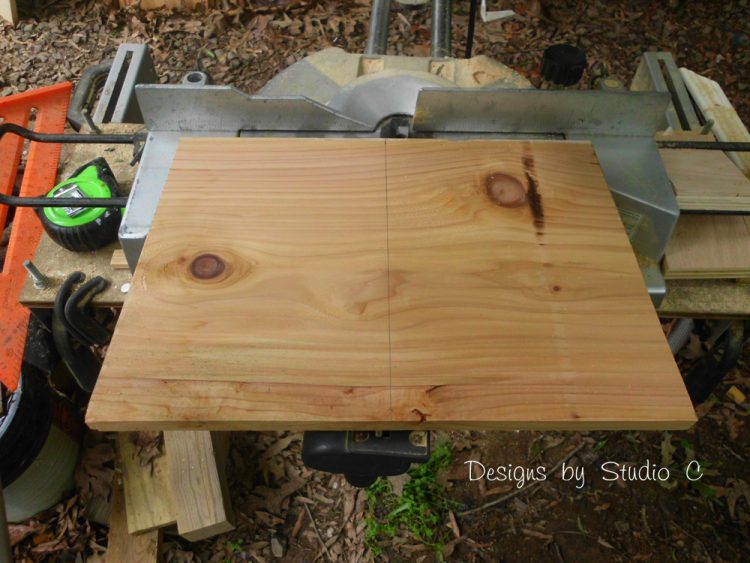
Drill a large hole just inside the circle to allow for the jigsaw blade. then cut out the opening using the jigsaw. Sand any rough edges as needed.
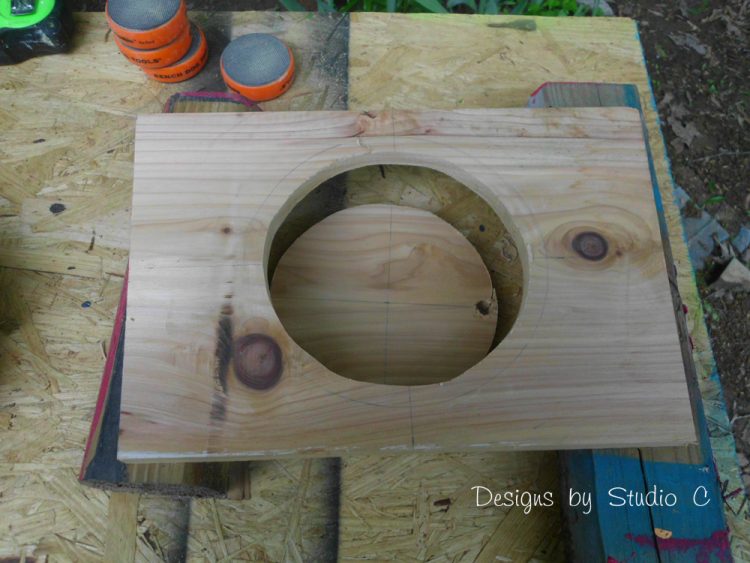
Place the board on the frame and secure in place using countersunk 1-1/4″ screws. The “seat ” of the DIY chair planter can be finished with an outdoor stain, if desired. It can also be painted to match the chair!
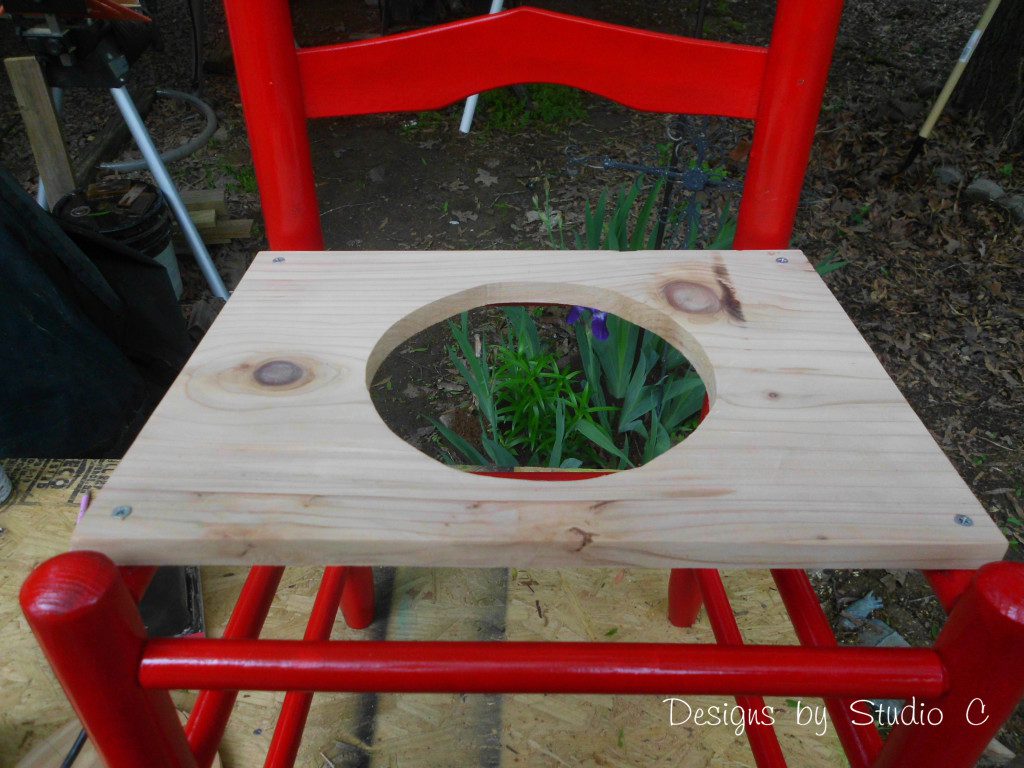
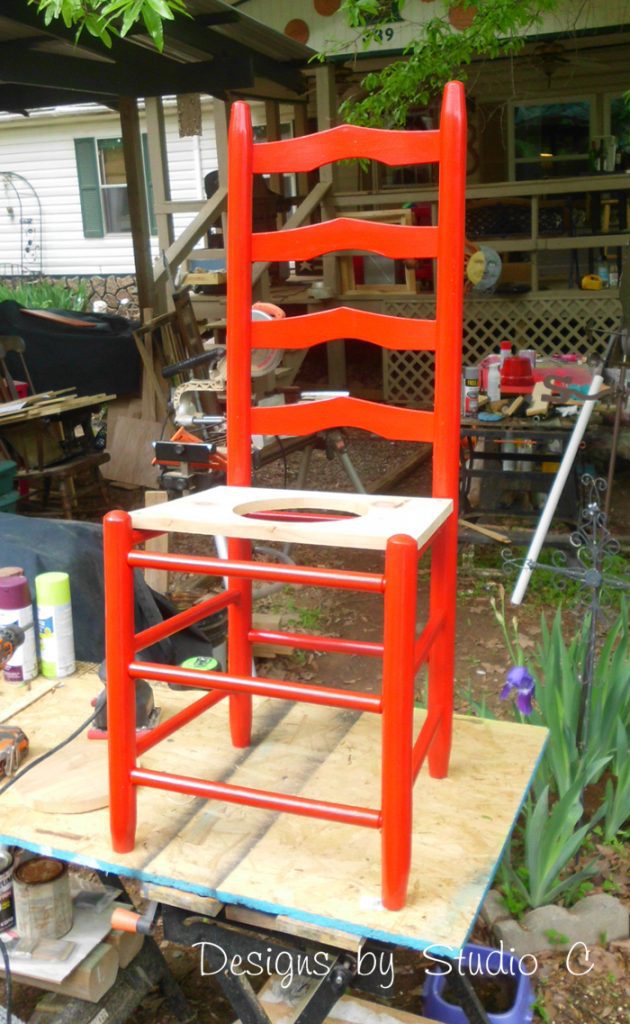
Add the pot with flowers or a plant of your choice!
Love this planter? Me, too! If you have any questions on how to make a planter using an old wooden chair, leave a comment below!
Originally posted 2013-04-29 08:00:08.

[…] fabulous chair with a damaged seat. I removed the seat and added a cedar board I cut to fit, and turned this chair into a planter! I’m proud to say that the chair is still a vibrant red even after two years in the […]
[…] Source […]
[…] one of my favorite planter stand ideas is the planter made using an old wooden chair. The seat rotted on the chair and rather than replace it, I added a piece of plywood with a large […]