
Build a Wire Basket End Table
Turn a Round Wire Basket into a Fabulous End Table!
I found a couple of really cool wire baskets at my local Dollar General… I didn’t buy them that day but thought about them for an entire week. Do you ever do that? I couldn’t justify having them until I decided to use one of them to make this wire basket end table. Of course I had to buy BOTH baskets but whatever. I’ll save the smaller basket for something else. The larger of the two became the center of the table which rests on a 2×2 frame, and can double as storage for blankets, toys, etc. The top can be round or square – your choice!
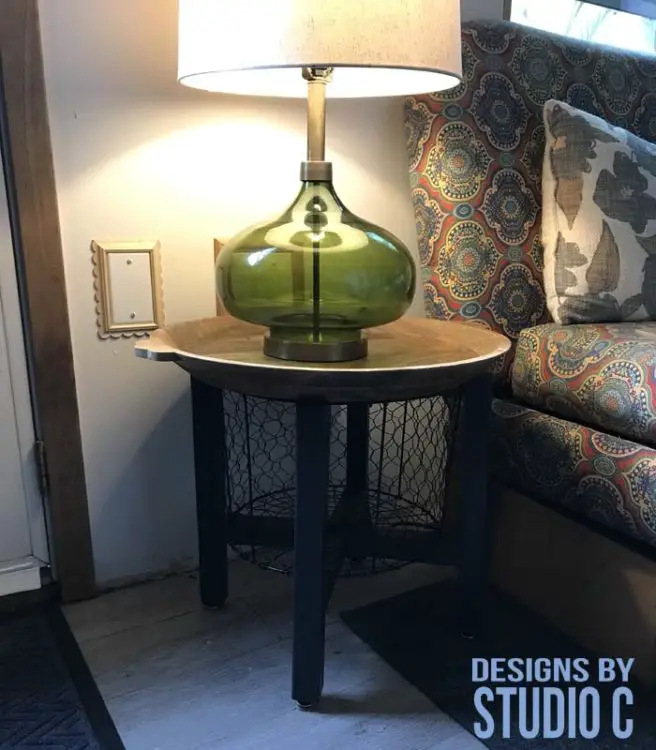
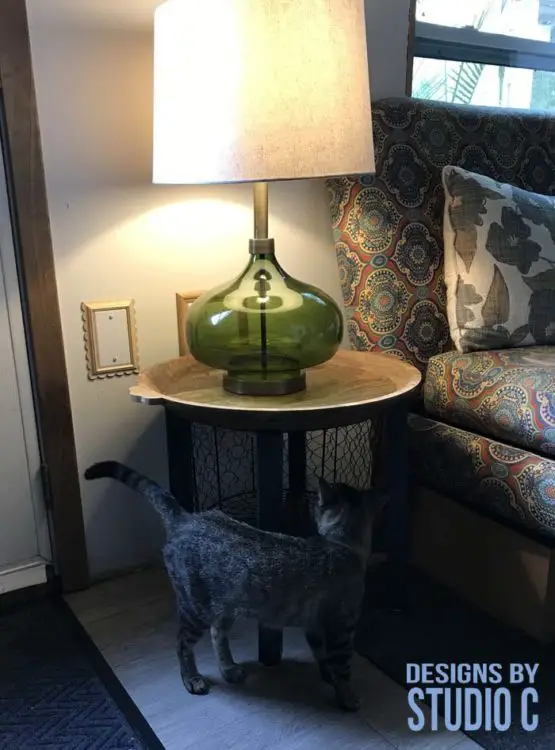
What’s cool about this table is that it is so stinkin’ quick and easy to build. I used a really cool round wood tray from Target as the top. I used adjustable feet on the bottom of the frame to make it stable so that the Parkour champs pictured below wouldn’t knock it (or the lamp on top of it) over. The 2×2 frame is painted dark grey which brings out the greys in the wood tray while the basket is its original black.
Materials:
- Round wire basket (approx. 15″ in diameter)
- Adjustable furniture feet (<– affiliate link!)
- 1-1/2″ screws
- 2-1/2″ screws
- Hand saw, jigsaw or circular saw
- 1 – 2×2 at 8′ (plus a few scraps of 2×2 just in case the basket is large!)
- Sandpaper (80, 120, 220 grits)
- Finishing supplies (stain and sealer or paint)
- Piece for the table top (think tray, plywood, wood round, etc.)
Lumber Cut List:
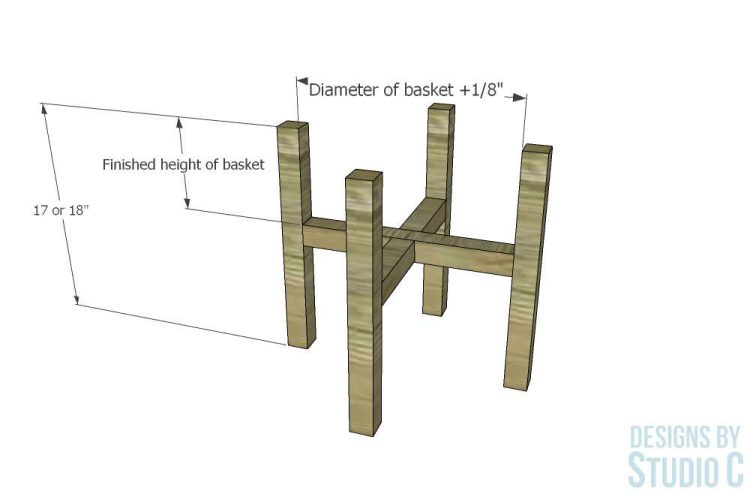
- 4 – 2×2 at 17 or 18″ – Legs
- 2 – 2×2 at diameter of basket +1/8″ – Stretchers
Notes About the Project:
- The tray I purchased doesn’t completely rest on top of the legs and that’s OK!
- The top can overhang the frame, if desired
- If using a round top, use a diagonal measurement between the legs for the diameter
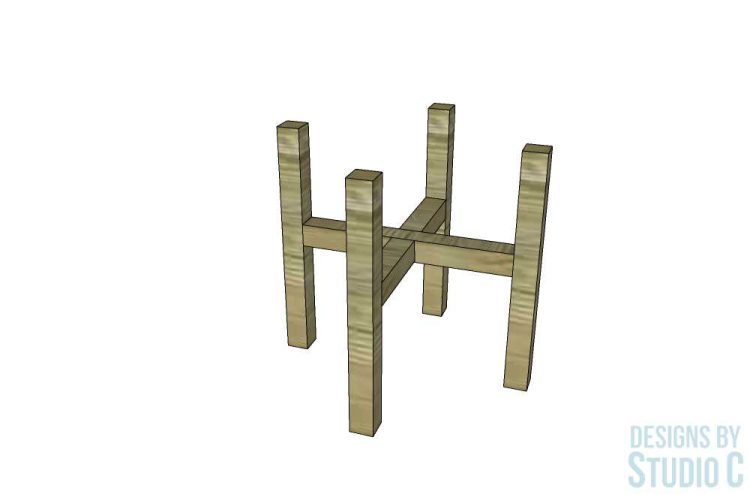
Building the Frame
Step One:
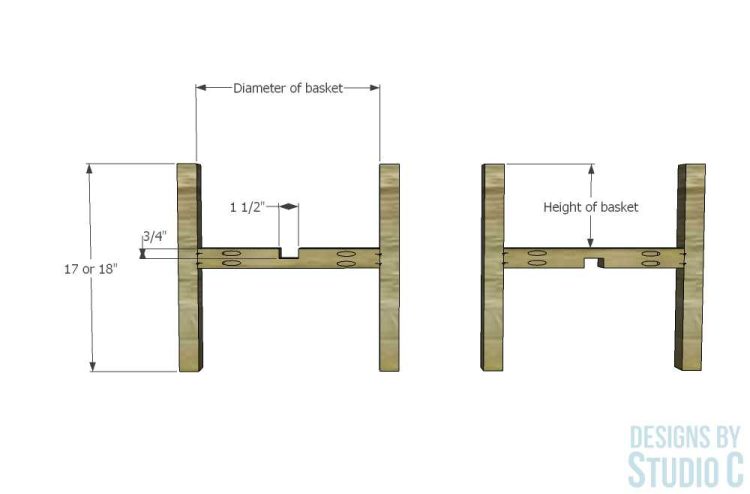
Cut the pieces for the legs and the stretchers. Draw a line with a pencil across the center of the stretchers, then draw lines approximately 3/4″ on each side of the center line. Using the saw of your choice, make a series of cuts 3/4″ deep between the outer lines. The space between cuts should be narrow enough to allow the pieces to break off. I used my table saw with the blade set at a 3/4″ depth to make the cuts, then broke the pieces away to make a notch (the notches are so that the leg assemblies stack on top of each other to create the frame – see the drawings below!)
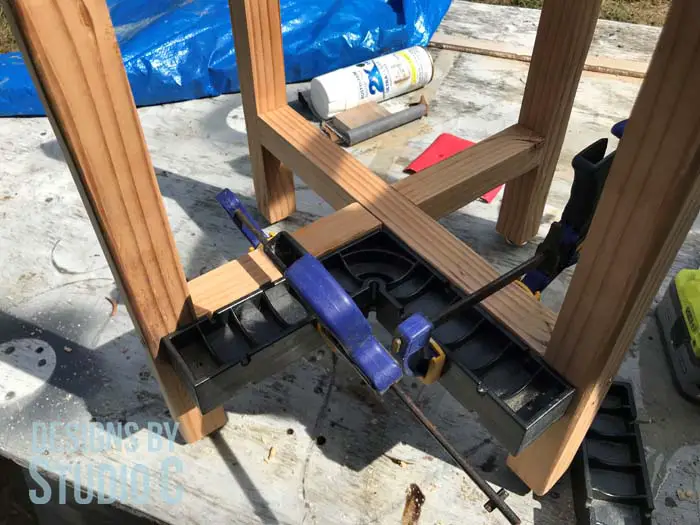
Step Two
Position the stretchers on the legs so that the distance from the top of the leg to the top face of the stretcher is the same as the height of the basket. Secure the stretcher to the leg using glue and 2-1/2″ screws driven from the outside of the leg. Make sure that on the stretcher/leg assemblies, one notch faces up and one notch faces down!
Step Three
Stack the leg assemblies at the notches, and drive a 1-1/2″ screw to secure the assemblies together. I used a right angle tool to keep everything square!
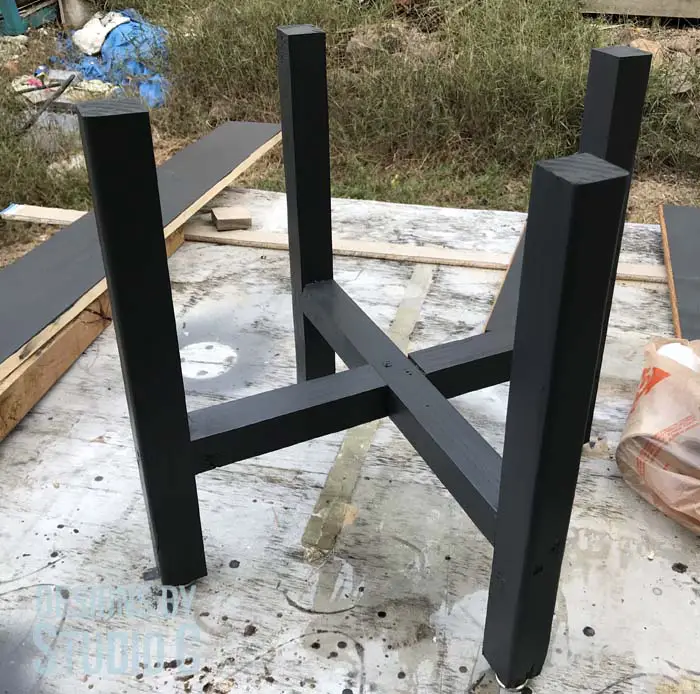
Step Four
Flip the assembly upside down, and install the adjustable legs according to the manufacturer’s instructions.
Paint or stain as desired!
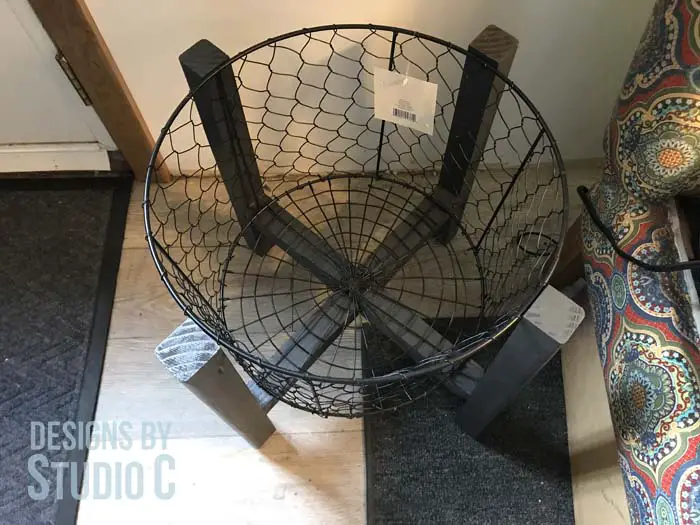
Once the base is completed, place the basket between the legs resting on the stretchers, and add the top. The top will not be screwed into place to allow the basket underneath to be used as storage.

It really made a nice table! Of course, the younger of the two Parkour champs is already checking it out…
So, what do you think about the plans to build a wire end table? Have you made something similar? Show me in the comments below!