Easy to Build Record Storage Shelves
For the Tabletop or Wall Mounted, Store Records in Style
These little dandies require minimal skills to build. In fact, if you can make a straight cut with a saw, draw a straight line and tighten a clamp, you’re well on your way! The easy to build record storage shelves are built using plain plywood with no fancy finishing (unless you want to, of course!) and several can be built in a weekend!
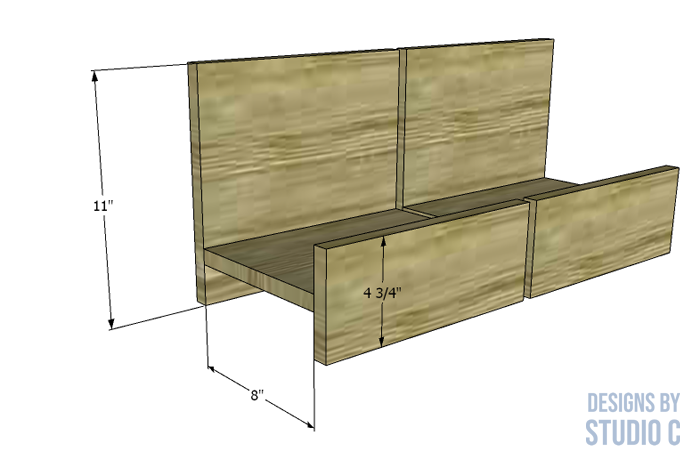
Materials:
- Wood glue (<– affiliate link!)
- Sandpaper (80, 120, 220 grits)
- Straightedge and a pencil
- Clamps
Lumber:
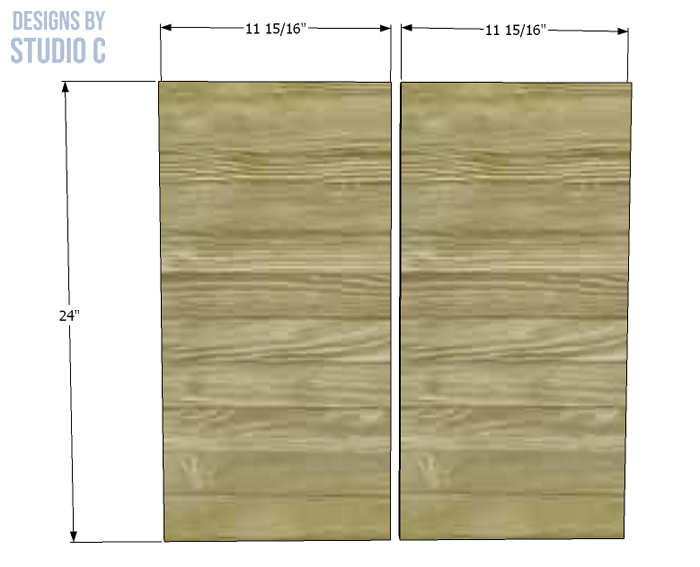
- One 2′ x 2′ sheet of 3/4″ plywood will make two shelves
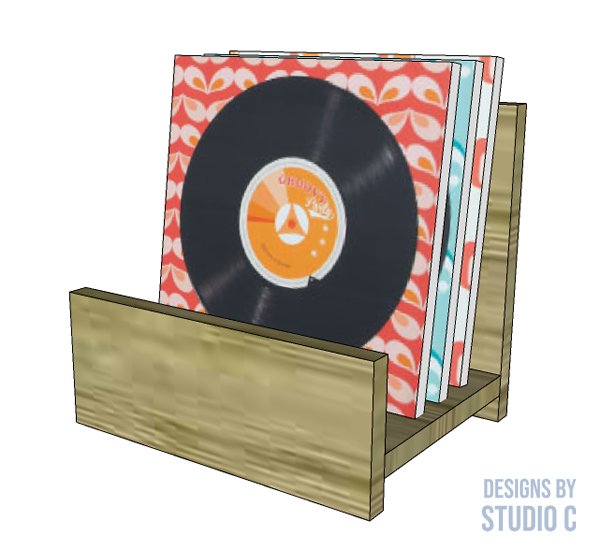
Notes About the Project:
- Sand all of the pieces before assembly
- The edges of the plywood can be left plain, painted or covered with edge banding
Step One
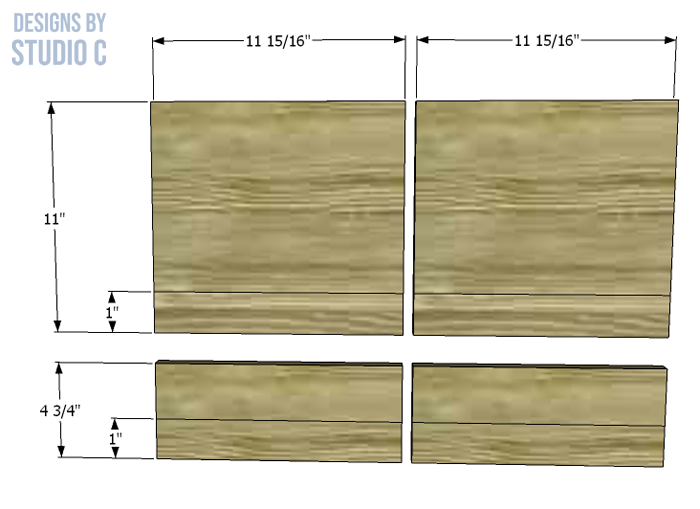
Cut the sheet of plywood in half. Each half will measure approximately 11-15/16″ wide by 24″ tall.
Pro tip: Most home improvement stores will cut the plywood pieces for a small fee!
Step Two
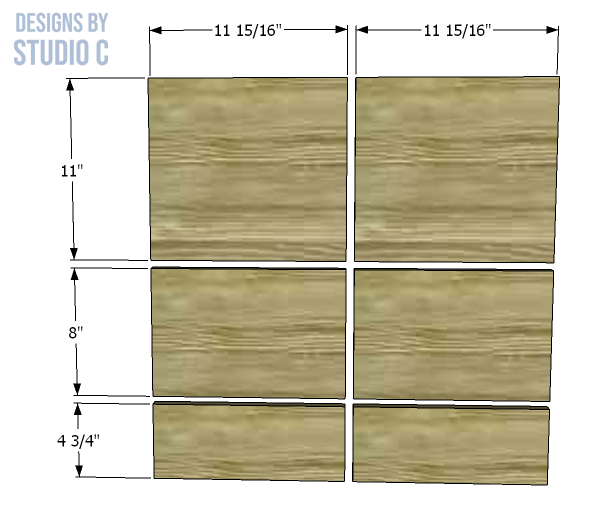
Cut each half into three pieces measuring 11″, 8″ and approximately 4-3/4″.
Step Three
Draw lines on the larger and smaller of the pieces at approximately 1″ from the bottom for placement of the shelf.
Step Four
Run a bead of glue on the edge of the shelf and position it above the line. Repeat for the other piece, then clamp the assembly together.
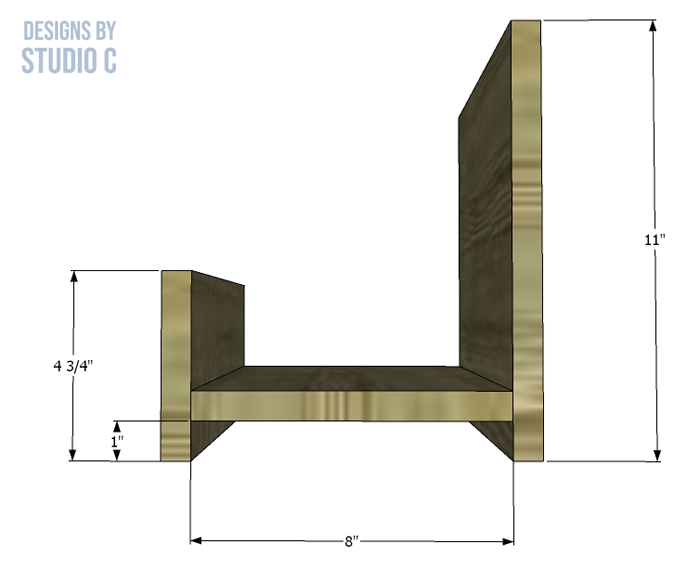
Once the glue is dry, the shelves can be hung on the wall. Make sure to drive screws through the back of the shelf into a wall stud or auger anchors! (Or just display the shelves on a tabletop or counter space.)
Have questions about the plans to build record storage shelves? Leave a comment below!

