Build a Bench with a Woven Jute Seat
FREE DIY Furniture Plans to Build a Simple Bench
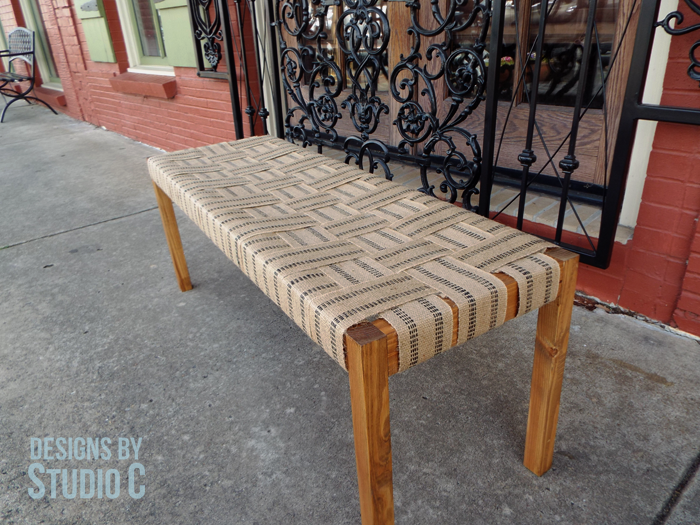
I have been wanting a simple bench for a long time. But not just any simple bench will do… It will have to have some sort of twist! I decided to build a bench with a woven Jute seat using upholstery webbing with a black stripe. The natural color of the webbing pairs perfectly with the golden oak stain on the pine frame and the bench is the perfect accent piece in my entryway!
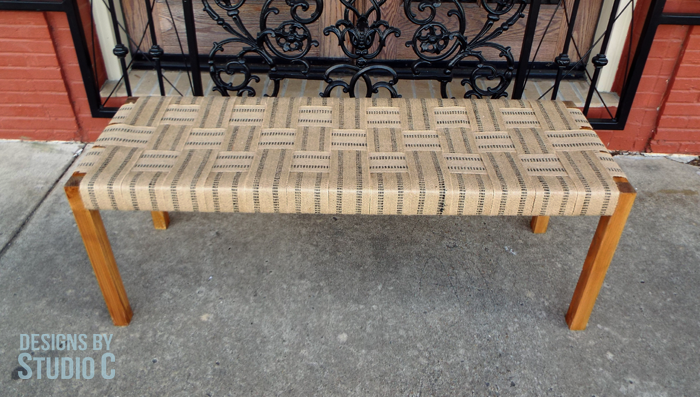
The plan is based on upholstery webbing measuring 3-1/2″ wide… I wanted the webbing to touch with no gaps. If narrower webbing is used, the plan can be altered so that the frame is shorter or longer, or the webbing can be spaced apart. (This equals easy math!) I created an easy-to-follow video showing the process of creating the seat (see below!) and trust me, this bench couldn’t be any simpler!
Materials:
- 2-1/2″ pocket hole screws
- Felt pads for the bottom of the legs (<– affiliate link!)
- Jute Upholstery Webbing (<– affiliate link!)
- Upholstery Staples
- Wood glue
- Sandpaper (80, 120, 220 grits)
- Finishing Supplies
Lumber:
- 1 – 2×2 at 8′
- 2 – 2×3 at 8′
Cut List:
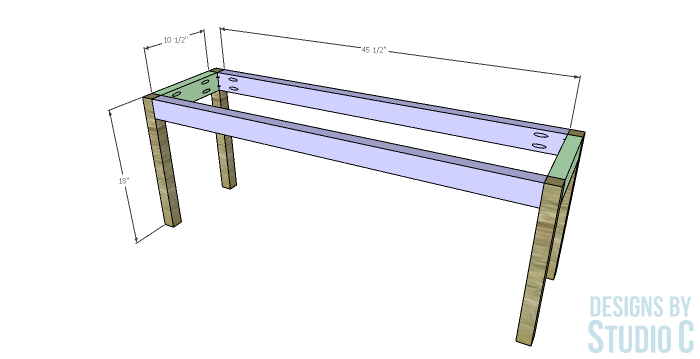
- 4 – 2×2 at 18″ – Legs
- 2 -2×3 at 45-1/2″ – Bench Frame
- 2 – 2×3 at 10-1/2″ – Bench Frame
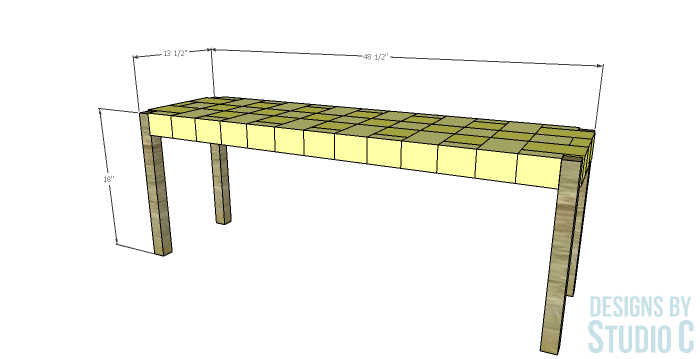
Notes About the Project:
Use sandpaper or a roundover bit with a router to soften the sharp edges of the frame so they don’t wear out the webbing!
Step One
Cut the pieces for the legs and frame. With the pocket hole jig set for 1-1/2″ material, drill pocket holes in each end of the frame pieces. Assemble the frame using glue and 2-1/2″ pocket hole screws.
Sand the frame and finish as desired.
Step Two
Cut the pieces of jute for the seat. Measure and cut the pieces as needed. I used thirteen shorter pieces and three longer pieces. See the video below:
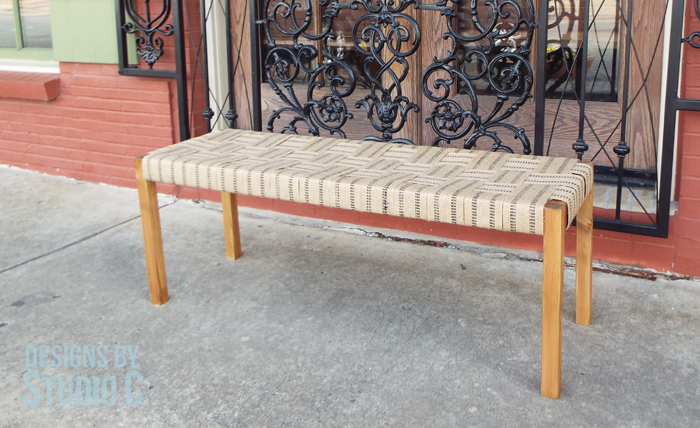
This easy to build bench with a woven jute seat is the perfect weekend project, and the finished piece looks great in any room! It can also be used on a covered deck or porch for additional outdoor seating! Have questions about the DIY plans? Leave a comment below!

