
Tapering Jigs are One of the Greatest Tools Ever!
I love using tapered legs on a table or cabinet I am building. They add such a great sense of style and drama to an otherwise ordinary project. An easy way to create tapered legs is to use a hacksaw or jigsaw. The only problem I have with that is that I cannot cut a straight line without a guide to save my life plus, it would drive me crazy if each leg was not exactly the same! (I am very envious of those who can do it!)
I use a tapering jig on my table saw to cut tapers. A tapering jig is simply that – a jig with one straight leg and one leg that can be adjusted at any angle with a “lip” at the end to help guide the material through the saw. I have the hardest time using the markings on the jig to adjust it by degrees or inches. I’m sure its super easy math, too – like “1+1=2” kind of math. Let it be said that I am not a math person. I have an entirely different method I use that I will share with you today – how to use a tapering jig on the table saw.
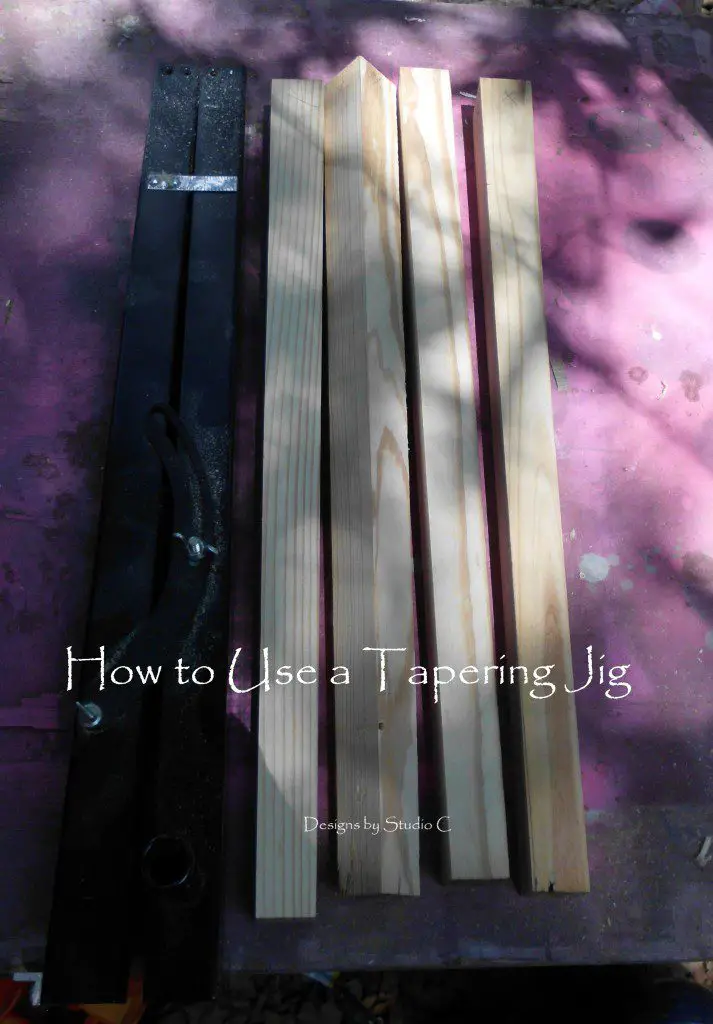
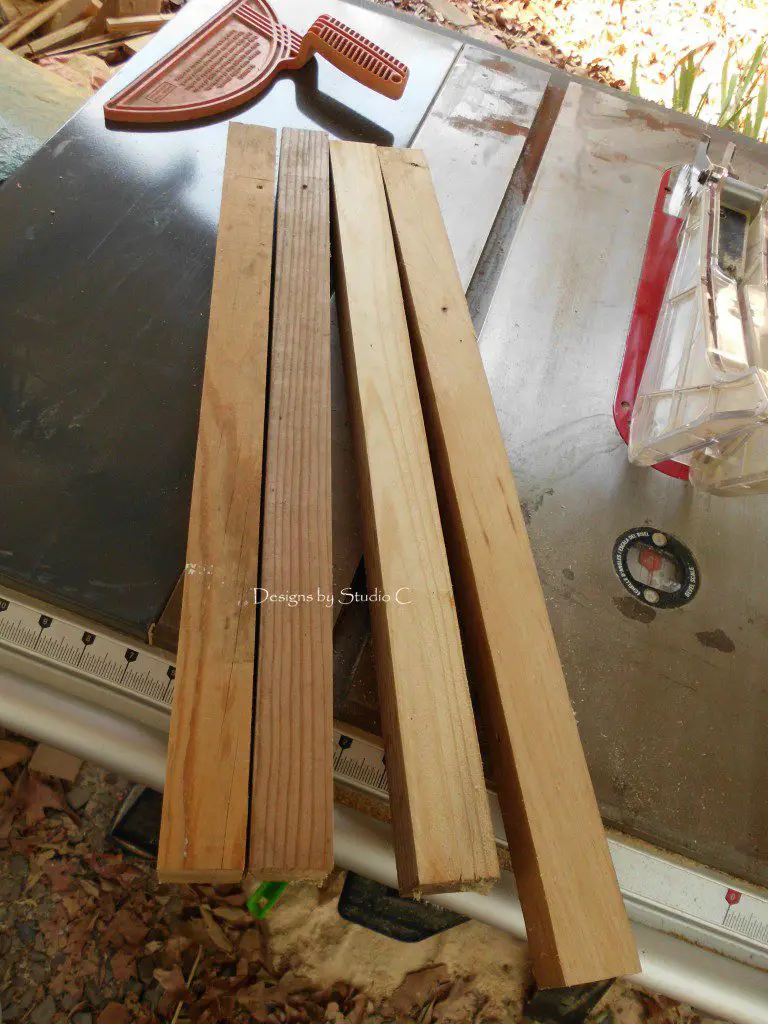
My tapering jig is a metal jig that I purchased on eBay. If I remember correctly, I got it really cheap! There are several sites out there with plans to build your own jig, also, so it doesn’t really cost a lot to get a great “helper”! For this example, I’m cutting tapers in 2×2 legs for a table project.

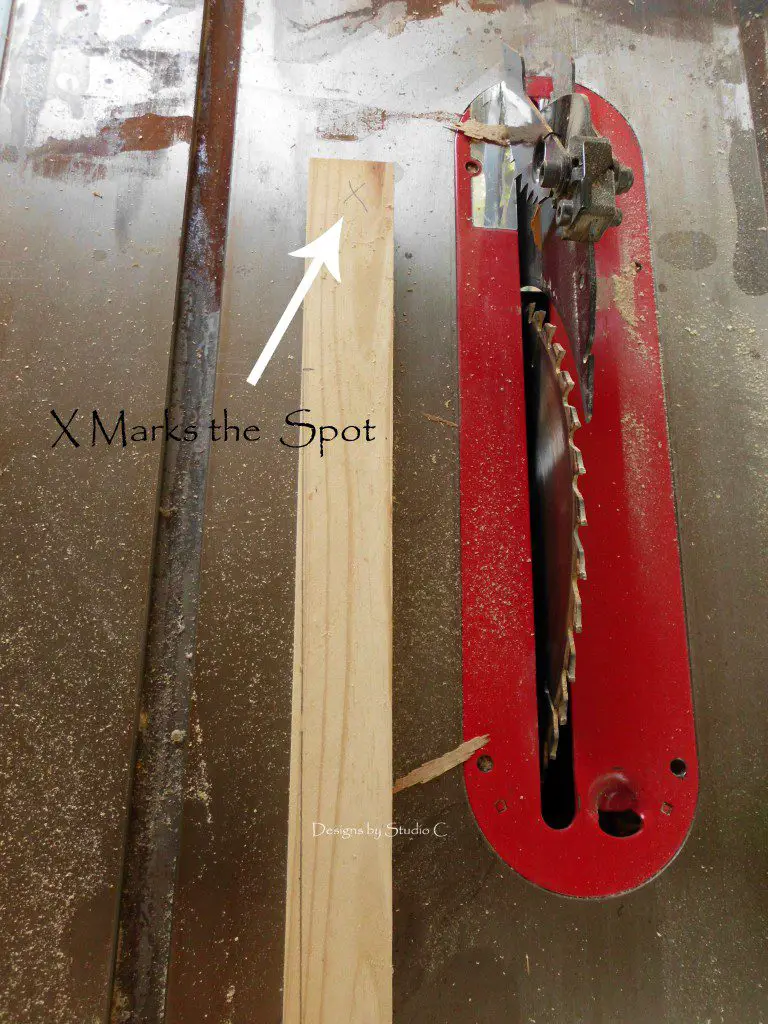
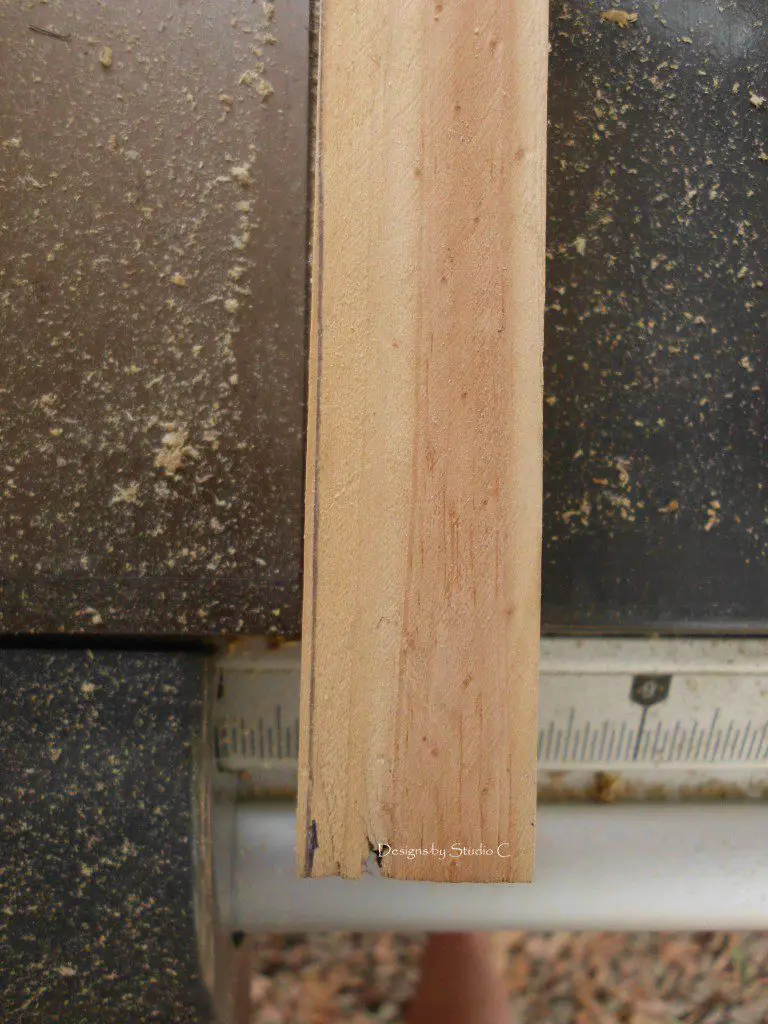
Start by making a mark at the bottom of the lumber at the width it will be after the taper is cut.
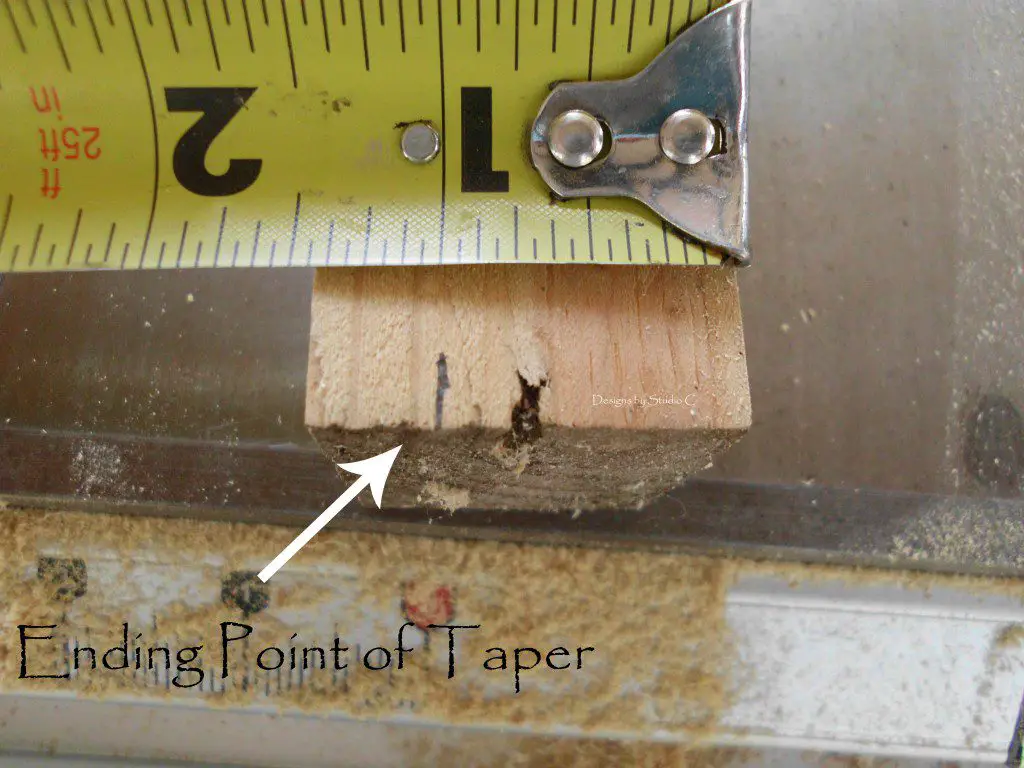
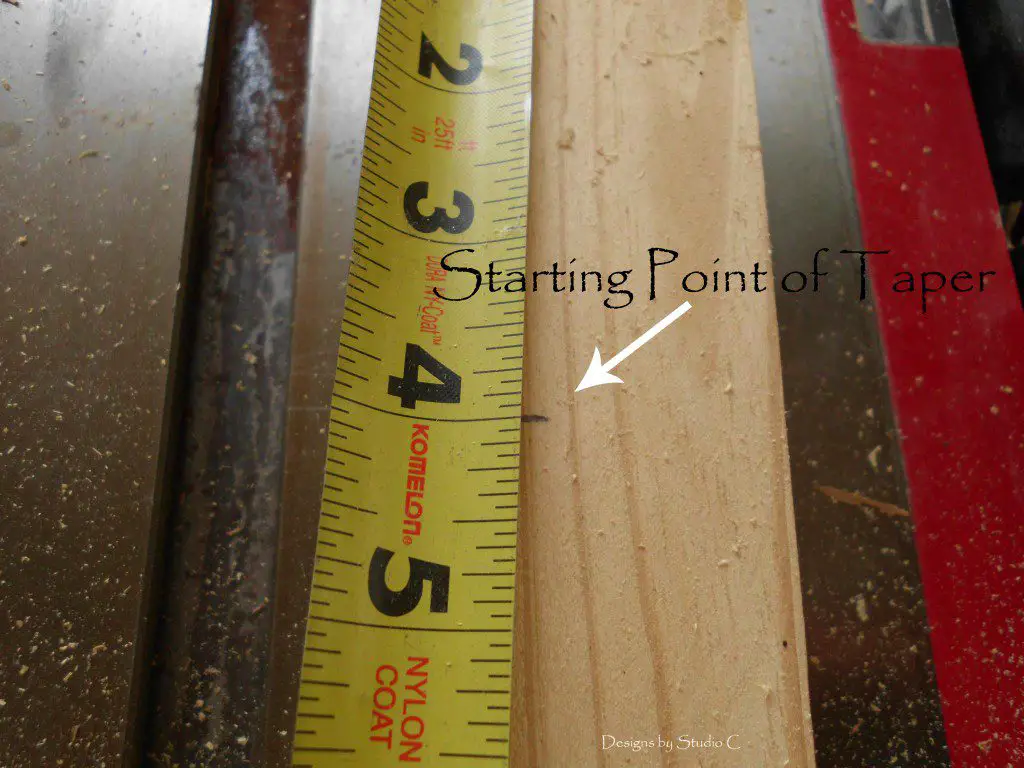
Make a mark from the top down to the starting point of the taper.
I like to mark an “X” at the top (the side facing me) of the leg… I’ll show why a little later in this post!
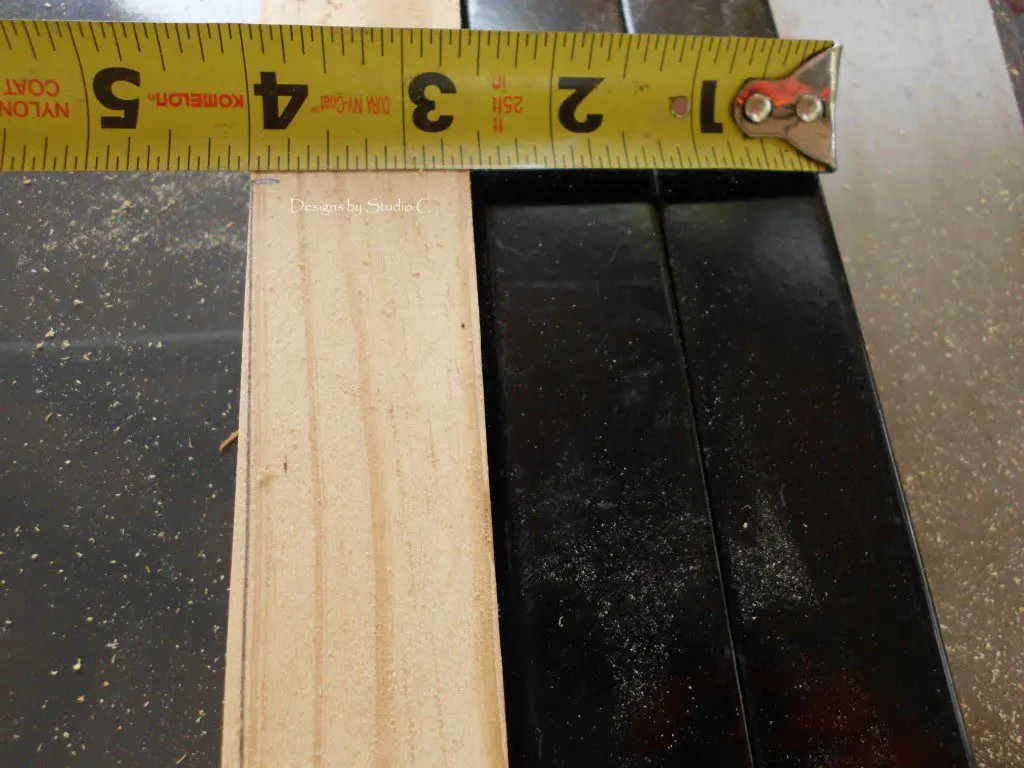
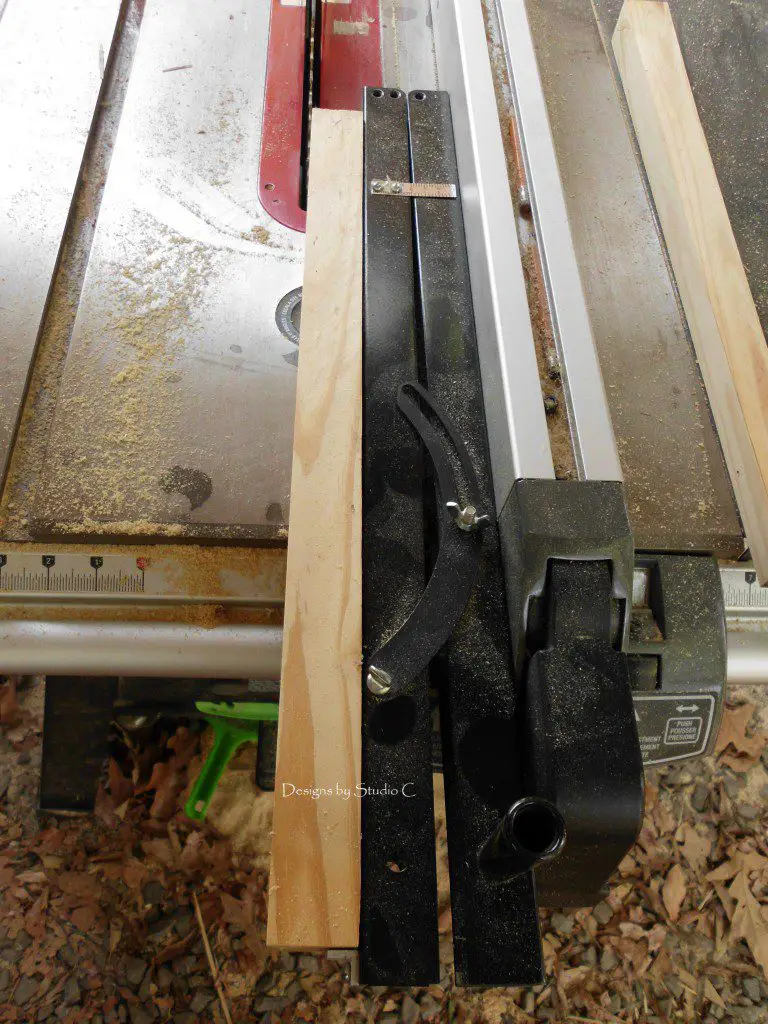
Close the angled leg on the jig and place the lumber on the guide.

Measure from the outside of the straight leg of the jig to the mark on the lumber where the angle is to begin. In this example, my measurement is 4″. At the bottom of the jig, adjust the angled leg of the jig until the measurement from the outside of the jig to the mark on the lumber where the angle will end measures the same as the measurement where it will begin. Tighten the thumbscrew.
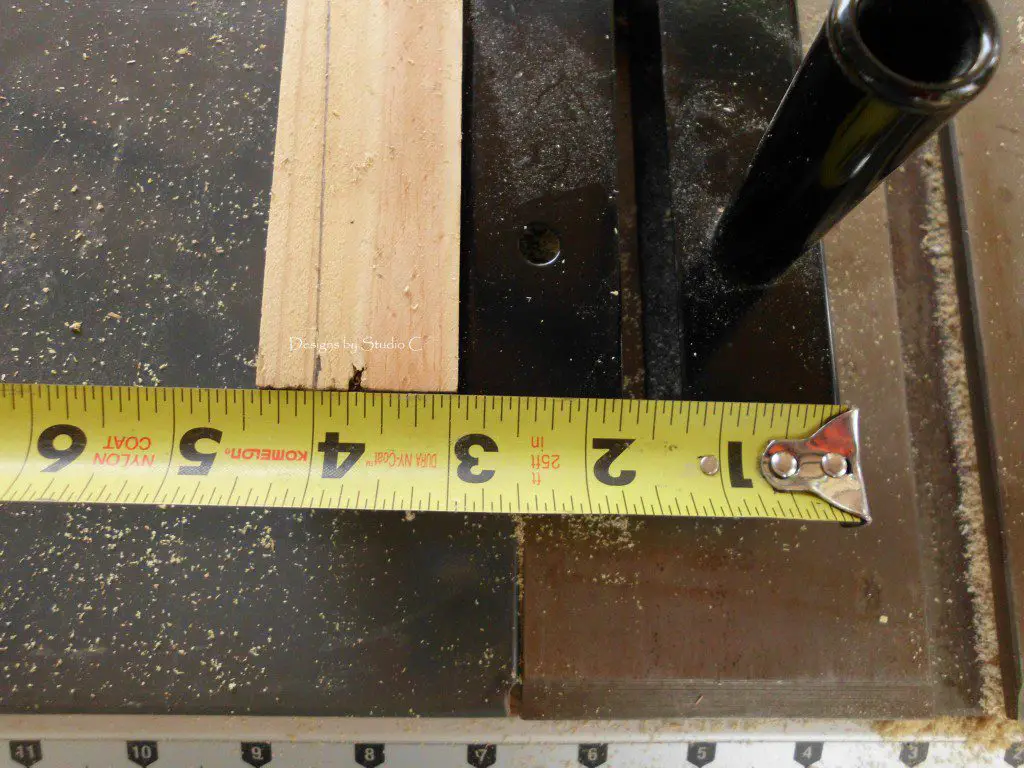
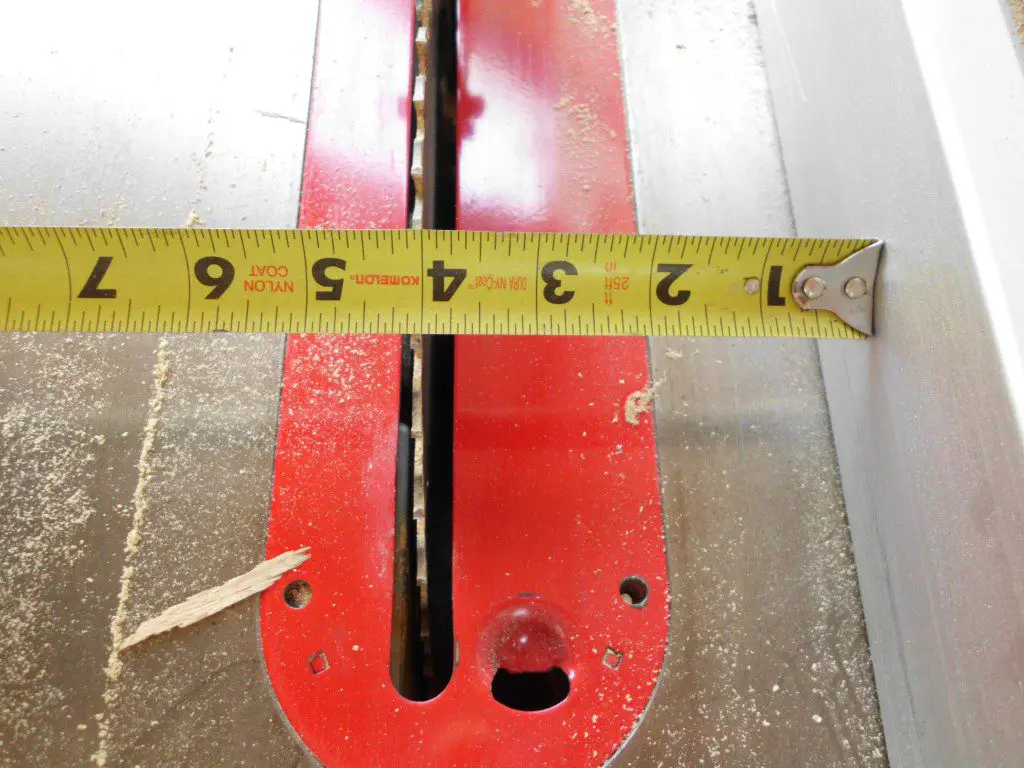
Use the same measurement to set the distance from the saw blade to the fence and lock the fence down.
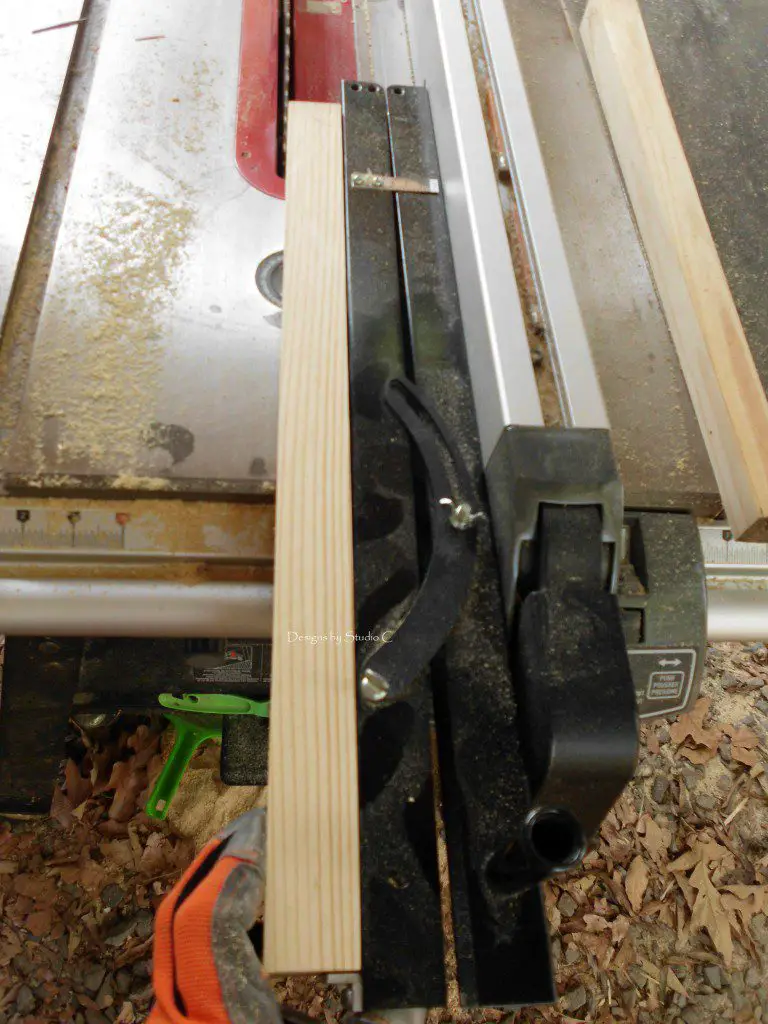
Run the lumber and the jig through the table saw. Do not force the lumber through – go slow and use all common sense safety precautions!
Woo hoo! The taper was cut close enough to the measurement for me! If the taper isn’t right, make any necessary adjustments, then run the lumber through the saw again.
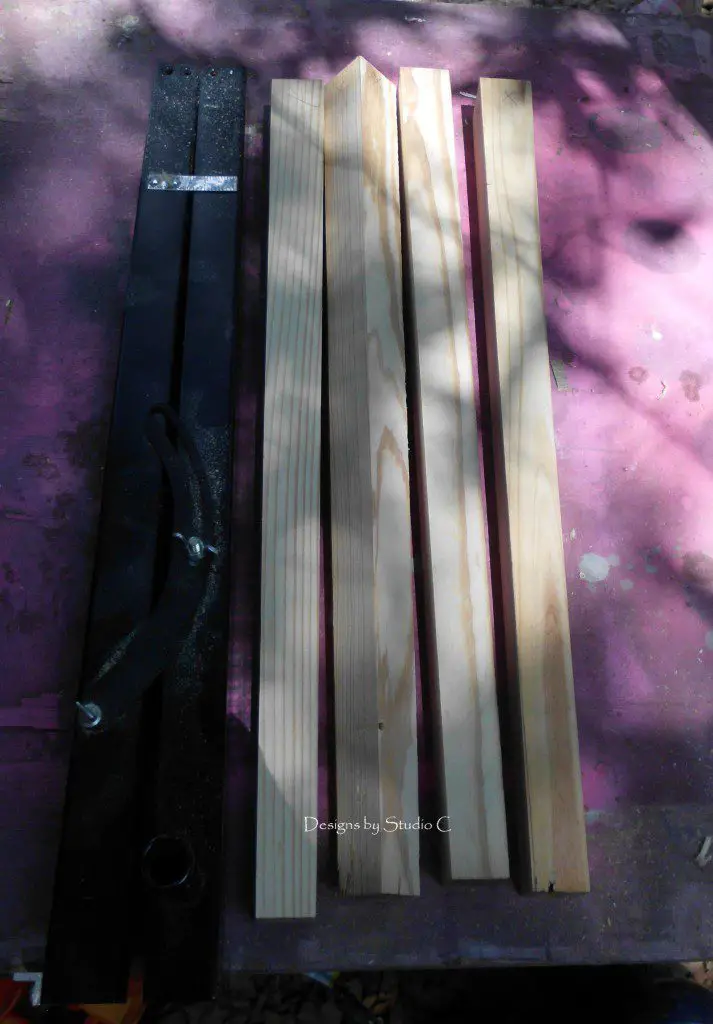
I usually like to cut a taper on two adjacent sides of the lumber. Here is where the “X” comes in… I use an “X” to tell what side has been tapered and also so that I can remember to turn the “X” so it faces up to cut the taper on the adjacent side of the lumber. (Plus, they really come in handy at assembly time – I cannot tell you how many times I’ve assembled a project with the tapers facing all different directions because I wasn’t paying attention!)

Run the lumber and jig through the saw again to cut the second taper.
So there you have it… Nicely tapered legs that are all the same (and even) to satisfy the OCD side of me!
Have any questions on how to use a tapering jig on the table saw? Contact me at cher {at} designsbystudioc {dot} com!
Originally posted 2012-12-26 08:00:54.


22 Comments
This jig was driving me mad, but thanks to you I’m fine. I did notice that I lose some width at the top of the piece before the mark for the taper is to begin. Is this normal? Thanks, again.
Hi, there! Thank you so much – the jig had me really frustrated, too, and I could never figure out the degree of the angle, etc! So glad it worked for you! Sometimes I lose a bit of width at the top as well… Not sure why bu maybe the leg needs to be kicked out just a smidge. I figure if it is close enough for me, it will work! Let me know if you have any other questions – thanks for stopping by!