An Easy to Build Project
I wanted to build a framed corkboard to display photos of the places I’ve hiked. I already had the corkboard and just needed to design a frame. This super simple frame can be constructed in a matter of hours, and is perfect for all skill levels!
Tools:
- Kreg jig & 1-1/4” pocket hole screws
- Drill
- Saw – Circular, Jig or Miter
- Router with a 3/8” rabbeting bit
- Glue
Materials:
- 2 – 1×4 at 6′
- Large Corkboard
- Sawtooth picture hangers (<– affiliate link!)
- Finishing supplies of your choice
Step One
The length of the corkboard is 36″. I cut two pieces of the 1×4 at 42-1/4″ which is the length of the corkboard plus 7” (the width of the lumber times two) minus 3/4” (3/8” rabbet times two). If it is slightly bigger, no problem! It is OK to have a little wiggle room anyway! I cut two more pieces of the 1×4 at 15-1/4″ with the math being a little different. These pieces are the width of the corkboard minus 3/4” (3/8” rabbet times two) only.
Step Two
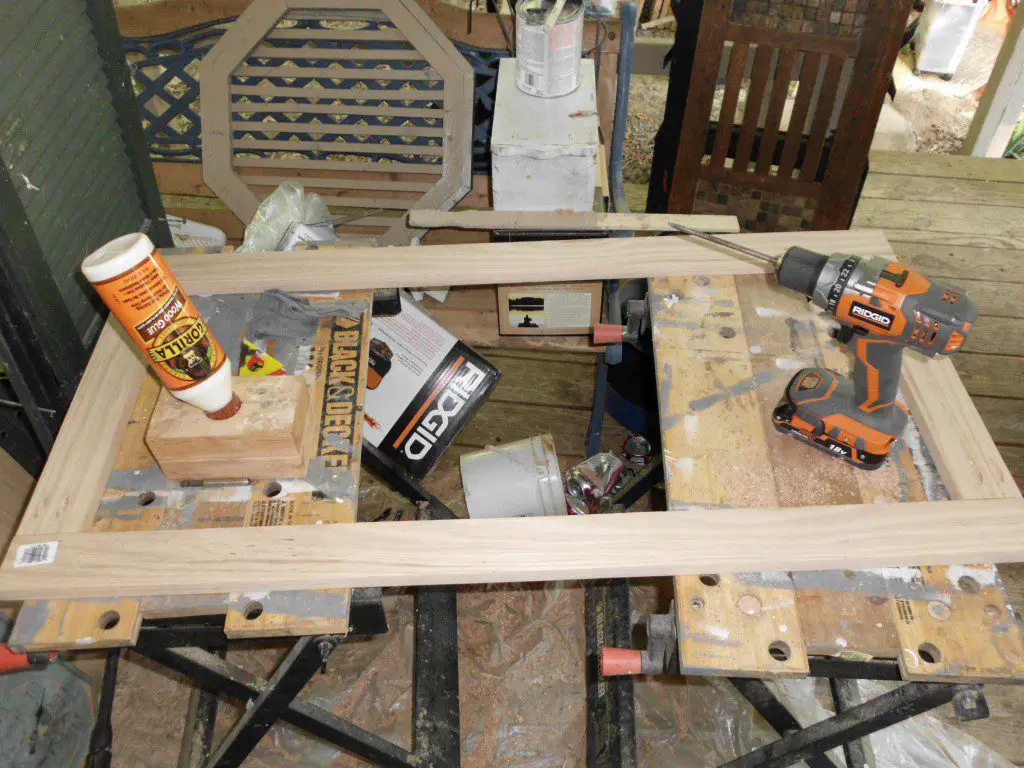
Set your Kreg jig for 3/4” material and drill two pocket holes in each end of the shorter boards. Place the holes at least 1” from the inside of the frame to allow for the rabbet, you don’t want the router to hit the screws! Make sure the frame is square and assemble with glue and 1-1/4” pocket hole screws.
Step Three
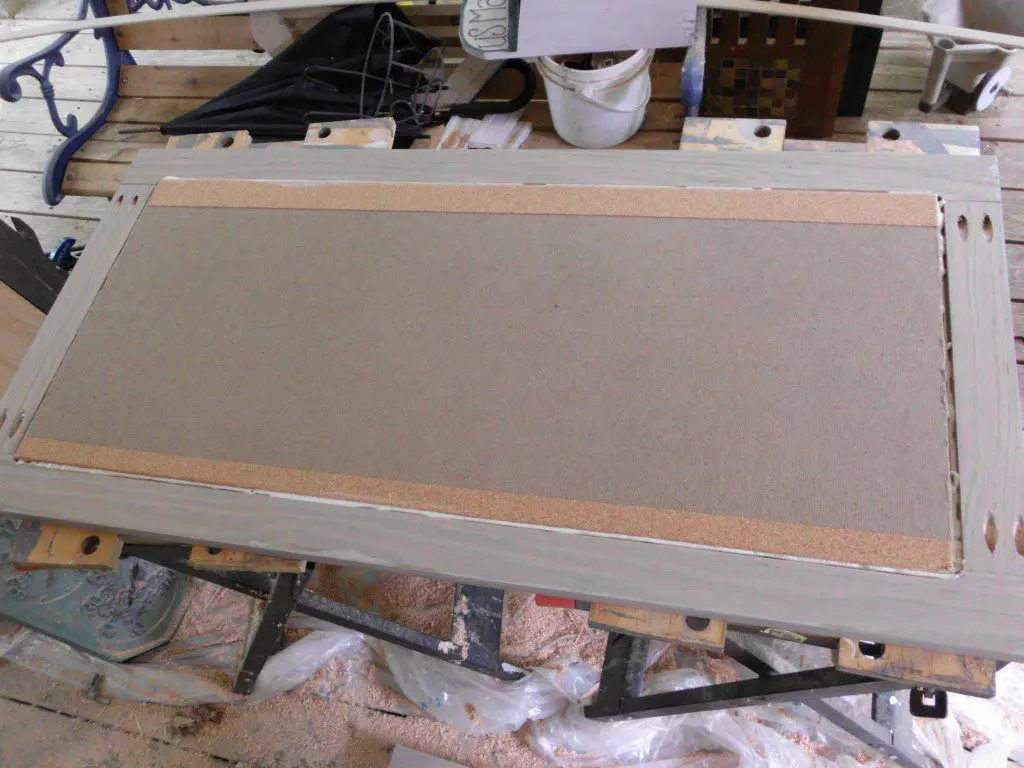
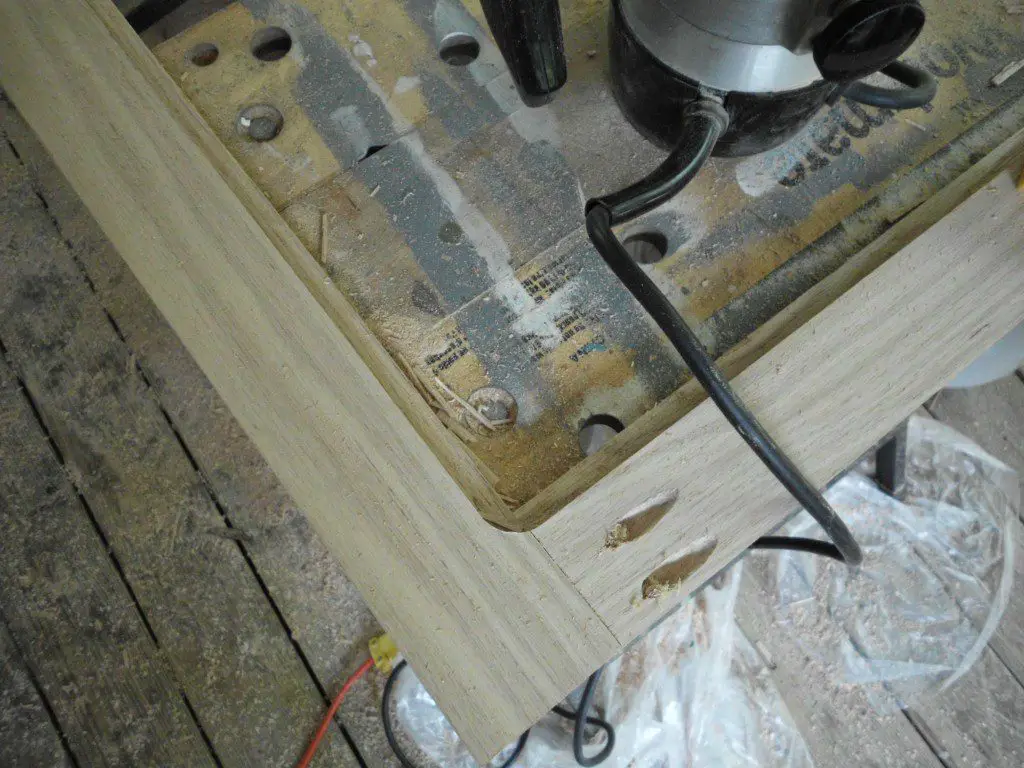
Using the router and the rabbeting bit, set the depth to the thickness of the bit. If the corkboard is a little thicker, you will have to make two passes. In other words, if the bit is 3/8” deep and your corkboard is 1/2”, you will have to make one pass with the router bit set at 3/8” deep, and another pass at with it set at 1/2” deep. My corkboard is 3/8″ thick. I will make one pass with the router and glue it in place.
Step Four
Finish the frame first before adding the corkboard. I stained it with Rust-Oleum Ultimate Wood Stain in Sunbleached, then sealed it with Rust-Oleum Ultimate Polyurethane in Matte.
Step Five
The corners of your frame can be squared with a chisel or the corners of the corkboard can be cut off. Glue it in place.
Step Six
Once the glue is dry, add the sawtooth hangers to the back. Hang it and now you have a great place to display your pictures!
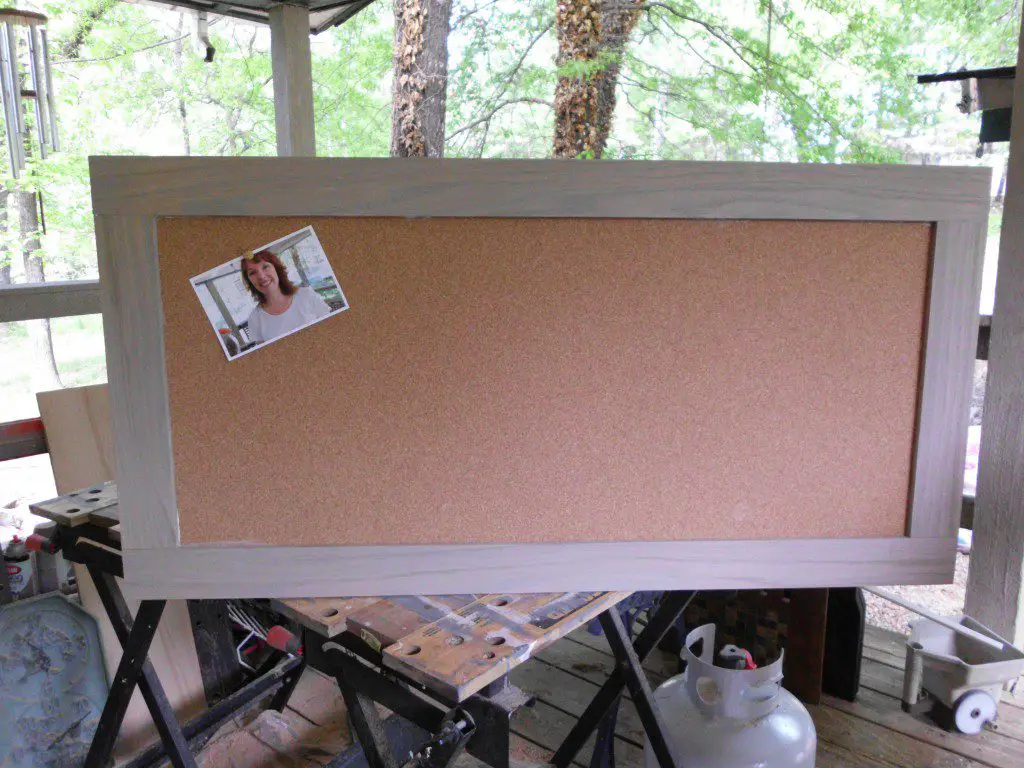
Have questions about the plans to build a framed corkboard for display? Leave a comment below!
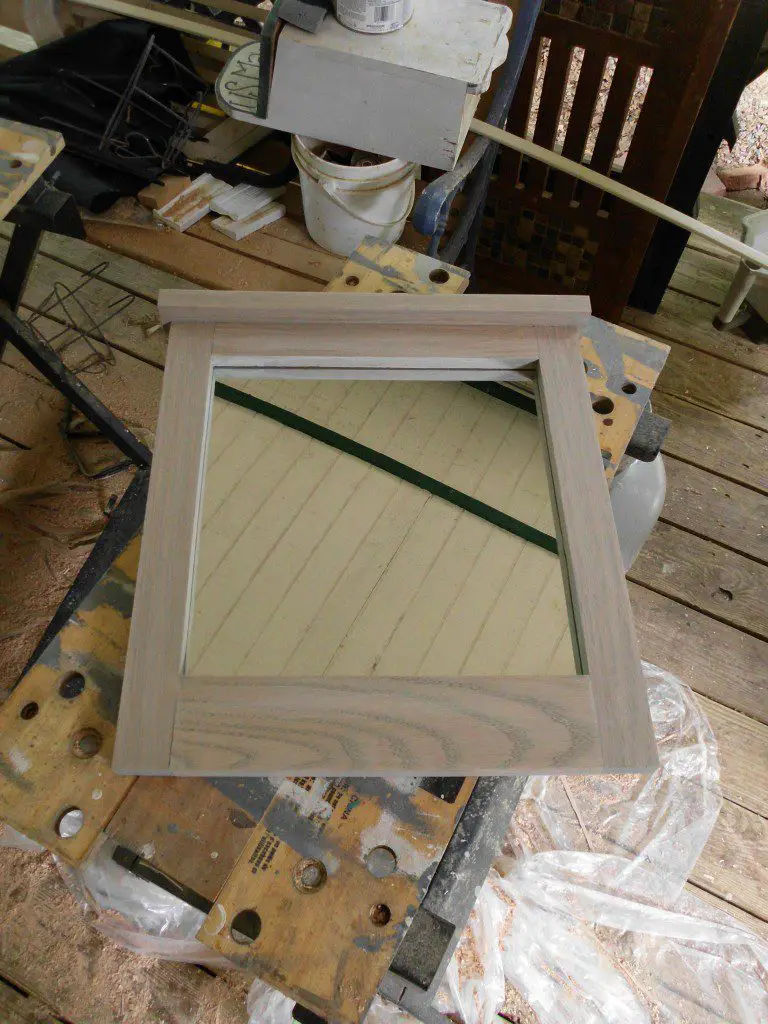
P.S. Remember the post about the Framed Mirror? I took the other half of the mirror and created a shorter version. What do you think?
Originally posted 2012-04-17 08:00:42.

