How to Build a Corner Bookcase Using an Old Door
I guess it can be said that I love to use old doors in projects! So far, I have created plans on How to Build a Bookcase Using an Old Door, How to Build a Bench Using an Old Door, and How to Build a Side Table Using Parts from an Old Door. I’ll show you how to build a corner bookcase complete with angled shelves.

Materials:
- Old solid wood door
- 2-1/2″ pocket hole screws and a pocket hole jig
- Scrap pieces of 1x2s
- Scrap pieces of plywood (I used PureBond plywood for most of the shelves!)
- 1-1/4″ brad nails
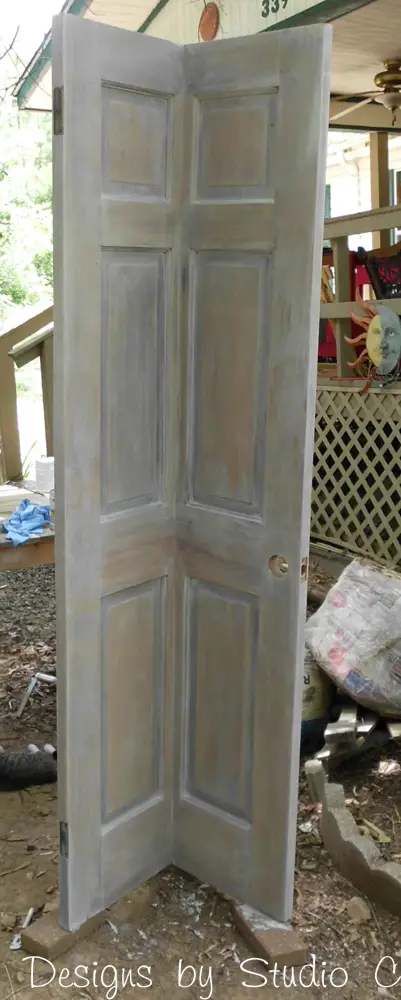
I started by ripping the door on the table saw into two pieces – one piece is wider than the other by the thickness of the door. For example, the door measured 1-3/8″ thick, so one piece was wider than the other by 1-3/8″. (Always use a helper when ripping a door on the table saw. Things can go wrong very quickly!) I thoroughly sanded the pieces.
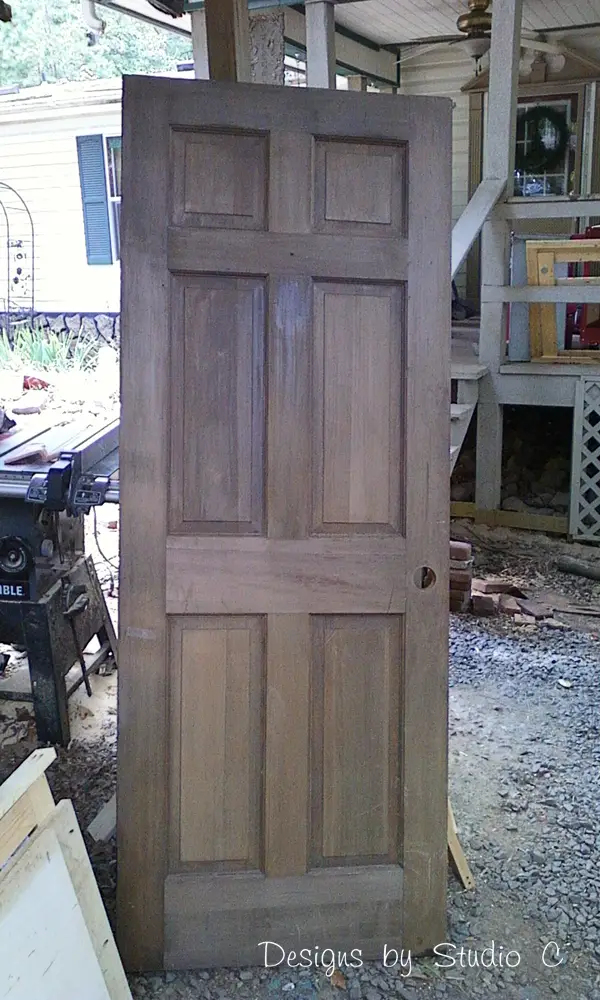
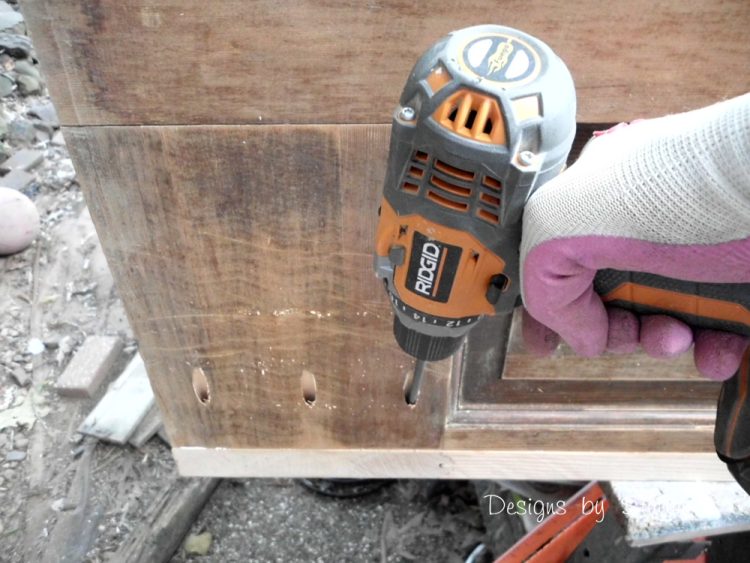
I set my pocket hole jig for 1-1/2″ material and drilled pocket holes in each rail (the horizontal pieces) of the door. I ran a bead of glue on the inside edge of the wider door piece. I stacked the other piece on top (in an “L” shape) with the pocket holes facing out, then secured the pieces together using the 2-1/2″ pocket hole screws.
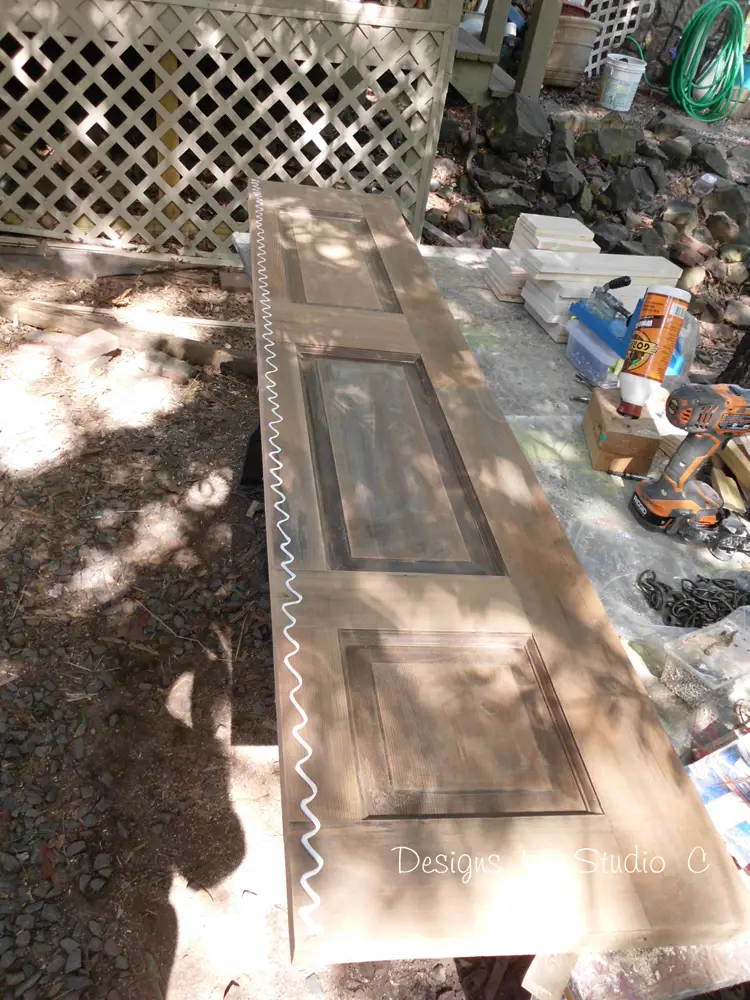
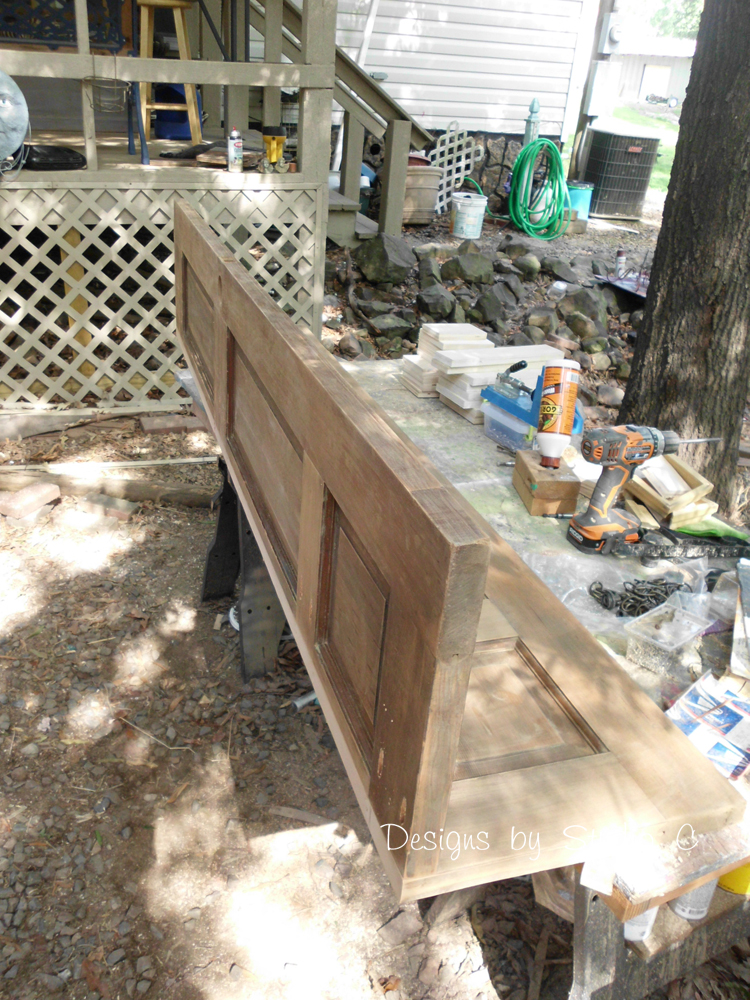
I loved that the door was already brown but also wanted it to have a more “weathered” look so I gave it a coat of Rust-Oleum Ultimate Wood Stain in Sunbleached, then sealed with Rust-Oleum Ultimate Polyurethane in Matte.
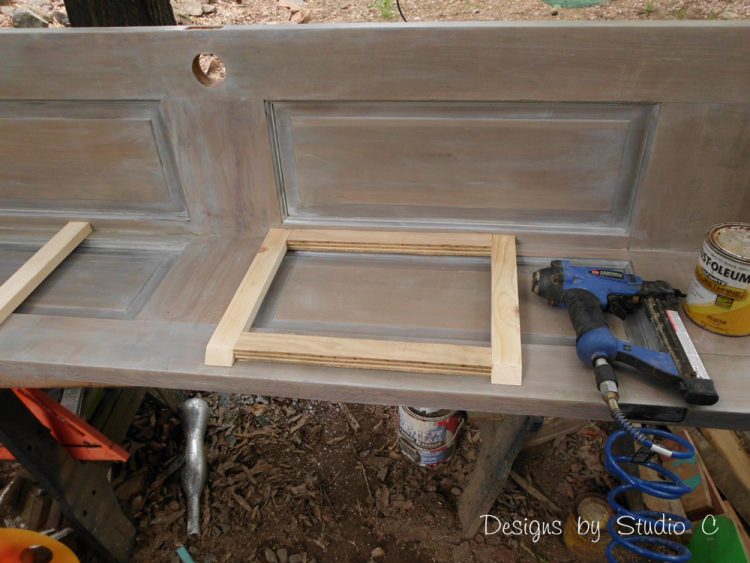
When I build bookcases, I don’t like too much space between the shelves. I think somewhere in the neighborhood of 14″ between shelves is plenty without making the area too short! I calculated the spacing of the shelves for the bookcase, then cut 1x2s to use as frames for the shelf pieces. Frames are not entirely necessary, but to me it makes the bookcase sturdier! I cut two scrap pieces to use as spacers when installing the framing pieces so that they are evenly spaced all the way down!
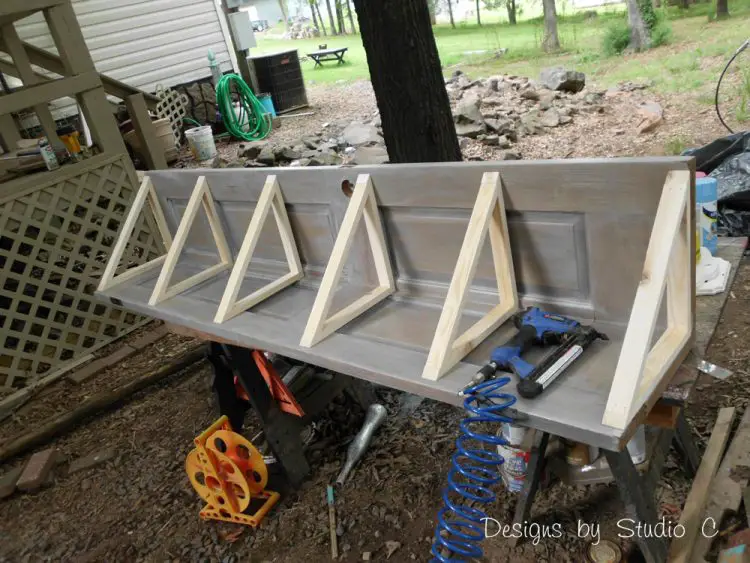
I then cut triangles of plywood to fit on top of the frames, as well as a piece to use for the top. Then I painted the shelves in a coordinating grey paint (Valspar in Vintage Grey).
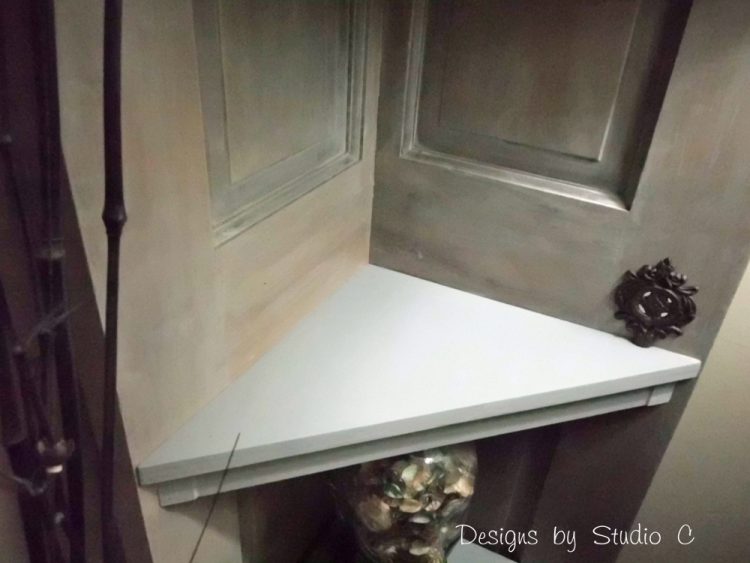
I am actually going to keep this piece – I have the perfect place for it!

So there you have it… A quick tutorial on how to build a corner bookcase using an old door. Need help with the plan? Contact me at cher {at} designsbystudioc {dot} com!
Sharing with:
Fluster Buster, The DIY Dreamer, Sugar Bee Crafts, The Koenigs
Originally posted 2013-08-06 08:00:51.


11 Comments
Turned out so good.
I would love if you would link this up on our blog @ http://thekoenigscreate.blogspot.com/2013/08/mid-week-link-up.html
We have a link party going on now till Friday.
You got it!! I’ll be over shortly… Thank you very much for stopping by!!
I am curious how you cut the door i.e. in order for it to have 2 even sides? i.e. one side is more narrow due to the width of the over lapping piece?
Yes, one piece is wider than the other by the thickness of the door itself. Find the center of the door, then subtract the amount of the thickness and make the cut there. I mention how to do this in the first step. Hope this helps! If you have any questions, please let me know!
Pingback: Easy DIY Project How to Make a Rustic Drawer Knob Rack - Vidya Sury
The way you explain to make the cut is not only confusing and misleading but wrong. If you measure the center of the door and then subtract the width of the door your sides will end up uneven. INSTEAD, subtract the width of the door FIRST, THEN divide the door in half and make the cut.
Hi, Luke. The explanation of the door cut is not wrong or misleading, and the way you’ve described the cut is exactly the same. The sides are intentionally uneven so that when the shorter piece is stacked on the longer piece perpendicularly, the sides of the bookcase measured from the angle out are even.
How did you attach the shelves? Did you use screws from behind or straight into the frames? Thanks!
Pingback: Corner Bookcase from old Door – Free Woodworking Plan.com
Pingback: Project Ideas for Doors | Designs by Studio C
Pingback: Build a Pacific Two-Shelf Bookcase | Designs by Studio C