Unleash Your Inner Craftsman: Mastering the Art of the Bandsaw!
Hi there! Several years ago, my dad gave me his old band saw, which was amazing. However, I had no idea how to use it and for a long time, it just sat there collecting dust. But one day, I finally asked my dad to come over and teach me how to use the saw. It was an awesome experience and I can’t believe that I waited so long to learn how to use it. It is definitely my favorite power tool!
Now, I want to share with you how to use a band saw. Trust me, it’s super easy! I promise – you’ll be amazed at how quickly you can get the hang of it. Let’s dive in and get started!
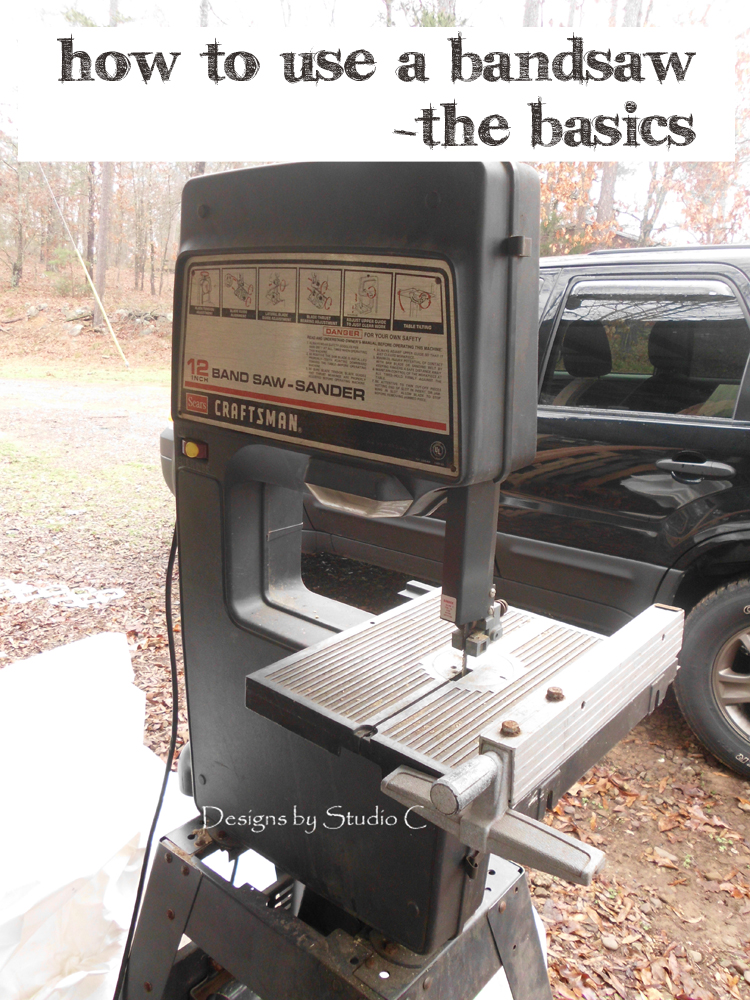
It is well known that the jigsaw and I do not agree on things. I get aggravated at it the same way it probably gets aggravated at me! Using the bandsaw has solved this problem for me. I can cut curves with ease and without the blade wandering! (Which cuts down on my frustration level!)
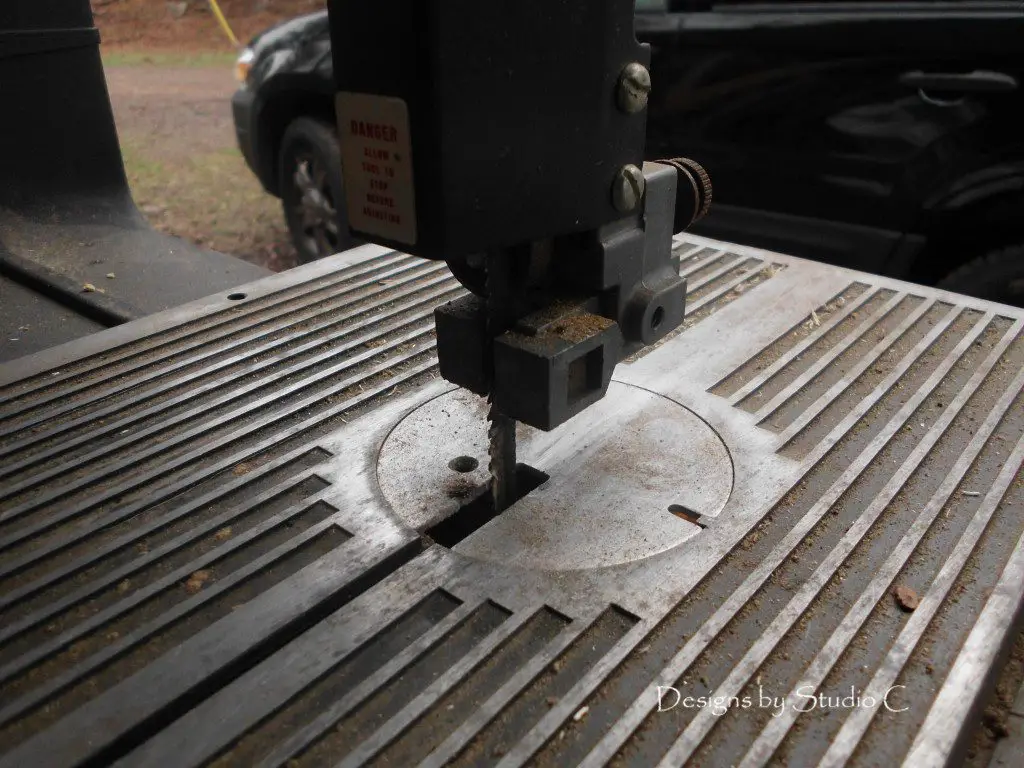
The bandsaw is just that – a long band that has teeth on it. The band runs on tensioned wheels and cuts through thicker (as well as thinner) lumber like butter! There are three different kind of teeth on the blades – regular, skip, and hook. The regular tooth is used for smoother cuts in wood. The skip tooth is used mainly for softer woods and is perfect for resawing lumber. The hook tooth is best for hard and difficult to cut woods.

There are also different blade widths. The narrower the blade, the tighter the curve can be cut. I use a 1/4″ 15 TPI (teeth per inch) regular blade in my saw.
Your band saw may not be the same as mine (I have a 12″ Craftsman) but the basics are the same. Once you have your blade selected, install it according to the manufacturer’s instructions.
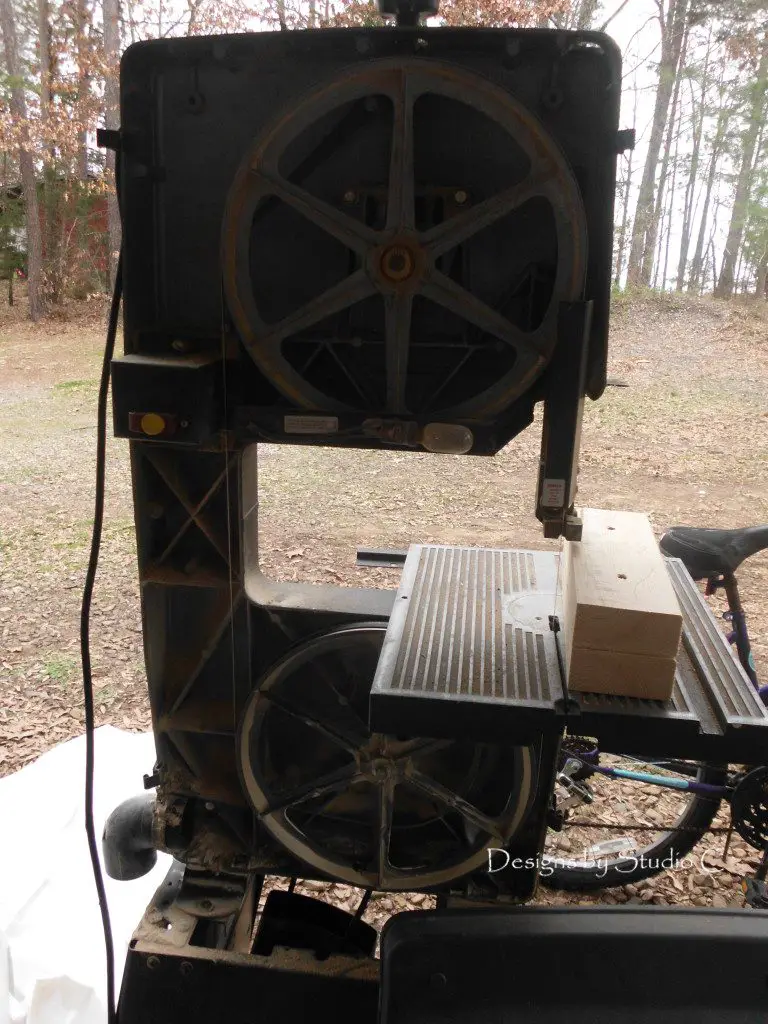
For the blade to cut correctly, the tension will need to be adjusted. With my saw, I adjust the tension control knob until the blade width lever points to the correct width. Since I am using a 1/4″ blade, I set the tension for a 1/4″.
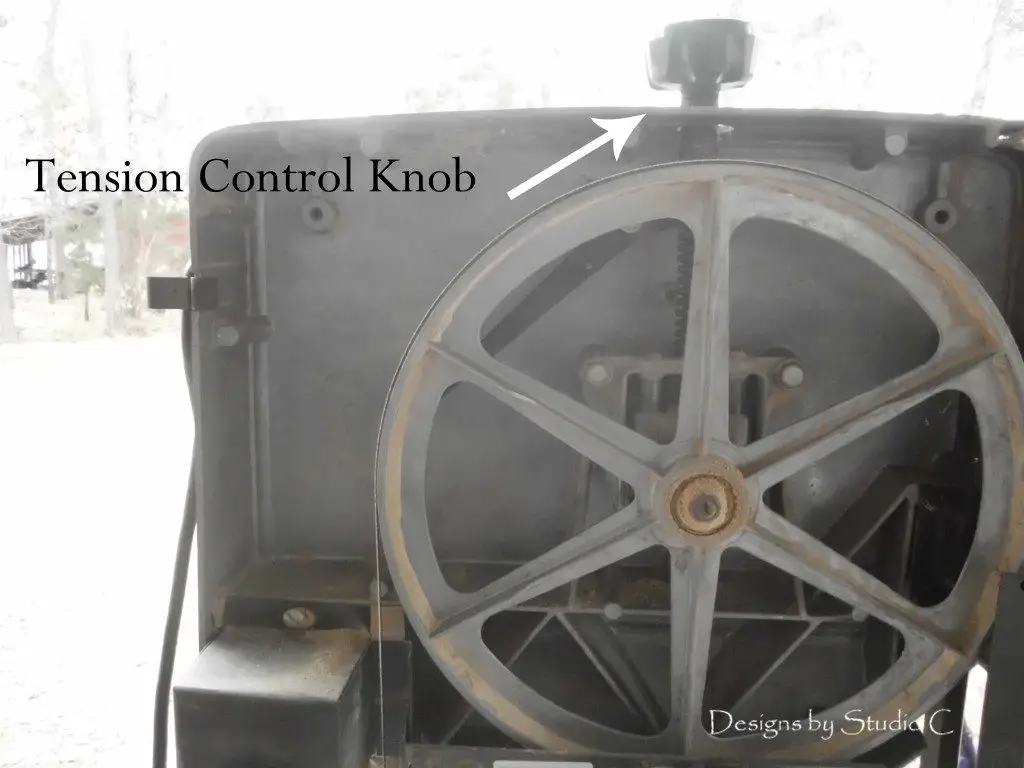
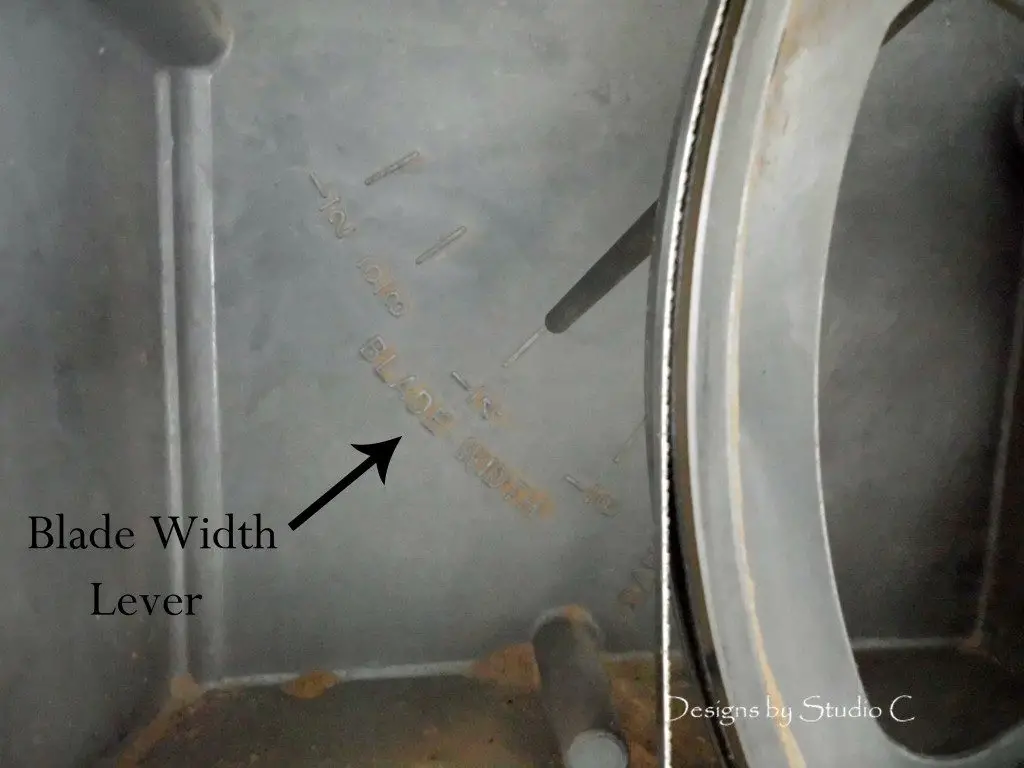
When changing the blade DO NOT start the machine until the cover is correctly in place! I replace the cover and make sure it is locked in place. I then set the upper guide until it is approximately 1/8″ above my lumber. The closer the guide is to the lumber without actually touching it the better – it will help in case the lumber jumps!
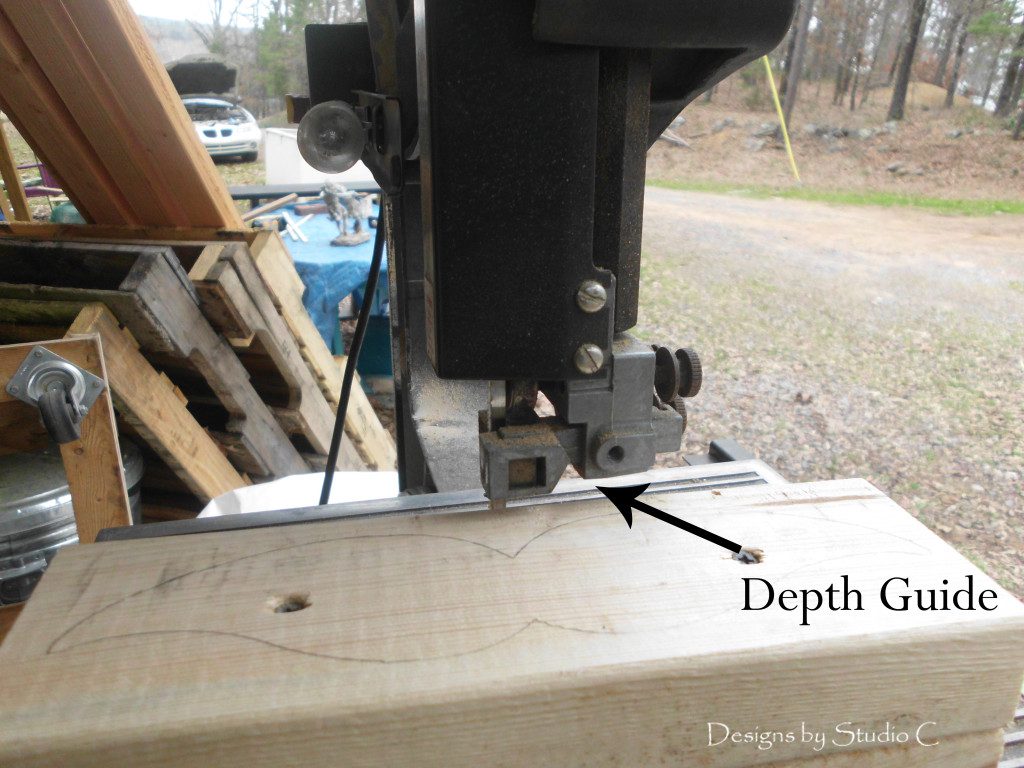
When starting to cut, start slow and do not force the lumber through. This can cause the blade to twist and wander off of the line!
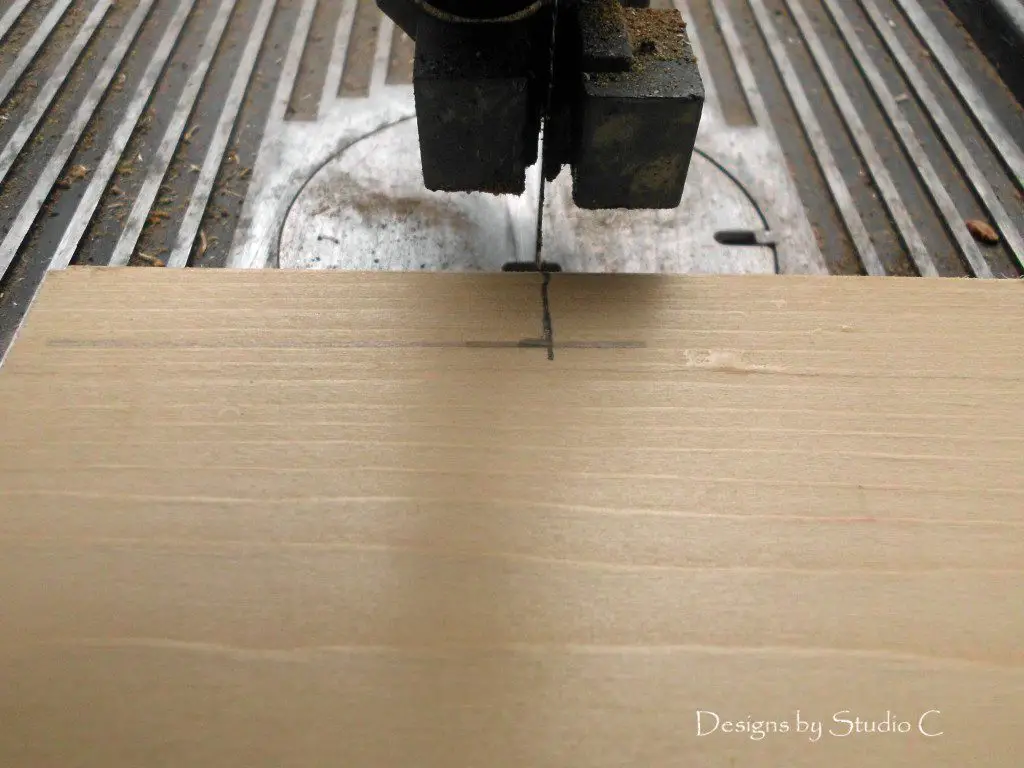
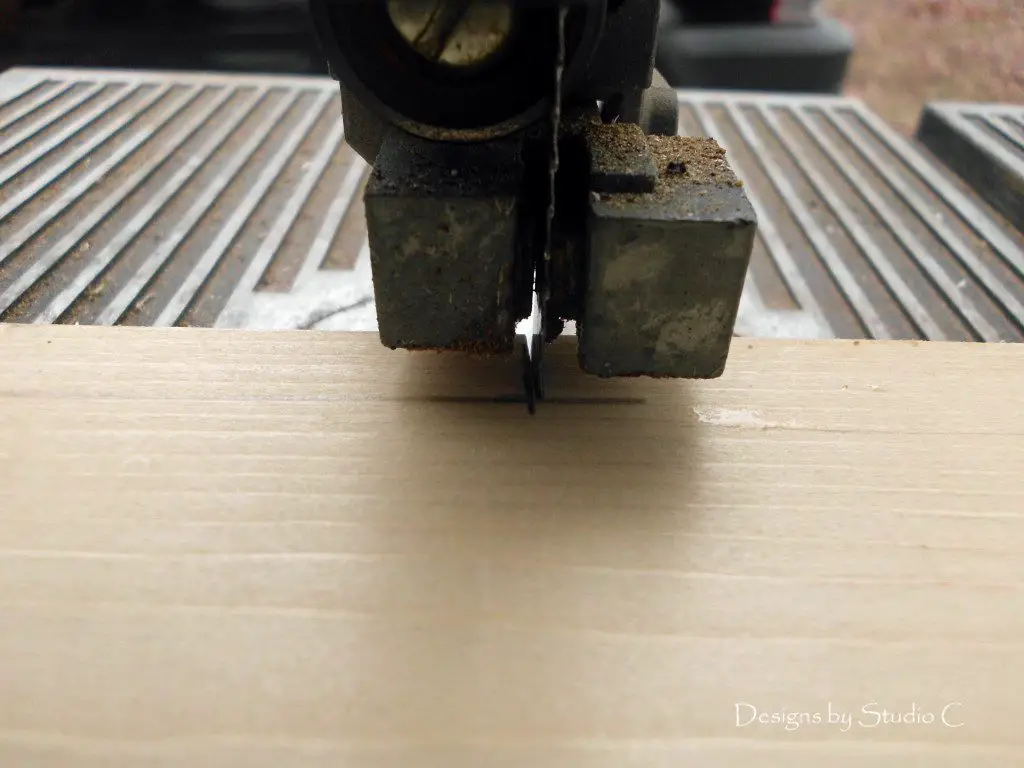
In the next few weeks, I’ll be posting a couple more articles using the band saw. Remember – always use common sense safety practices!
Have any questions about how to use a bandsaw – the basics? Leave a comment below or contact me at cher {at} designsbystudioc {dot} com!
Originally posted 2013-03-05 08:00:10.


14 Comments
Thank you for sharing this. I just got a new band saw for Christmas and I was a little intimidated! I’ll give er a shot soon.
Jodi @ secondwindoftexas.com
I was too at first but I really love mine! Thanks for stopping by!
Cher I am always interested in pointers on using a band saw. I have been practicing making a few band saw boxes with a 1/4″ blade. Either my technique is bad or I need a thinner blade to make tight curves. I am also experimenting with blade tension which is a mystery.
Whoa!! Those boxes are really cool! I like the 1/4″ blade best. I tried the 1/8″ blade to make a few curvy picture frames and it was a nightmare! The blade wandered all over the place and just made a mess. Maybe I’ll practice with it…
I asked Steve Ramsey (Woodworking for Mere Mortals) for advice and he suggested that I use a 3/16″ blade and his theory for blade tension is to tighten it a lot as you cannot break the blade. Steve has a short video on how to make the band saw box. It only takes about an hour to make and is really kind of fun.
How awesome!! I’ll have to check it out. Thanks for the suggestion!
Pingback: How to Make a Wood Mustache Candleholder
Pingback: DIY Wood Arrow Candleholder
Thanks Cher! I’m a woodworking newbie so this kind of info is great. I’d love to see basics for a tablesaw. We got one on Black Friday sales but we’re confused as to what it is good to use for (sheet goods versus boards, etc), do you need two people? etc. So far we’ve just stuck with our circular saw and a guide that we got for it.
Hi, Laura! I have a large table on my table saw and use sheet goods on it all the time, usually with a helper. I also use it for ripping 2x4s down to 2×2 because the 2x2s in the stores here are never straight (nor pretty!). I’ll see what I can do about a table saw basics post! That is a great idea! Good luck with your projects – you will love woodworking!
Pingback: DIY Oak Breadboard |
Pingback: How to Make a Wood Mustache Candleholder | Designs by Studio C
Pingback: Cleaning and Changing the Tires on a Bandsaw | Designs by Studio C
Pingback: Build a Hexagon End Table | Designs by Studio C