An Easy How-To on Repairing a Floor and Laying New Flooring
Laundry Room Makeover – How to Repair a Floor and Lay New Flooring
Several years ago, the main water line blew apart in my laundry room because it was not properly glued together. Of course, I was not at home at the time and came in to find almost an inch of water on the floor. Fantastic. The floor definitely needed to be replaced before I could move in the new washer and dryer I just bought. So instead of just working on the floor, I gave the whole room a makeover. Here is my laundry room makeover and an easy tutorial on how to repair a floor and lay new flooring…
I have a huge mess in the laundry room also. Not only does it house old towels, clean laundry, etc., it also houses my tools and DIY supplies. So I spent quite a bit of time cleaning out the stuff in order to get to the floor.
Once everything was cleaned out we cut the old linoleum out in order to replace the flooring.
The easiest way for me to repair the sub-floor is to cover the damaged sub-floor with new plywood. The damaged pieces could be cut out but then you’re dealing with the new plywood possibly not being level with the old, using furring strips to secure the new patch, and to me it creates a can of worms I’d rather not open! I purchased 5/8″ plywood and cut it to fit over the old floor, then secured it with screws through the plywood into the joists. (A quick tip – spread talcum powder on the old floor before laying the new plywood. This keeps the floor from squeaking!)
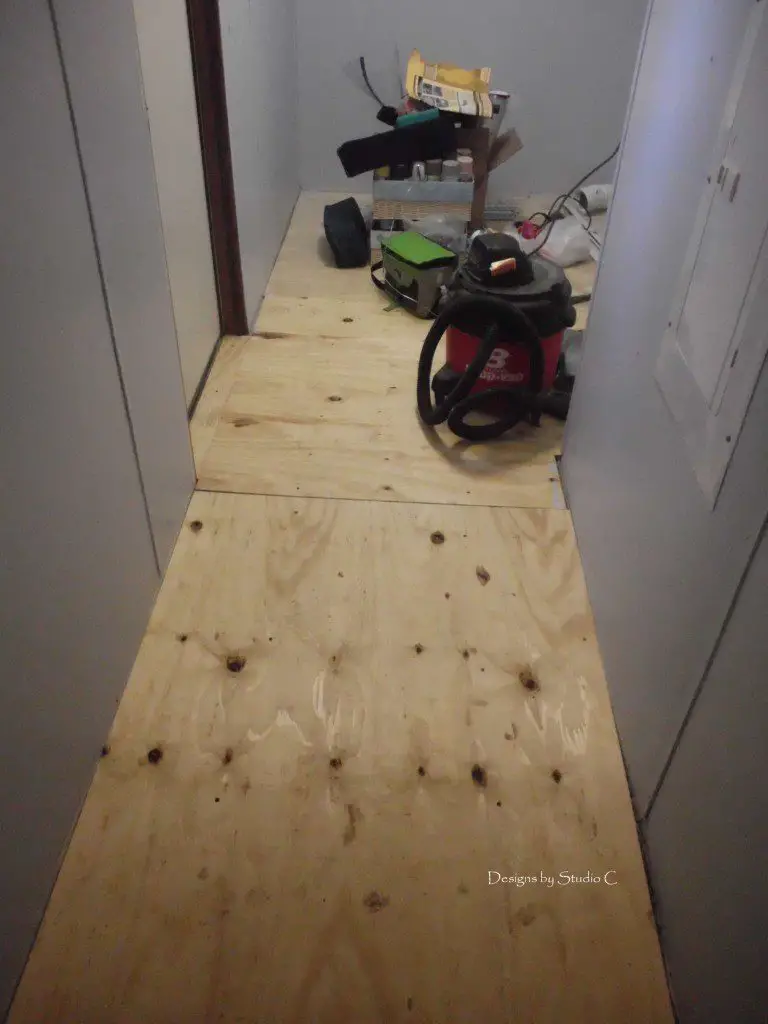
Once the plywood is in place, it is time to lay the new flooring. I really love peel and stick flooring! This easy-to-use flooring is generally overlooked because it is thought of as “cheap” and it is, as far as pricing but I find that it looks just as good as any other vinyl on the market! In fact, I laid peel and stick flooring in my kids bathroom three years ago (At the time I wrote this post) and it still looks like new. It hasn’t lifted and I have had no problems with it!
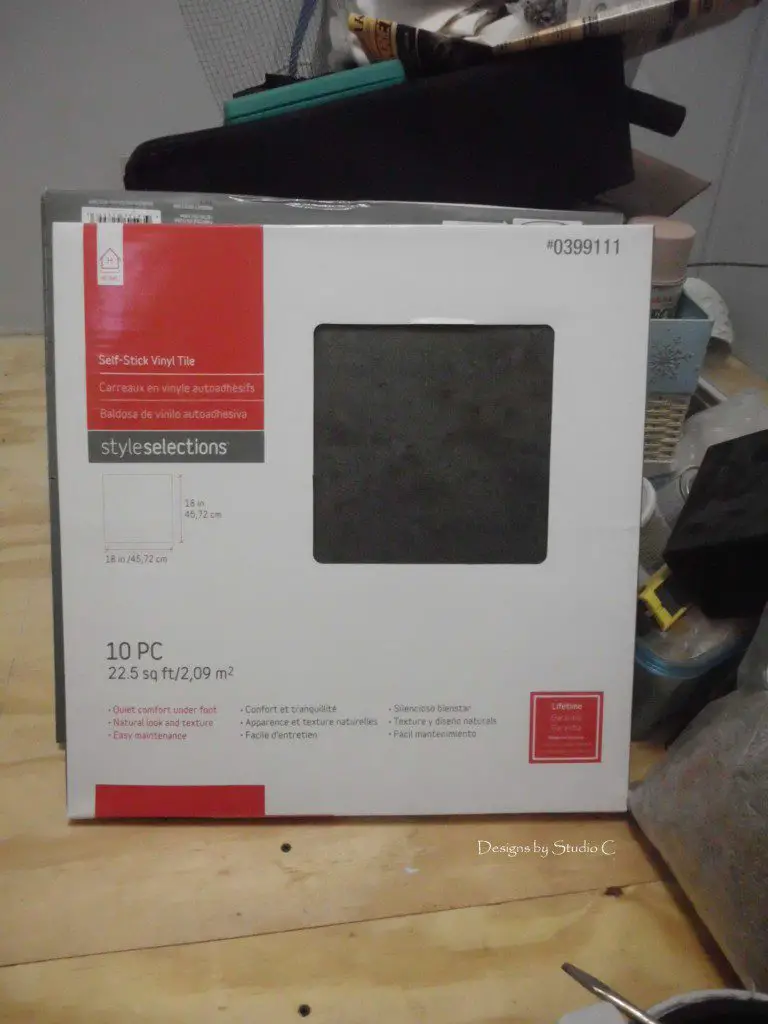
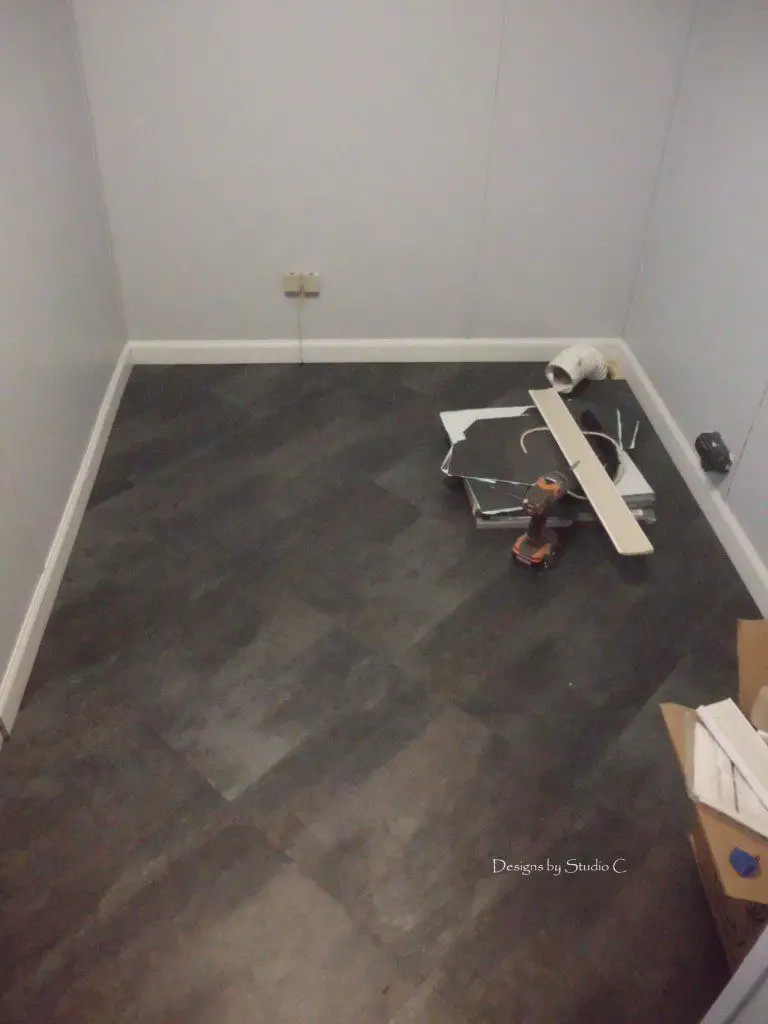
I chose a beautiful grey “cement” looking floor tile. The tiles measure 18″ x 18″ square and because I like to be different, I laid them on point in a diamond pattern.
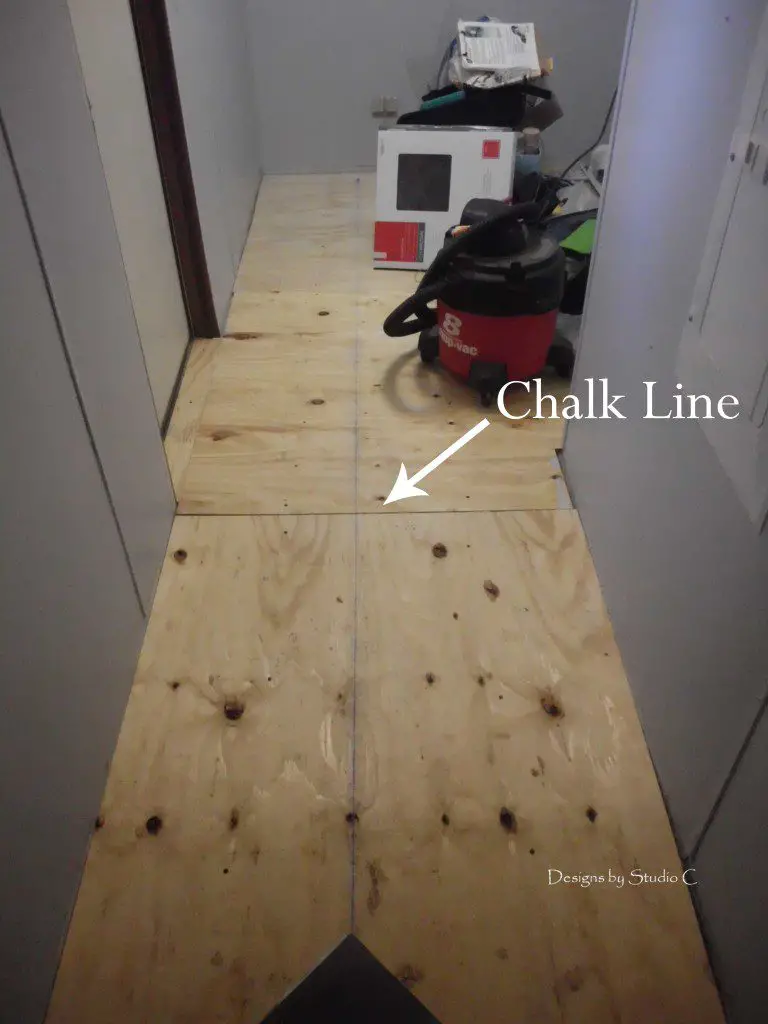
I started by measuring the tile from point to point, then measured the width of my hallway. The tile should be visually straight, especially when looking down a hallway. I marked the center of the hallway width, and stretched a chalkline from the entrance of the laundry room to the back wall. This will be the guide for starting the floor.
I laid the first tile at the doorway then continued to lay pieces in a diagonal fashion in the room cutting pieces as I needed. Another advantage to peel and stick flooring – cutting is a breeze! Just score a line with a box cutter and snap it apart… Can’t get any easier than that!
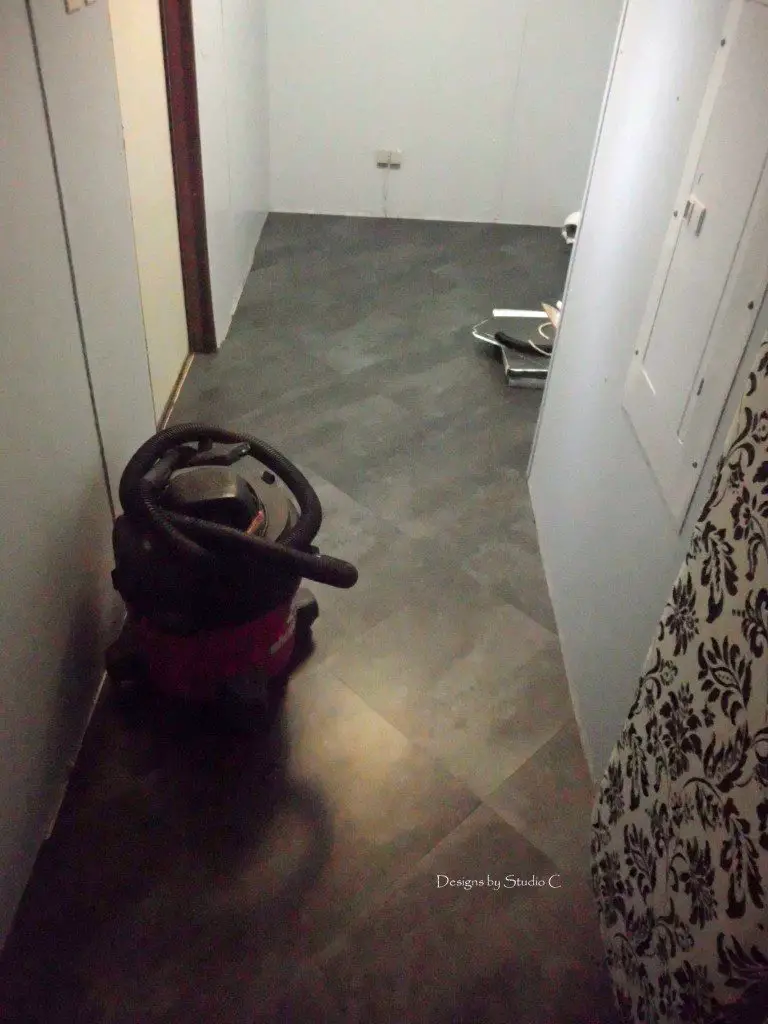
After all of the flooring was installed, I installed baseboards. Not only do the baseboards add a decorative touch but they also help cover the edges of the flooring as well as keep shorter pieces from shifting. As a side note, I coped the corners of the baseboards – stay tuned for a future post on that!
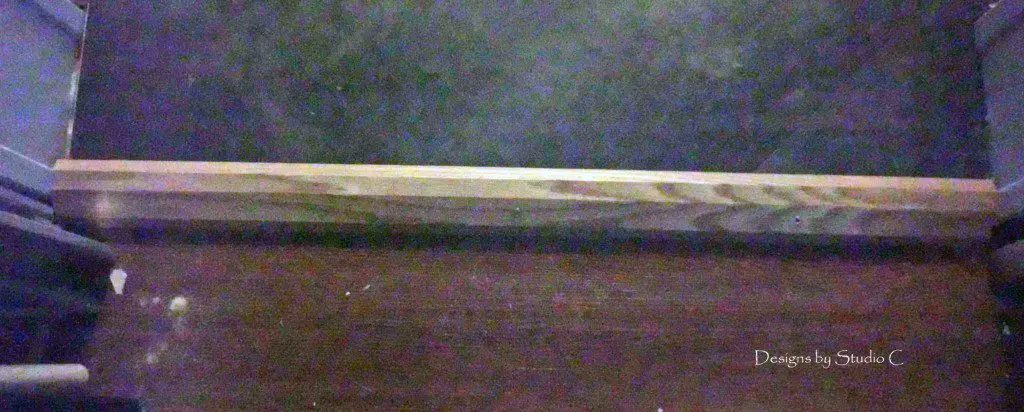
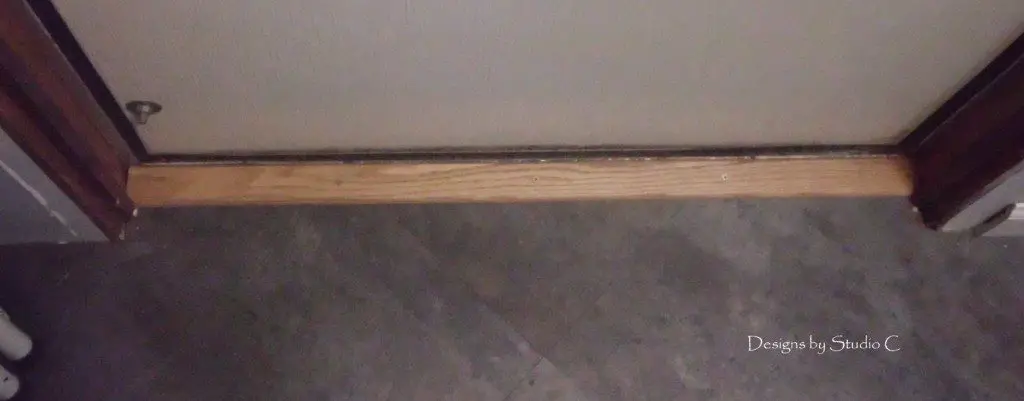
To minimize the “step” from the existing flooring into the new flooring in the laundry room, I like to use a “Beveled Carpet Joiner” threshold which acts as a transition without being a tripping hazard. I also used a “Flat Top Threshold” at the door just to secure and protect the flooring at the doorway. these particular pieces are oak and can be stained to match any decor. I would recommend using a polyurethane on them to protect the wood, also, and maybe even a spar varnish on the threshold at the doorway.
I only used three boxes of flooring for the laundry room. At $20.00 a box, that was a tremendous savings for me! Plus, the plywood was $22.00 a sheet (I bought three sheets) so the entire cost of repairing the floor including the baseboards and the thresholds came to a whopping $183.00! Woo hoo!
Have any questions about the laundry room makeover and an easy tutorial on how to repair a floor and lay new flooring? Leave a comment below!
Originally posted 2012-12-04 08:00:49.

any tips on laying new flooring over a concrete slab, we have old time, over 30 yrs ago when we bought the house, I took a few of the old vinyl tiles up and it is concrete under them.. do I need to do anything extra or purchase to make it more comfy to walk on.
The peel and stick vinyl can be used over concrete but a flooring primer has to be used first. I think the primer is similar to joint compound and it just helps the tiles stick better. As far as making it more comfy, I’m not sure anything can be done about that but it won’t be as bad as you think! The tiles can be purchased individually and maybe you can try a few on the floor and see if you like it. A hairdryer can be used to heat up the adhesive on the tiles to remove them. Hope this helps! Thanks for stopping by…
I want to put wood flooring down and remove the old vinyl.. just wondering if I have to treat the concrete first
I’ve never laid wood flooring before but from what I understand, it will need to be sealed or a barrier laid first to keep the moisture out. I think there is lots of good info on the web. Good luck and let me know how it turns out!