Add a Shelf to an Existing Cabinet
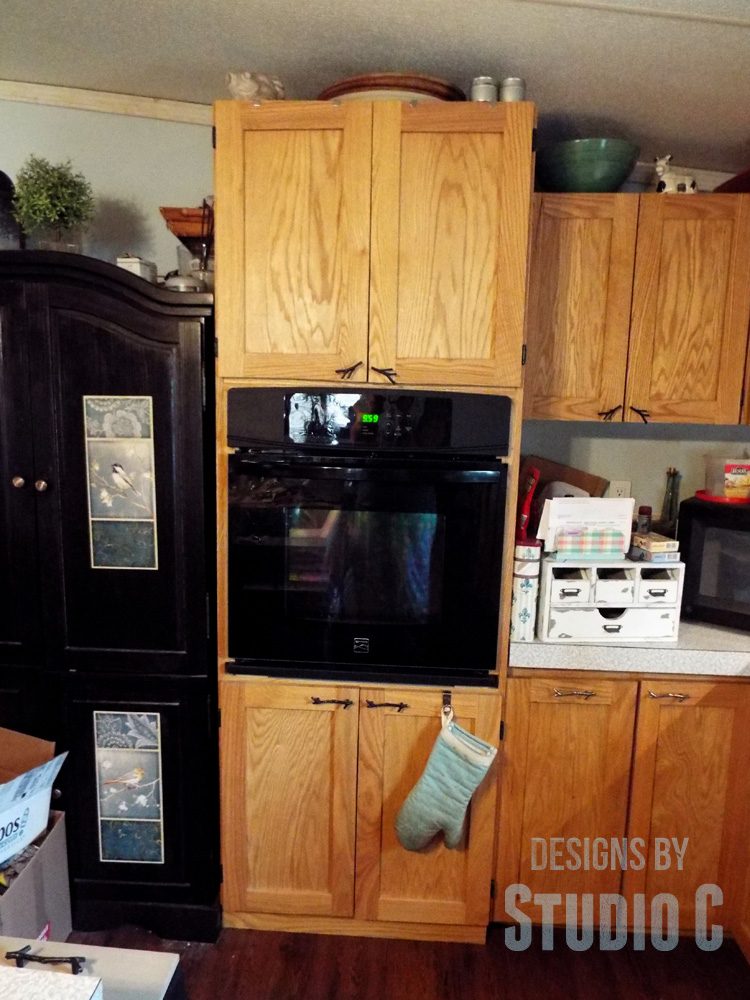
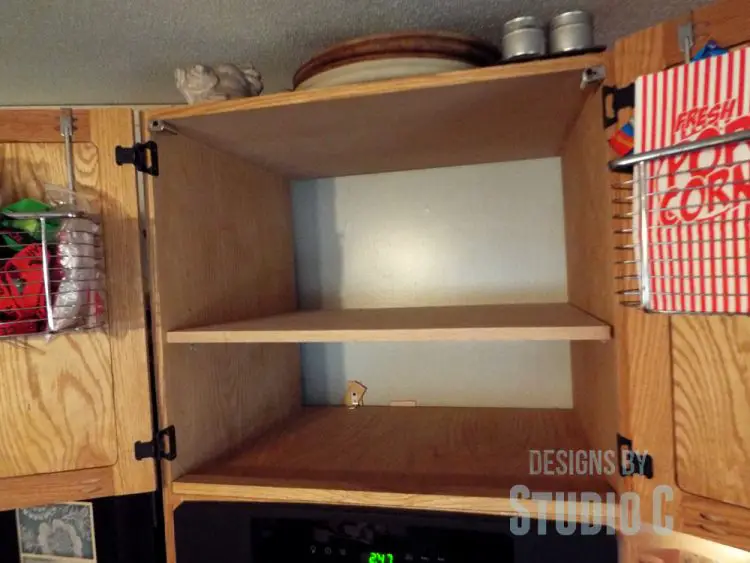
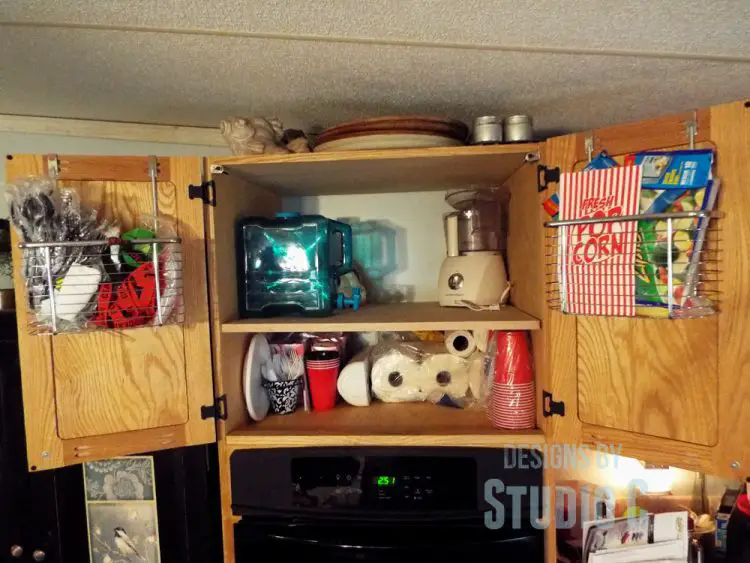
This is my oven cabinet I built when I remodeled the kitchen. It was the last piece to the puzzle, so to speak, and I was anxious to get it over with. In my absolute laziness, I did not put a shelf in the upper part of the cabinet. What was I thinking? Seriously – this cabinet is a mess. A shelf would make it much easier to organize the stuff I keep in there. So I was able to add a shelf to the existing cabinet using plywood and shelf pins. I’ll also share how to use a shelf pin jig (<– affiliate link!) to drill those perfectly even holes for the shelf pins!
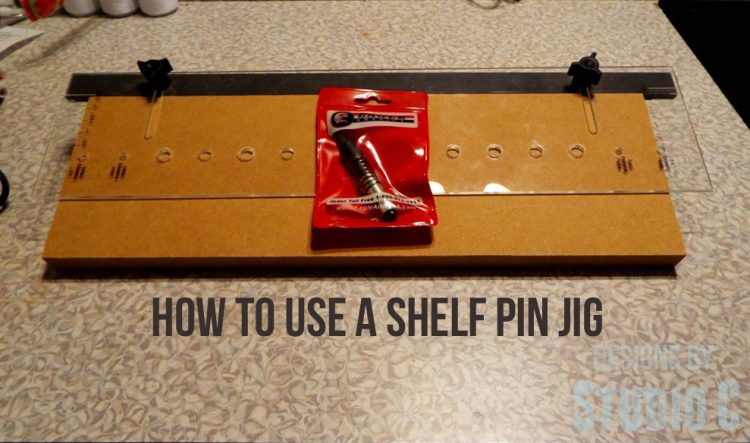
I purchased this shelf pin jig many years ago. It even came with a special drill bit that has a spring-stop on it so that the bit won’t go all the way through the material. The jig has an adjustable spacer on the side that lines up with the edge of the cabinet so that the holes are not only evenly spaced, but the line of holes will be straight, too! (For the photo, I placed a piece of MDF under the jig otherwise it would blend in to my countertop.)
It would also be very easy to make your own shelf pin jig using 1/4″ lauan or plywood, and a drill bit. Most shelf pins are 1/4″ or 5mm. My jig has holes for both sizes and one that you build yourself could as well. Cut a strip of the 1/4″ material at about 6″ x 24″, and another strip at 1-1/2″ x 24″. Spread glue on one face of the 1-1/2″ strip, then align the edge with the edge of the 6″ piece. Use a straight edge to mark the position of the holes, then drill the holes.
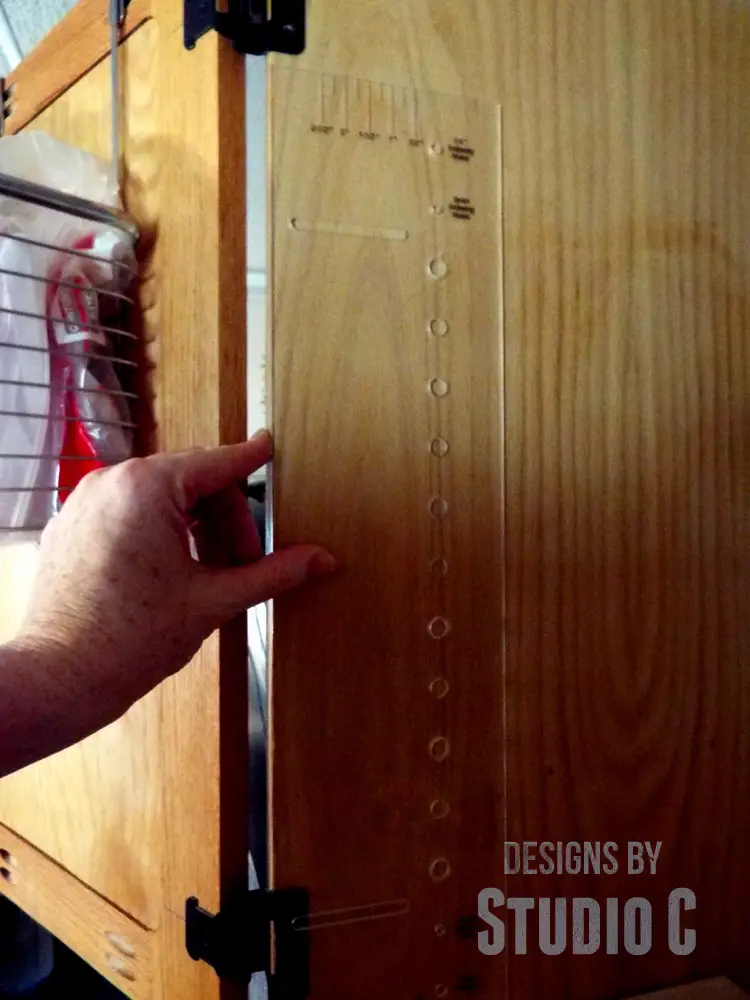
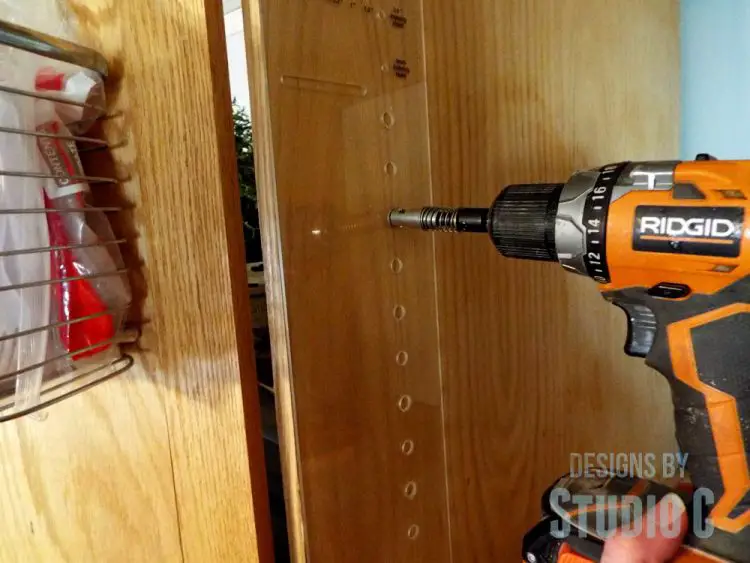
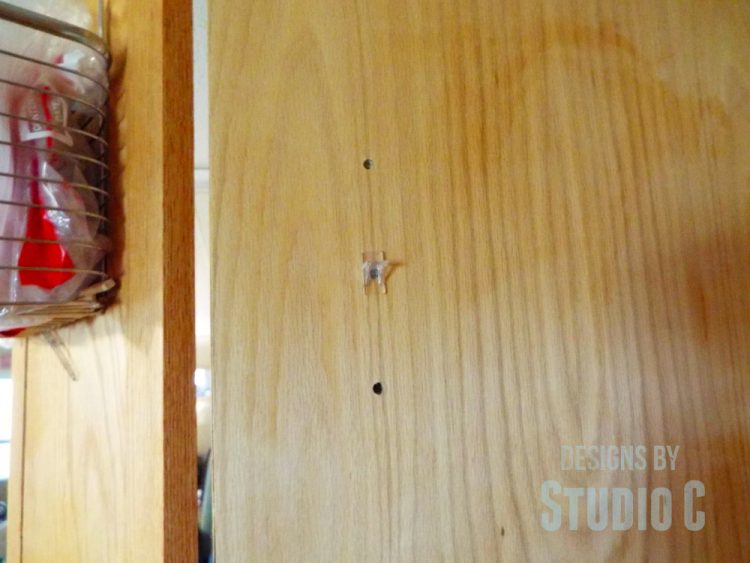
Normally, the lip on the piece would be aligned at the edge of the cabinet but since I was too lazy to take the doors off of the cabinet, I removed the narrow piece and lined up the edge of the jig with the cabinet. I determined the position of the holes I wanted to drill, then drilled them.
Install the shelf pins in the holes at the height desired.
To cut the shelf, measure the width and the depth of the cabinet then subtract 1/4″ from the width to allow for the shelf pins. Sand the shelf, apply edge banding, finish the plywood, then install!
That is it! This tutorial on how to use a shelf pin jig will apply to any project where an adjustable shelf is desired – bookcases, vanities, armoires, etc. Any questions? Let me know at cher {at} designsbystudioc {dot} com!




6 Comments
i love my shelf pin jig, and made my own book shelf in my bedroom with it! great instructions
Thanks, Ashlee! They are quite handy, aren’t they?
Pingback: How to Install a Water Line for a Refrigerator | Ashlee Marie
Pingback: DIY Furniture Plans to Build a Newport Wall Cabinet | Designs by Studio C
Pingback: Build a Folsom Console Bookcase | Designs by Studio C
Pingback: DIY Dream Entertainment Setup with the Edmond Media Console