
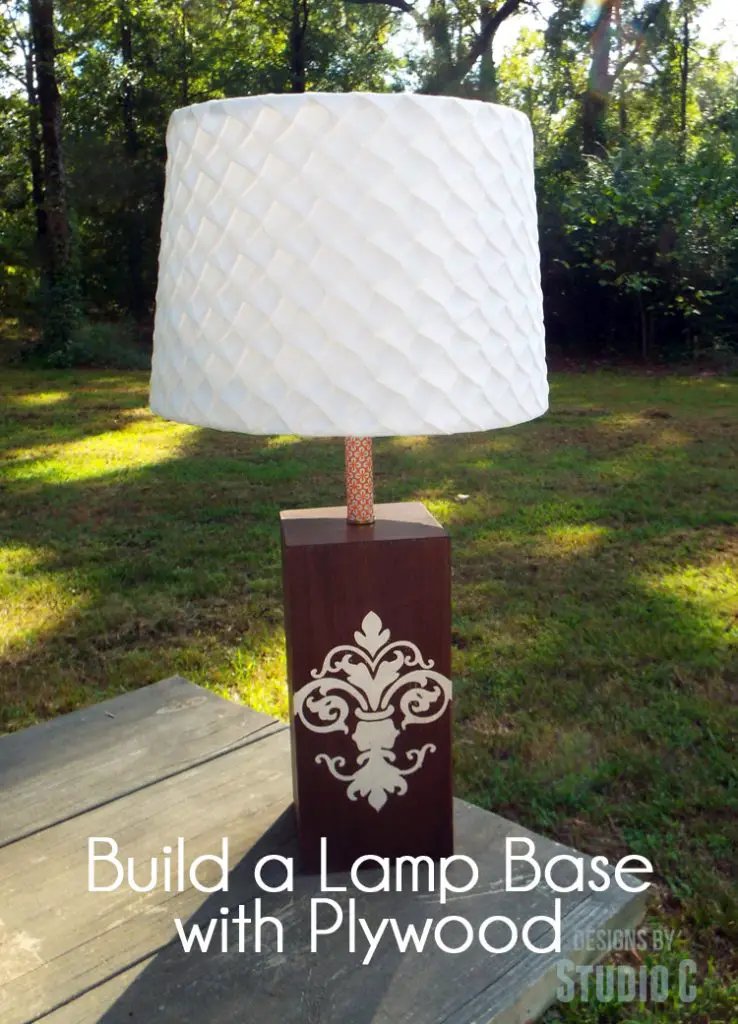
DIY Plans to Build a Lamp Base with Plywood
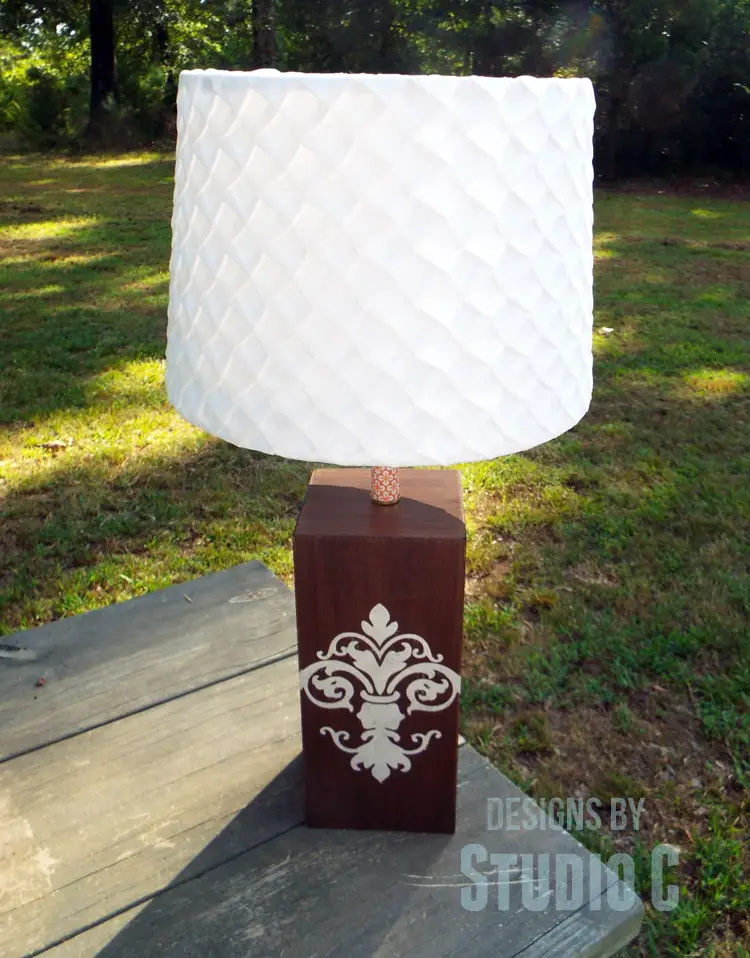
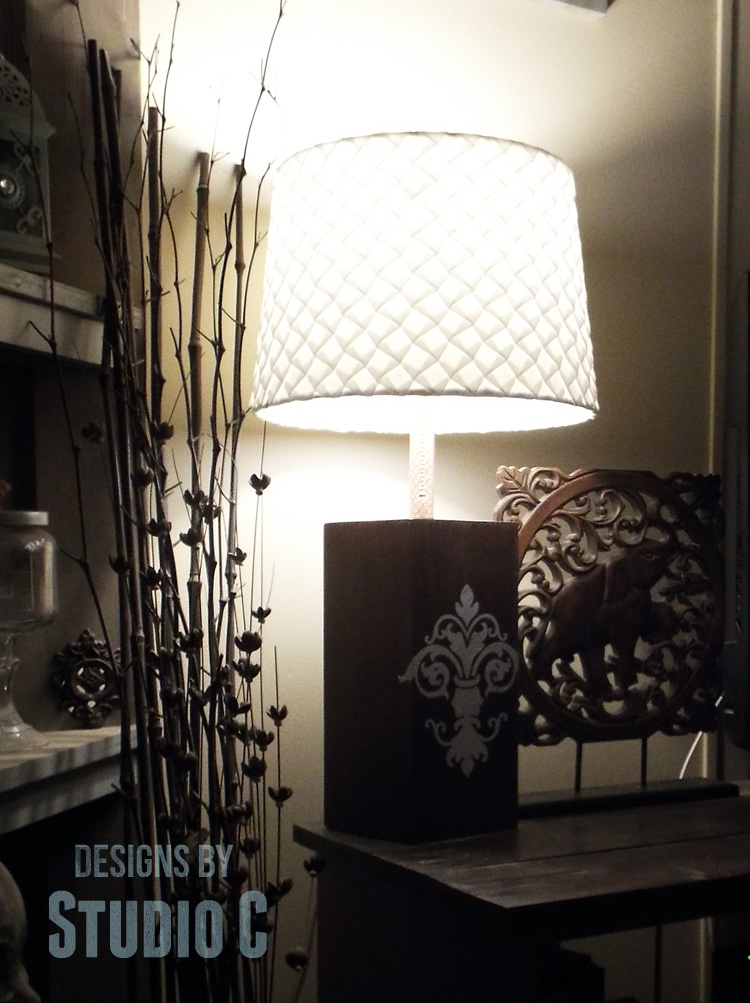
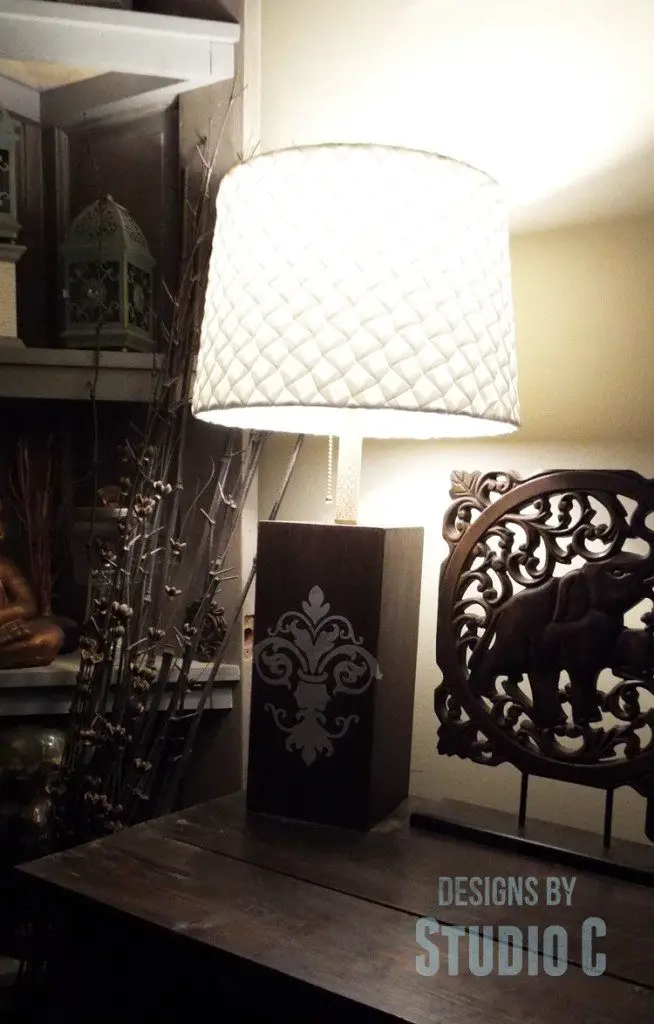
A Beautiful Lamp with a Walnut Base
Hey there! I just wanted to share with you how much I enjoy creating and fixing up lamps. And let me tell you, I have a soft spot for walnut wood! Recently, I had some leftover PureBond walnut plywood from a project I did for them and I knew I just had to make a lamp base out of it. Luckily, the DIY plans for building a lamp base with plywood are super simple. All you have to do is join the pieces together using 45° bevels on the edges. Trust me, it’s not as hard as it sounds!
Materials:
- 1-1/4″ brad nails
- Wood glue
- Sandpaper (100, 150, 220 grits)
- Finishing supplies (primer & paint, or stain, sealer)
- 1 – 1/4″ lamp pipe at 15-1/2″
- 1 – replacement lamp cord with plug
- 3 – 1/4″ lamp nuts
- 1 – washer to fit the pipe
- 1 – candelabra socket cover at 4″
- 2 – check rings to fit on the ends of the socket cover
- Lamp socket
- Lamp shade of your choice
Lumber:
- 1 – 2’x 2′ sheet of 1/2″ plywood
Cut List:
- 4 – 1/2″ plywood at 5″ x 12″ – Base Sides
- 1 – 1/2″ plywood at 5″ square – Base Top
- 1 – 1/2″ plywood at 4″ square – Base Bottom
To Build the Lamp Base:
Cut all of the plywood pieces to size. I used the table saw with the blade set at 45° to cut the bevels in each of the long ends of the base sides, as well as the top edge of each piece. A router with a 45° chamfer bit can also be used.
Cut 45° bevels in all four edges of the top. I used a compound miter saw to do this but a router with a 45° chamfer bit can also be used.
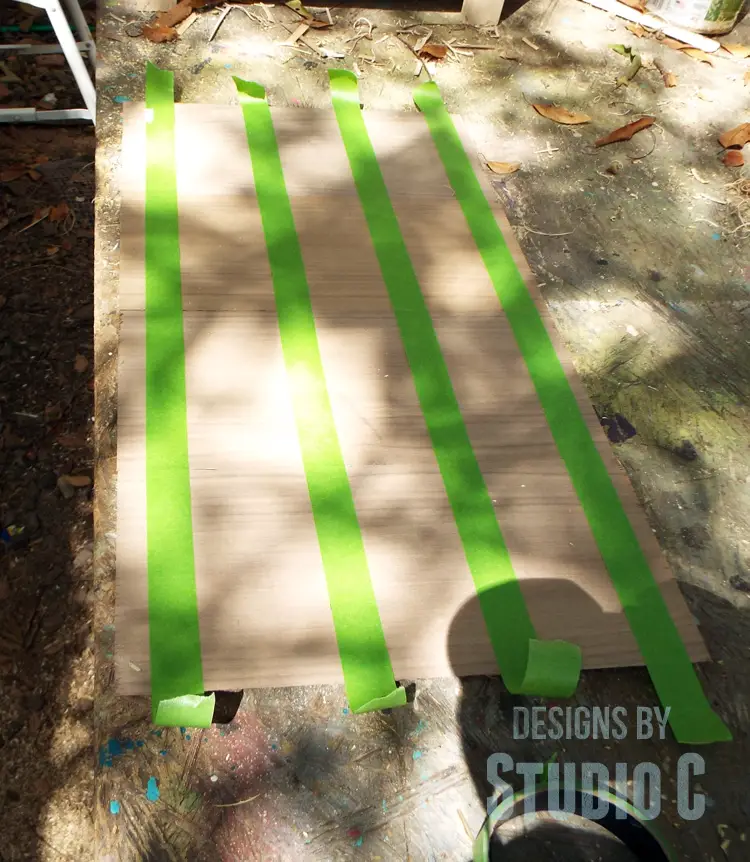
Sorry for the “shady” photos… It is that time of year where my work table in partially shaded!
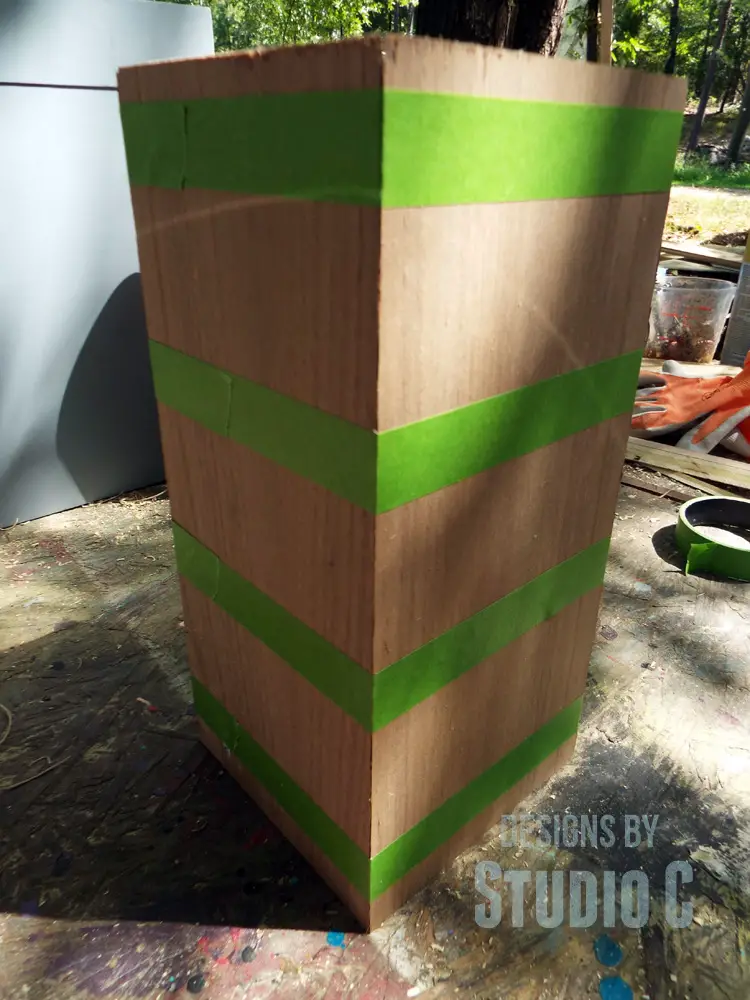
Lay the side pieces on a flat surface side by side with the bevels facing down. Place at least two or three rows of masking tape across the pieces with the ends of the tape extending past each side piece.
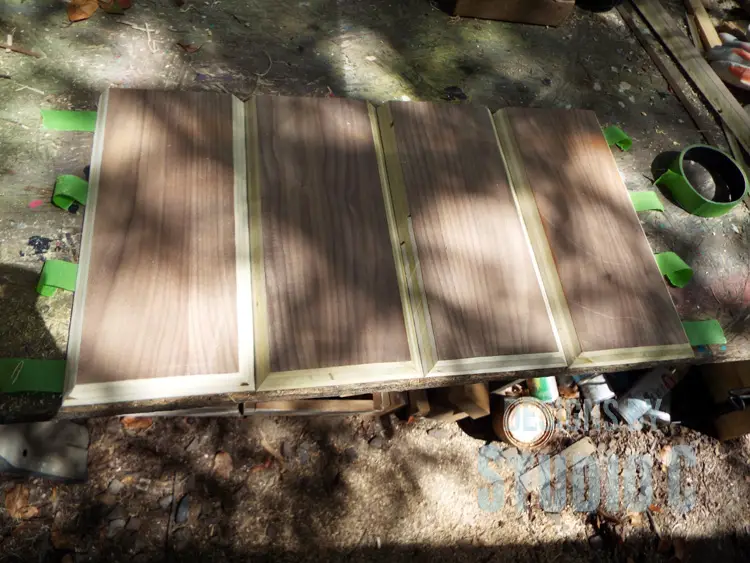
Carefully flip the pieces over and apply glue to each bevel. Fold the pieces on each other creating a box and secure the tape. Let the piece dry.
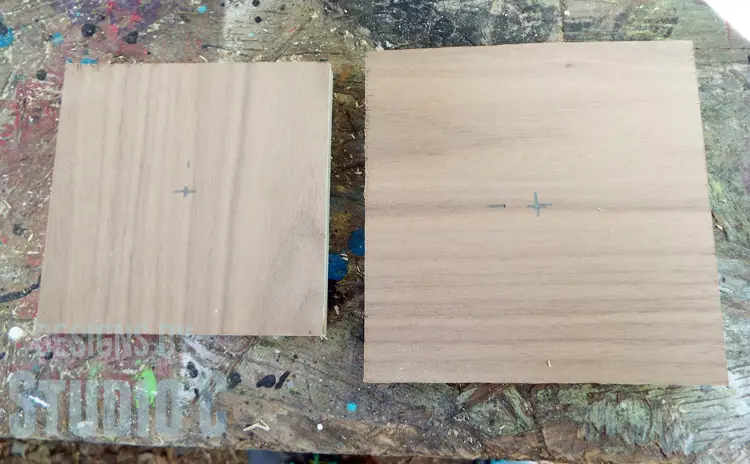
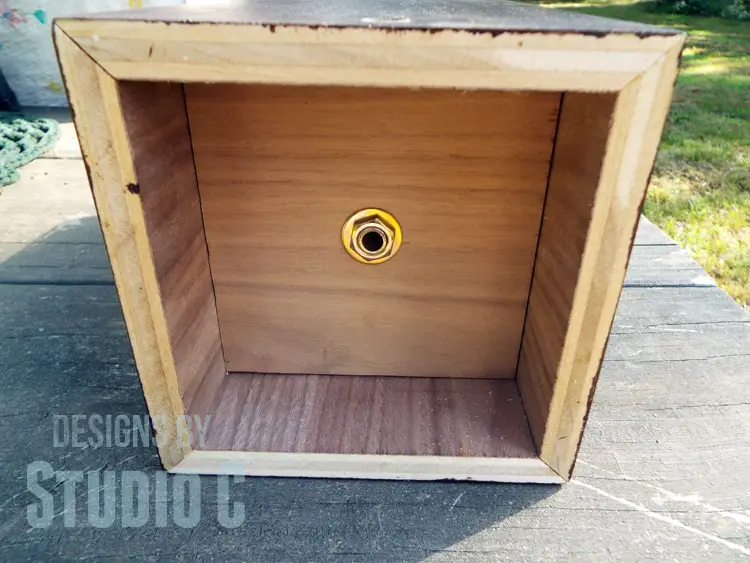
Mark the center of the top and bottom pieces, and drill a hole in each piece large enough for the lamp pipe to fit through. (This is not shown in the photos.)
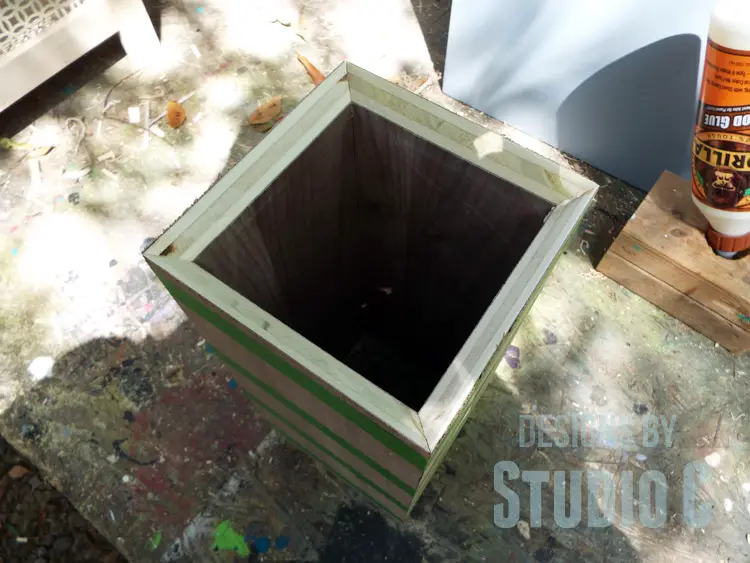
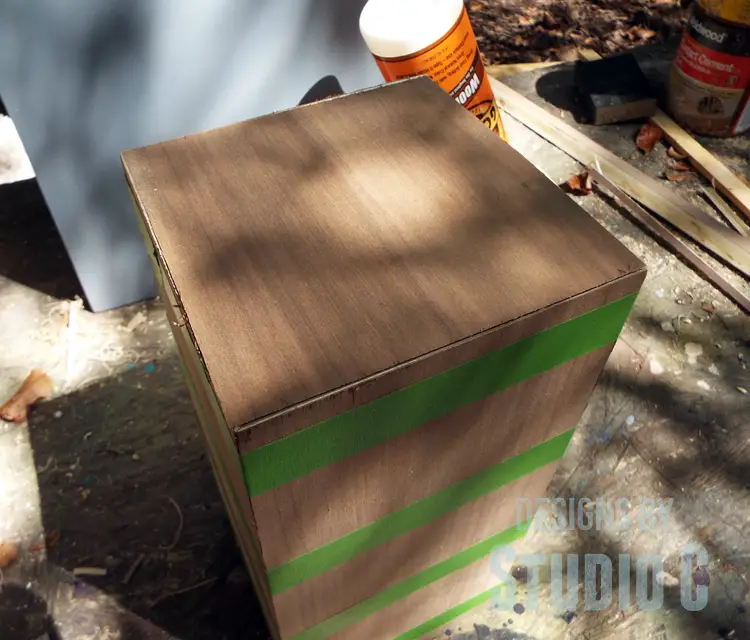
Fit the beveled top into the top of the base, trimming as necessary. Spread glue on the bevels, then position the top, securing it in place with masking tape. Let the piece dry.
Place the bottom piece inside the bottom positioning it approximately 1″ up from the bottom. Secure the piece in place with 1-1/4″ brad nails through the sides. I did not photograph this step but I’m sure you get the idea!
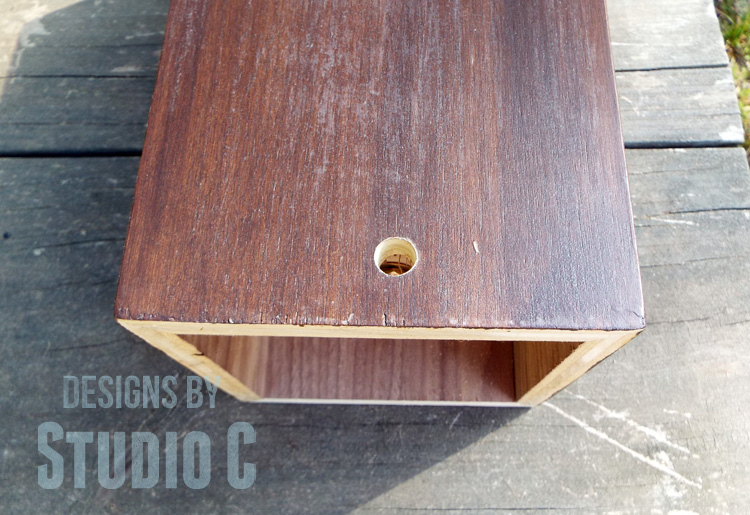
Drill a hole in the lower back side of the base below the bottom. This is so the cord will not interfere with the bottom of the lamp.
Thoroughly sand the base and fill any holes or gaps with wood filler. Stain and seal the base as desired.
Decorate the base with a stencil and paint, if you’d like… I cut a stencil out of vinyl then painted it with metallic white paint. A woodburning tool could be used to create a design (before staining) or even the glue-resist technique can be used.

To Install and Wire the Lamp:
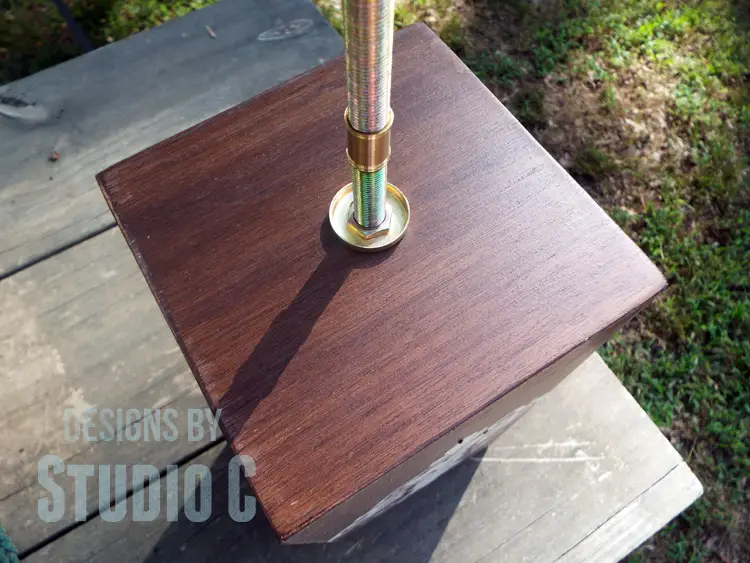
Thread the washer and one of the nuts onto the lamp pipe, then thread the pipe through the hole in the bottom and through the hole in the top. Place a check ring (face down) over the pipe, then thread a second nut on the pipe. The check rings will “frame” the socket cover helping to keep it in place.
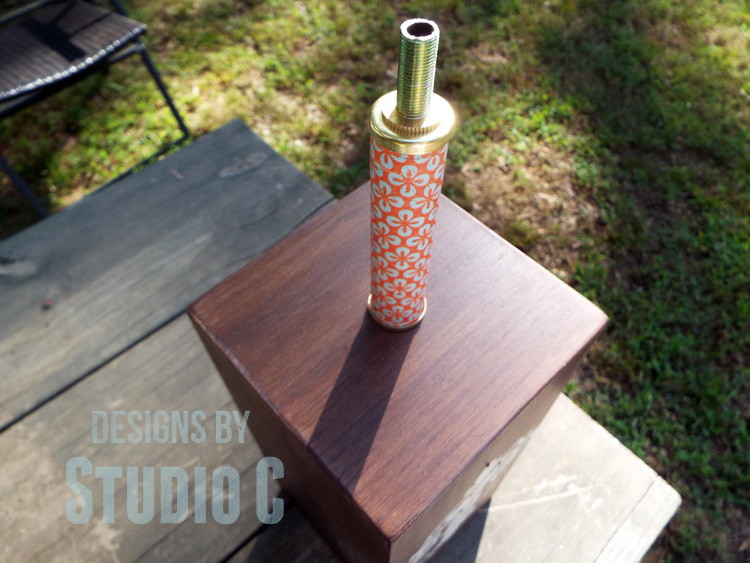
Cover the socket cover with scrapbooking paper or spray paint the piece. This is where I like to have fun and add a pop of color! Thread the cover on the pipe, then add the second check ring (face down) and the remaining nut.
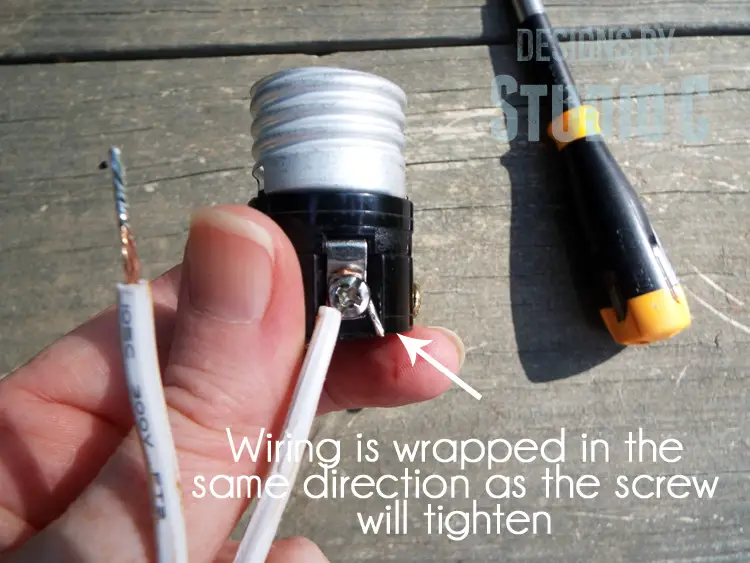
Thread the wiring through the hole in the lower edge of the base, then through the pipe and pull it out of the top. Thread the socket cap onto the pipe. Tie an underwriter’s knot (which helps keep the cord from being yanked out of the socket) and attach the wiring to the socket terminals. Wrap the wiring in the same direction as the screw will tighten. Install the socket’s cover.
Install the lamp shade of your choice! Gorgeous!
What do you think? The lamp can be constructed out of any species of wood like oak, cherry, even cedar! Have any questions about the DIY plans to build a lamp base with plywood? Leave a comment below or contact me at cher {at} designsbystudioc {dot} com!
Originally posted 2014-09-05 08:00:00.